Perennial Care

And then there were 2... or 3... or 4...

(Originally posted: November 7, 2019)

A while ago I promised a blog about dividing perennials. While it’s taken me some time to put virtual-pen to cyber-paper, it is still a relevant topic this late in the season.

Let’s not waste any more time and get straight into it!

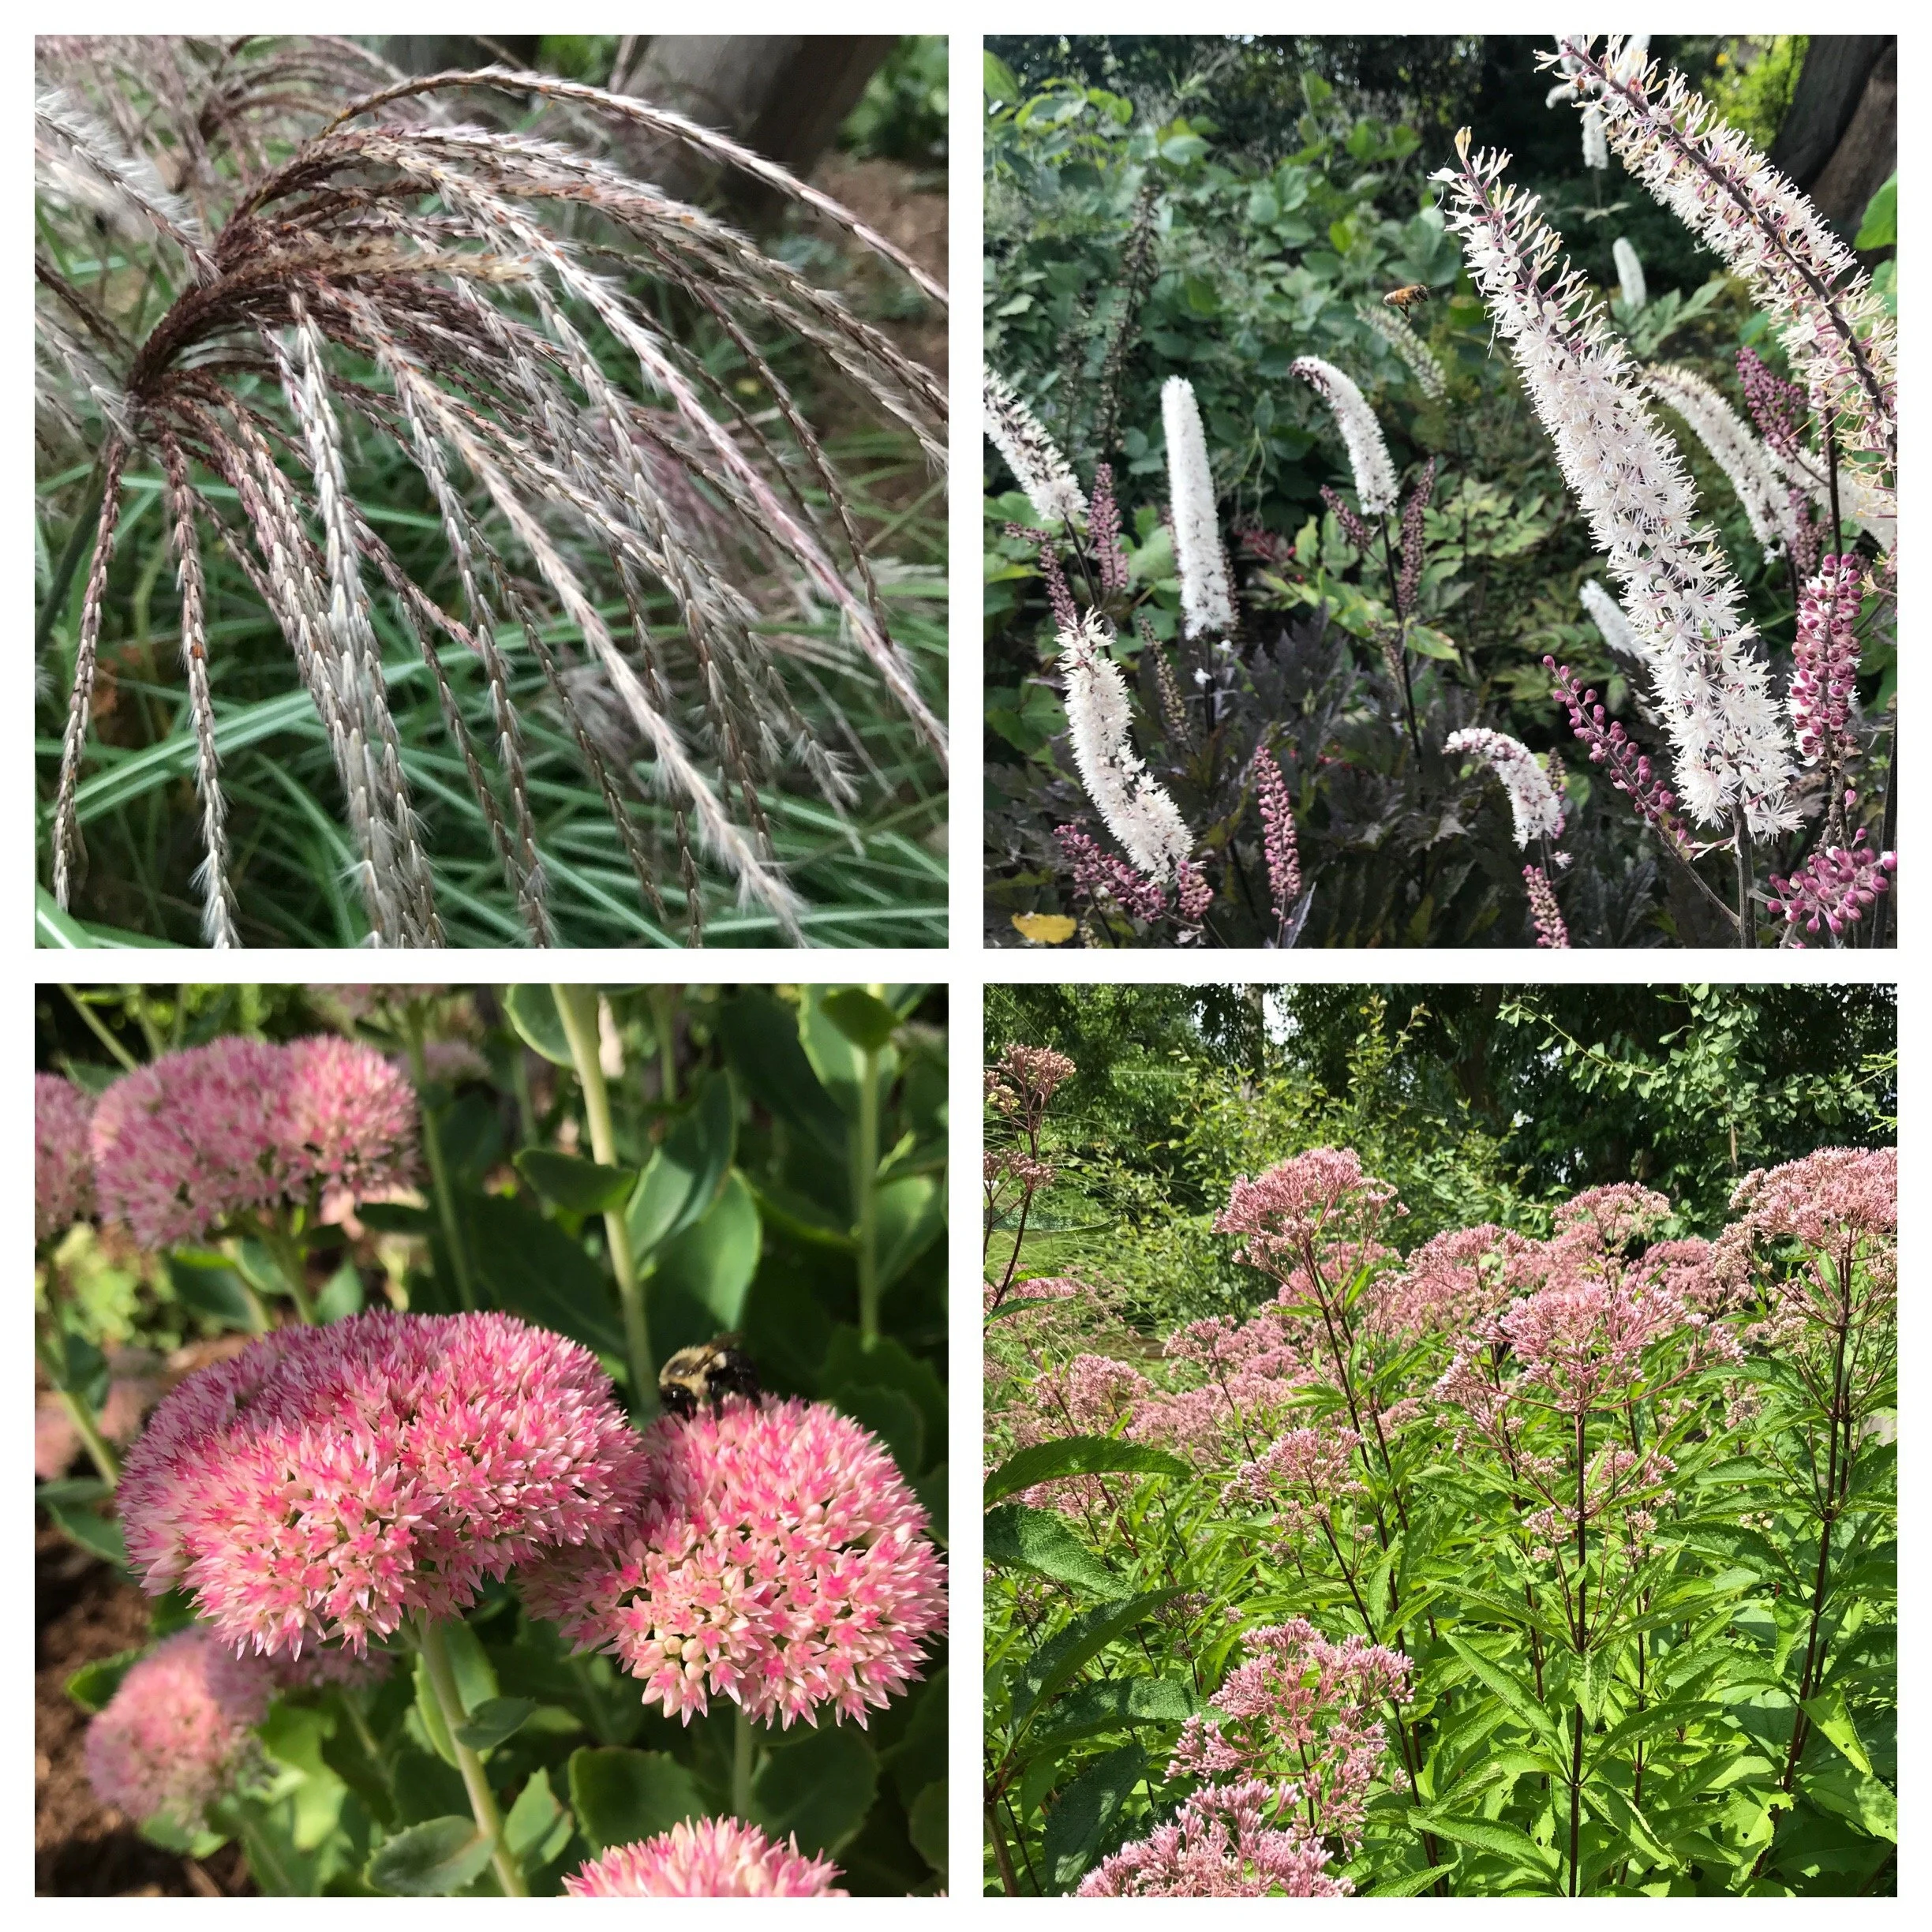
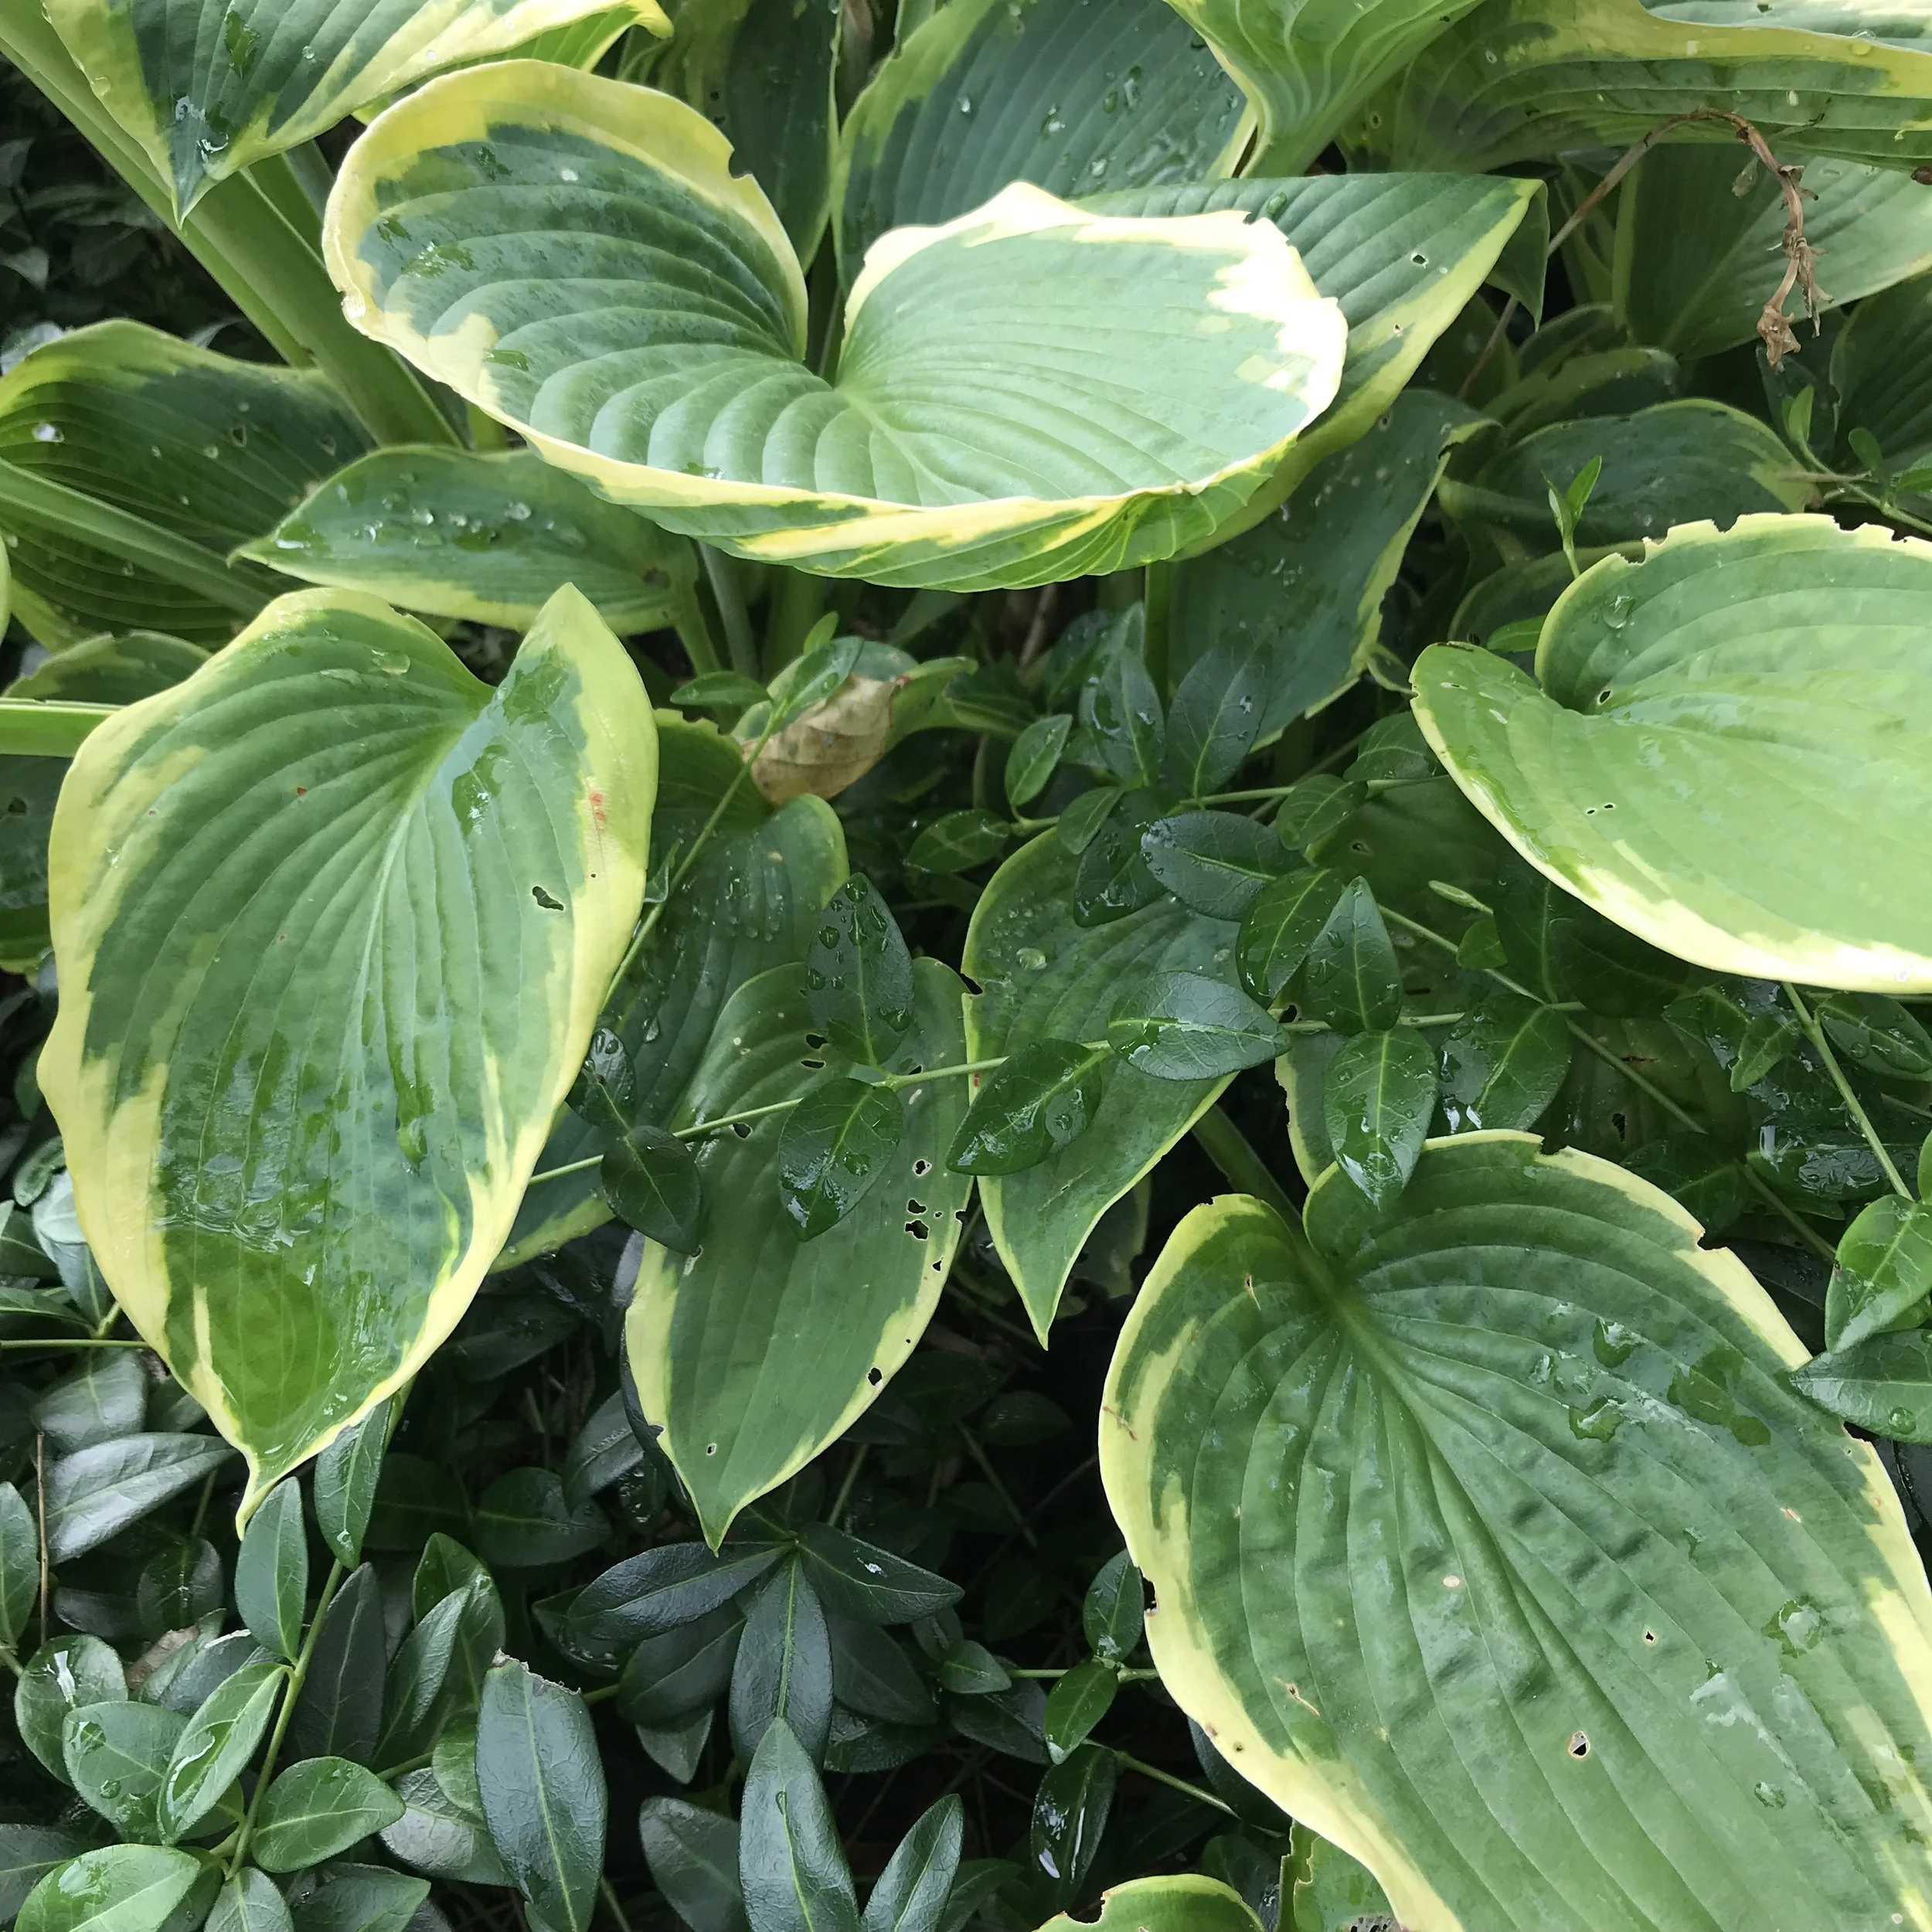
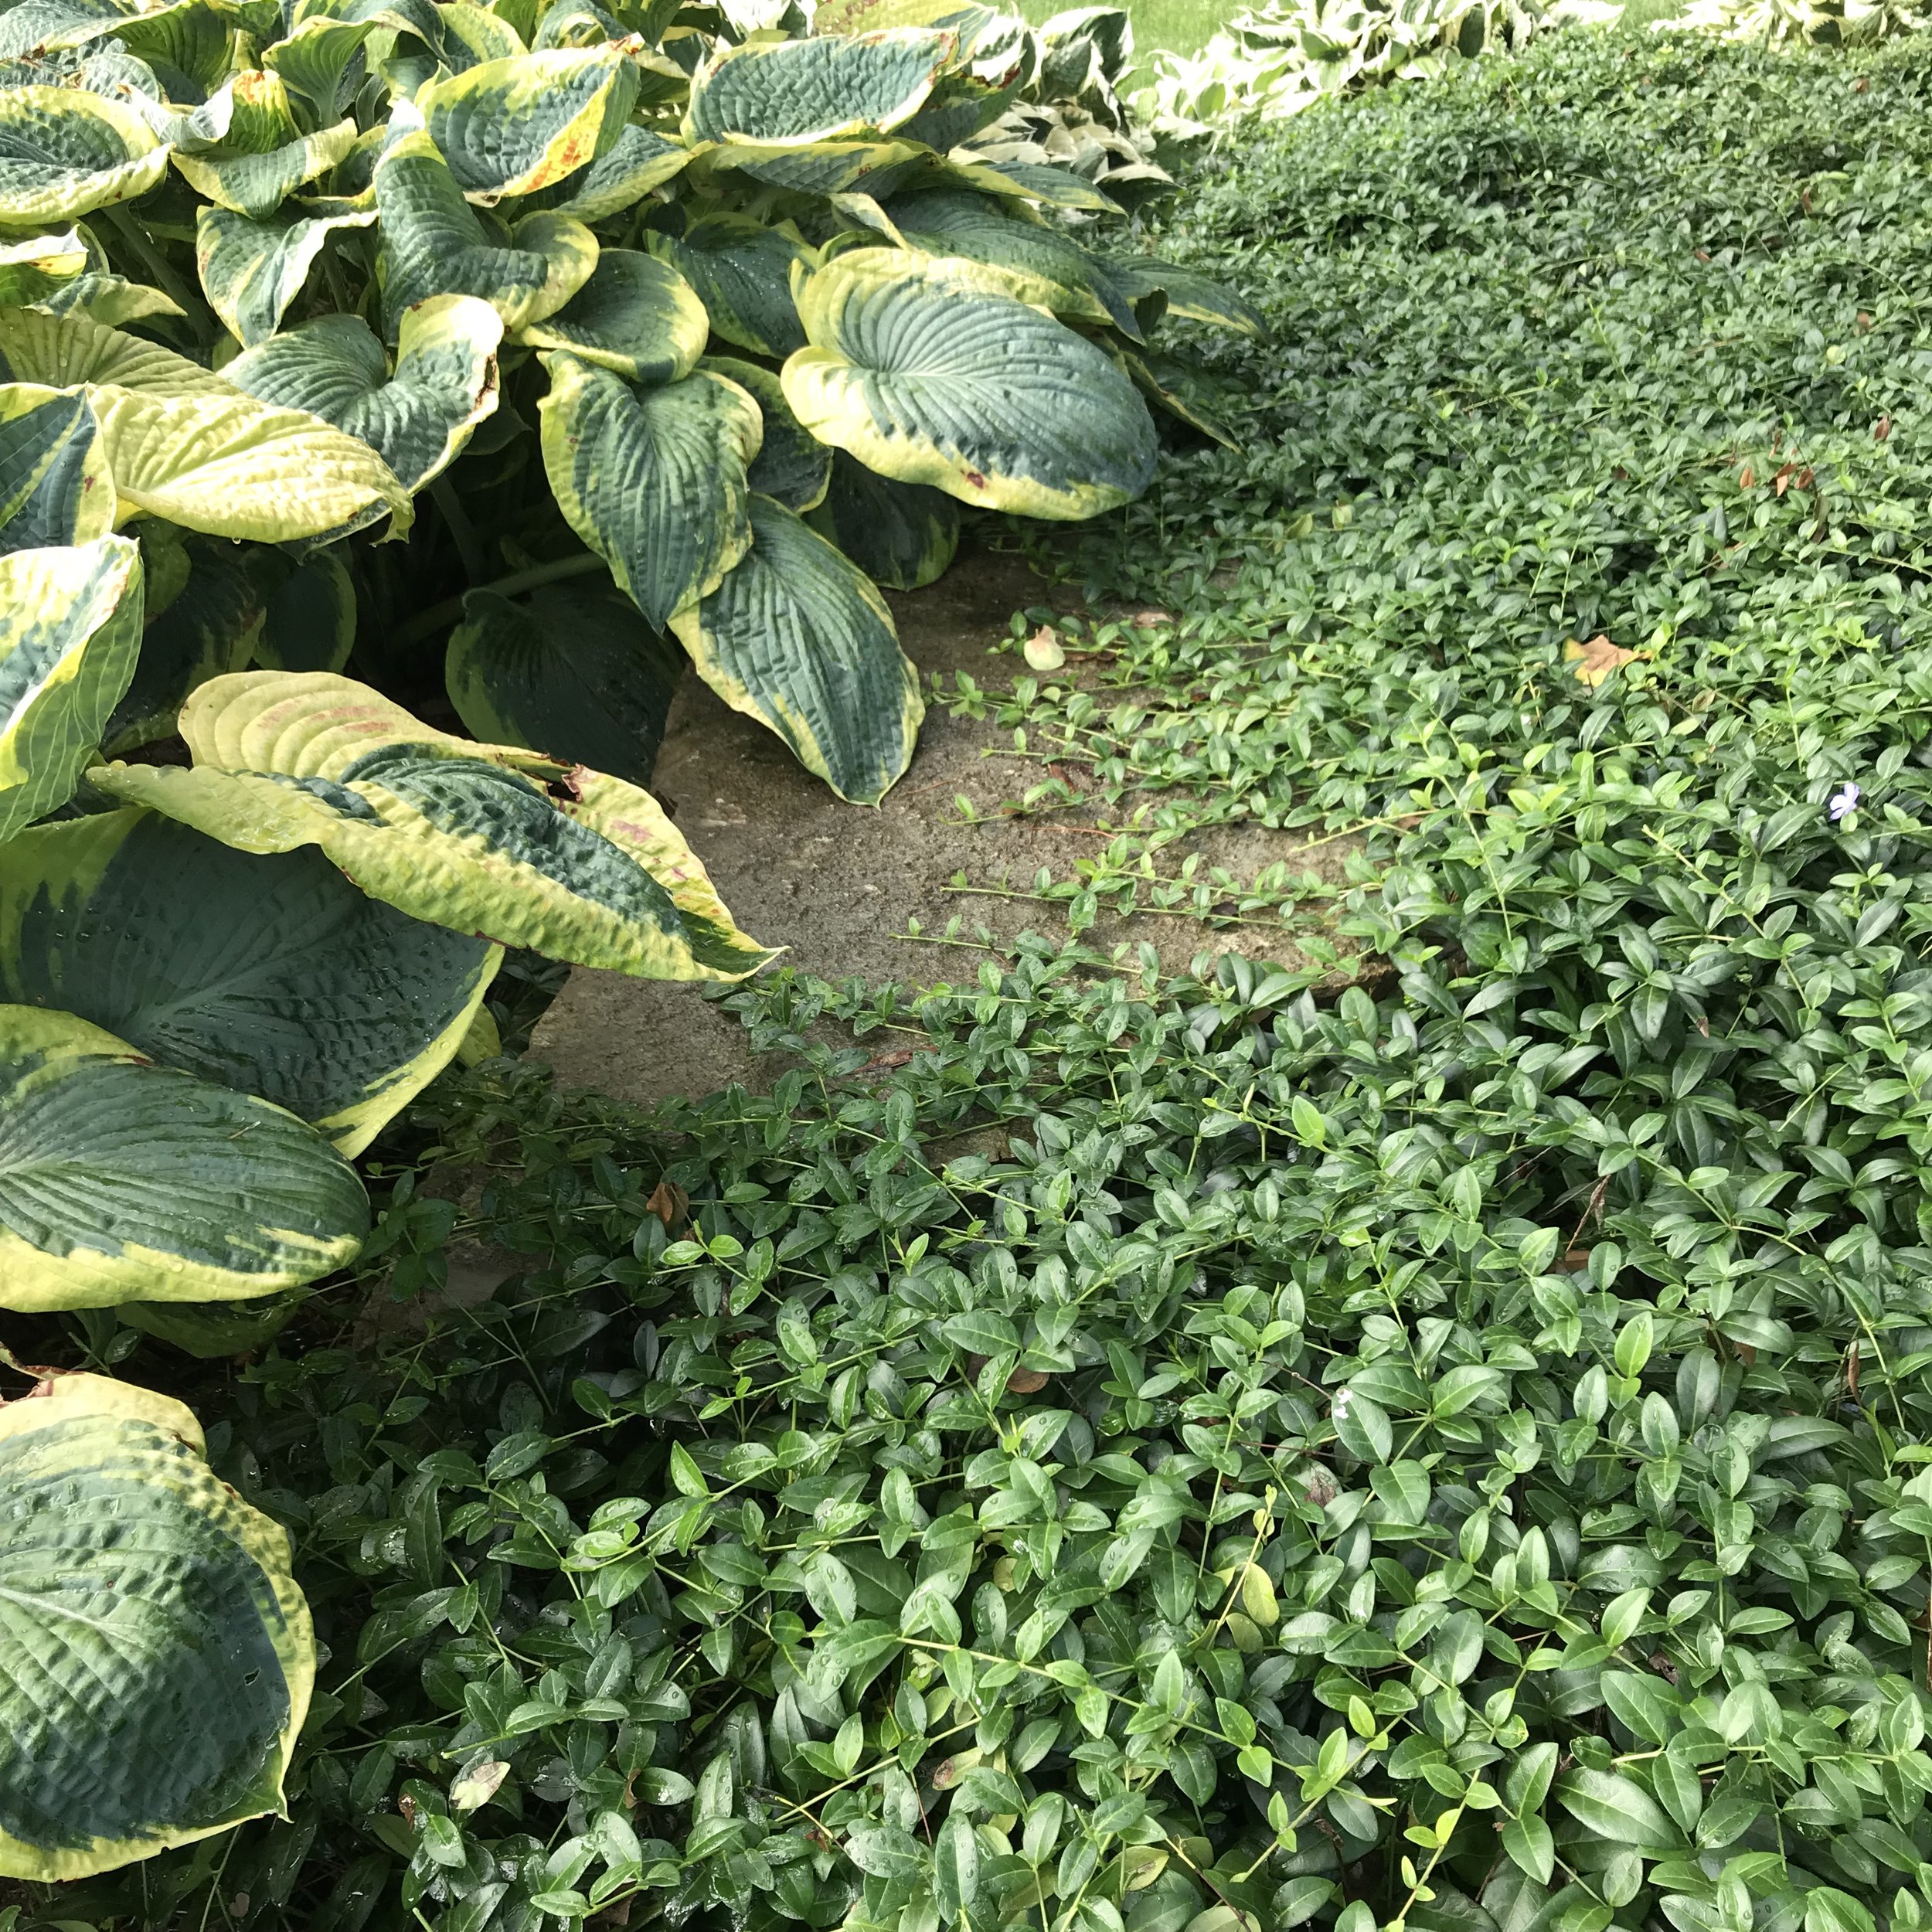
Throughout this growing season, did you notice any perennials completely outgrowing their allotted garden space? Did you notice a perennial that grew as a ring with a big empty space in the middle of it (see photo)? Did you have a perennial that under-performed in it’s floral display? These are all signs that your perennial in question needs to be divided (and probably should have been divided years ago)!

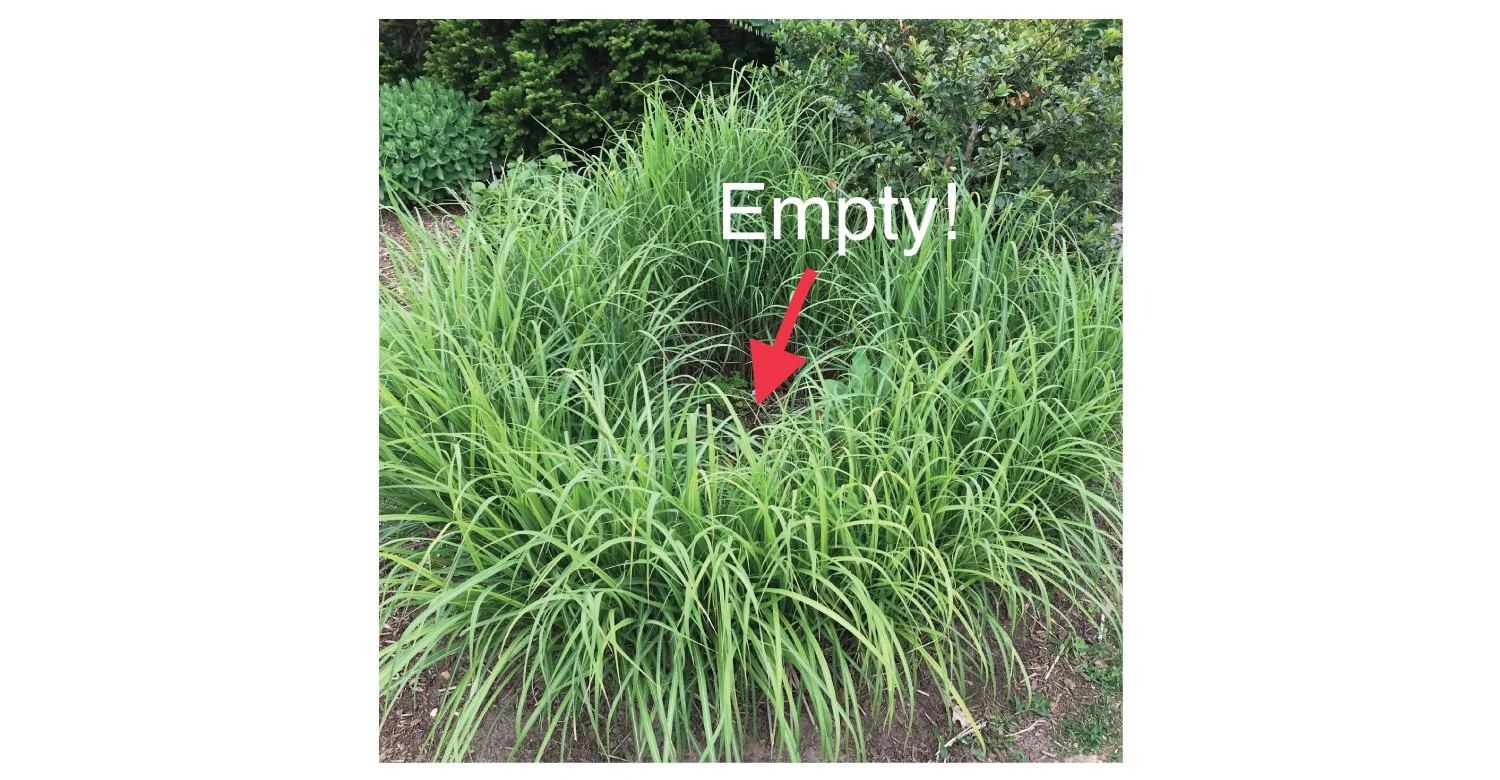
Perennials are NOT meant to look like donuts! This grass is in need of some dividing.

Dividing is a way to rejuvenate our perennials. Clumps can get overcrowded and experience a reduction in vigour over time. Additionally, some perennials simply begin to take up too much space in our gardens- becoming bullies to our other plants; in this case, dividing is a way to keep the size of a perennial patch in check.

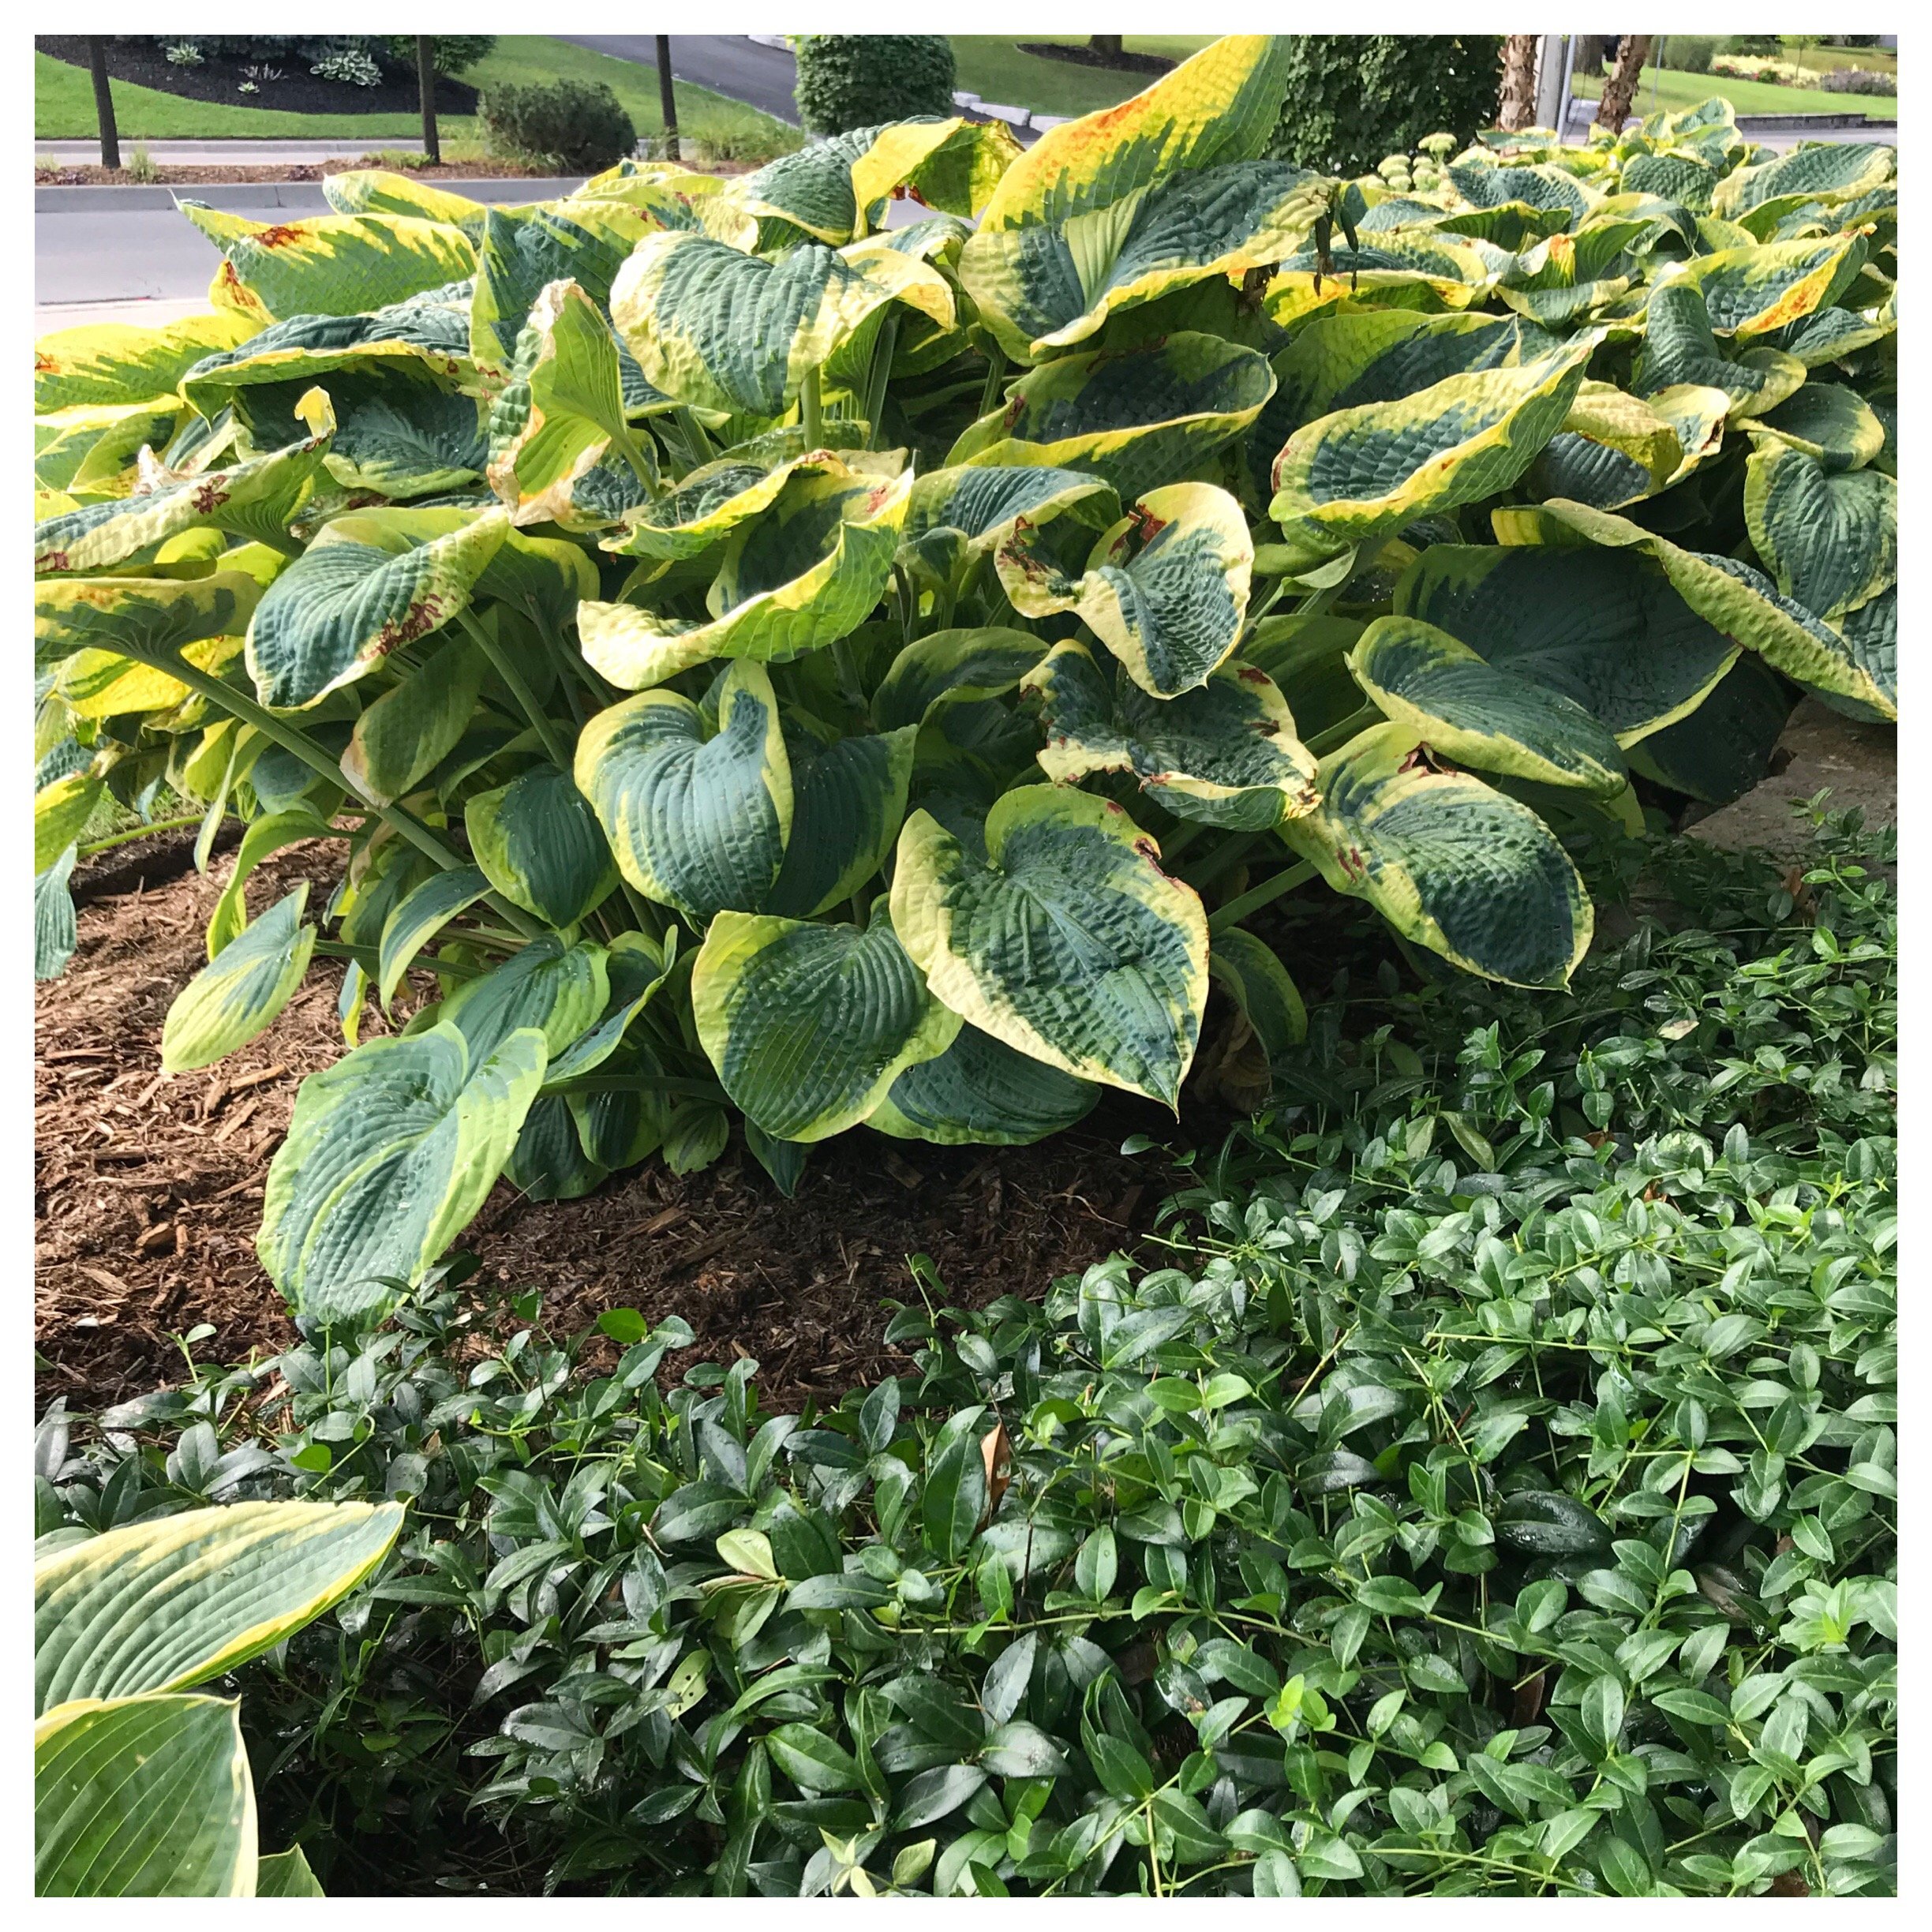
Dividing is insanely easy. Plus it is a great [free] way to increase the number of plants that are available to you*. While, you may not want the same Hosta covering every square inch of your garden, having divisions at your curbside in a box labelled ‘free plants’ makes you a popular person in your neighbourhood, not to mention you gain some serious ‘garden-related street cred’ when people see that you have the nerve to rip plants from the ground only to slice ‘em up and give them away. (“Wow” people whisper in awe, “That person must really know what they are doing in the garden…”)

TIMING

Dividing is typically done in the spring and the fall when temperatures are cooler and moisture is more abundant. Blazing heat, intense sun, and drought are all plant stressors that are minimized in the spring and fall months. The process of dividing is stressful enough as it is- why unnecessarily add environmental stressors into the mix?

As for spring versus fall, common advice states that fall flowering plants are to be divided in the spring and spring-flowering plants are to be divided in the fall.

Why all the rules?

First of all, it should be known that if you divide a plant too close to it’s flowering time, it may not bloom- it is too busy getting it’s ‘smaller self’ reestablished! If divided and cared for properly, you won’t kill the plant, but sacrificing blooms is a real possibility (but not a guarantee). If you divide while a plant is in flower, not all the plant’s energy will be put towards growing new roots, so reestablishment in the garden can take longer.

Another consideration with respect to timing is the length of time available for the plant to reestablish itself. Plants divided in the spring have a whole growing season to set new roots and bounce back from the ‘operation’ whereas plants divided in the autumn months have a much smaller window of time to settle into their new size and surroundings before the snow flies. This can be a problem for more tender perennials, but for the ‘tough-as-nails’ ones such as Hemerocallis spp. (daylilies) or Hosta spp… they laugh in the face of autumn division.

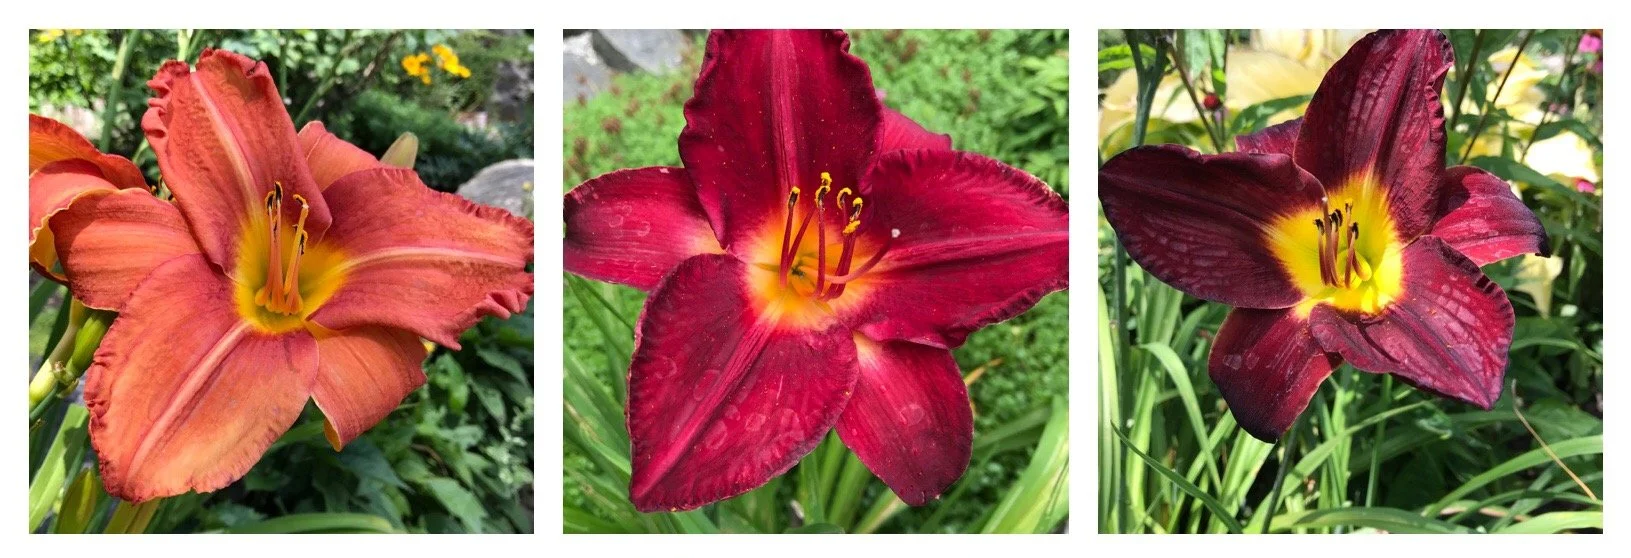
‘Tough-as-nails’ Hemerocallis spp. in bloom.

Since 90% of the plants that I divide are these super-strength perennials, I typically divide them in the fall (and sometimes quite late in the fall)… they always bounce back beautifully; besides, the spring is busy enough as it is!

One final note with respect to timing: I typically time my dividing for when the soil has some moisture in it but is not saturated. Trampling on a wet garden bed is a great way to compact the soil which is bad for root growth and therefore the health of the plants in the garden, so I avoid this at all costs.

HOW TO DIVIDE

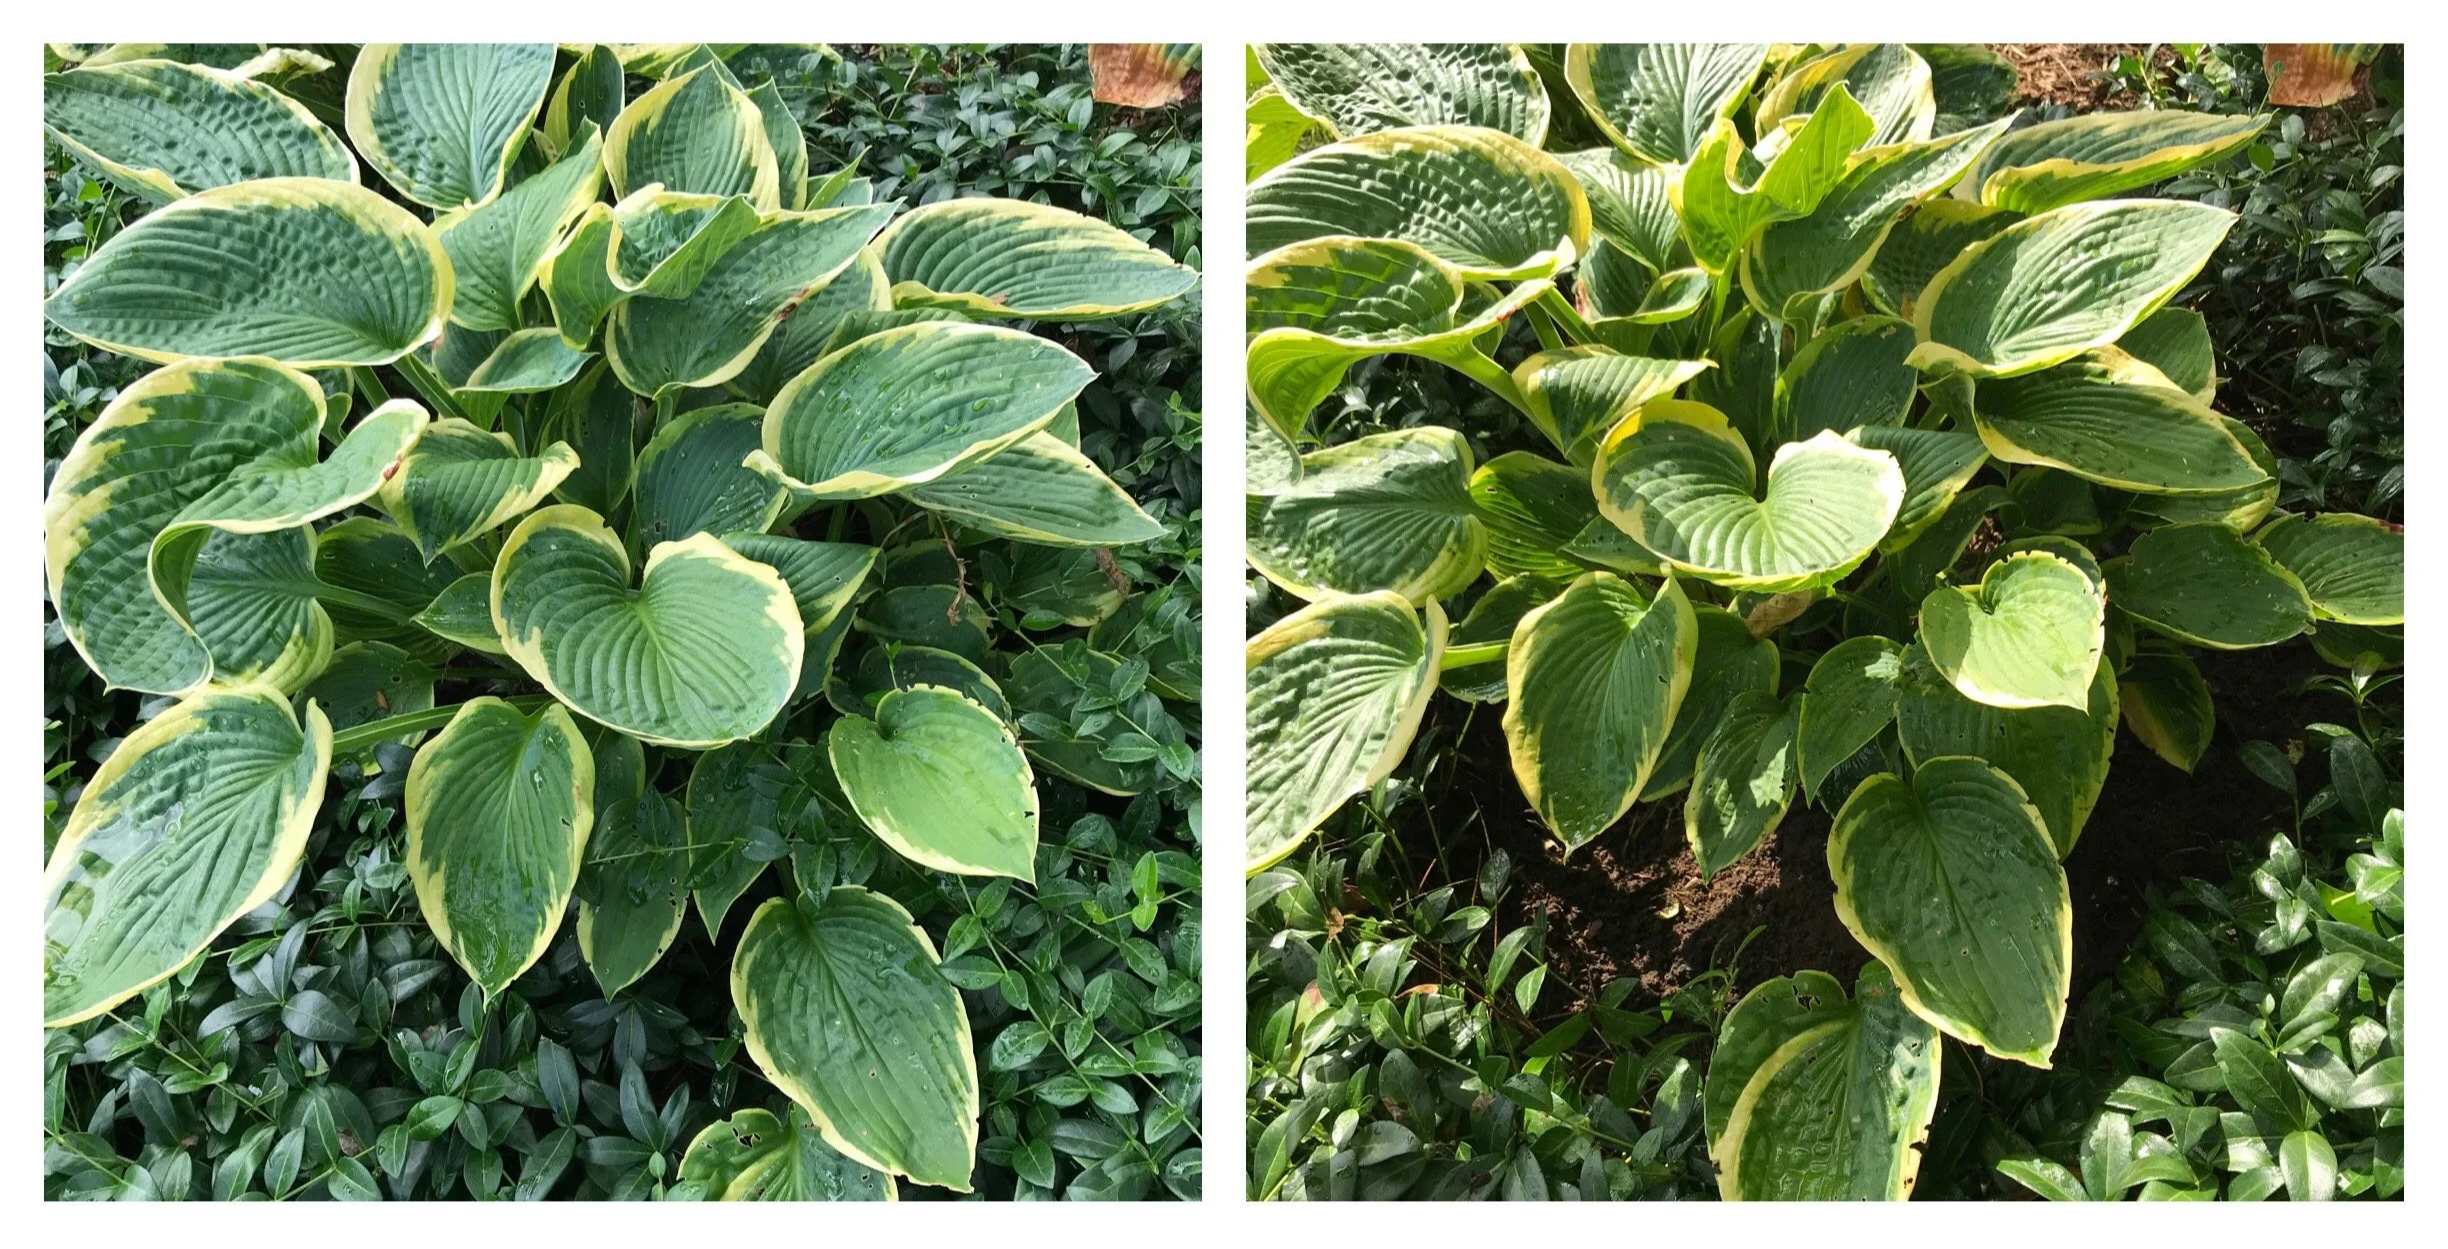
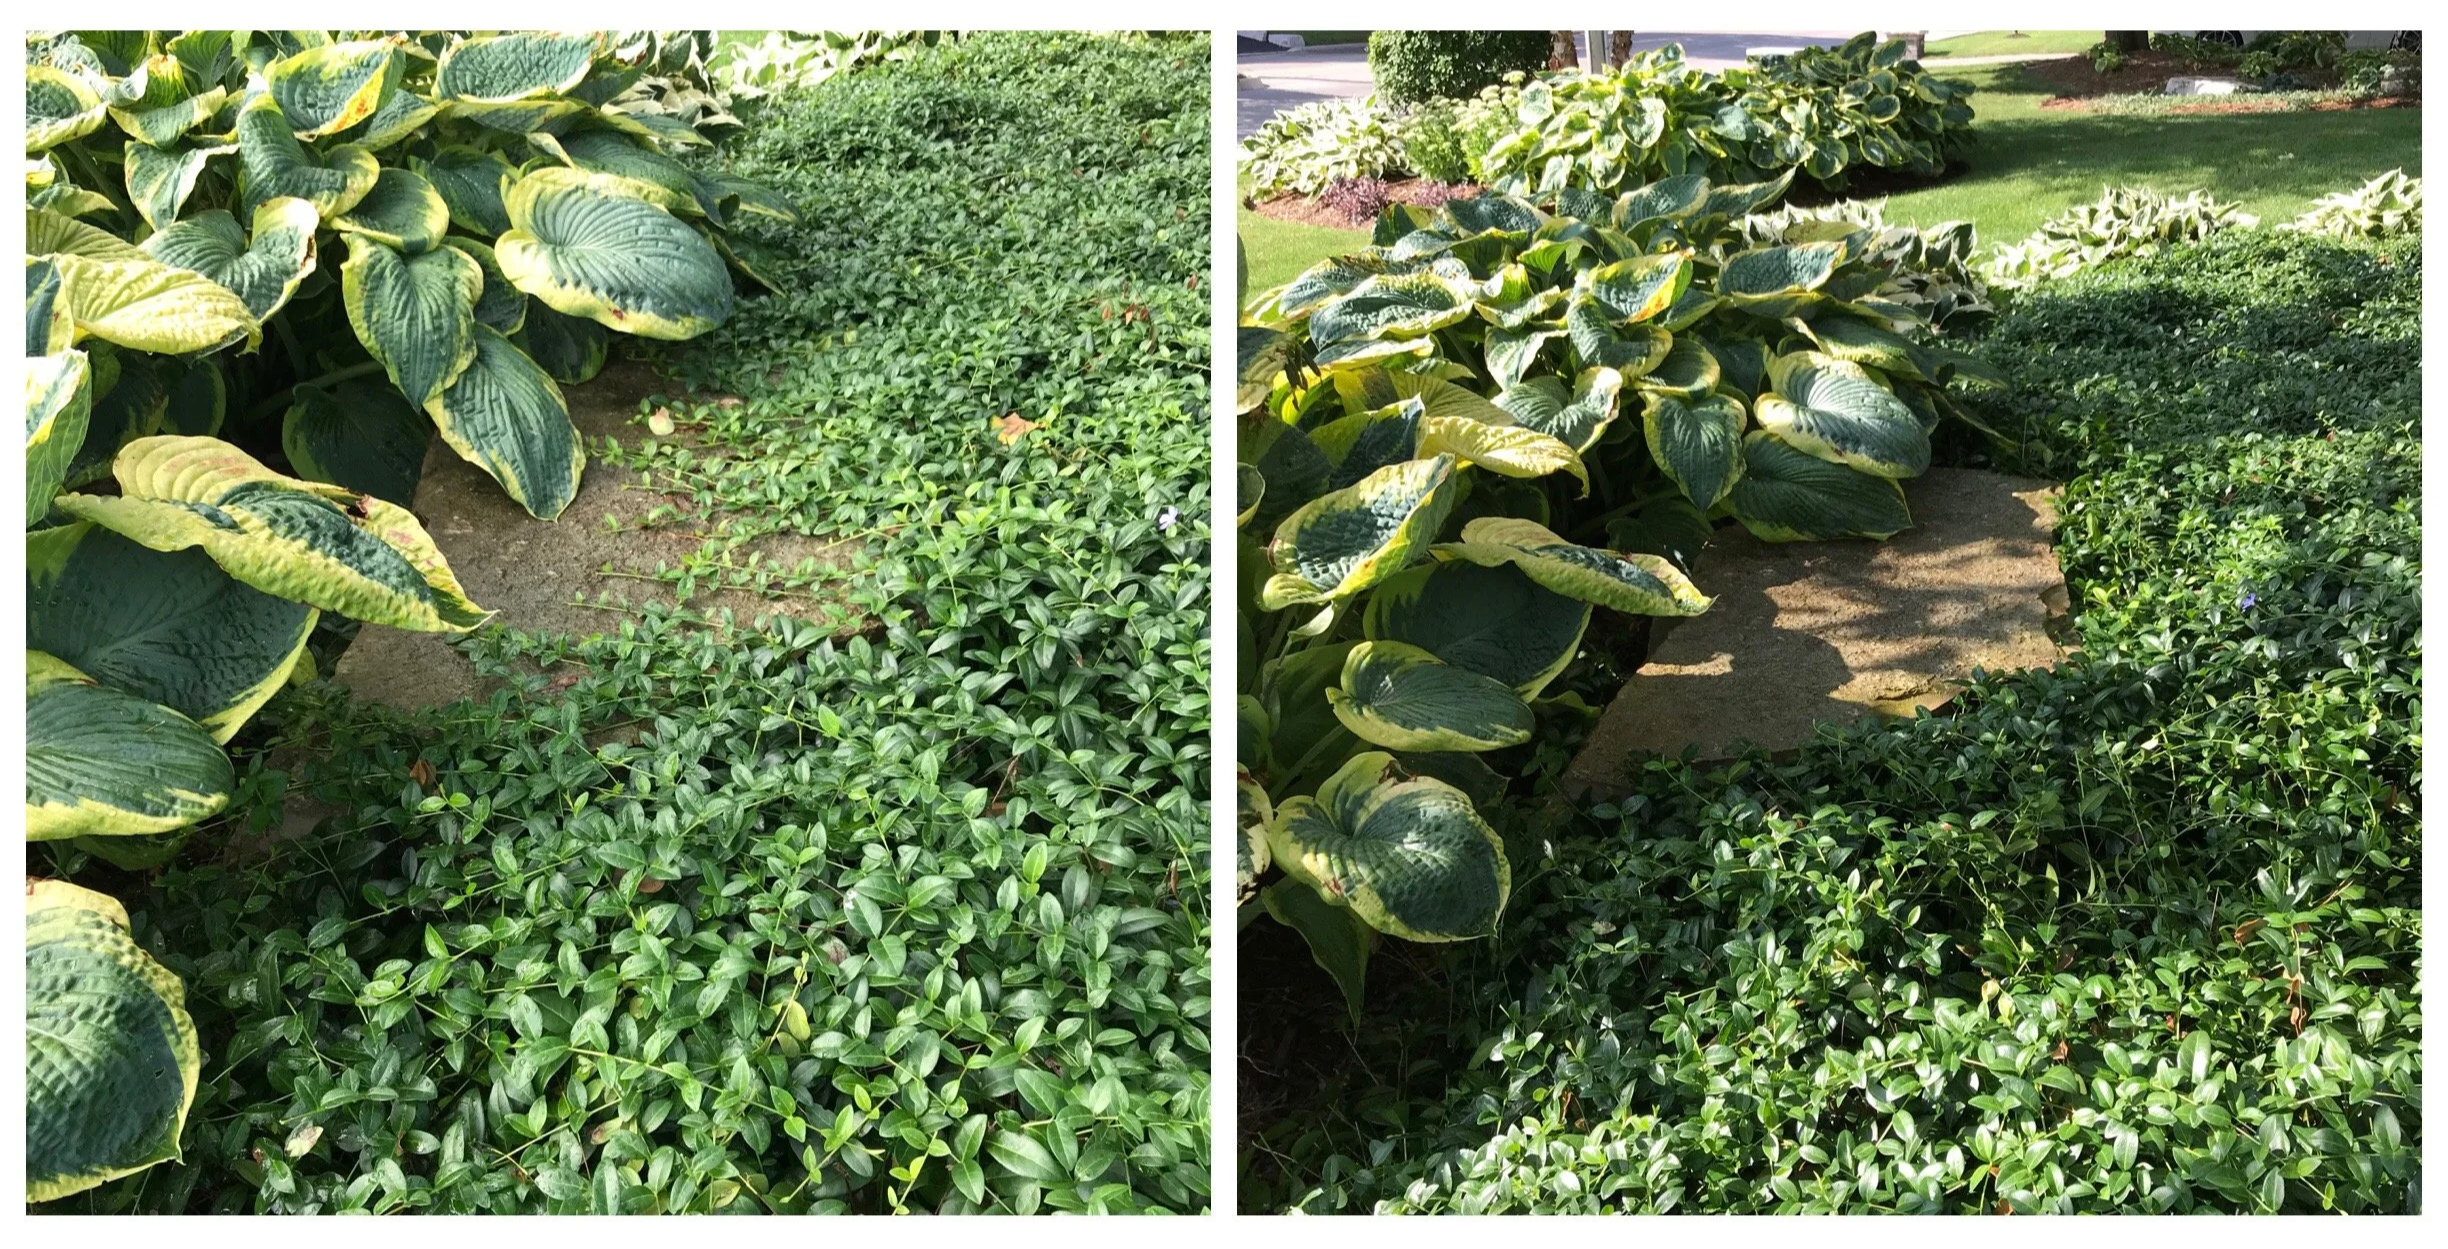
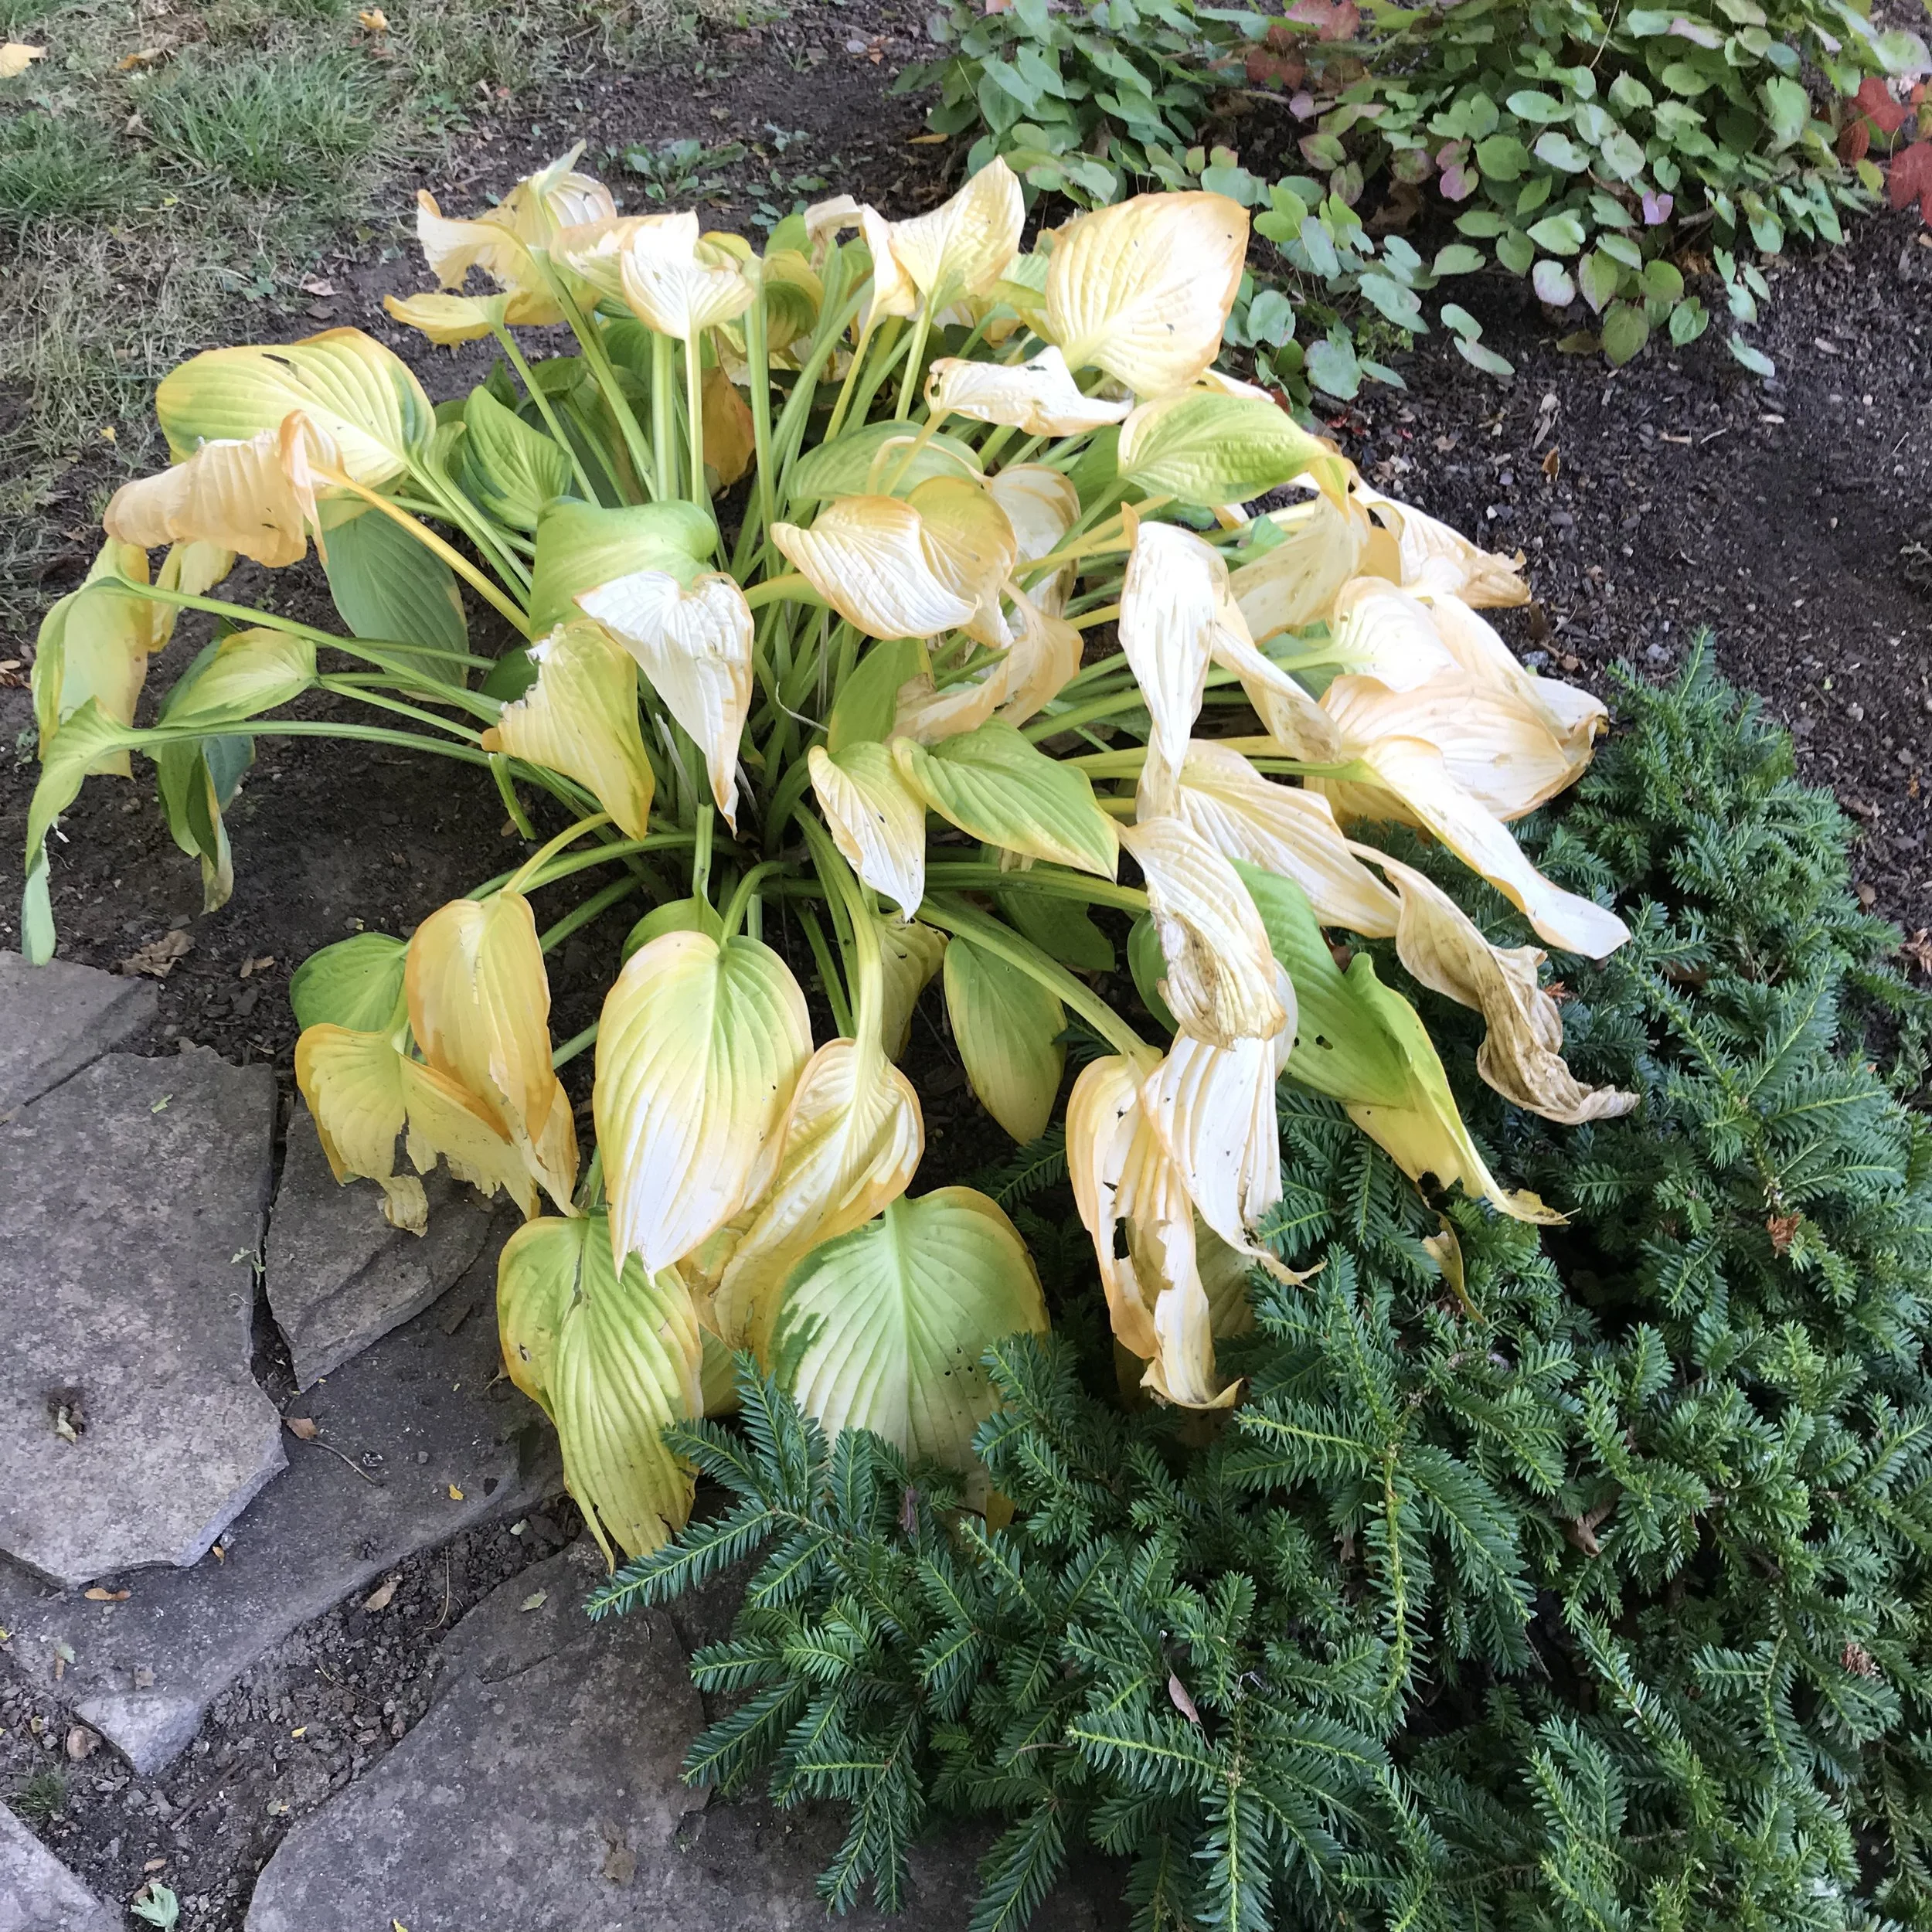
Dividing a perennial can be completed in a series of simple steps. I will use a Hosta to illustrate the process; it is a great perennial to start with if you are tentative about this whole procedure!

Step 1: Select your candidate for division

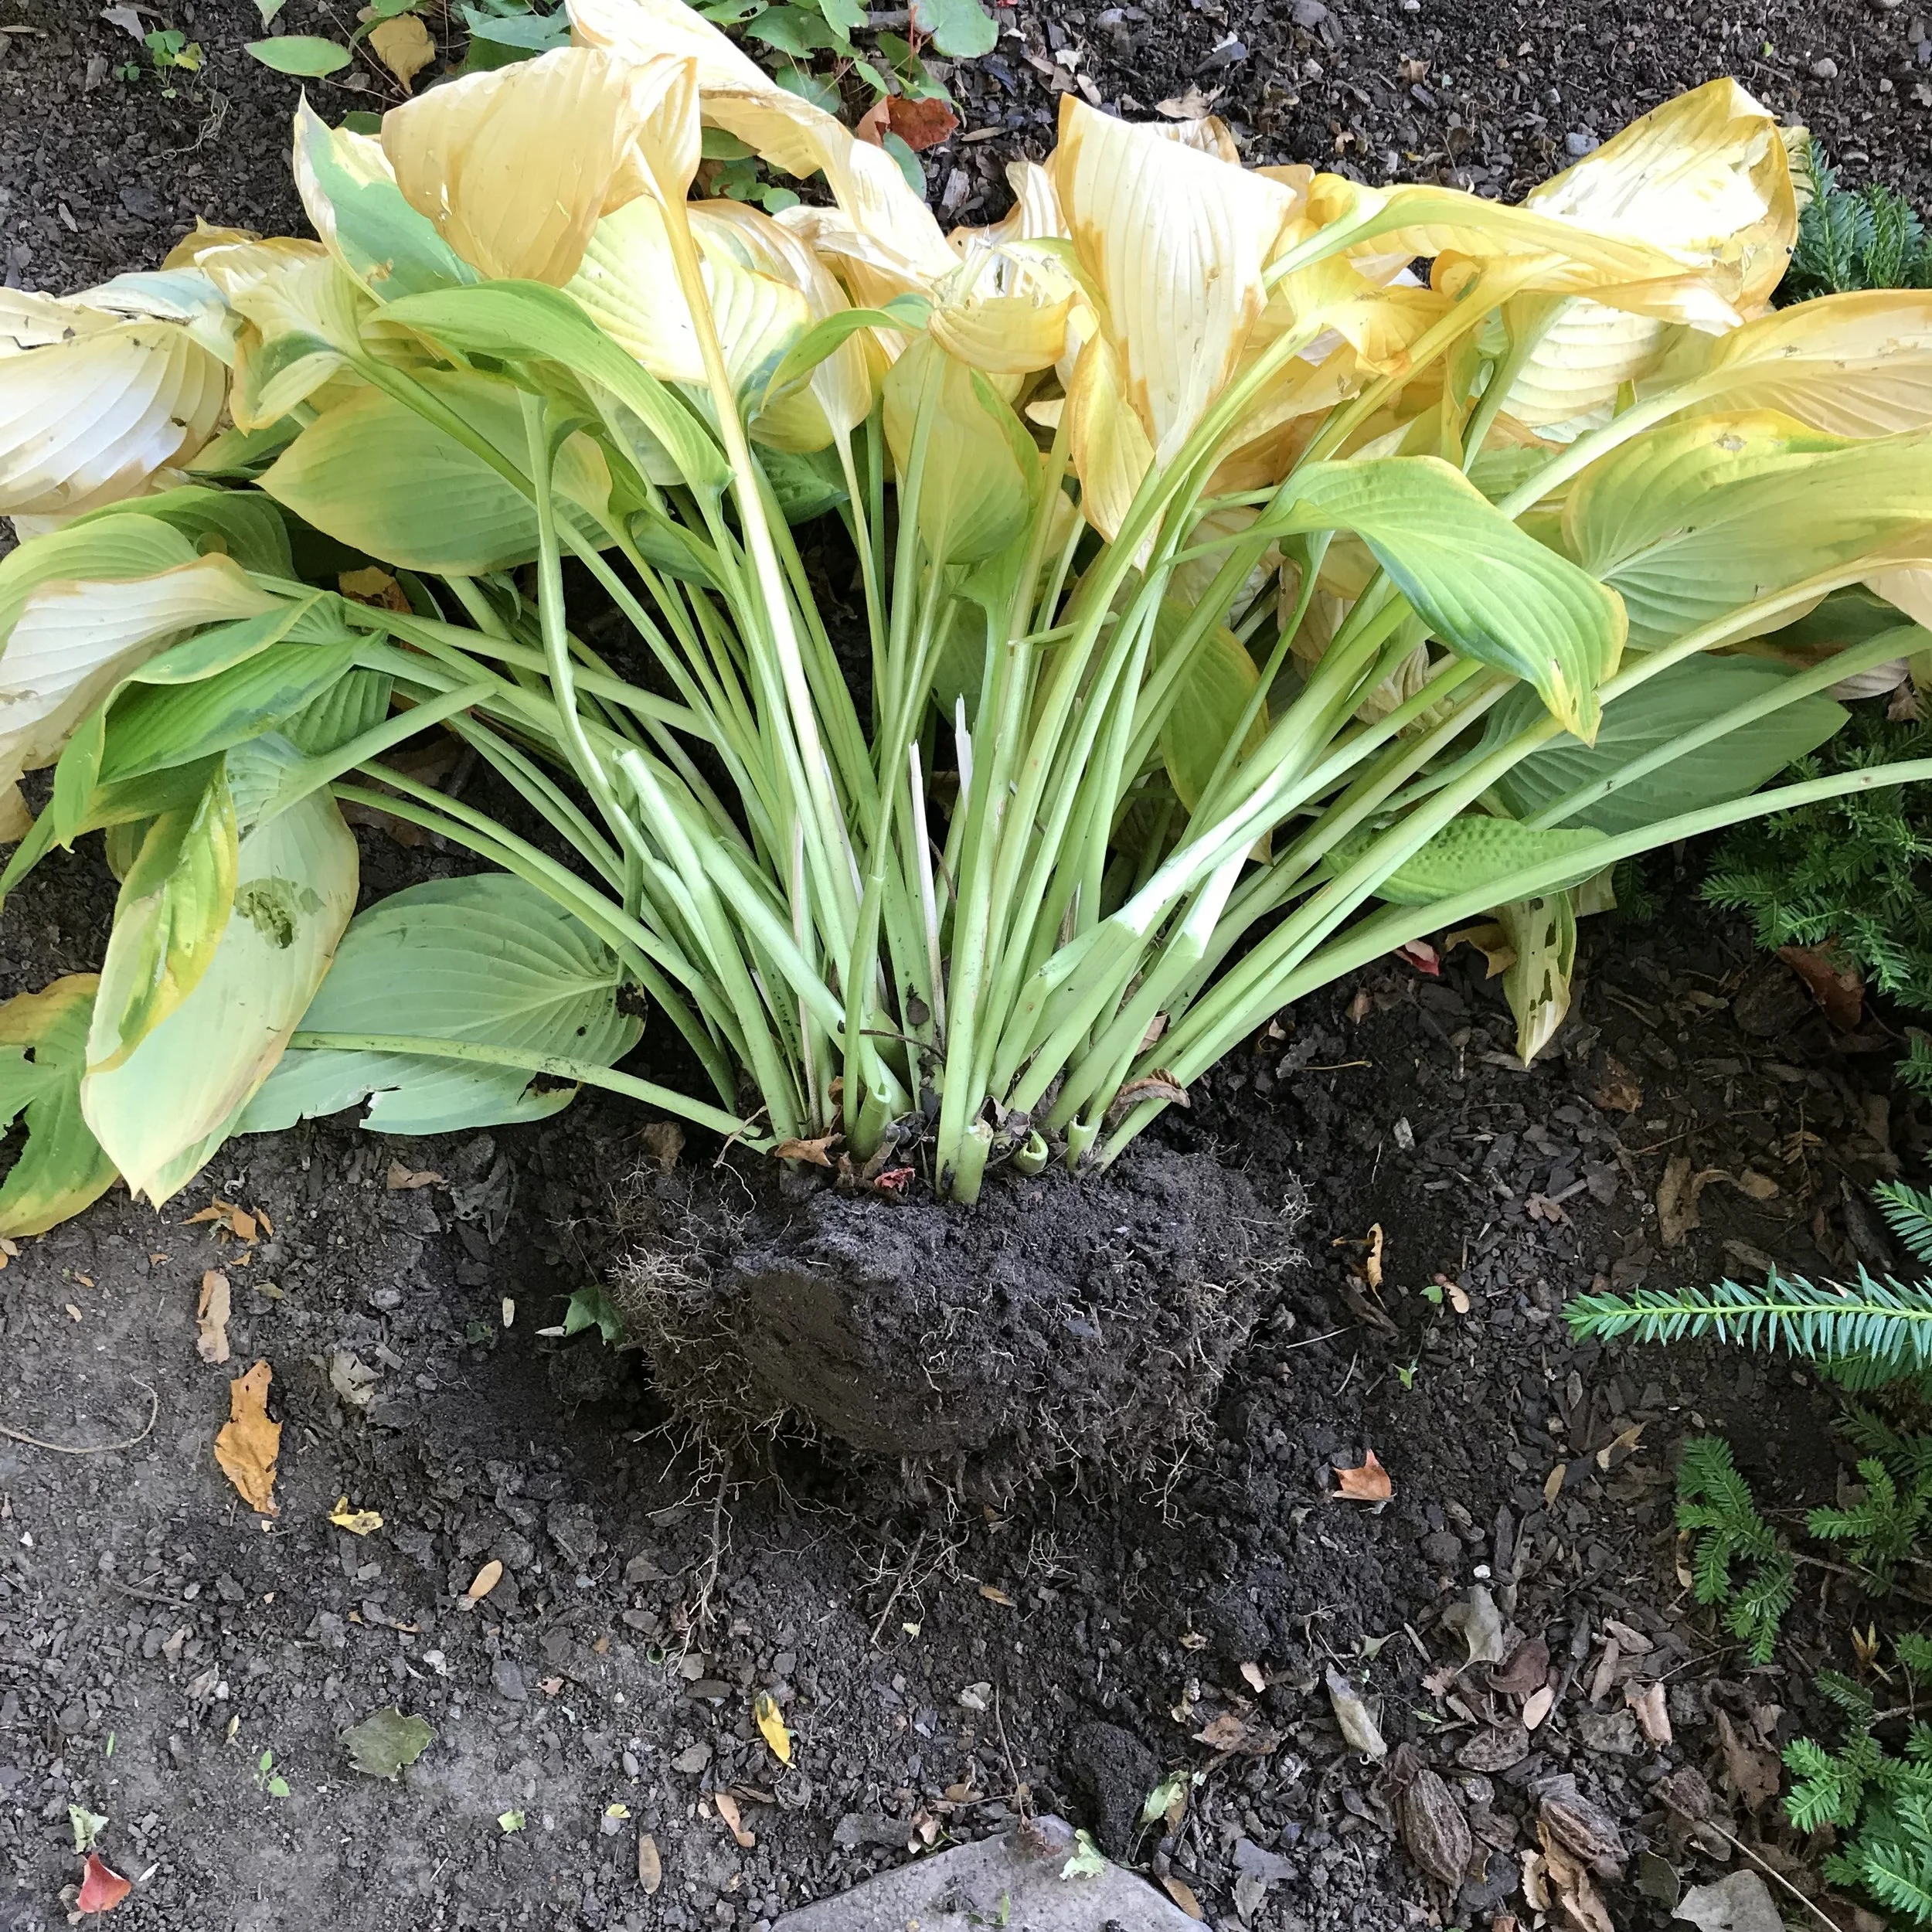
Step 2: Dig all around the clump with a spade, starting close to the drip line of the plant (the point away from the plant to which the leaves extend) and moving inward when you get a sense of where the roots are. You will sever some of the roots in the process and that is fine, but your goal is to leave as much of the root system in tact as possible. Once you have sliced around the plant, it is time to get your spade under the clump to ‘pop’ it from the ground.

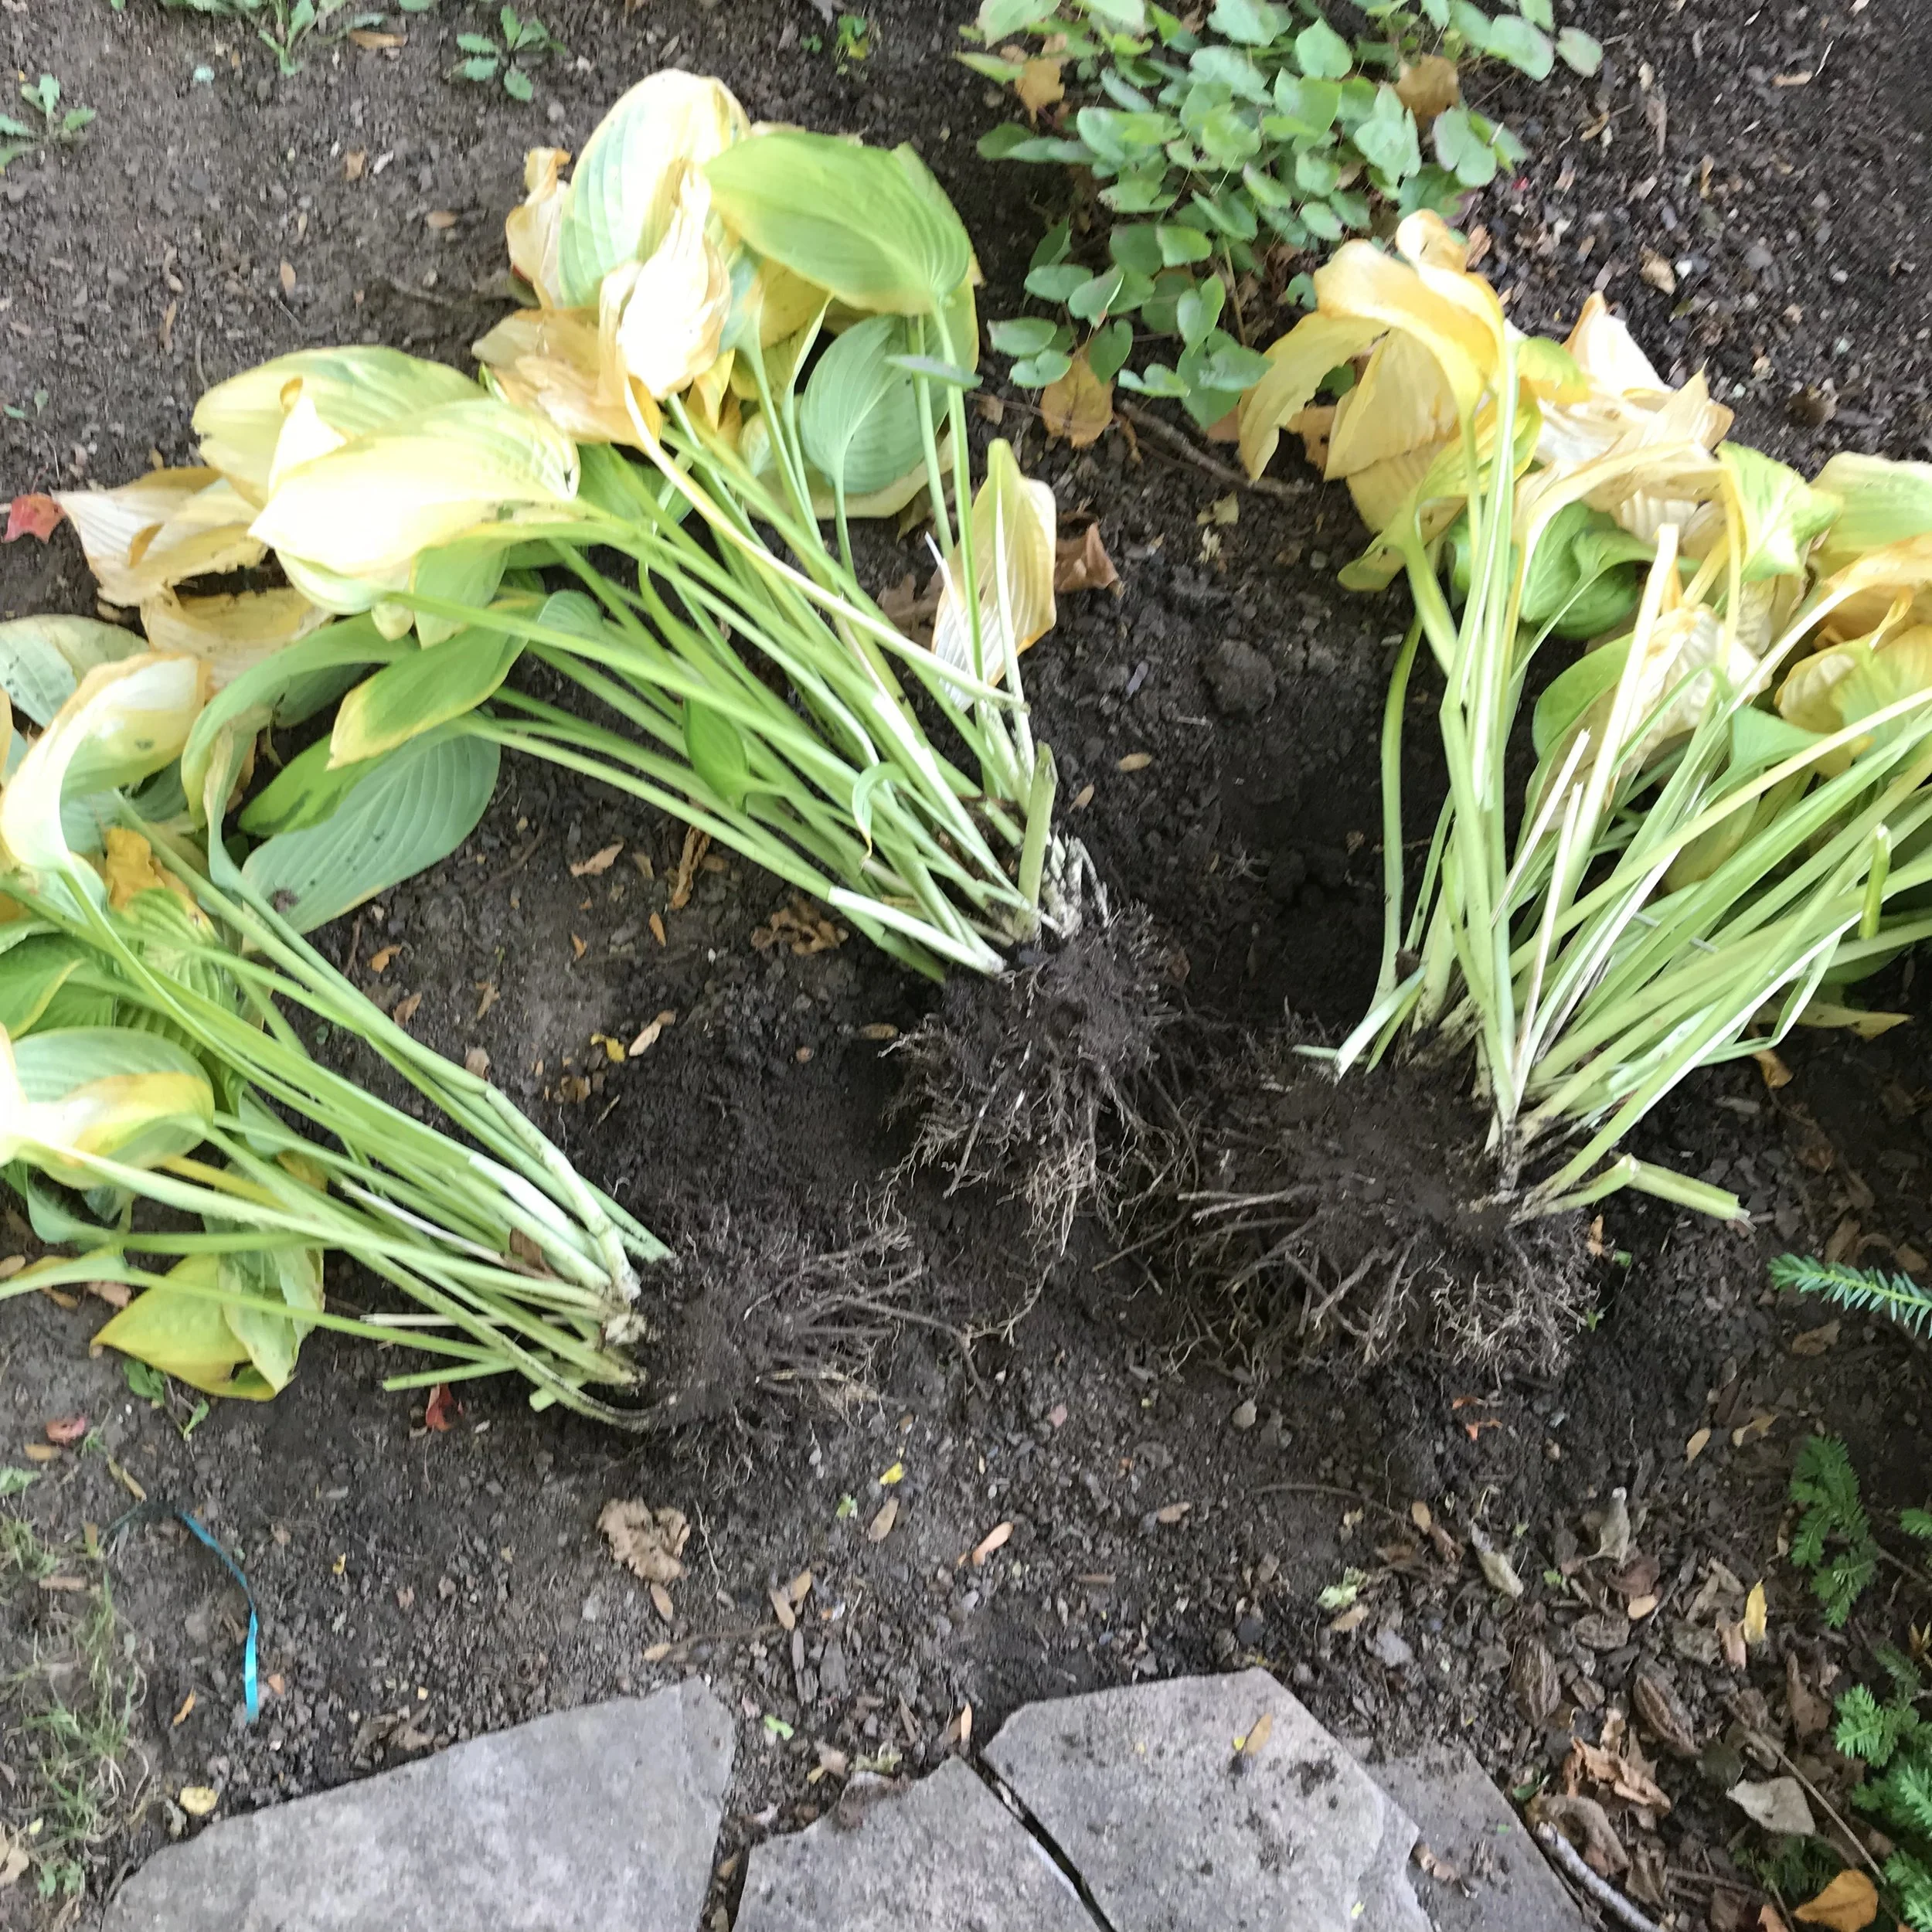
Step 3: Use a spade to slice the clump into multiple pieces. In this case I have sliced the original clump twice to magically turn 1 Hosta into 3 but I could easily have turned it into 5 or 6! Perennials can also be divided by hand or with a non-serrated sharp knife (suitable for perennials with finer, more delicate root systems), a handsaw (suitable for perennials with woody crowns), pitchforks or even an ax! Regardless of your tool, when you are ‘slicing and dicing’ be sure to cut out and discard the dead zones from the centre of your ‘donut plants’ as well as anything that looks diseased.

Step 4: Mix in a shovelful or two of compost or composted manure into the planting hole to amend the soil

Step 5: Plant a newly divided clump into the ground making sure the plant is put in the soil at the same depth that it was originally growing at and that the roots are spread out and away from the centre of the plant; cut down the leaves by at least half if dividing in the autumn

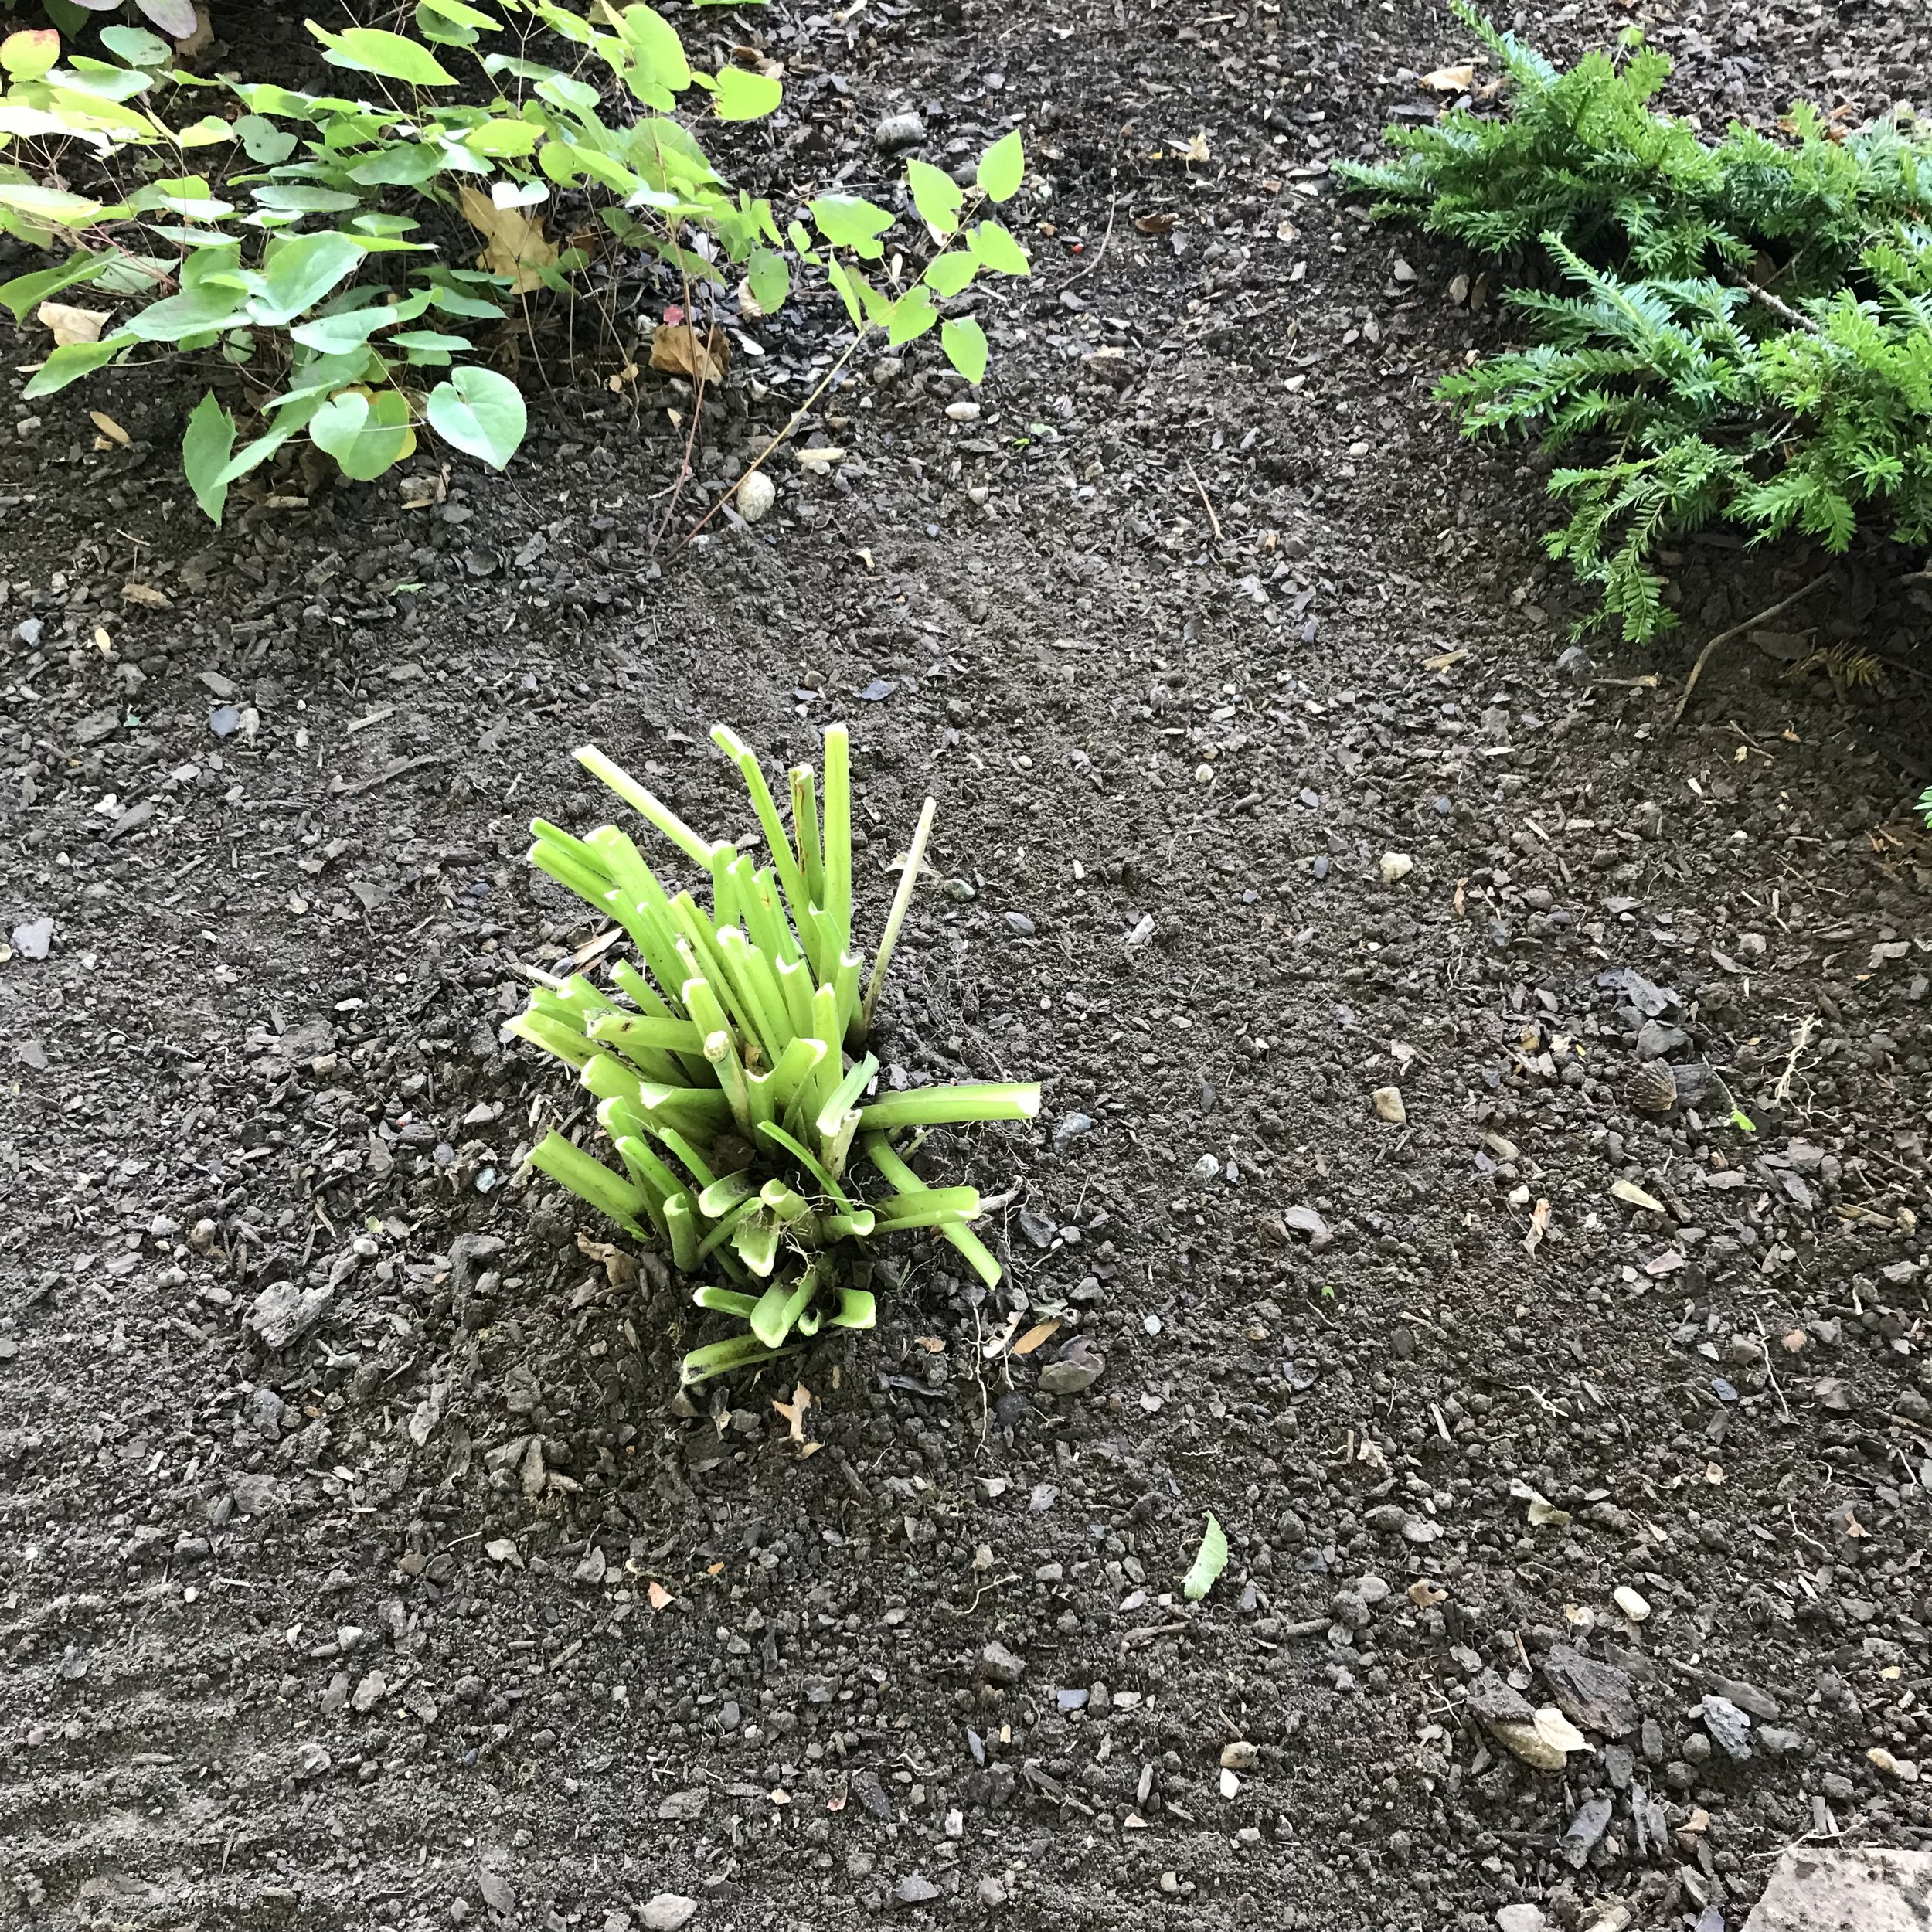
Step 6: Water around the clump to help settle the soil around the plant’s root system

Step 7: Exclaim “That was insanely easy! Now what am I going to do with the other two clumps…”

While there is MUCH more to say about division, this should help illustrate the basic technique. I will do more posts dedicated to dividing other types of perennials in the future, but in the meantime, have fun increasing the Hosta and Hemerocallis populations in your neighbourhood!


*It is important to keep in mind that dividing a plant is considered propagation. Some plants are patented and for these plants unlicensed propagation is prohibited (even for personal use).

Perennials: to chop or not?

(Originally posted: October 15, 2019)

Well it seems as though the gardening season is progressing at an alarming rate- is it really October??? We are now on to fall gardening tasks, and one of the main tasks is cutting perennials back (not to be confused with pruning trees and shrubs which I addressed in my previous post, Temper your Enthusiasm). At this time of year, I am often asked: “what should I cut back”? I am going to try to answer this question as concisely as possible in this post (no promises).

Before getting into the nitty gritty, however, I should first start with the other question that I am often asked which is “when should I cut back my perennials?”. In general, I wait until things are well on their way to dying back on their own. Right now, plants are gathering up some last rays of sunshine (as are we!) and beefing up their energy reserves in their root systems to help them survive the winter and have the ability to flush out new growth in the spring. Letting perennials go through this natural process allows the plants to properly prepare for winter. Usually when the leaves have turned colour (which is a sign that the plant is no longer photosynthesizing or making energy) is when I start whacking things back; this is usually (but not always) shortly before or shortly after the first frost.

What to Cut Back

Now… the all important question, what should we be cutting back? Using these 6 questions about your perennials can help point your secateurs in the right direction:

1) IS IT EVERGREEN?

Let’s face it. We don’t always grow perennials for their floral display. Take Heuchera (coral bells) for example, many cultivars of this perennial are not winning any awards for blooms- A+ for effort, but no awards. So what does this plant have going for it? Foliage! Not only do Heuchera come in all sorts of gorgeous foliage colours, the leaves of coral bells persist year-round. They are evergreen (or ever-purple, or ever-chartreuse or ever-pink…). Other examples of perennials in the evergreen category include various species of Helleborus (Lenten rose or Christmas rose), Bergenia, and Yucca. Additionally, there are also some perennials, such as Leucanthemum superbum (shasta daisy) whose flower stems die down while their basal foliage remains evergreen. So as the saying goes ‘if you’ve got it, flaunt it’ and these plants have got it…foliage in the winter, that is! Leave these perennials standing tall! Sure they may look a little ratty come spring (depending on the kind of winter we are served and the growing conditions that the plants are subjected to) but the fact of the matter is that they have the potential to look nice, even during the winter months. In areas with unreliable snow cover (ahem… southern Ontario) this can be a really nice addition to the garden.

Examples of evergreen/semi-evergreen perennials (clockwise from top left): pigsqueak (Bergenia spp.)., lenten rose (Helleborus sp.), the basal foliage of shasta daisies (Leucanthemum spp.) and coral bells (Heuchera spp.),

2) DOES IT RETAIN IT’S STRUCTURE?

Some perennials, such as many ornamental grasses will retain their structure well into the winter months. These perennials will not only add structure to the garden but some gorgeous texture too (see ‘ornamental features’ below)! Other perennials such as Hosta spp. will essentially turn to mush come the first hard frost, while Polygonatum spp. (Solomon’s seal) will drop it’s leaves and loose it’s graceful form in the process. In any case, I am going to make the assumption that no one finds an indistinguishable mess of mushy leaves to be attractive. If your plants seem to crumble as soon as the cold weather hits, cut them back! It will be one less clean-up job to do in the spring and your winter garden will thank you for improving her aesthetics!

The hosta- a beautiful addition to the shady garden… absolutely useless in a winter garden.

3) IS IT WOODY?

Some perennials develop woody stems such as Perovskia atriplicifolia (Russian sage) or Lavandula (lavender). These are guaranteed to retain some structure in the winter and pruning for these two perennials is best left to the spring anyway. Leave them up and enjoy having some added structure to your garden!

4) DOES IT HAVE ORNAMENTAL FEATURES?

Beautiful texture? Ornamental seed pods? Pretty dried flowers? These are all features that look oh so beautiful when touched by a frost or coated in a light dusting of snow. Remember- winter is a beautiful season, if a plant has something that can help capture this beauty, then let it be!

Ornamental grasses and perennials such as bugbane (Cimicifuga spp.), Sedum spp.) and Joe Pye weed (Eupatorium spp.) have seedheads that capture a dusting of snow beautifully. * Remember, if you have a plant that tends to seed itself prolifically, you may want to chop the flowers before they go to seed. *

5) DOES IT HAVE WILDLIFE VALUE?

Many perennials produce seeds valued by wildlife (especially birds); some of the more common ones include species of: Echinacea (coneflower), Rudbeckia (black-eyed Susan/gloriosa daisy), Sedum (stonecrop), Eupatorium (Joe Pye weed and boneset), Helenium (sneezeweed) and Heliopsis (false sunflower). Leave these perennials standing over the fall and winter months and you can feel good about providing a food source for our feathered friends.

Some perennials with wildlife value. Clockwise from top left: black-eyed Susan (Rudbeckia hirta), stonecrop (Sedum spp.), sneezeweed (Helenium autumnale) and coneflowers (Echinacea spp.)

6) IS IT DISEASED?

Did you notice anything funny on the leaves of any of your perennials this year? Perhaps a white fuzzy coating or little rusty pustules or unusual blotches? If you suspect that a perennial in your garden was diseased, it is best to cut it down (or even dig it out). Often diseases will overwinter in the garden on diseased plant material; this can become a source of infection for the next season. Cut anything suspicious down and DO NOT compost it. If it is a re-occuring problem, it may indicate that the plant is not growing in its optimum conditions (stressed plants are more prone to diseases) or it is a problem that the perennial is particularly susceptible to. If you have plants that seem to be hit by disease year after year, it may be time to think of some more robust replacements (an excellent task for the winter!).

Even though this Phlox would retain some structure over the winter, it is diseased and should be cut down (and the clippings removed from the garden).

OK OK, so that may not have been overly concise but I hope it helped! Remember- if you are not sure what to do with a certain perennial, you can always leave it alone to see how it fares the winter months. It can often be surprising what plants look attractive in the winter. So don’t be too hasty in chopping down all your perennials- right now you are the designer of your winter garden!

Keeping Things in Check

(Originally posted: August 28, 2019)

We are in the dog days of summer and while it may seem like our gardening ‘to do’ list is virtually complete, there are certainly tasks to be done!

At this point in the year we have a lot of the growing season behind us- which means our plants have had many months to increase in size and fill-in. I know it sounds crazy, but this can be a problem when it comes to some plants and now is a great time to address excessive growth and keep things in check.

Take groundcovers for example…

Groundcovers are great. They are perfect filler plants in the garden, great for edging a perennial boarder, or growing plant material in an otherwise troublesome spot. By their nature they are supposed to spread- this is why we use them! But every now and then, they need a gentle reminder that they are not the ‘be-all-end-all’ in the garden. It’s kind of a “I love you but…” conversation only it doesn’t need to end in tears.

Take this Lamium for example…

In this case, the conversation would go something like this…

”I love you because you are very pretty along the edge of my garden but… c’mon, do you really need to try to make a run for it out of the garden bed and into my lawn?”

Or how about this Vinca (look carefully for it)

I love you because you provide such a rich green evergreen carpet for me, but… do you really need to try and overtake my other babies?

And to continue the conversation with Vinca

”I love you but… I also love the look of my hardscape. I know this rock doesn’t change with the seasons, provided any sort of greenery, or flower, but I spent a lot of money on it, I think it is pretty in its own way, and would really like to see it. Besides, it really helps to set off your beautiful green leaves and oh so pretty flowers” (In this instance, flattery helps soften the blow.)

As with most relationships, you cannot expect your partner to change… these perennials will always spread so we must work with them to keep the relationship running smoothly. Time for a bit of maintenance!

The Garden Edge

Let’s start with the ‘grass is always greener on the other side [of the garden edge]” type of groundcover. First of all, I should start by saying that if your groundcover does in fact reach your lawn, it becomes a nightmare to remove. It is so much easier to control it while it is in the garden bed. With that said, I always like to make sure there is a very distinct boundary between the leading edge of the groundcover and the edge of the bed- about 15 cm/6” or so. I find this strip of mulched area in front of the groundcover ensures the lines of the garden remain clear, even from a distance. Having this space also makes line-trimming of the lawn easier- no perennials to accidentally get in the way.

Freeing the Plants

Moving on to the groundcover that likes to swallow up every other plant in it’s path.

Whether you like a continuous green look to your garden bed, or you like your plants to look distinct from one another, it is important to not let your groundcovers grow over top of your other plants. Losing your other plants to an aggressive groundcover is a problem that ‘creeps’ up on you before you realize it! For this reason, occasional trimming and even pulling out groundcover from around the base of your other garden plants is generally good practice to keep your plants from being swallowed up and lost forever!

Keeping the Hardscape

Last but not least: the groudcover that picks a fight with your hardscape (which is the ‘hard’ components of your landscape such as wooden structures, patios, walkways, retaining walls, and rockery). To ensure these hard features remain ‘features’, some routine clipping is in order. You can clip a hard line if that is your preference, or you can scale back the plants and leave some to soften the edges of the hardscape. How you tackle this problem depends on your style and the look you are trying to achieve in your garden!. In the case of the Vinca overgrowing the rock, I tend to clip a hard line because new growth will soften the edges rather quickly (especially earlier in the summer when things are very actively growing).

One Final (and very important) Note

For all the tasks described above, physically removing groundcovers is often necessary. It is important that this step is done right otherwise the problem can become much worse!

When pulling groundcovers, it is VERY important to know how they spread so that they can be pulled-up or dug out accordingly. Some plants, will grow above the soil and send down roots wherever their stems make contact with the ground such as Vinca (periwinkle), Hedera helix (English ivy) and Lamium (deadnettle) . Others will will spread below the soil, and send up shoots from their ‘root system’ such as Pachysandra (Japanese spurge) and Convallaria majalis (lily-of-the-valley). While this is a highly generalized description of groundcover growth (this topic certainly warrants a dedicated post) I think it gives you the basic idea- groundcovers are really really good at sending out roots and shoots from various points along their stems/roots.

What does this mean for effective groundcover removal? Leave no piece behind! Roots and shoots must be completely removed for a groundcover to be removed from an area of your garden (in some instances, you may need to dig down close to 15 centimetres to remove all the roots!) Just know that any pieces left behind both above and below the soil are eligible to sprout into ‘new’ plants.

So… it’s time to look at your garden with a critical eye- look for those sneaky plants that are trying to take-over areas that they shouldn’t, inspect how they grow both above and below the ground and then give them a little reminder that you love them… but they need to play nice with the rest of the garden so that everyone can be happy!