(Originally posted: December 18, 2020)
Well the gardening season is essentially complete but there has been one final task that I recently ‘wrapped up’ (pun intended) ahead of winter; that task would be, you guessed it…. wrapping some evergreens with burlap screens.
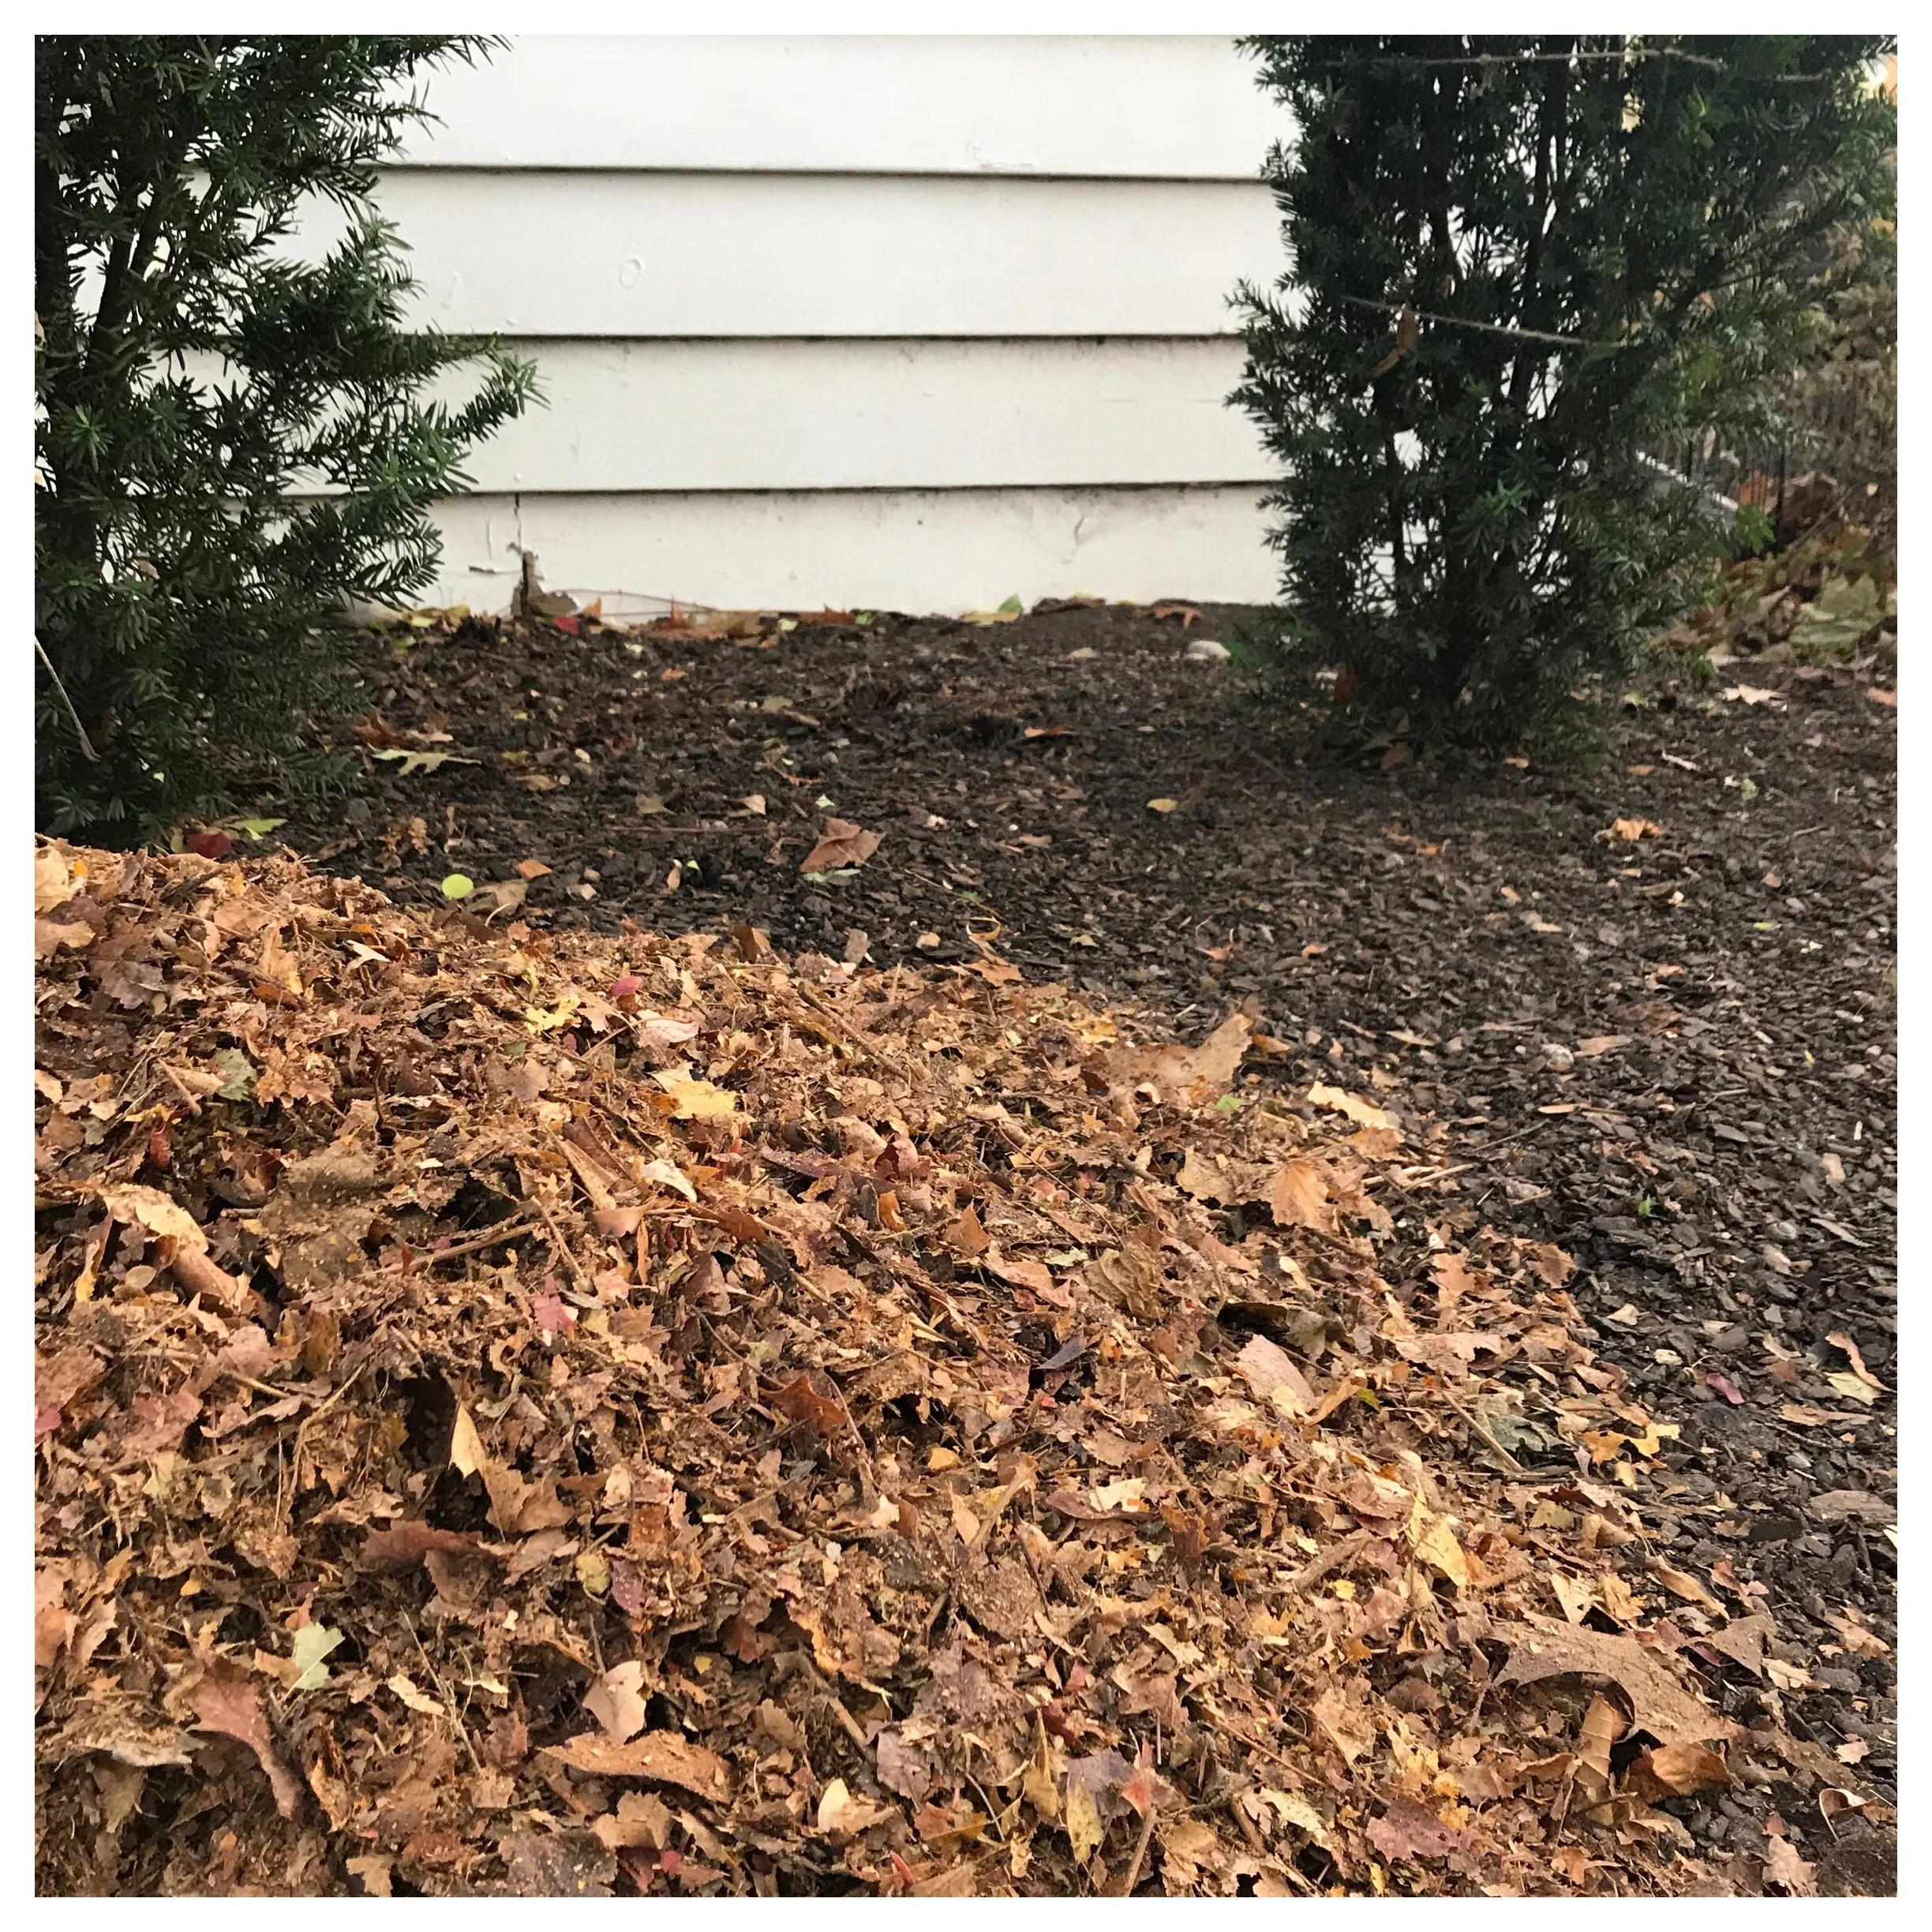
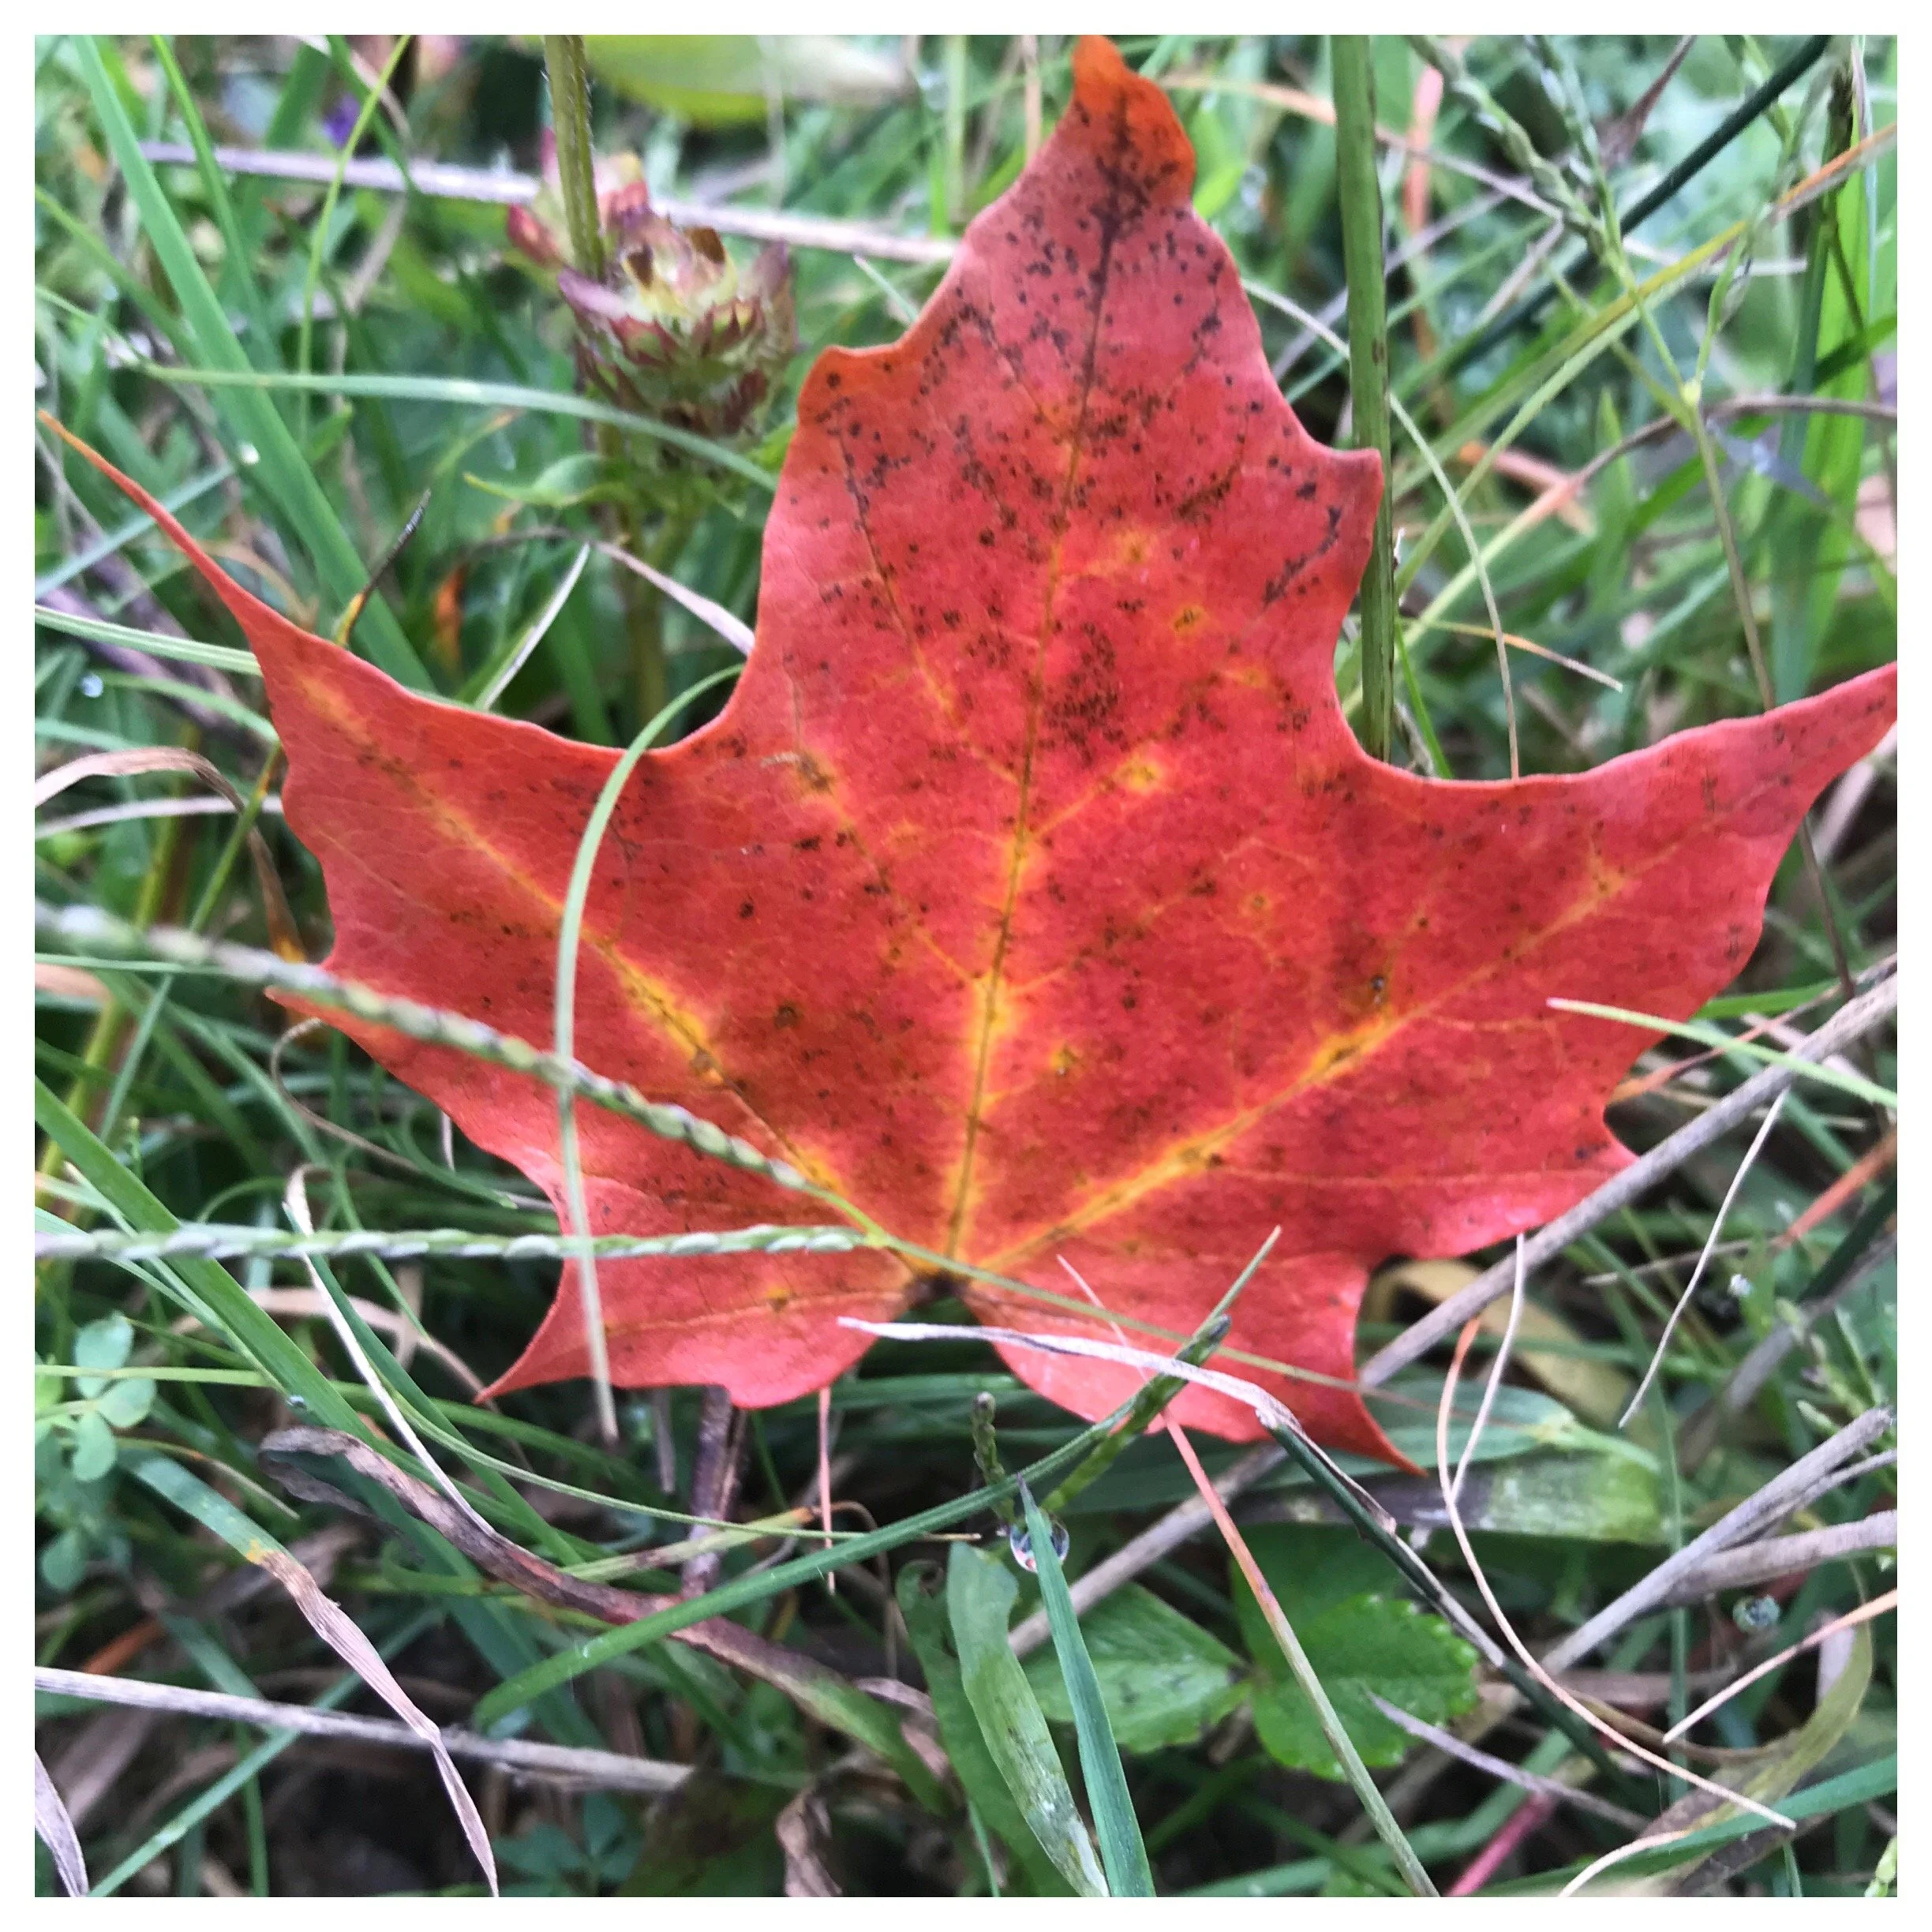
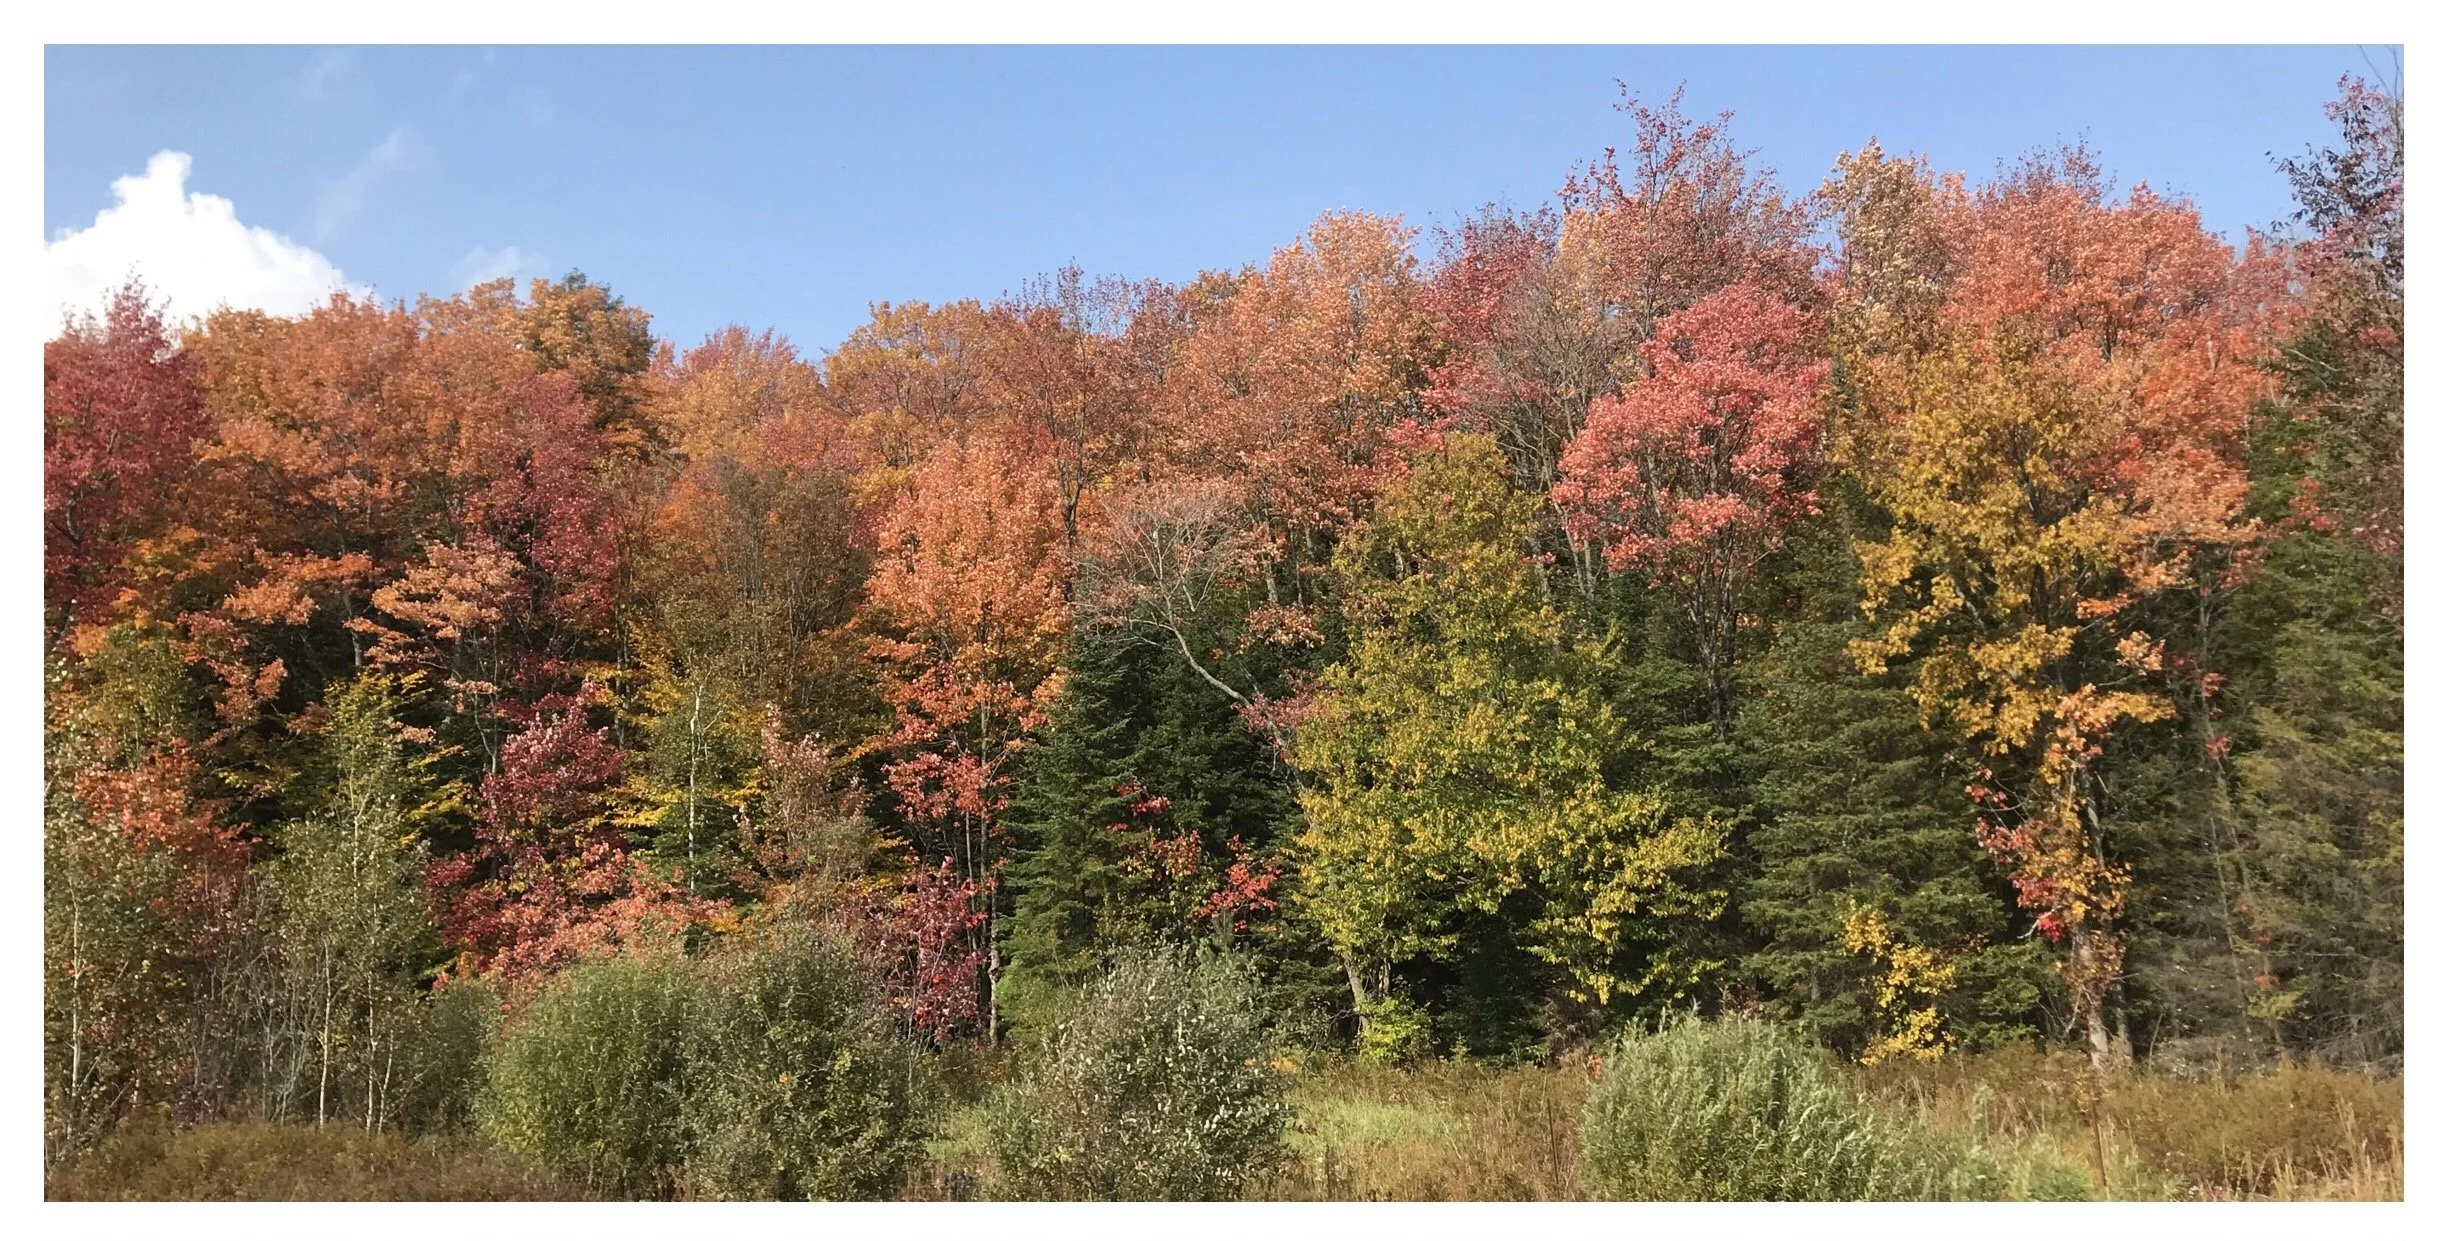
When the world around is brown- it is time for other plants to shine… why would you want to cover them up? Photo credit: Annie Spratt on Unsplash
Now, it should be known that I am of the opinion that any plant that needs to be ‘under cover’ during it’s moment to shine is not worth growing. After all, why do we plant evergreens? For the fact that they are ever GREEN! They provide a dash of that glorious colour when the rest of the world is brown… or white if you are lucky enough to have snow.
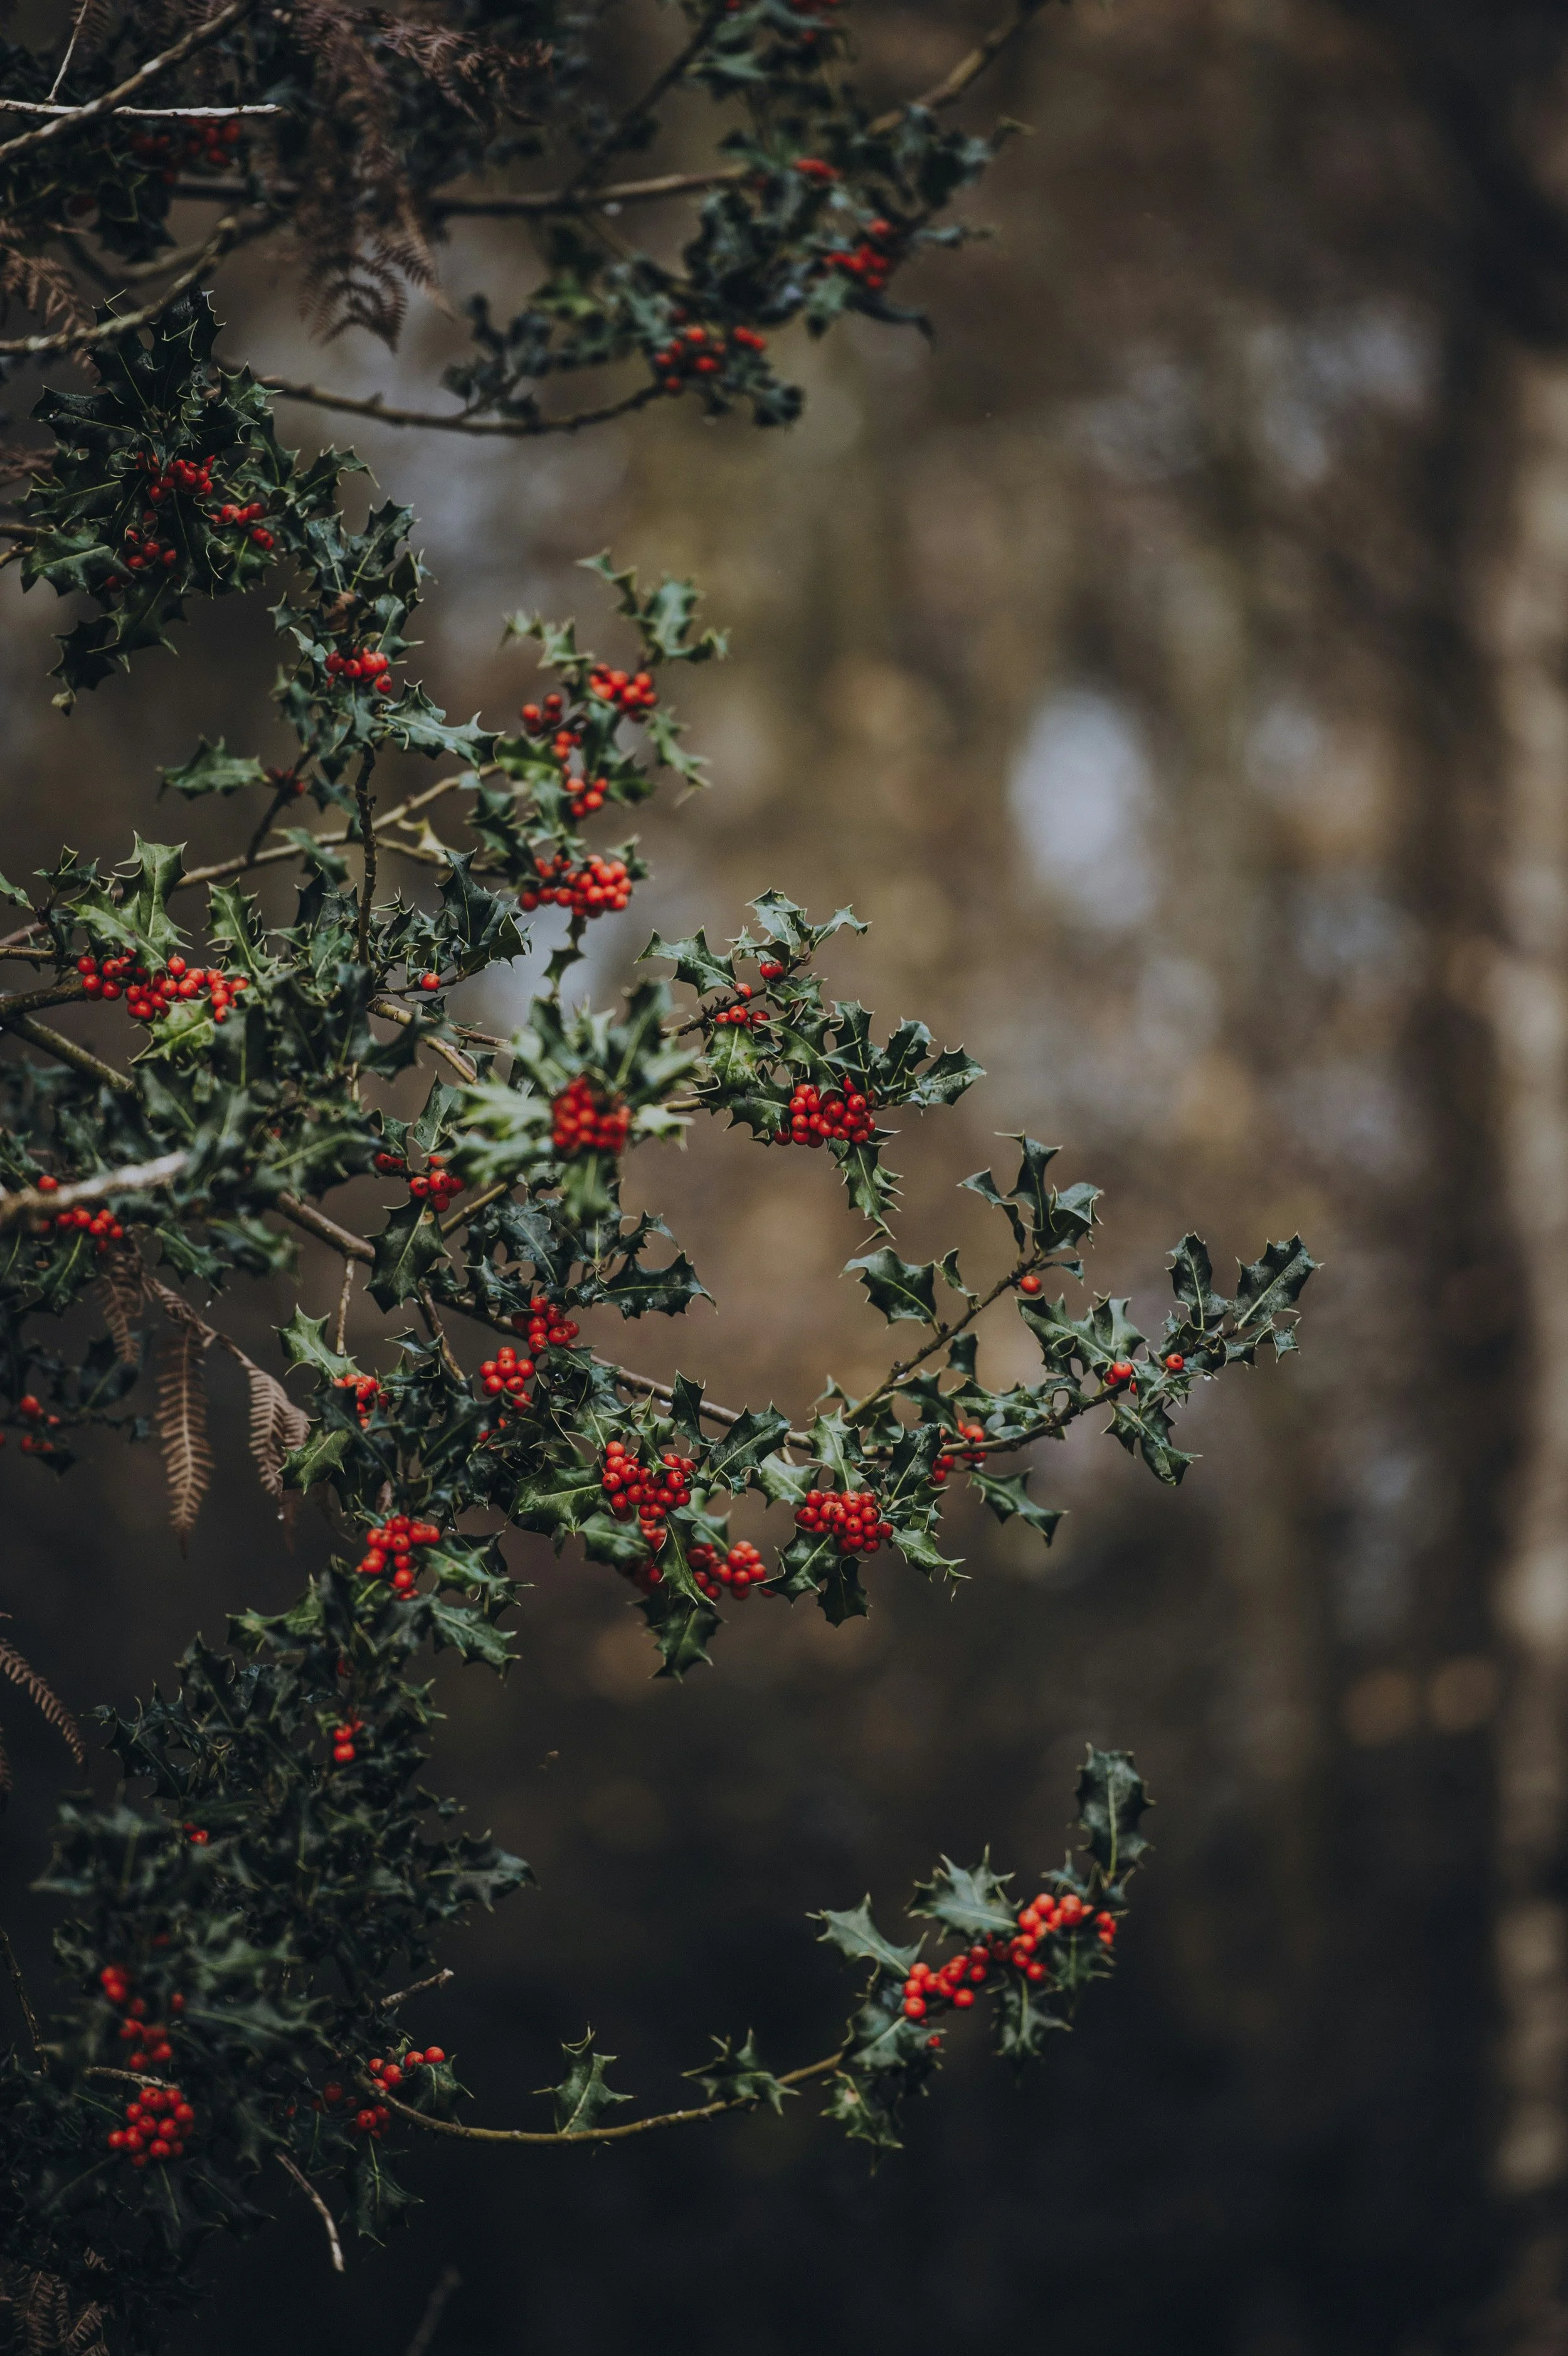
A good example of ‘stealing a plant’s thunder’ is evident when you look at evergreen holly (Ilex ). Not only does this plant have stunning green leaves, but it also has absolutely gorgeous red berries that almost sparkle in the otherwise sleeping late fall and winter landscape. How terribly unfair does it seem to screen-out this kind of beauty?
There are, however, some evergreens that have other moments of glory- such as Rhododendrons with their spectacular floral displays in the spring. In the case of these plants, a burlap screen is an acceptable practice in my mind if it means keeping these specimens happy and flowering properly.
The Burlap Screen- How it Works
As human beings, we are used to bundling in warm clothing during the cold winter days or curling up in a warm blanket to get cozy. In the case of plants, it is important to note that the intention of a burlap screen or wrap is not to keep a plant ‘warm‘ rather it is to prevent water loss from the plant and the associated damage that it causes.
The Threat of Desiccation (this should bring back memories of science class…)
Water moves through a plant from it’s roots (taken in from the soil) to it’s leaves, where any unused water then exits the plant via pores in a process known as transpiration. Transpiration occurs at much higher rates in warm weather when plants are actively growing and it significantly drops (or becomes virtually non-existent) when plants are dormant (i.e winter). During the growing season, water is replaced within the plant by uptake from the soil. In the winter, however, water in the soil is frozen and it becomes inaccessible to plant roots. Therefore if water is lost, it cannot be replenished. The result? The plant begins to dry out or desiccate with the damage beginning at the tips/margins of the leaves and working backwards. This type of damage is also called winter burn. Leaves damaged by winter burn not only look unsightly, but if desiccation is severe, the leaves are also no longer able to properly function as ‘light-harvesting/ food-making’ sites for the plant come spring. If damage is extensive enough, the overall health of the plant can suffer.
So what are the factors that draw water out of a plant?
Warm sunny weather can stimulate photosynthesis (and, by association, transpiration)
Wind promotes the evaporation of water from the leaf; this speeds up water loss as water is constantly drawn away from the plant in windy weather.
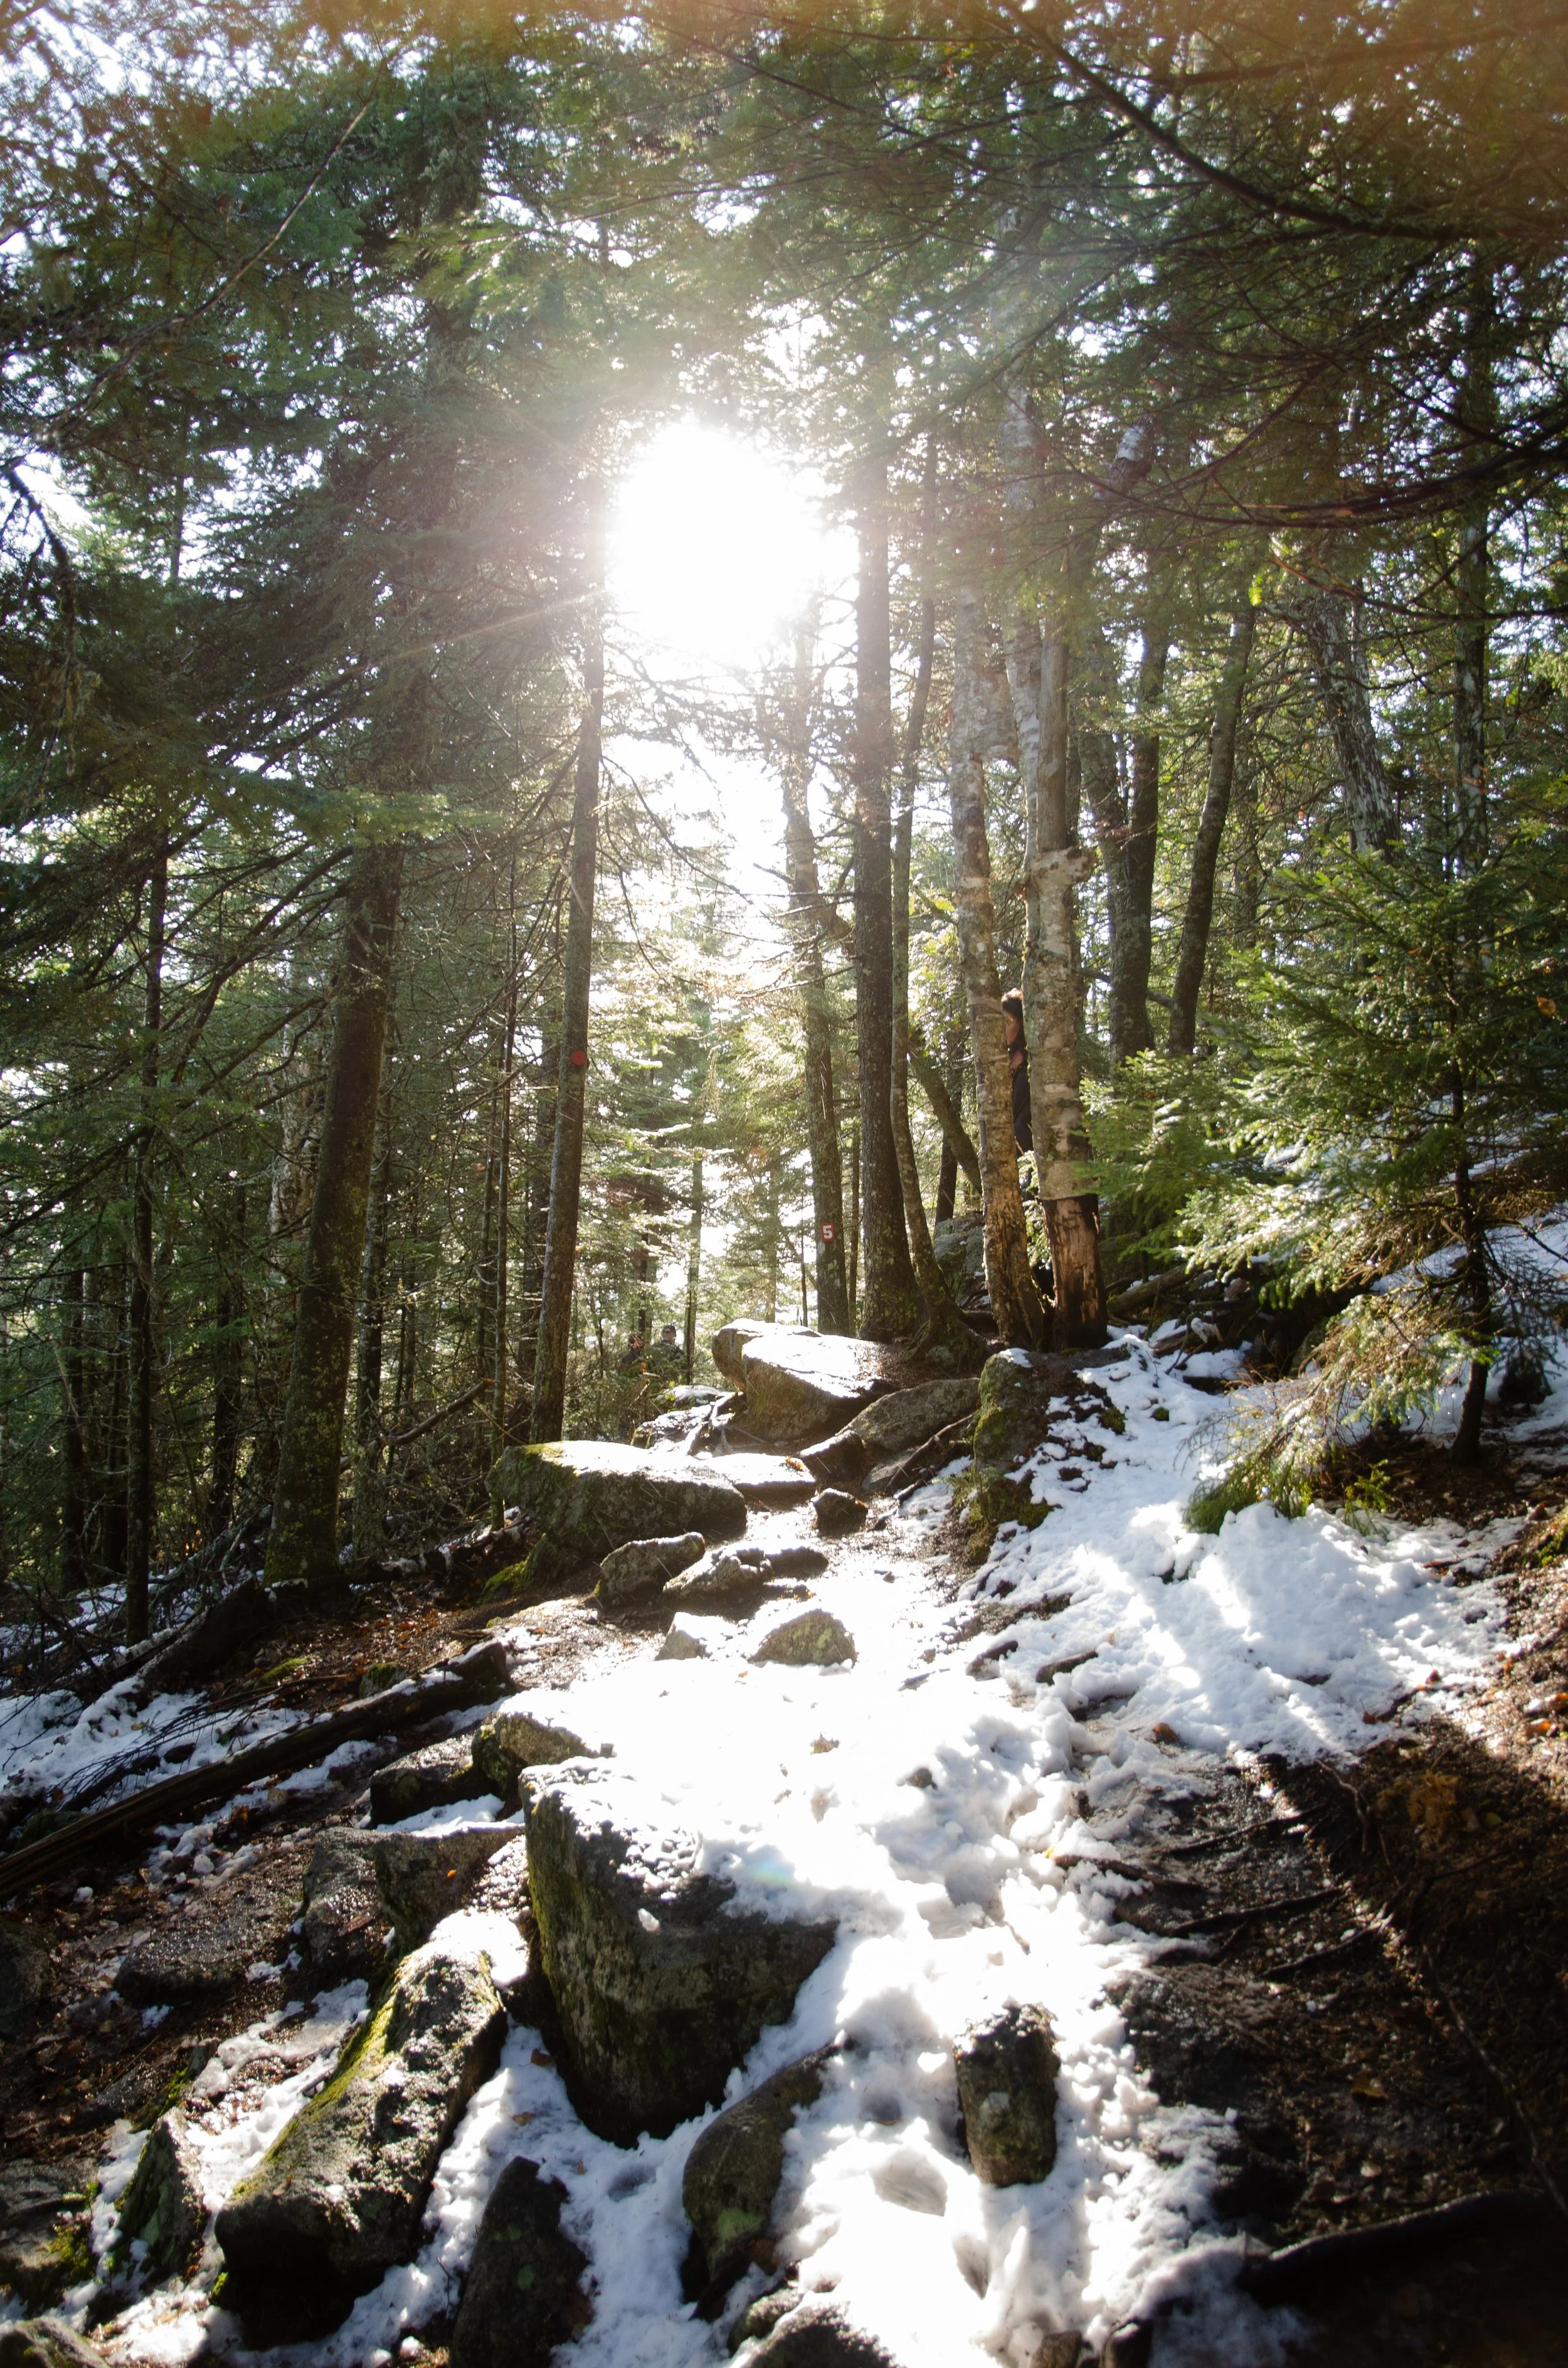
It’s always nice to see the sun in the winter… but it can cause problems for some of our garden plants. (Winter sun photo by Claudio Pantoni on Unsplash)
To protect or to not protect? That is the question.
In general, plants that I typically protect for the winter months include:
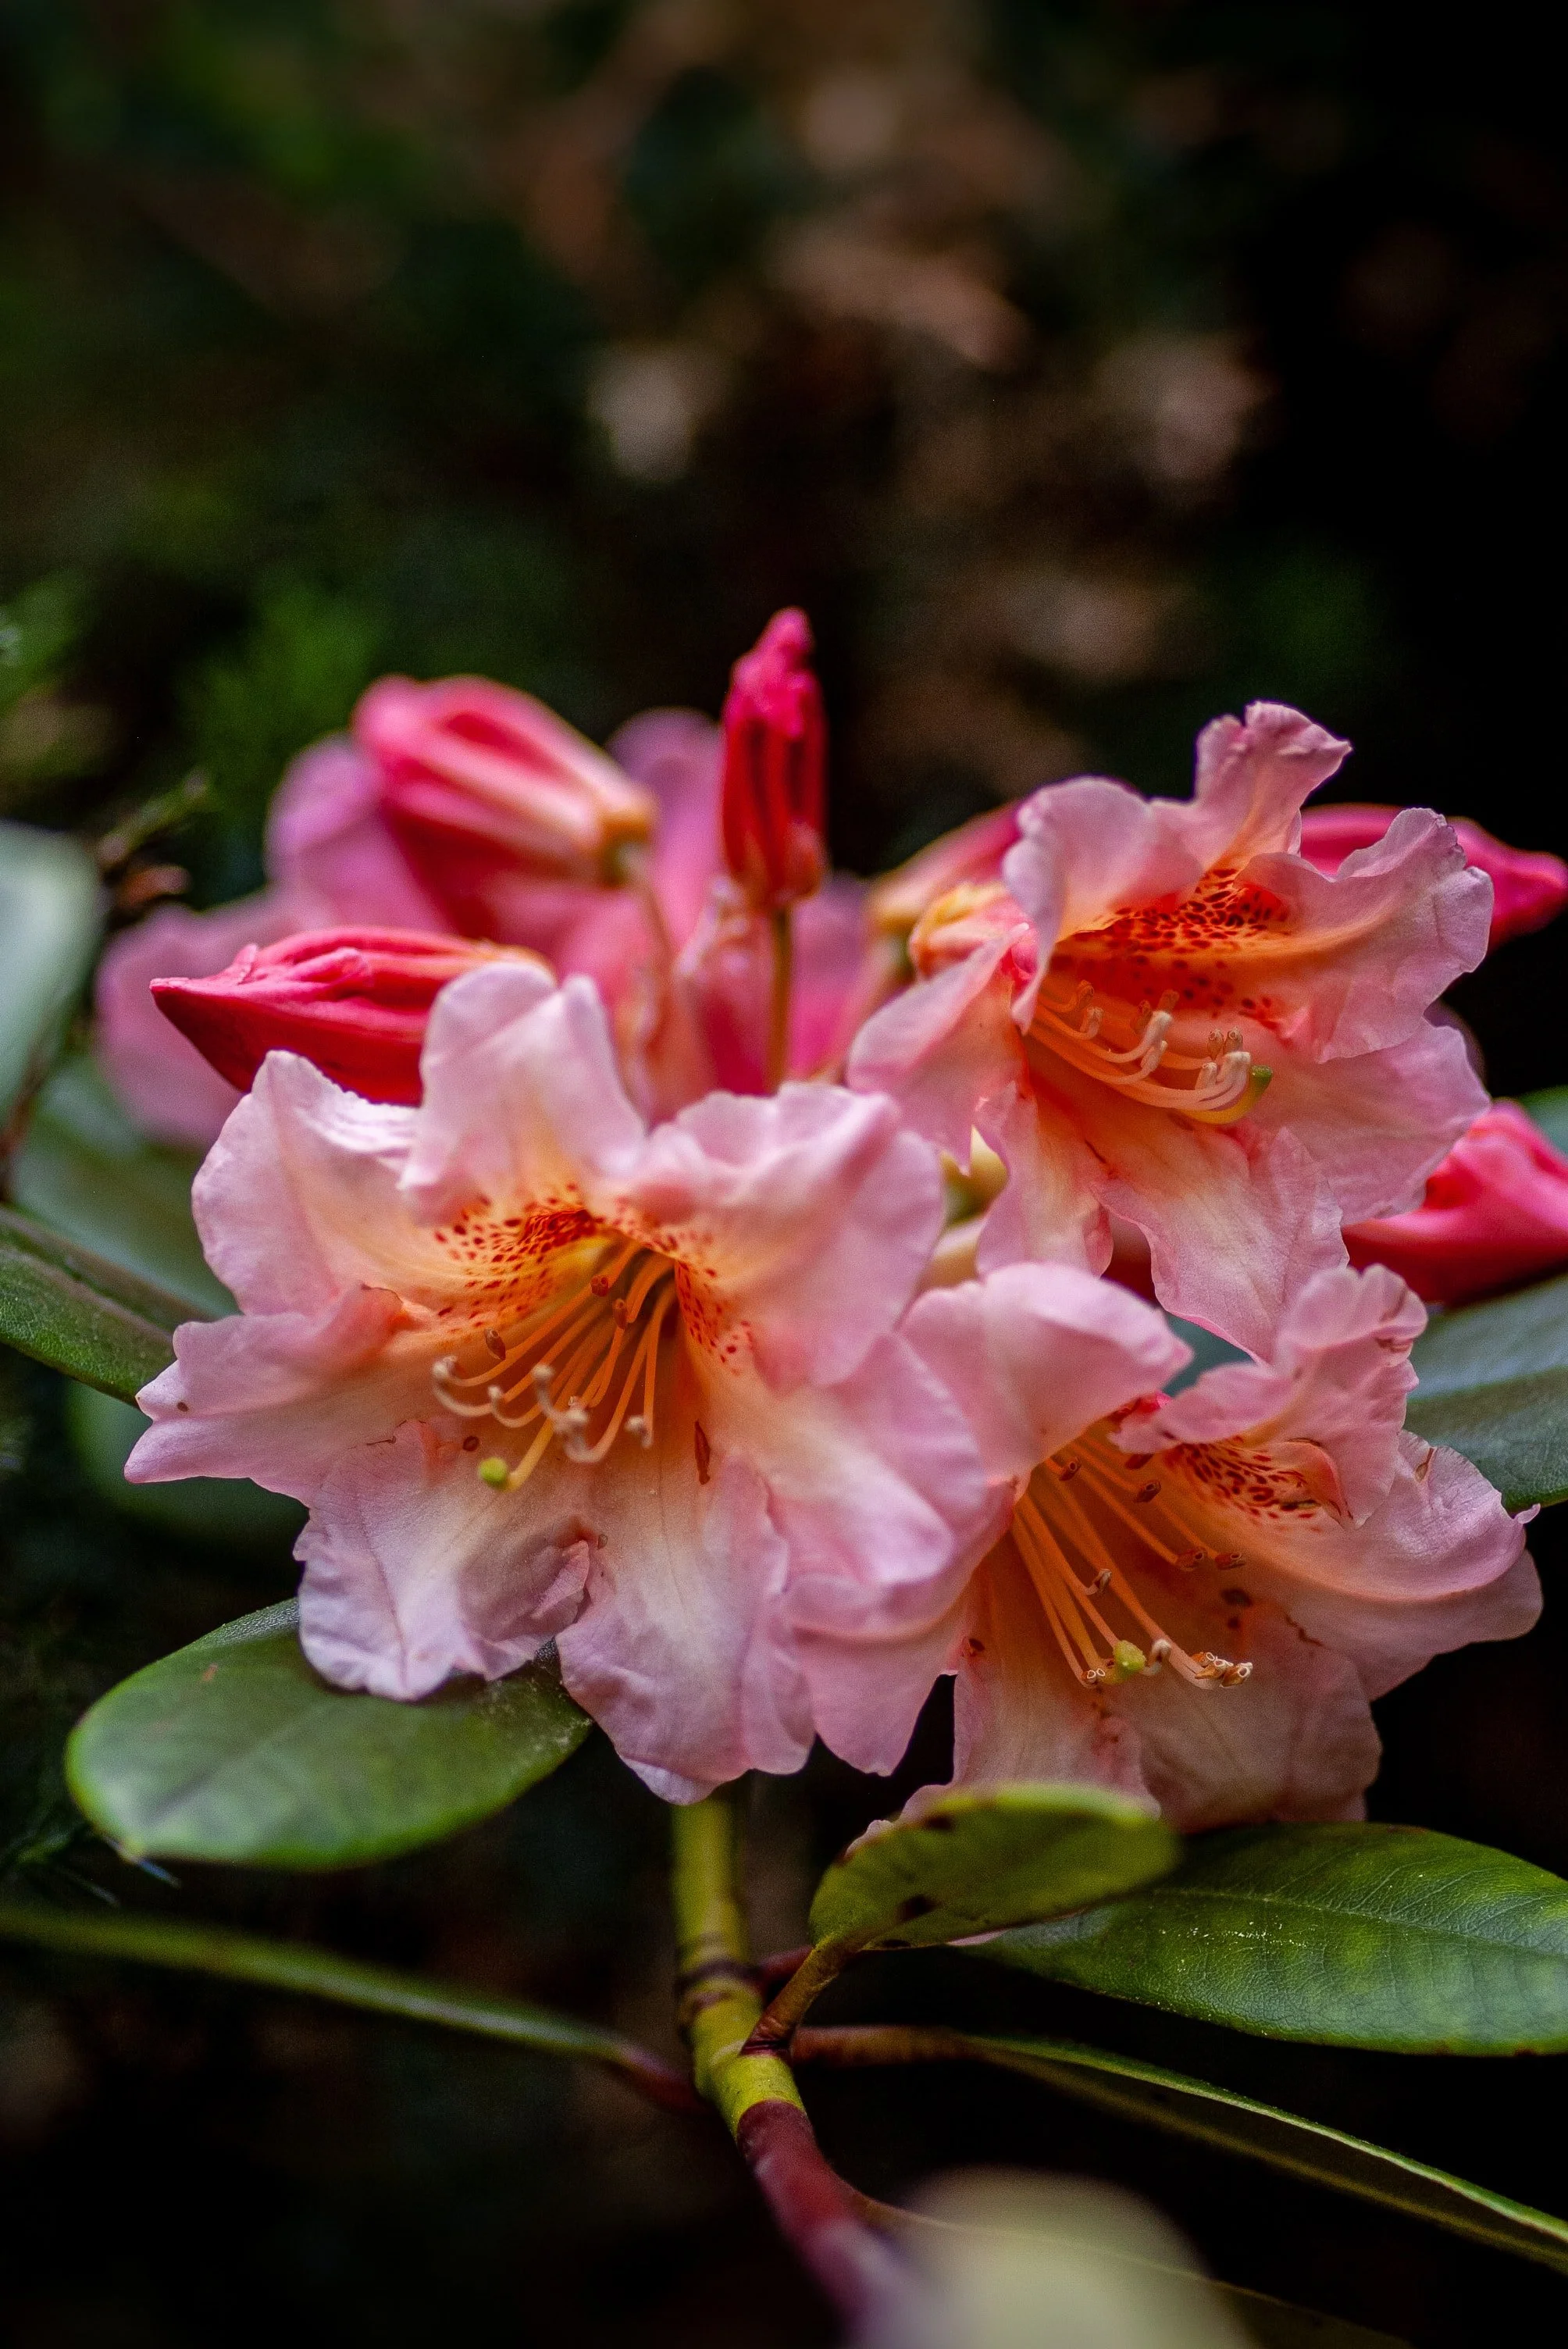
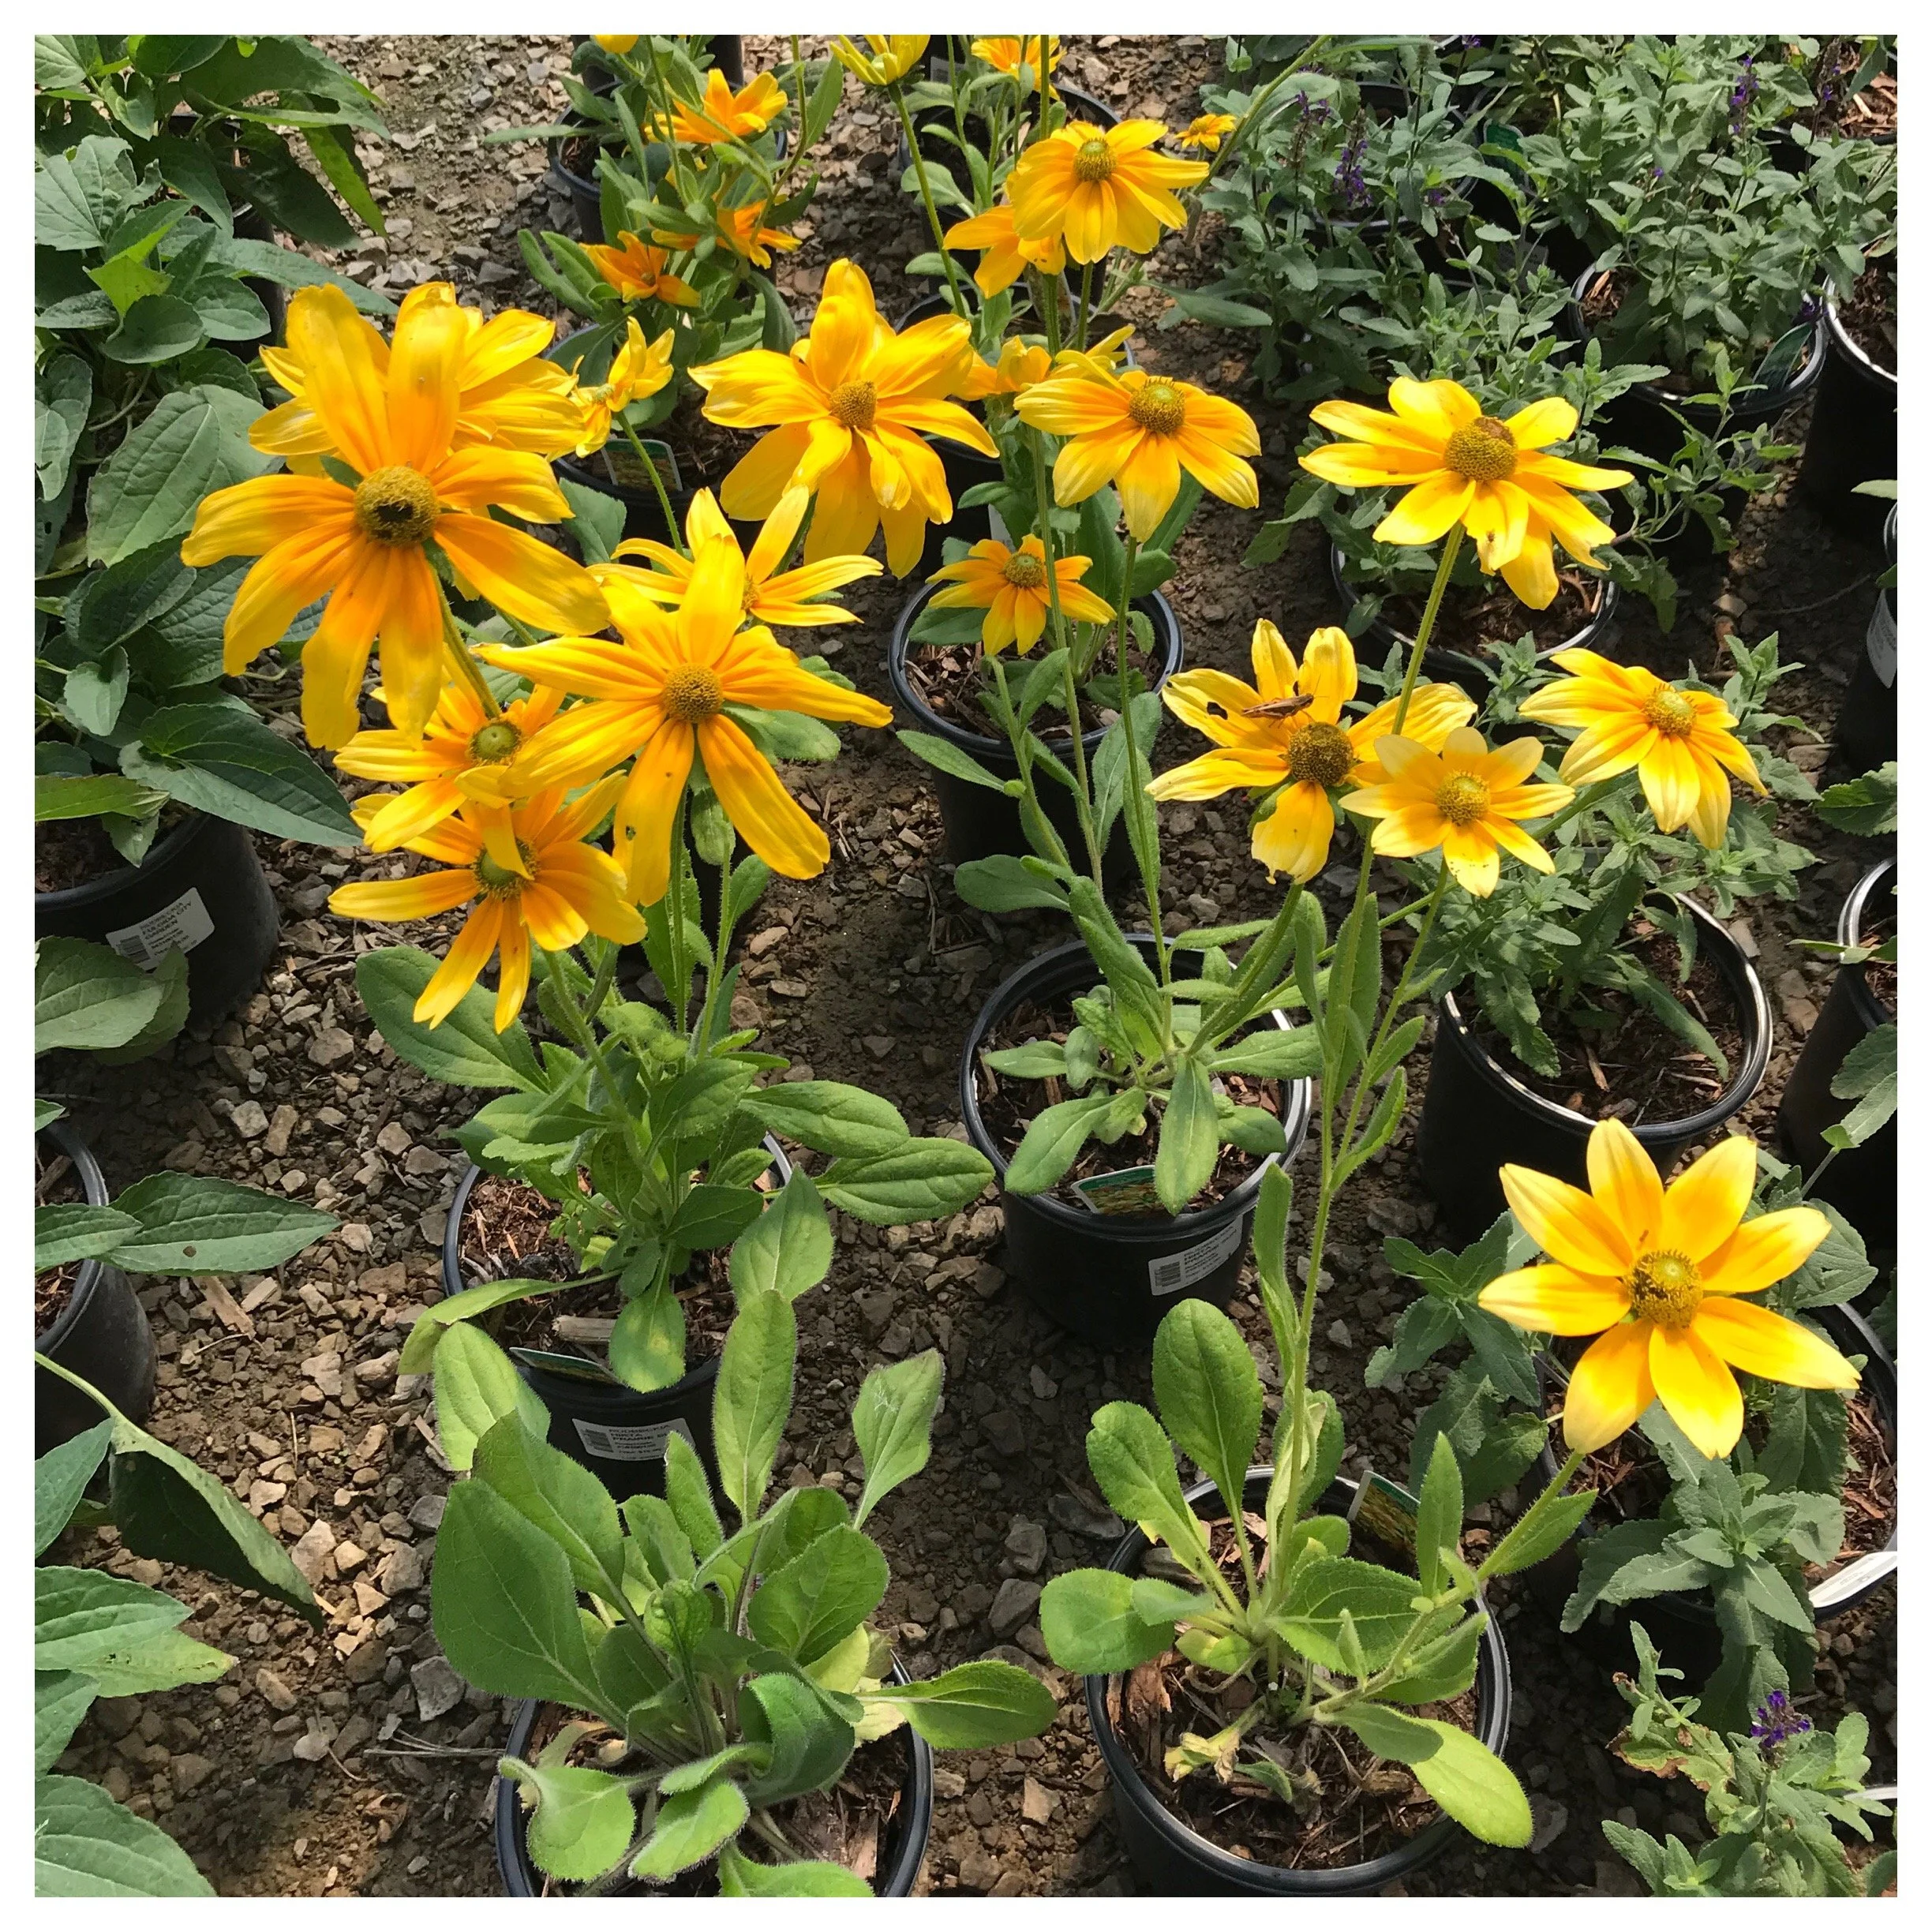
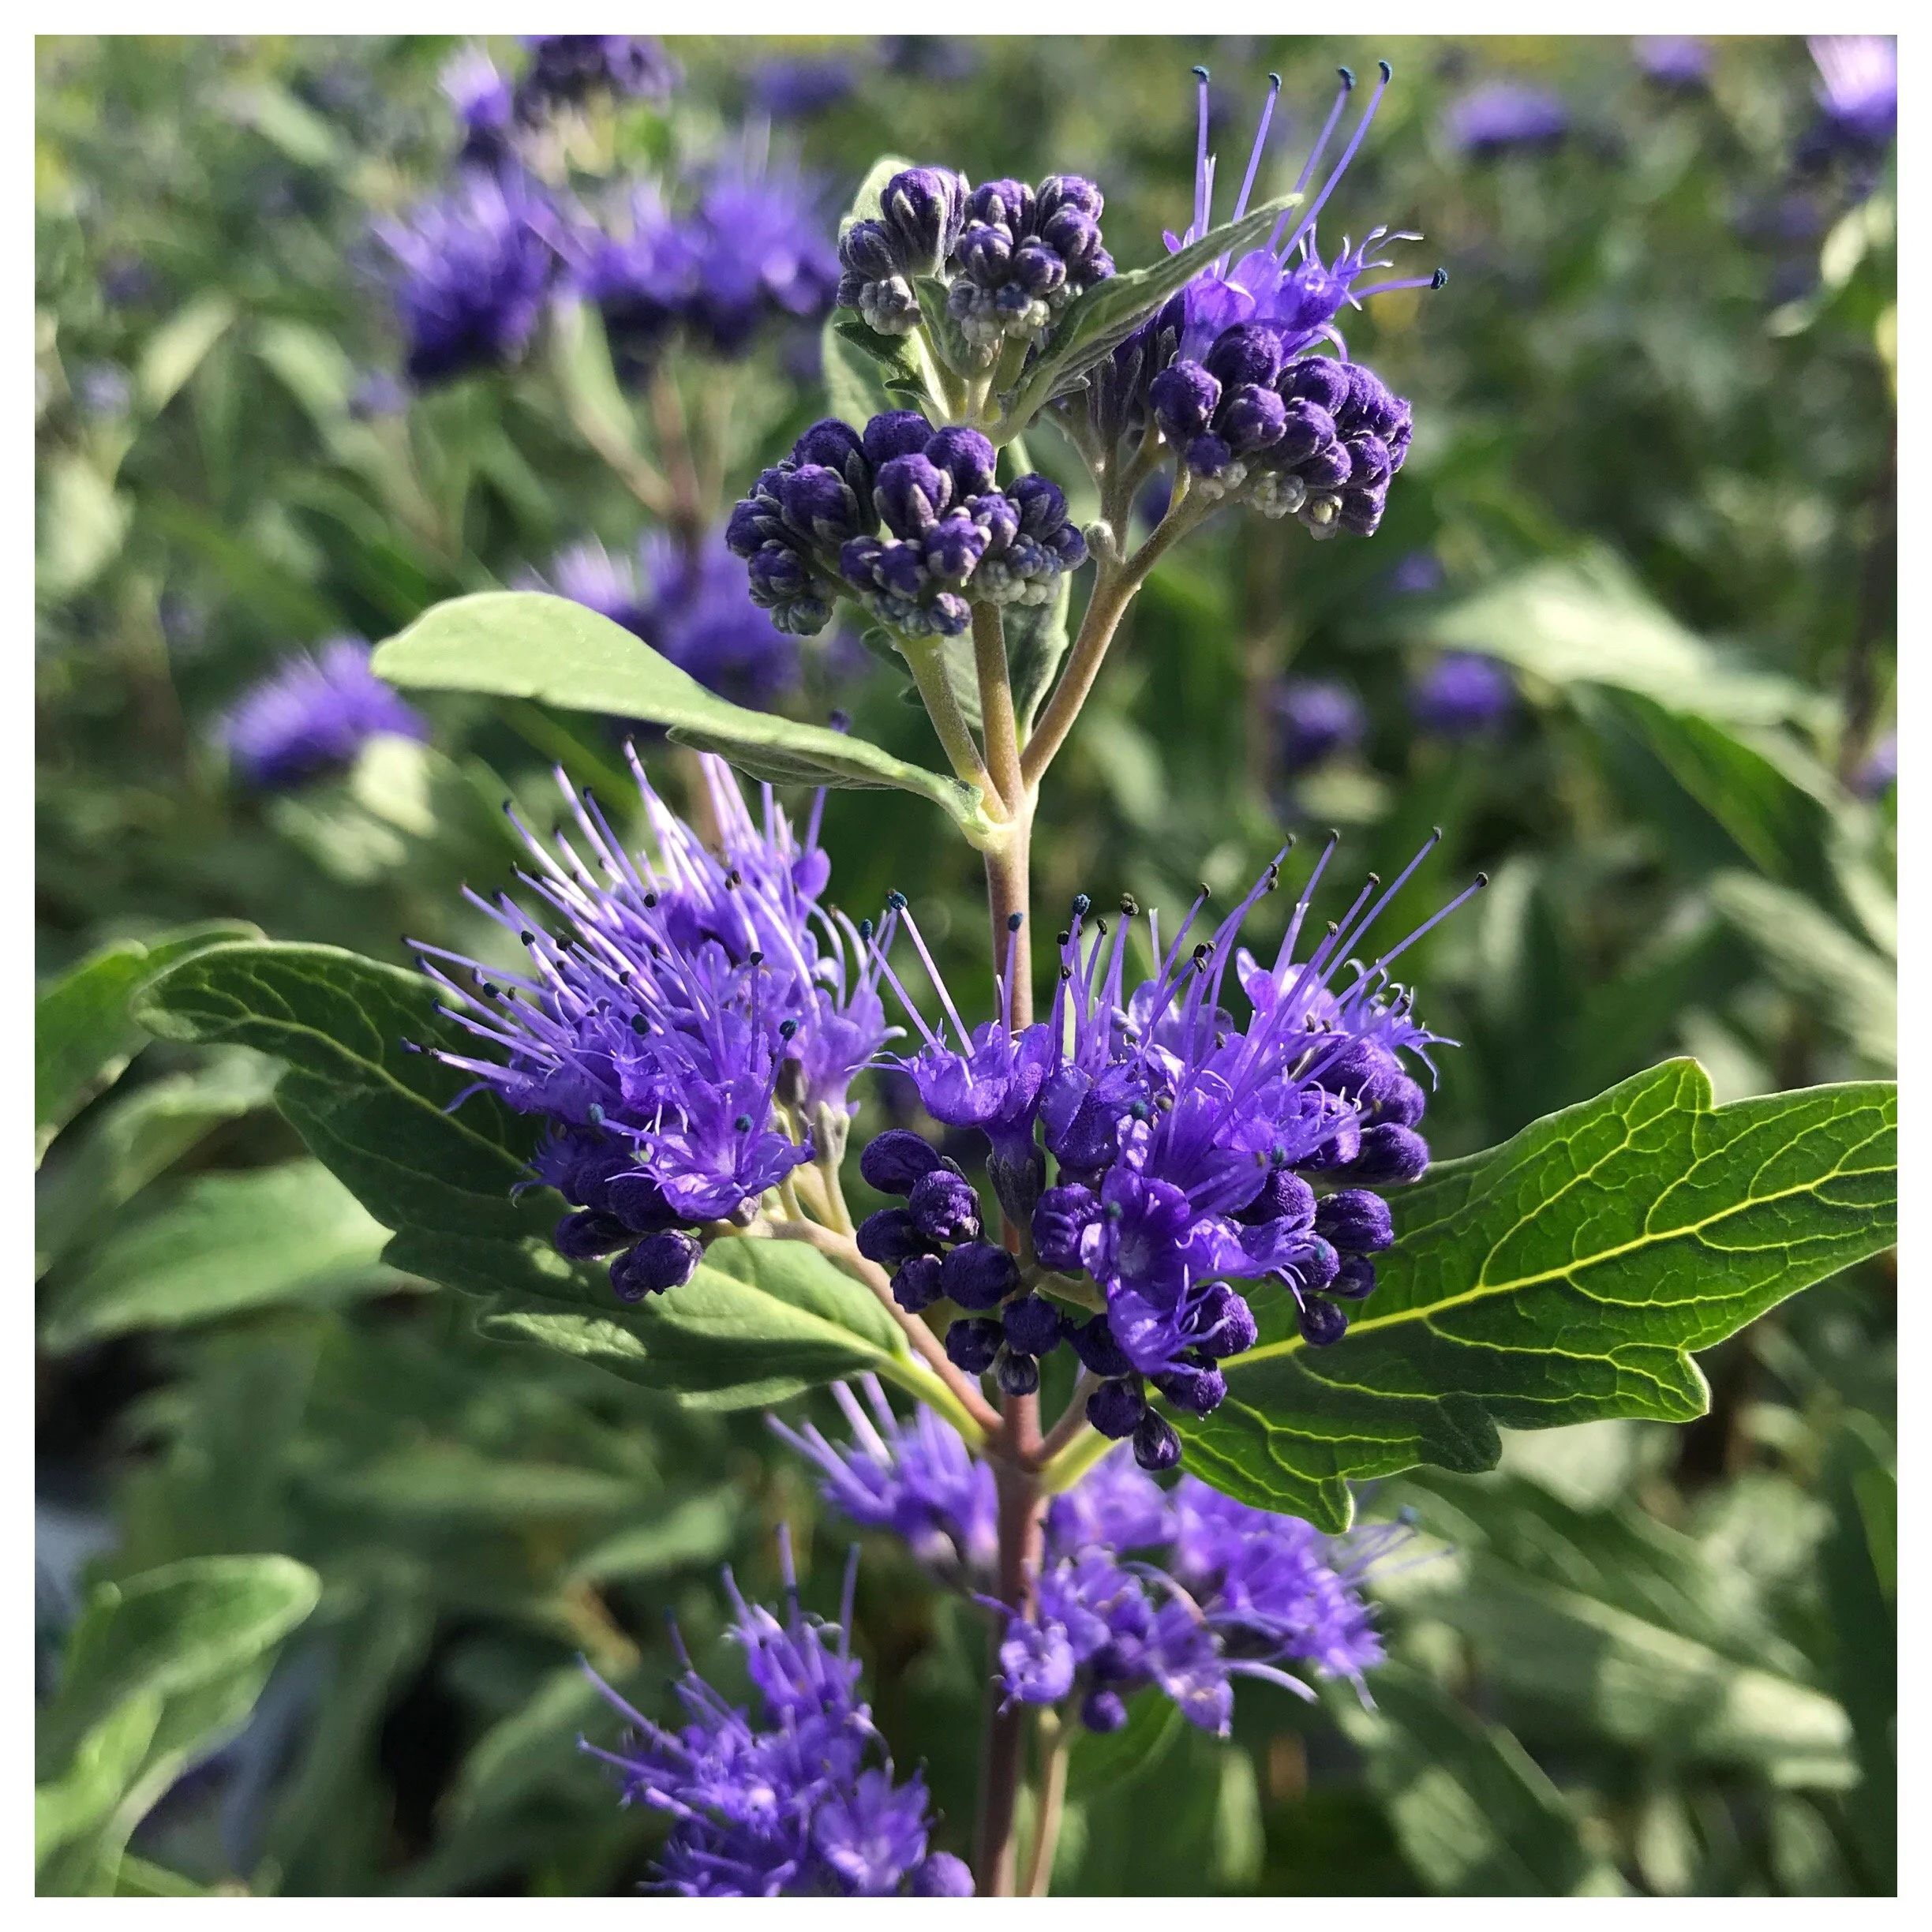
If a burlap screen can keep this beauty flowering properly, then bring on the screen! (Photo credit: Yoksel Zok on Unsplash)
Broadleaf evergreens which have the potential to lose a great deal of water to the air due to the large surface area of their leaves (as opposed to the needles or scales that adorn other evergreens). Broadleaf evergreens are the main type of plant that I will protect with a burlap screen if they are situated in a sunny and/or exposed location. Examples of broadleaf evergreens that may need some protection include:
Rhododendron
Pieris
Boxwood (Buxus spp.)
Evergreen holly (Ilex)
Recently planted evergreens or tender trees/shrubs (those planted during the latter half of the growing season) have under-developed root systems, which means their ability to take up and supply the plant with moisture from the soil is not yet optimized. These plants are therefore more prone to becoming drought-stressed (and in turn they are more likely to suffer winter burn/desiccation). A screen to minimize unnecessary water loss can be the difference between the plant surviving it’s first winter in the garden, and shopping for a replacement come spring. Some of the most commonly planted trees and shrubs in this category include:
Cedars (Thuja)
Falsecypress (Chamaecyparis)
Yew (Taxus)
Boxwood (Buxus)
Japanese maple (Acer palmatum)
Plants with tender buds can gain some protection from a burlap screen. While it won’t protect buds against cold temperatures or even damaging temperature fluctuations, a burlap screen can prevent desiccation of the buds from drying winds. This is especially valid for plants that flower on old wood (trees and shrubs that are going into winter with their flower buds ‘locked and loaded’, ready to burst forth in the spring). For these plants, if the buds do not survive the winter, the flower show in the spring is reduced or eliminated. If spring-flowering trees and shrubs are located in exposed, windy areas a screen can certainly provide some protection. A couple examples of plants with buds to protect include:
Redbud (Cercis)
Mophead hydrangea (Hydrangea macrophylla)
Plants exposed to salt spray from roads generally appreciate having a screen erected to prevent the spray from landing on the foliage or branches (this spray can contribute to the burning of leaves, needles and buds). Some plants are more salt tolerant than others, so before planting by a roadside, it is important to consider a plant’s salt tolerance.
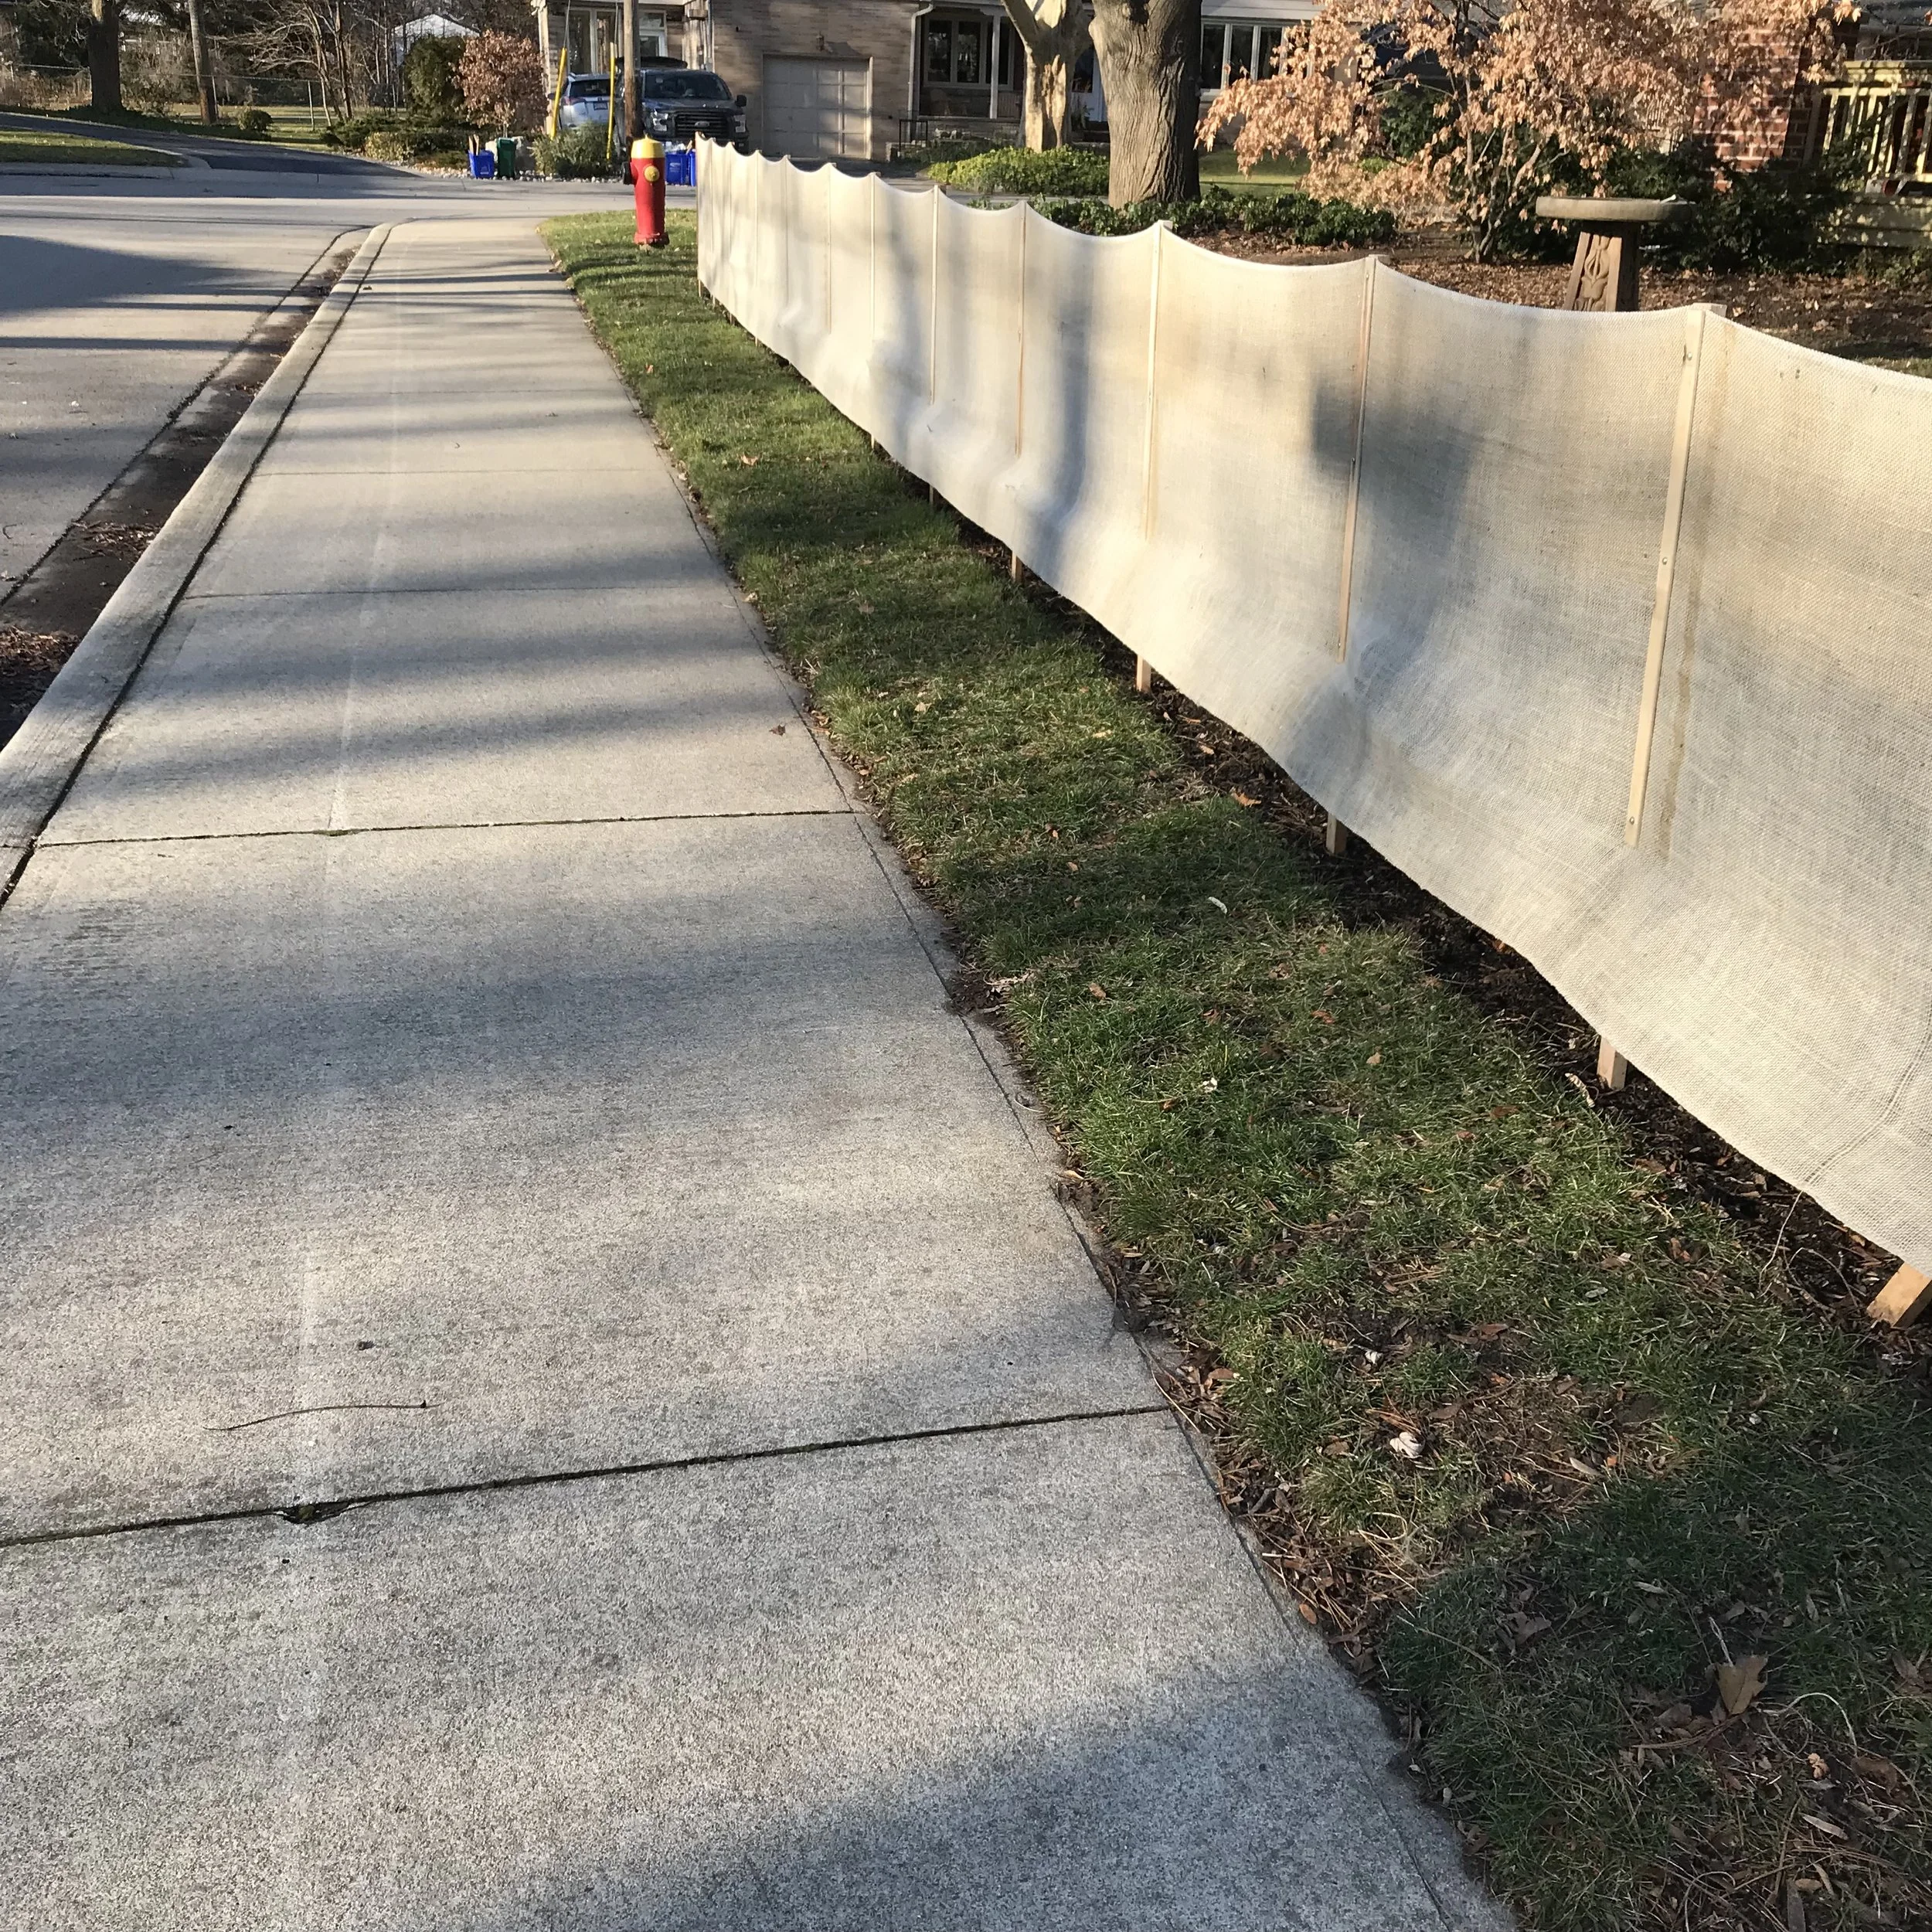
A picture-perfect burlap screen protecting a line of Hydrangea paniculata from sidewalk and road salt, snow piles from sidewalk plowing, and the exposure that comes with an open corner lot. I marvel at the meticulous work of this homeowner’s work every year!
Tips for Screening and Wrapping (and I am not talking Christmas presents!)
Where possible, burlap should be stapled or zip-tied to stakes or other supports to create a screen/wrap for the plant (see photo below). This is much more desirable than putting burlap directly onto the plant for a couple reasons. First of all, wet burlap that freezes onto foliage can cause damage to the foliage. Secondly, the lack of airflow within a completely bundled-up plant can promote disease problems.
If a plant must be wrapped, don’t pull in the foliage tightly; wrap the burlap only tight enough that it stays in place and secure it by spiraling twine down and back up the plant.
Wait until the weather is consistently cold to erect burlap screens. This allows the plants to ‘shut down for winter’ without any external influences; protection is then erected as a final ‘security blanket’. Stakes can always be installed during the warmer fall months and the burlap attached to them once the weather turns consistently chilly.
Remove burlap when a plant can once again access water from the soil (when the soil thaws).
Over the course of the winter, check on the burlap to make sure it has not collapsed onto the plant that you are trying to protect! Make adjustments when necessary.
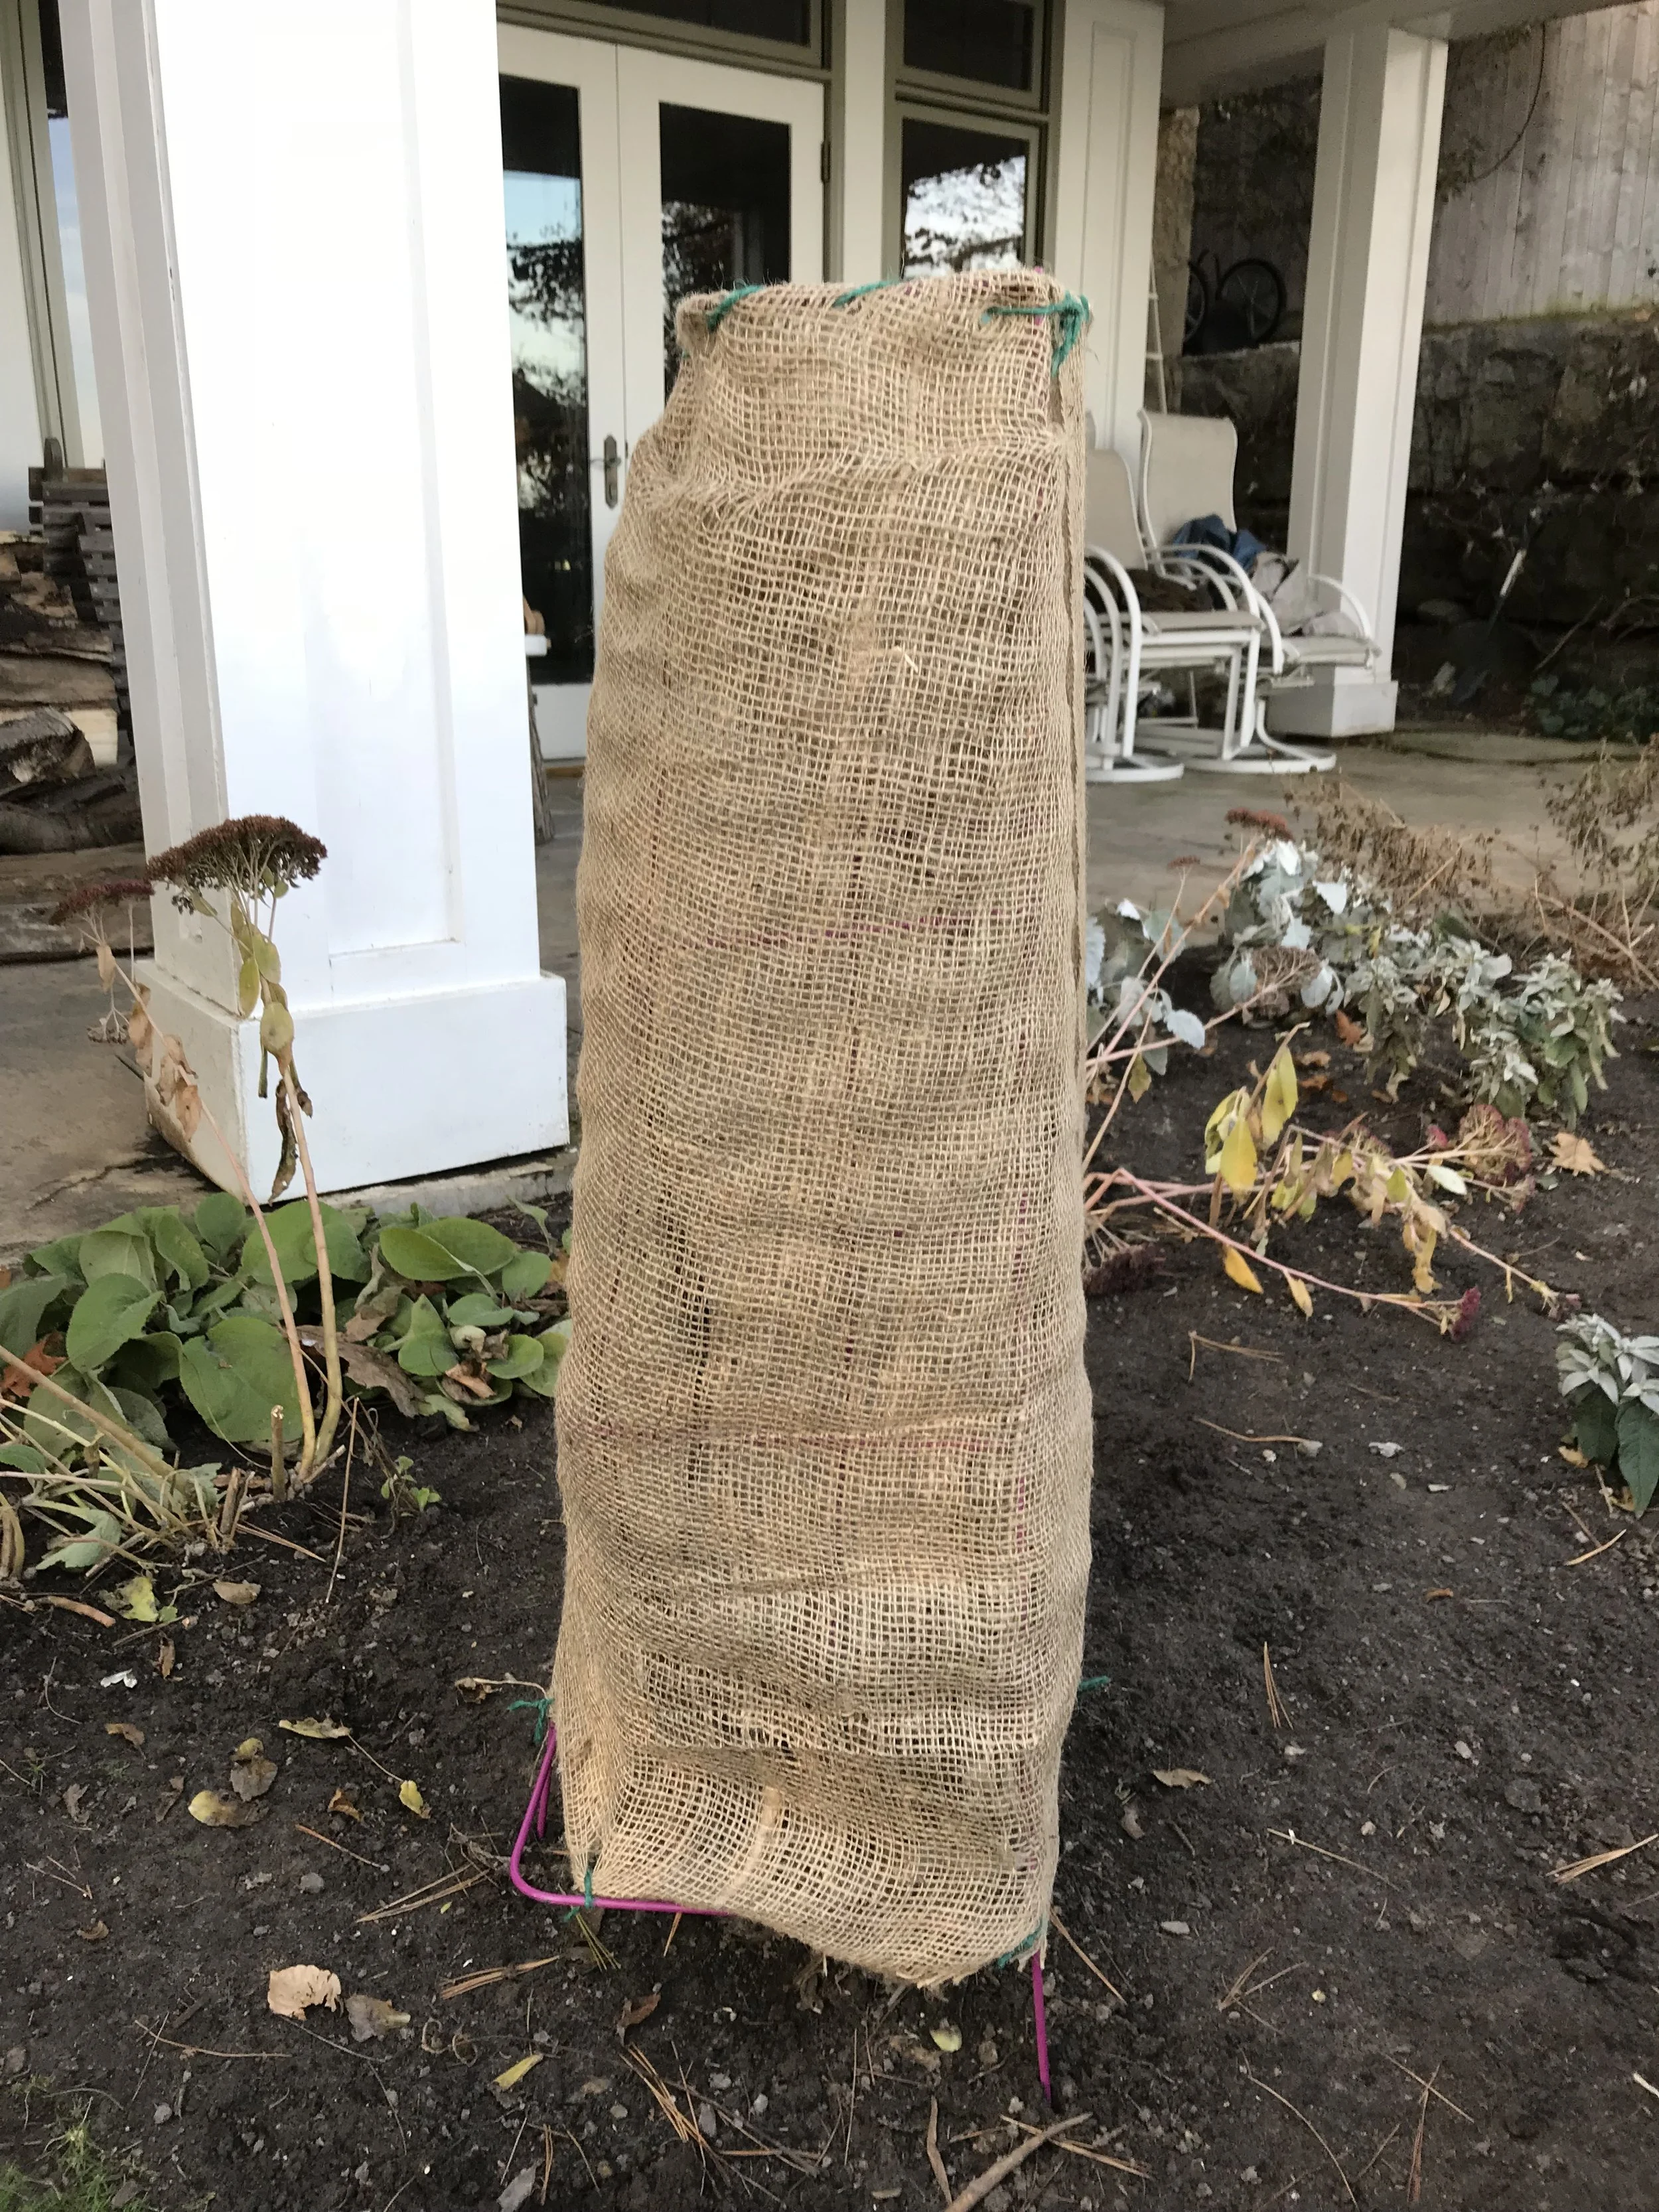
A plant wrapped with burlap. Note the metal frame that is being used to keep the burlap from making direct contact with the plant beneath.
Now it’s time to bundle up… to bundle up your plants. Just remember to do so sparingly… a garden full of burlap screens is certainly not necessary from a horticultural standpoint, or desirable from an aesthetic standpoint; after all, a winter garden can be a thing of beauty too!
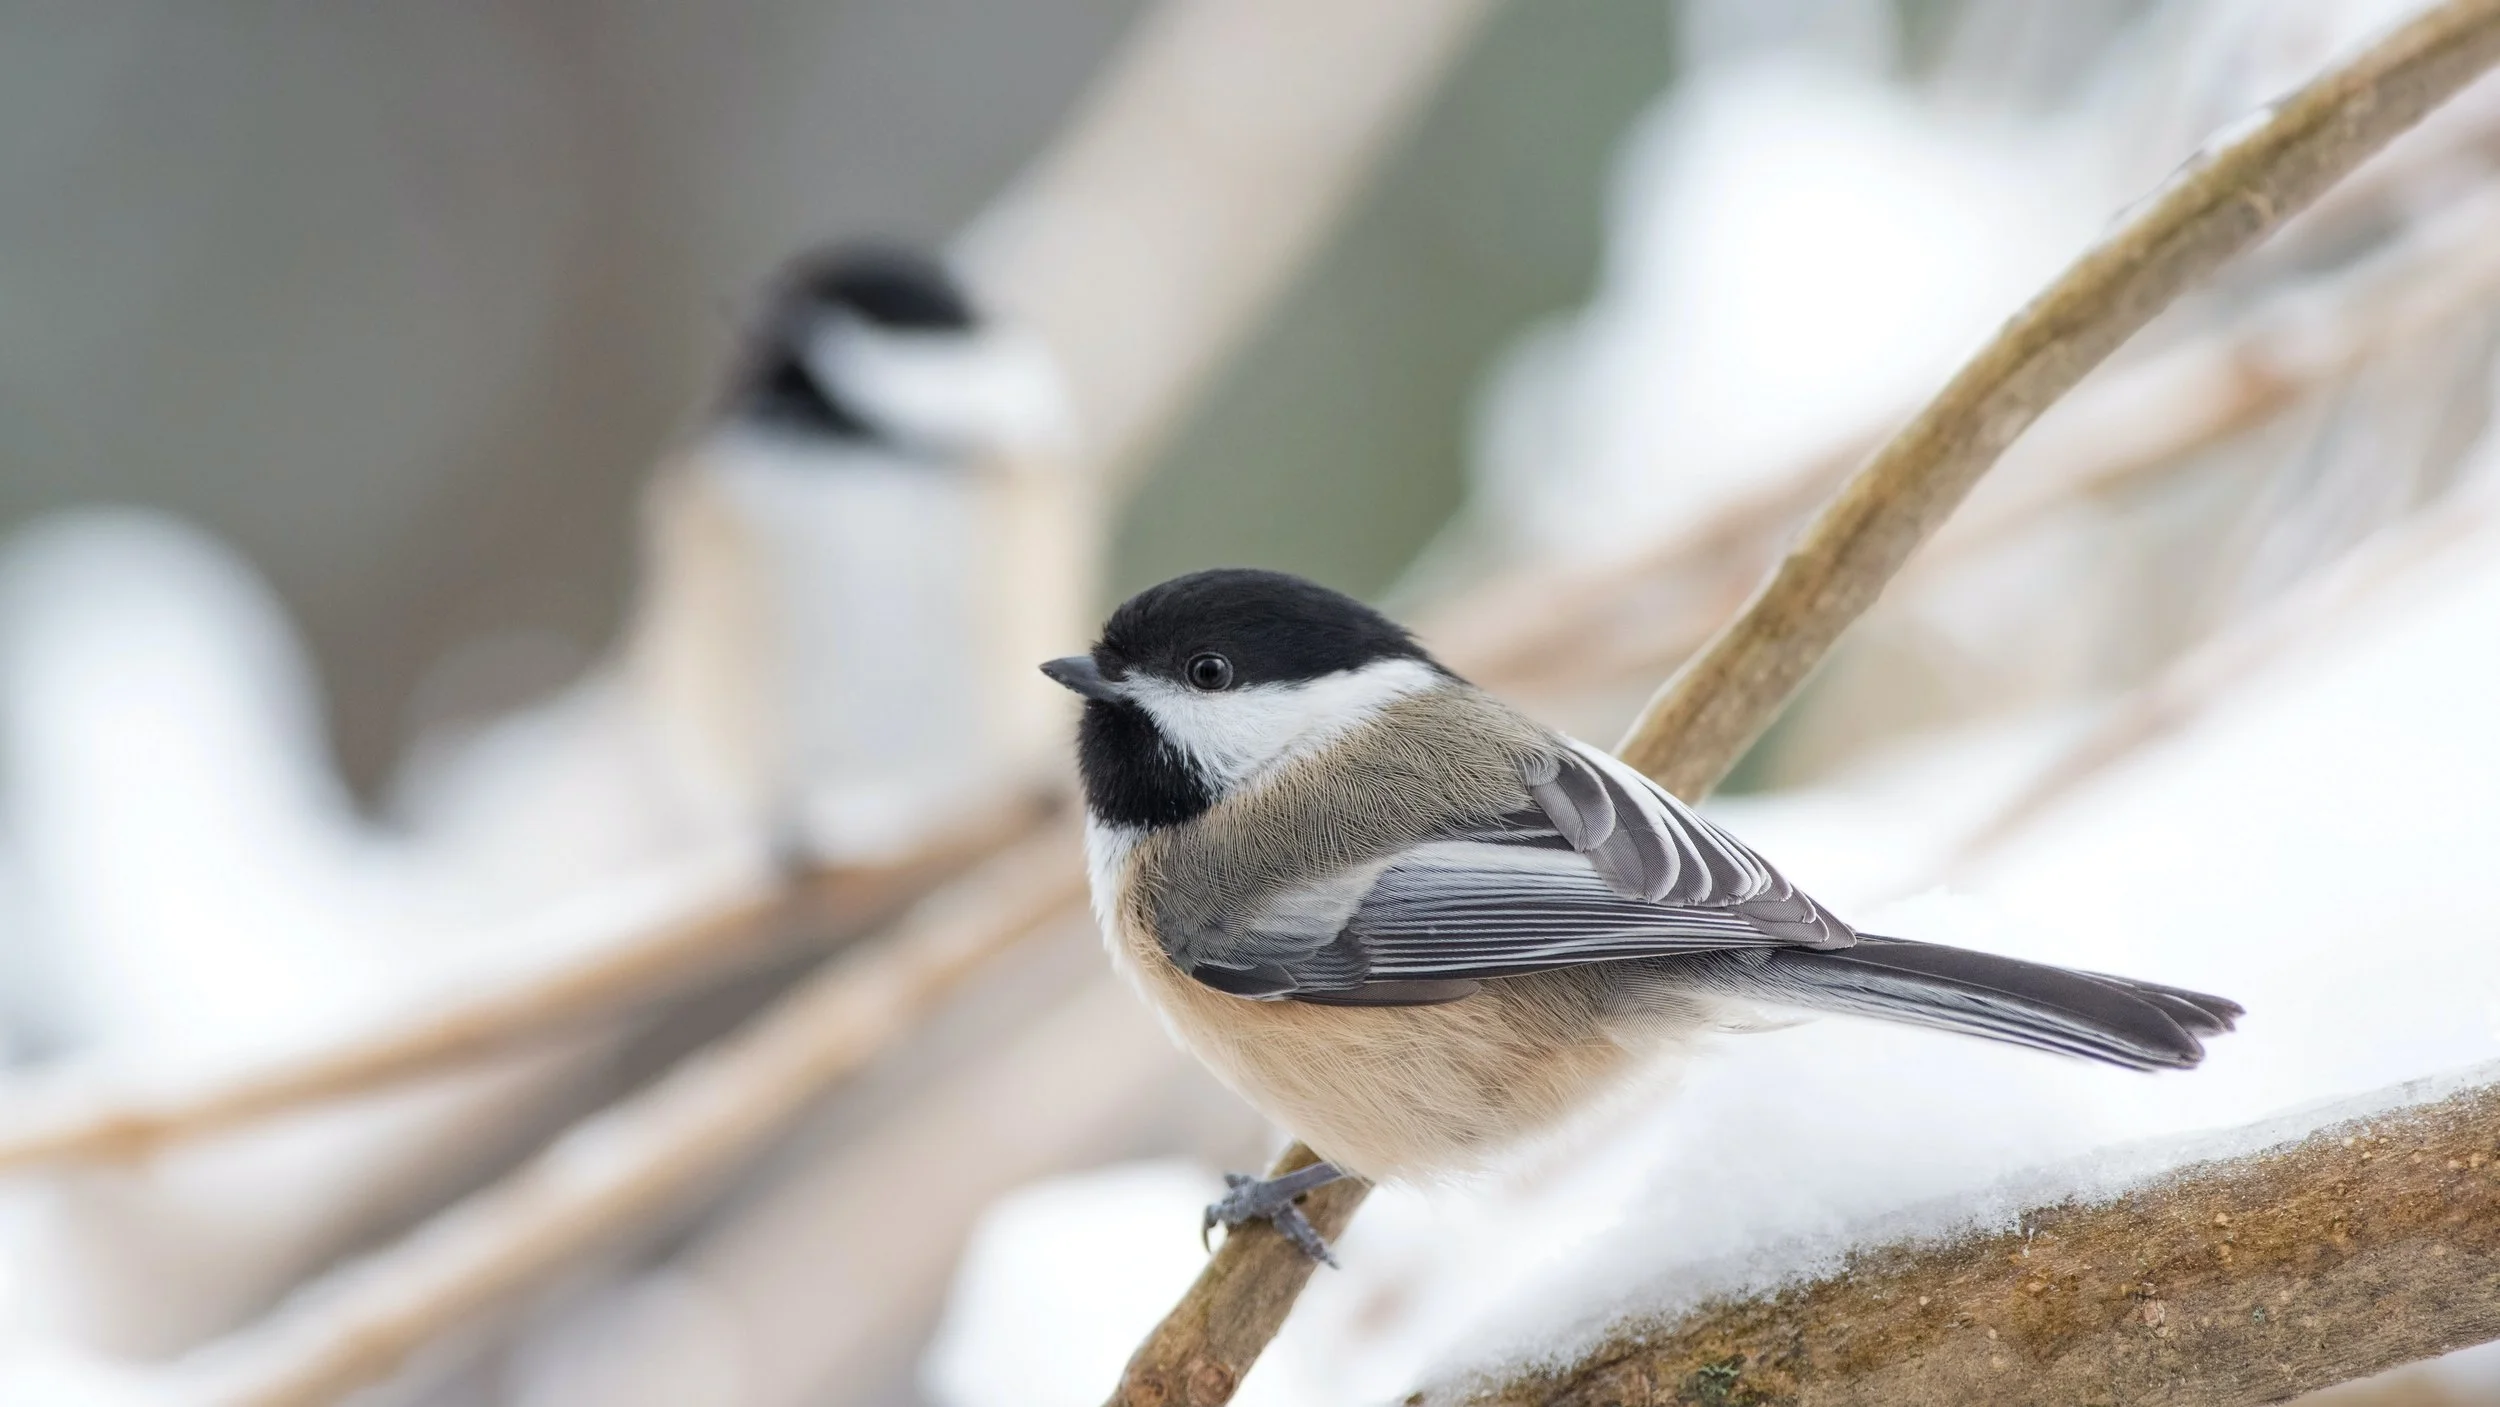
Always a cheery winter sight! Photo by Peter Lewis on Unsplash