(Originally posted: June 23, 2020)
It’s hot. Really hot…and dry too. Unless of course you have been hit with the torrential rains that tend to go hand-in-hand with the pop-up thunderstorms spawned by this weather. In any case, these driving rains are better at washing away a garden rather than watering it! So the issue of dryness remains…
In my garden, the latest heat wave is beginning to take it’s toll on my plants. Thirsty mature trees slurp up the moisture from the lowly ‘riff raff’ below (i.e. my perennials!) and the sun makes short work of baking other areas of the yard. We have reached the point on our property where supplemental irrigation is necessary.
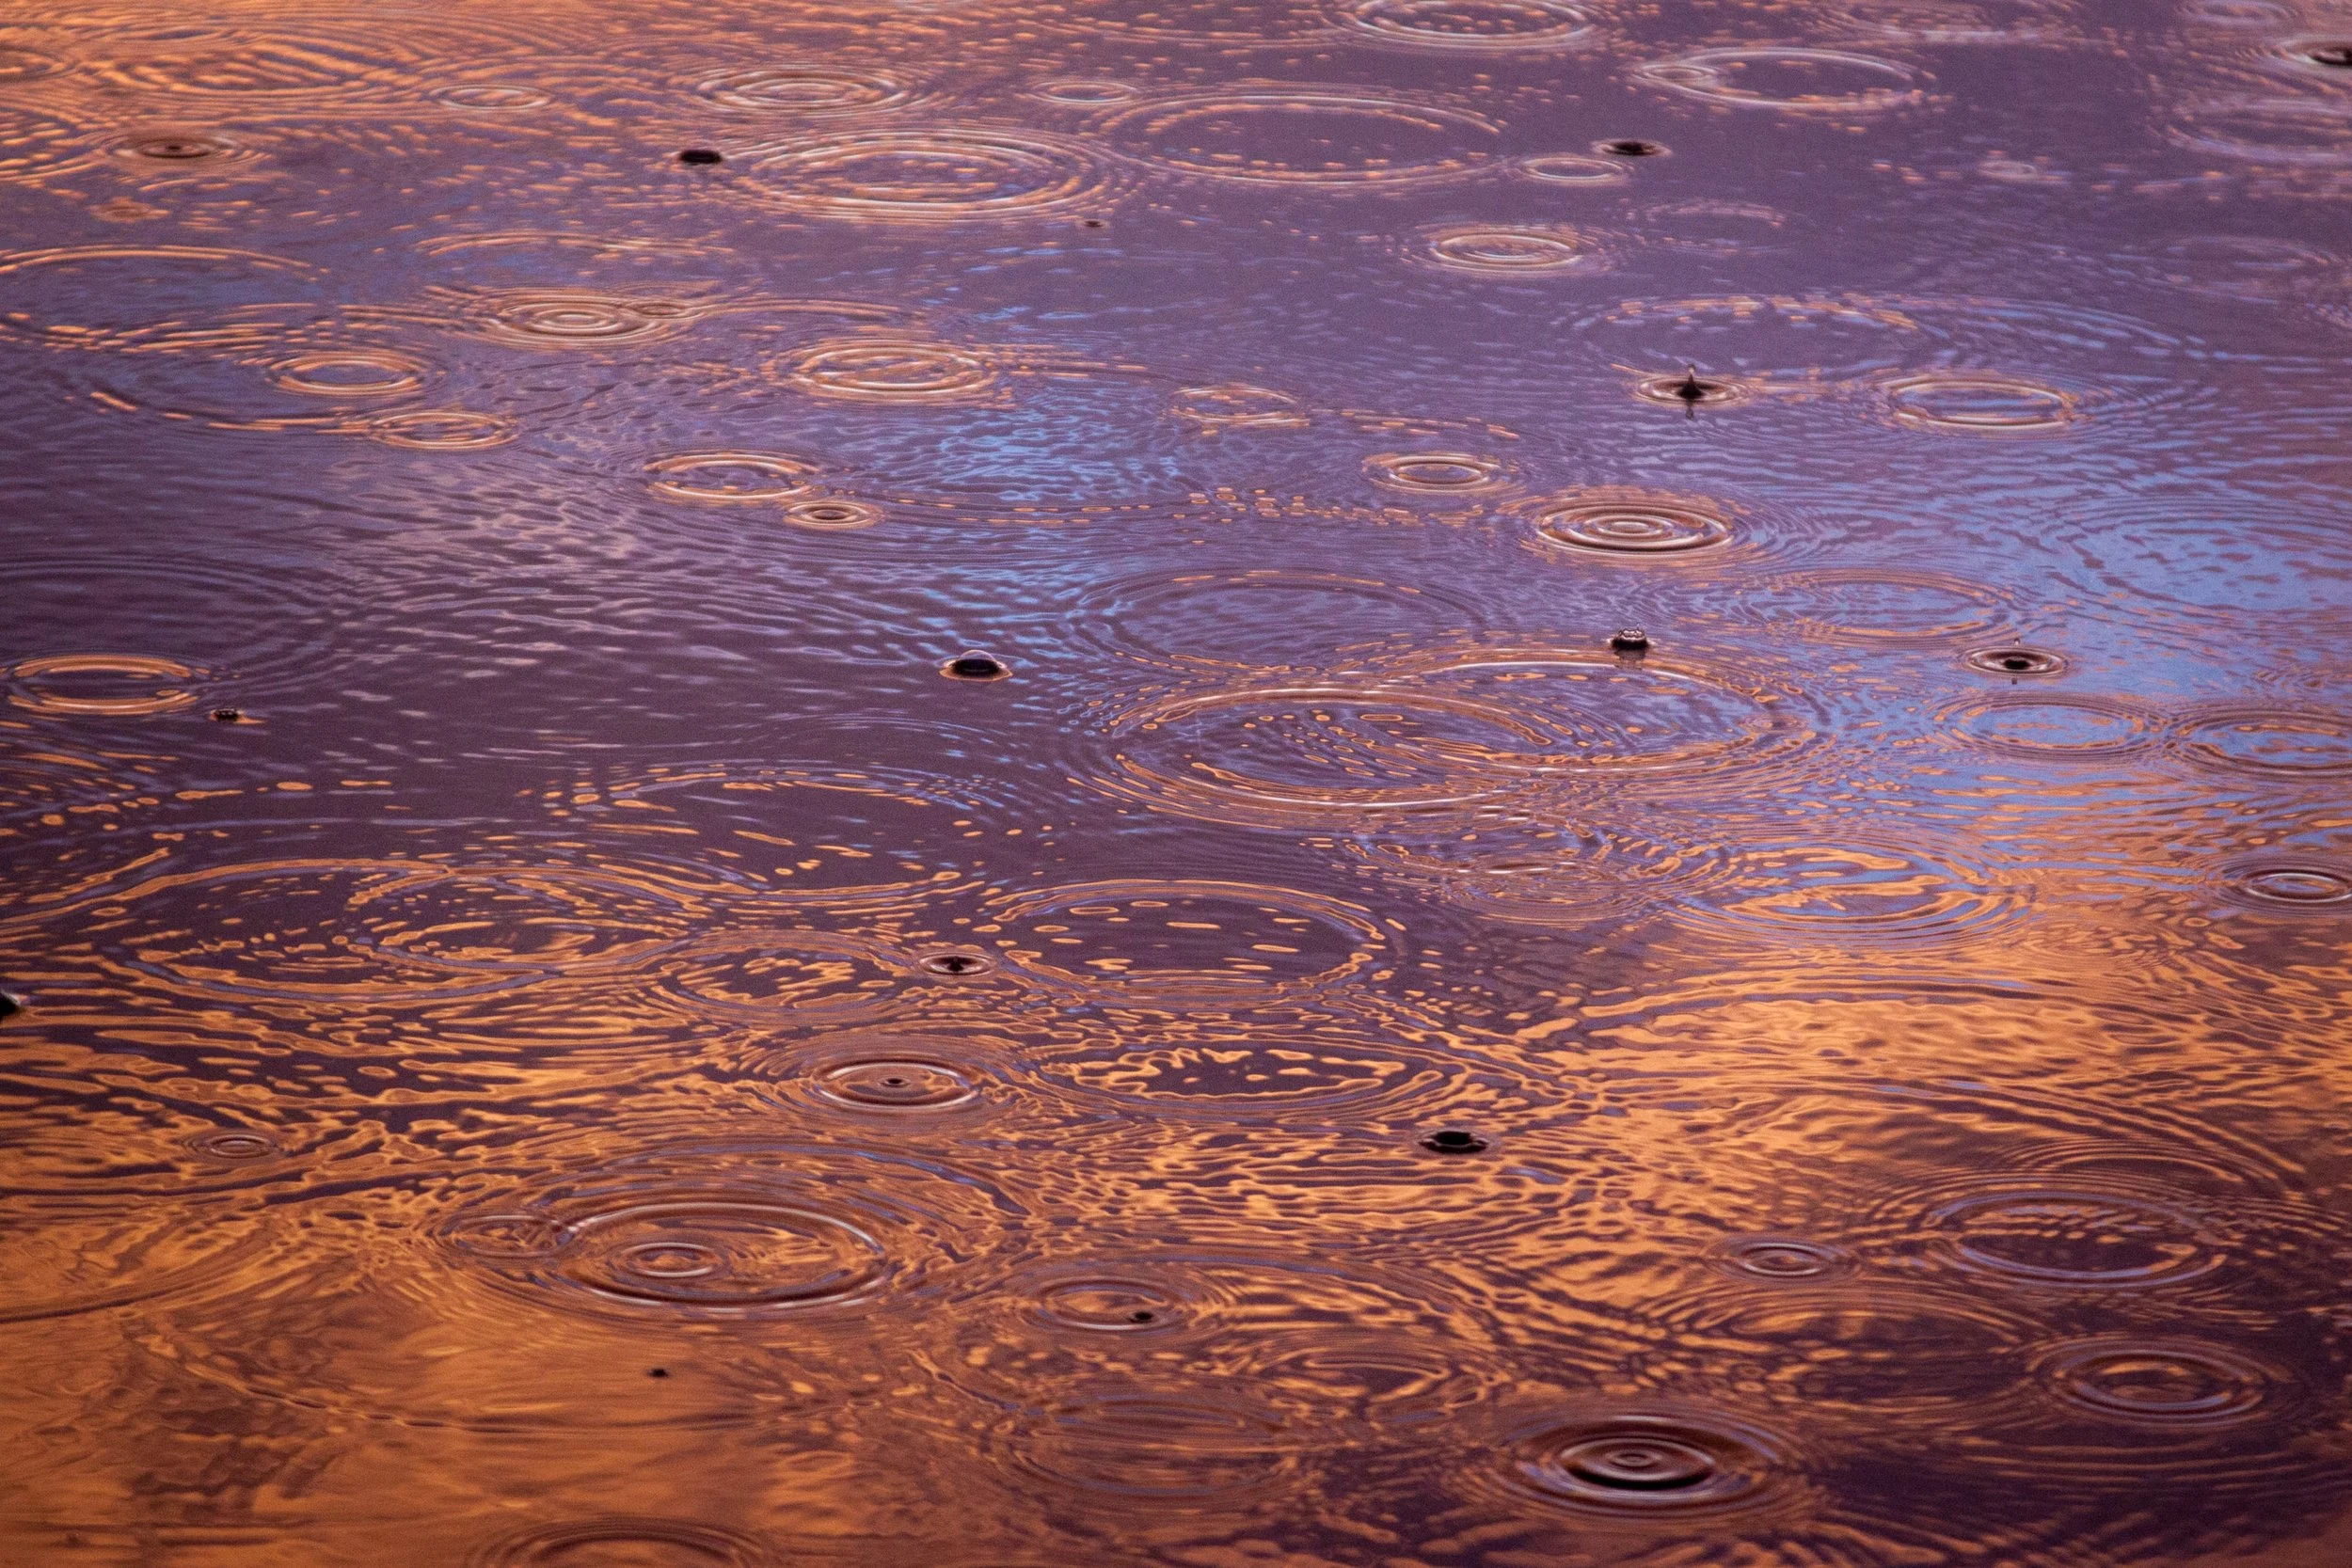
Oh how we could really use some rain right now! (Photo credit: Pete Nowicki on Unsplash)
Now I should start by saying that gardens need water- but it is the quality of the watering that counts as opposed to the number of times the garden is watered on a weekly basis. In general, a mature garden (as opposed to one that has been recently planted) needs about an inch of water a week. Sure, some plants are thirstier than others (and these plants often display their displeasure for the dry conditions with a little wilting tantrum) but this ‘inch a week’ guideline is one to keep in the back of the mind throughout the growing season- even if it is a very general guideline.
So with this in mind, here are some tips to effectively water a garden:
Water in the morning. Grab that morning coffee and enjoy the zen that watering a garden can bring. Morning irrigation sessions allow the foliage of the plants to dry out as the day progresses. Many plant diseases require moisture to spread and/or to successfully infect a plant. Reducing the ‘leaf wetness period’ can go a long way in reducing the incidence of disease. Watering in the morning also conserves water- less water will be lost to evaporation (which is a problem when watering midday- the hottest part of the day).
Use the ‘shower’ setting on your hand-held sprayer for watering garden plants (the ‘soaker’ setting is great for planters). I find these settings create the least amount of mist (mist just gets lost to the air and is ultimately a waste of precious water). Keep this point in mind when choosing a sprinkler setting too.
One deep watering is far better than many shallow waterings. This strategy encourages deep rooting and ensures that ample moisture has been provided to the plants (rather than chronically underwatering them)
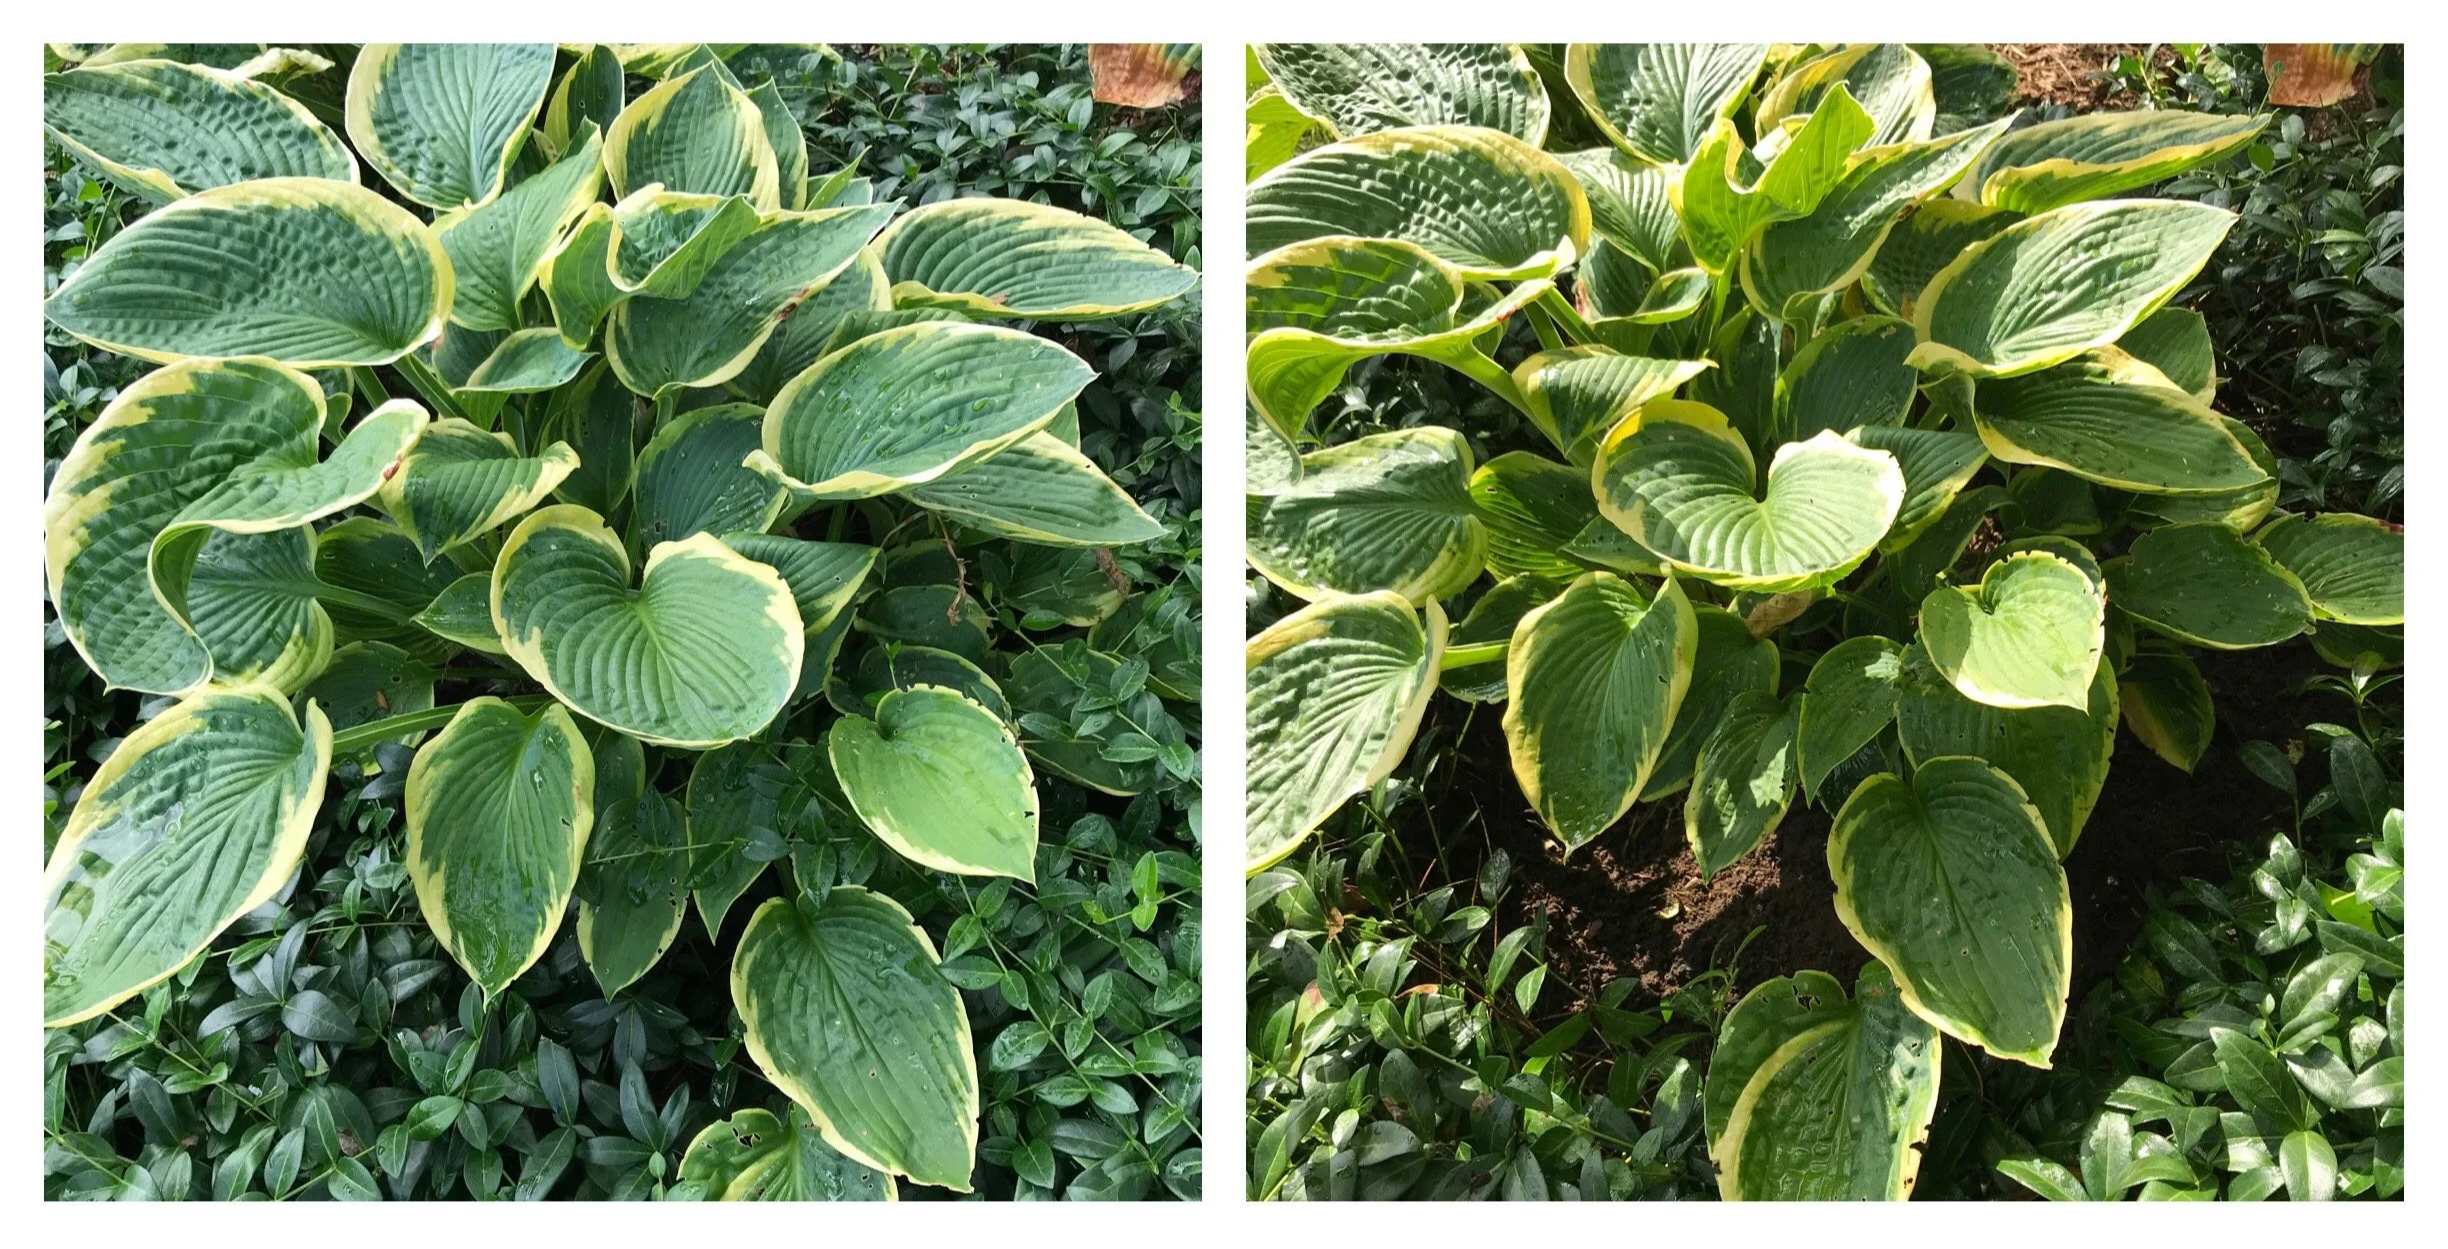
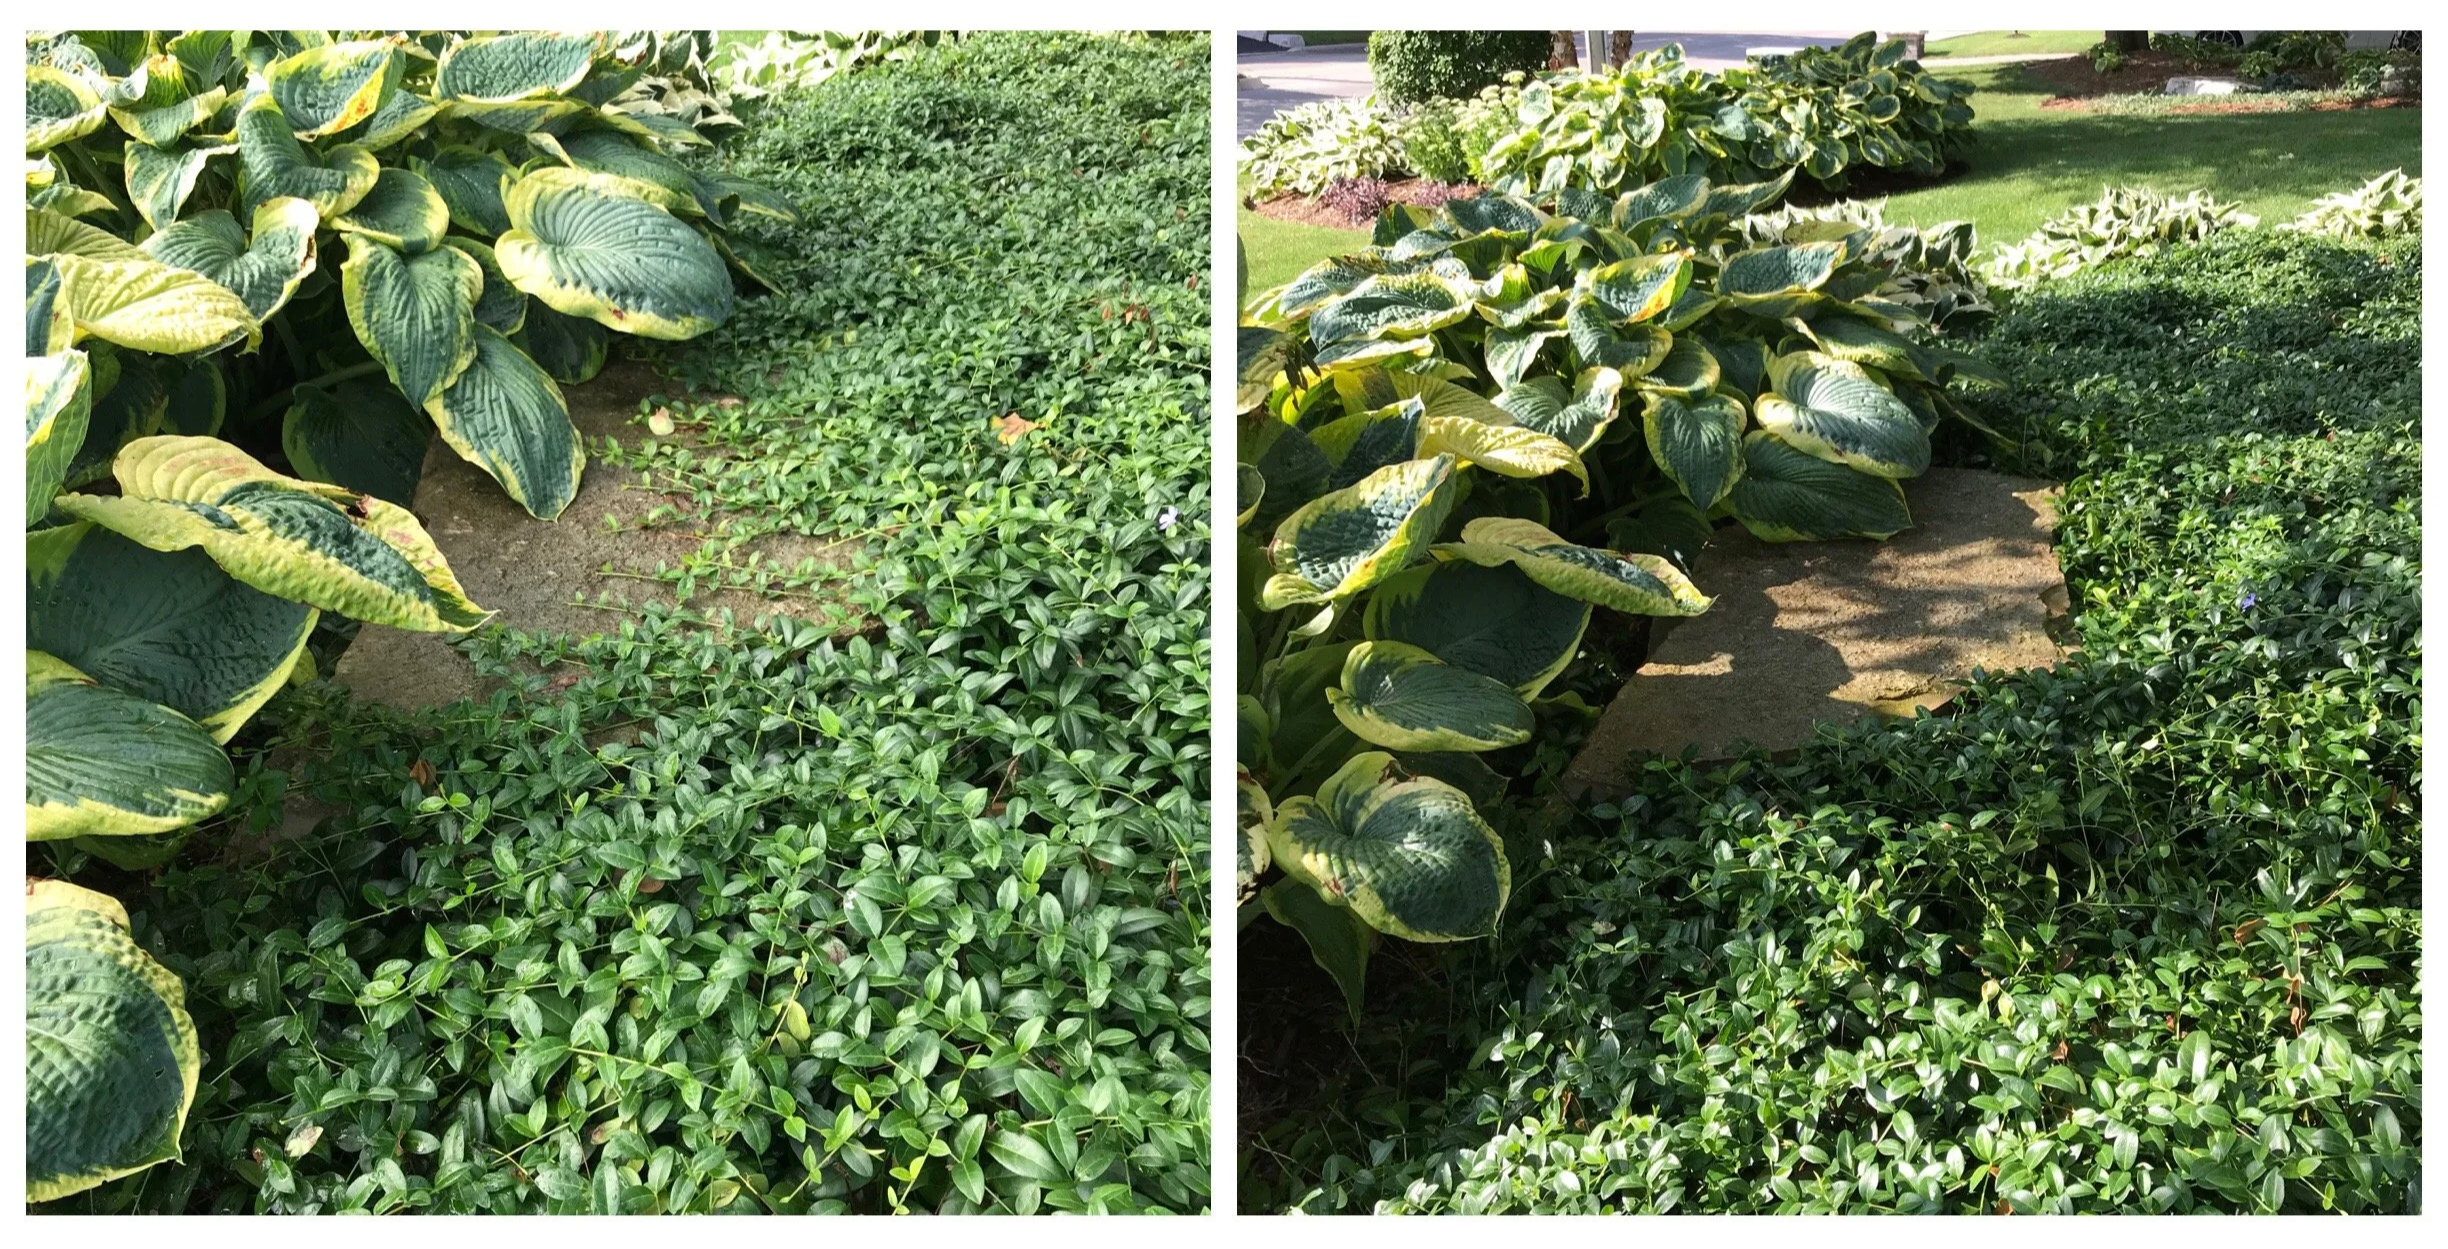
Water around perennials and small shrubs and don’t forget to water out to the drip line of larger plants (The drip line is the point on the ground to which the farthest reaching branches of the tree/shrub extend. It is out near the drip line where a large proportion of the feeder roots of trees exist and these are the key to taking up moisture.)
Water the ground not the leaves- afterall, it is the roots that take up the water. This is not possible with a regular sprinkler but if hand watering, you have control over this- exercise that power!
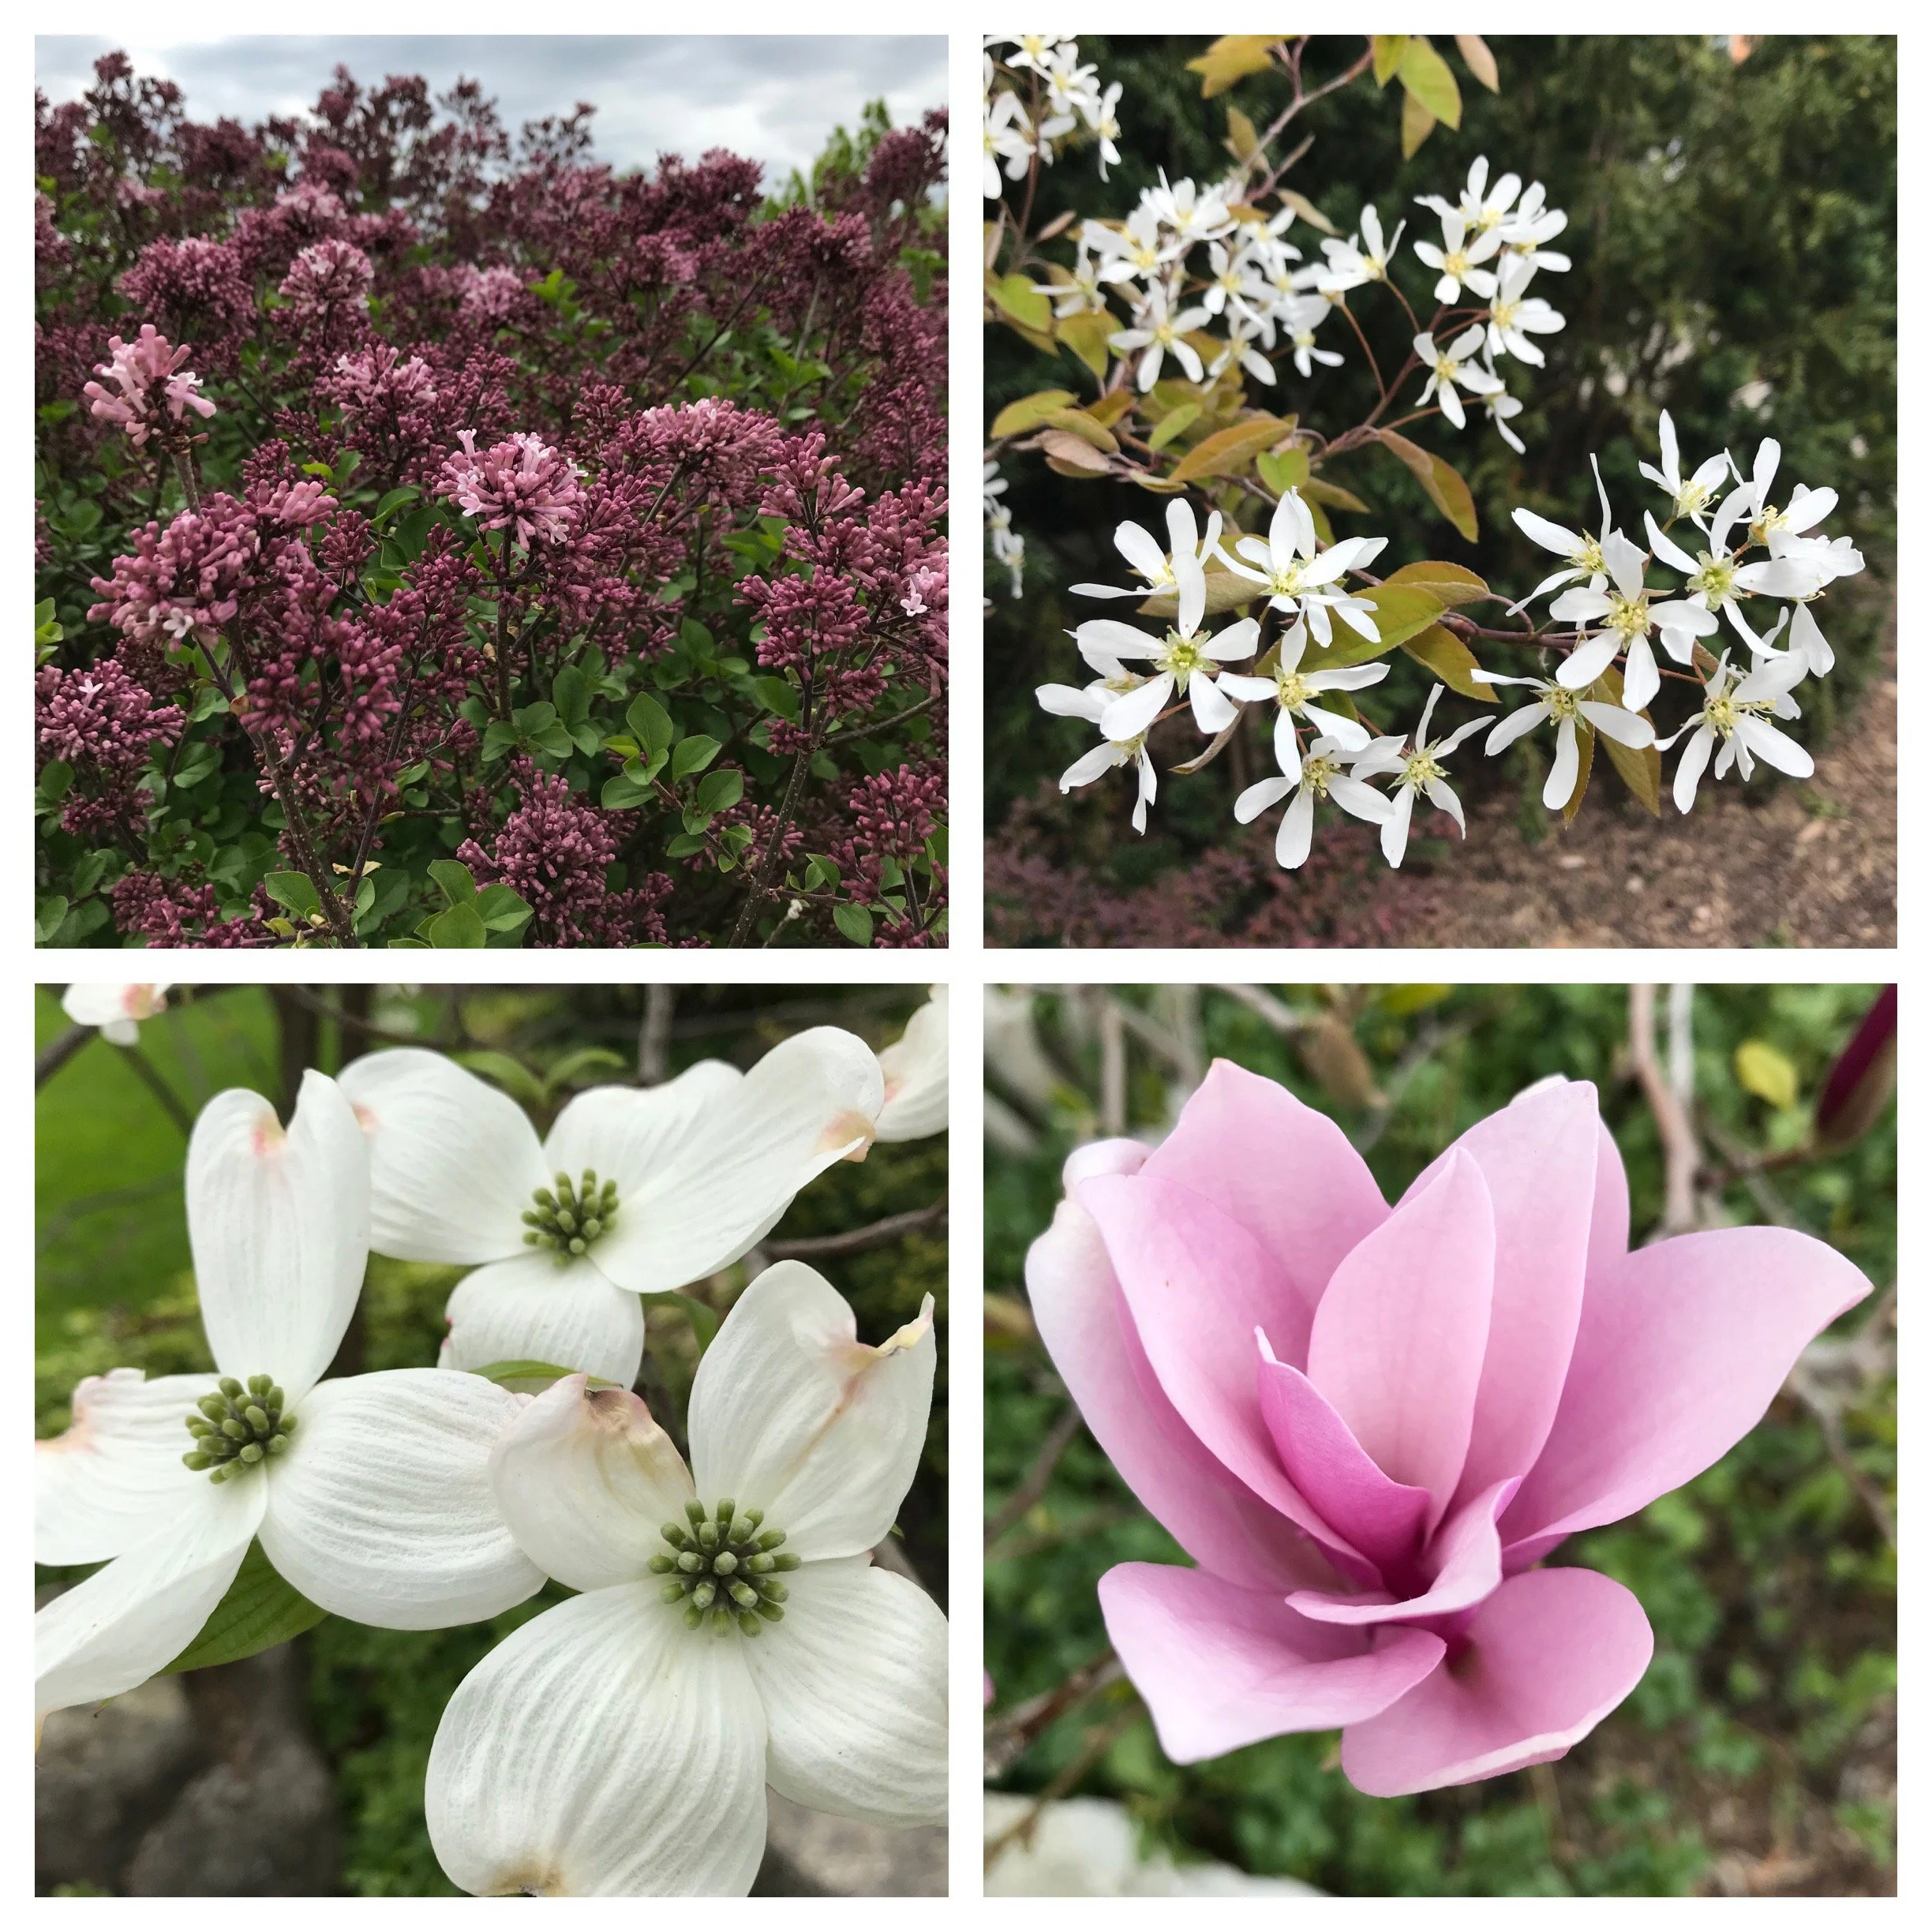
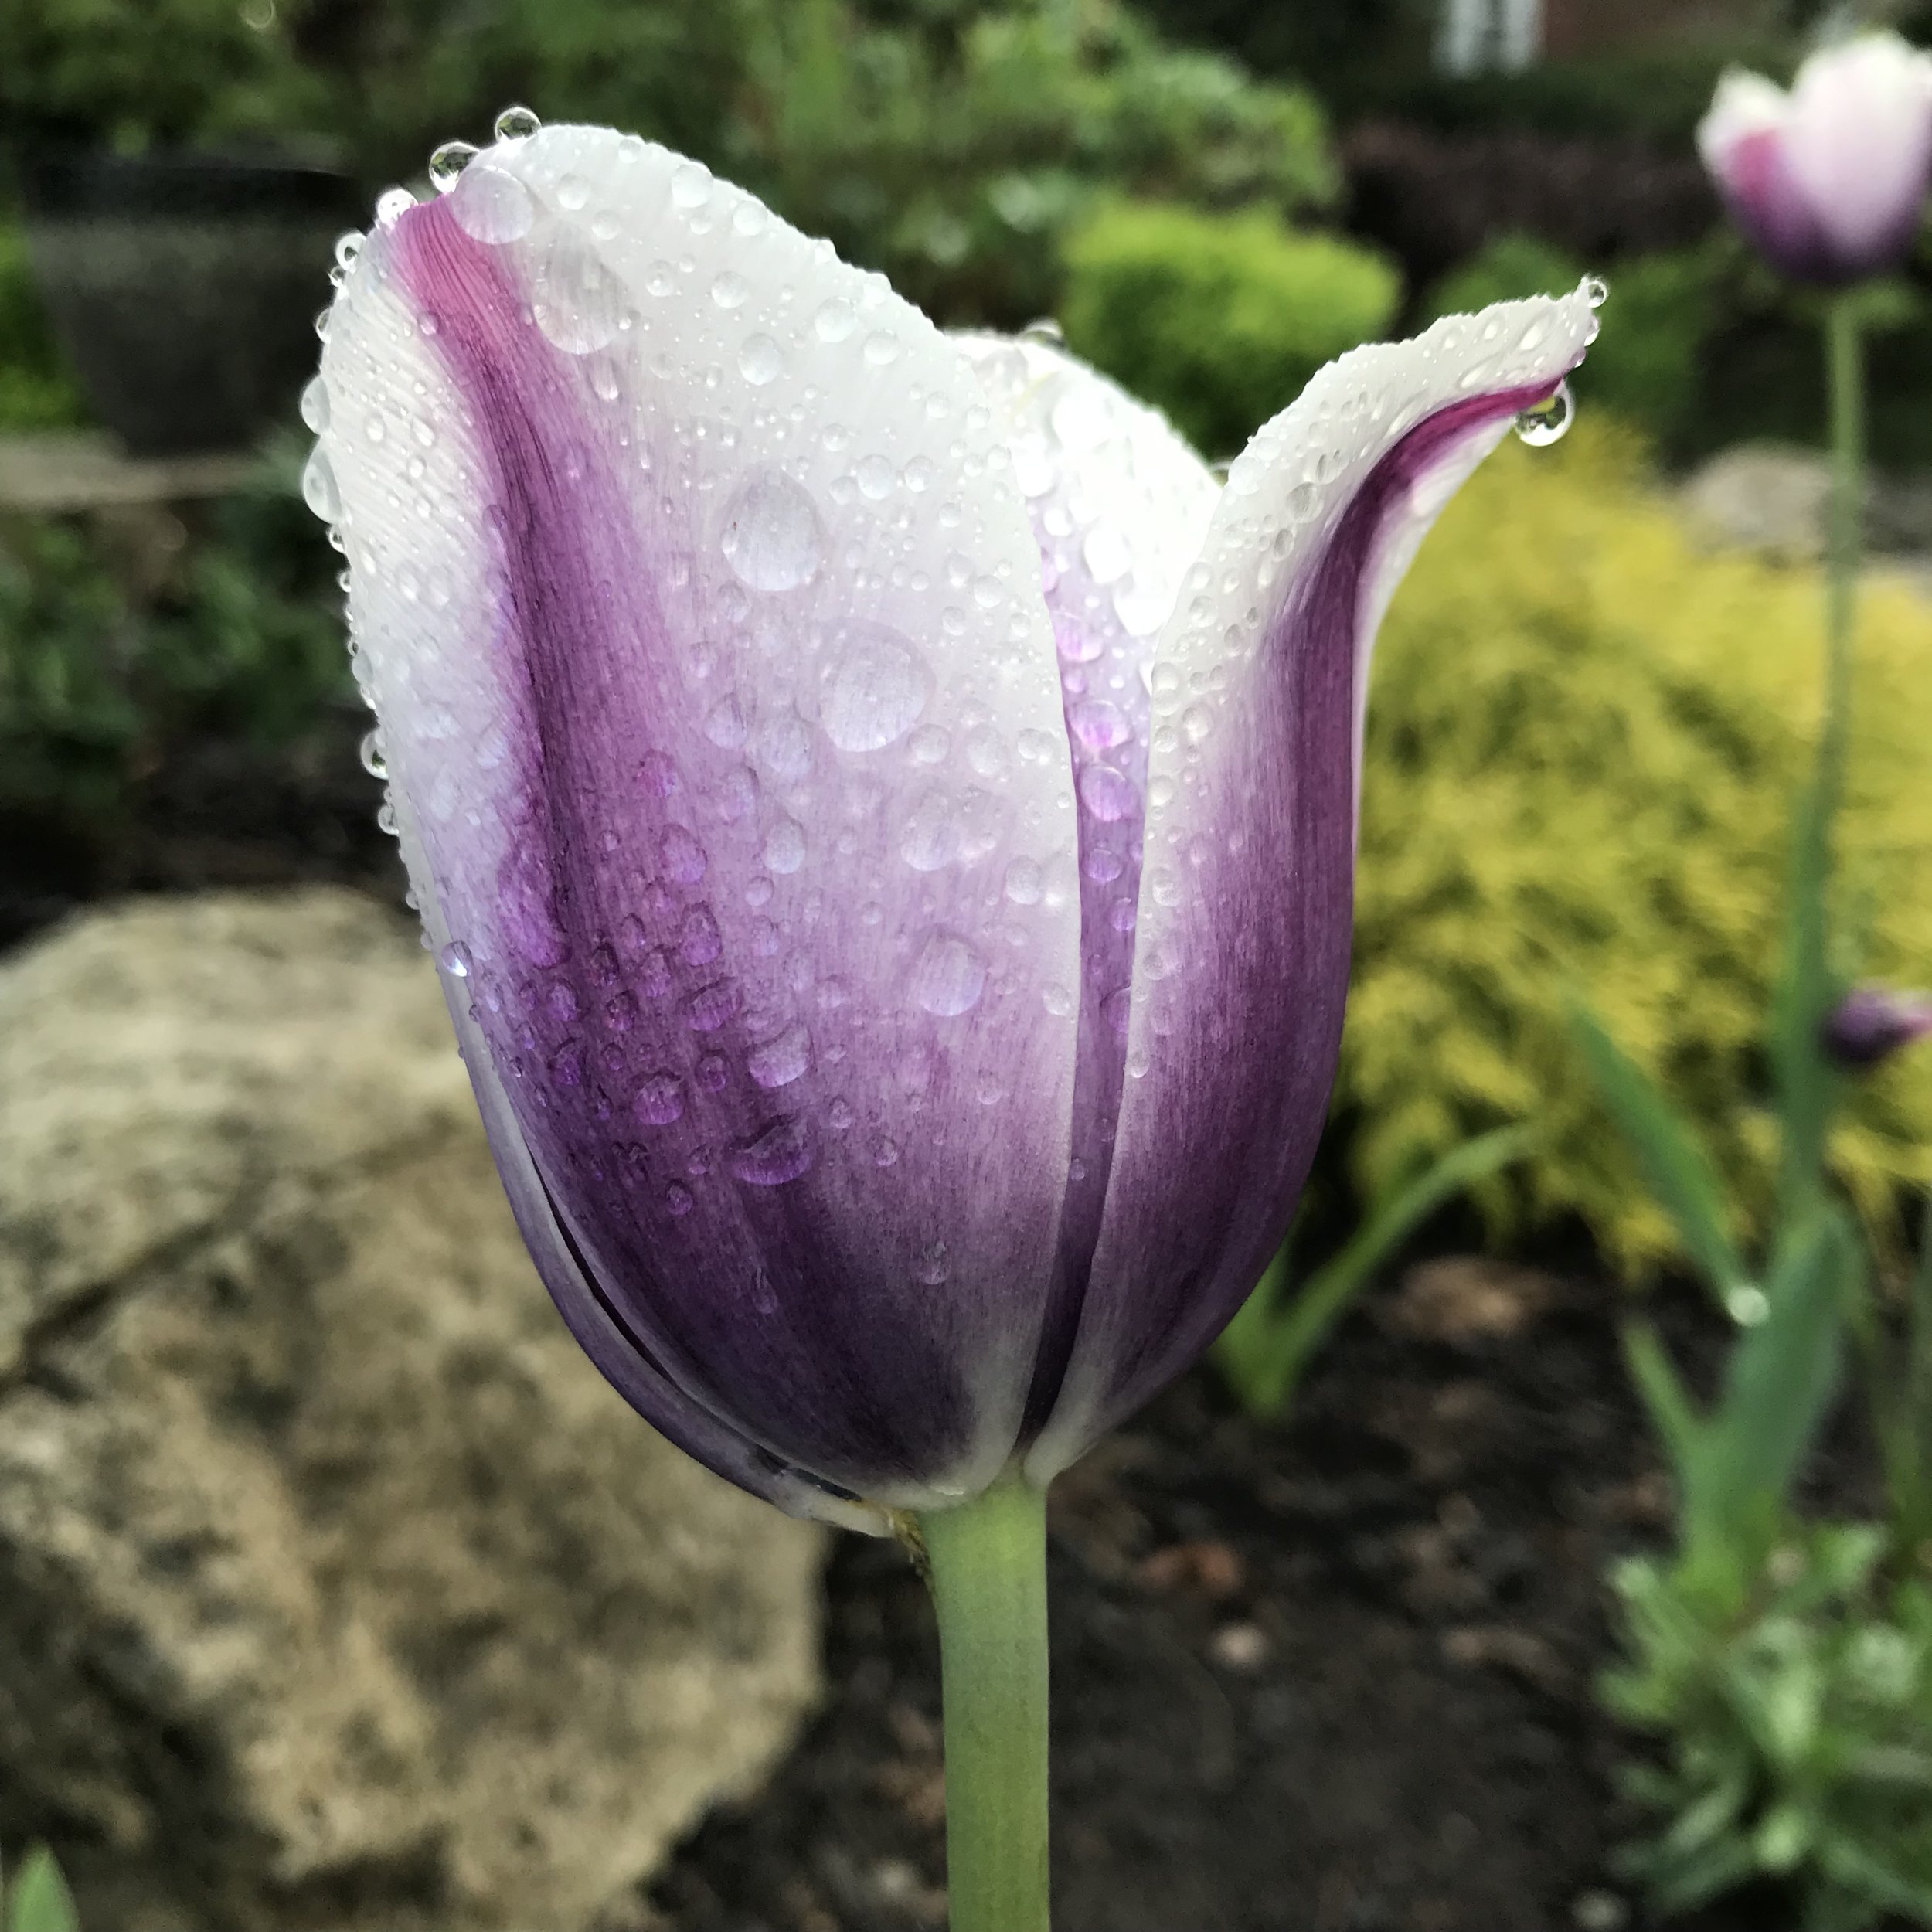
Do not water flowers…unless you like blemishes; water droplets resting on some flowers can magnify the sun and cause brown blemishes on the petals as a result. This is not a given, but it is certainly a consideration.
Keep a keen eye on planters. As you’ve likely already noticed- pots dry out fast! The smaller the planter, the quicker it dries out. Additionally, porous planters (such as coco fibre lined baskets, fibre pots or terra cotta) also dry out quicker than non porous ones such as ceramic, fibreglass or plastic. Check on pots throughout the day- they will normally require daily watering, but on really hot days or windy days (when the air essentially sucks the moisture out of the plants and, in turn out of the soil), they could require more than one watering.

Pots lined with materials such as coco fibre dry out quickly; it is not unusual for them to require two waterings a day!
Water in stages, especially if a planter or part of the garden has dried out. If the soil is dry, it takes time to absorb the water (in a garden, you will often see most of the initial water running off extremely dry soil). To avoid wasting water and ensure the soil is actually absorbing the moisture, water an area or pot briefly, move on to another location/pot, followed by another; rotate through your planters or garden until the plants have received a good soaking.
Final note: At the time of writing this, we were in the midst of a dry spell and heat wave. The forecast calls for the heat and humidity to break today with the arrival of a cold front. (Phew!) Looks like I am saved from some watering chores for now. Instead, I will do a rain dance!