Spring Tasks

Springing into Action!

(Originally posted May 2, 2022)

Hello?!? Is anybody out there? Remember me? I am not offended if you don’t. It’s been quite a while since my last post. As much as I love writing about gardens, this is a side project for me; I do it strictly for fun and sometimes the fun things get put on hold when life gets busy. With that said, I am back and still planning on writing, so if you are willing to continue following my blog, then I am thrilled to have you along for the ride!

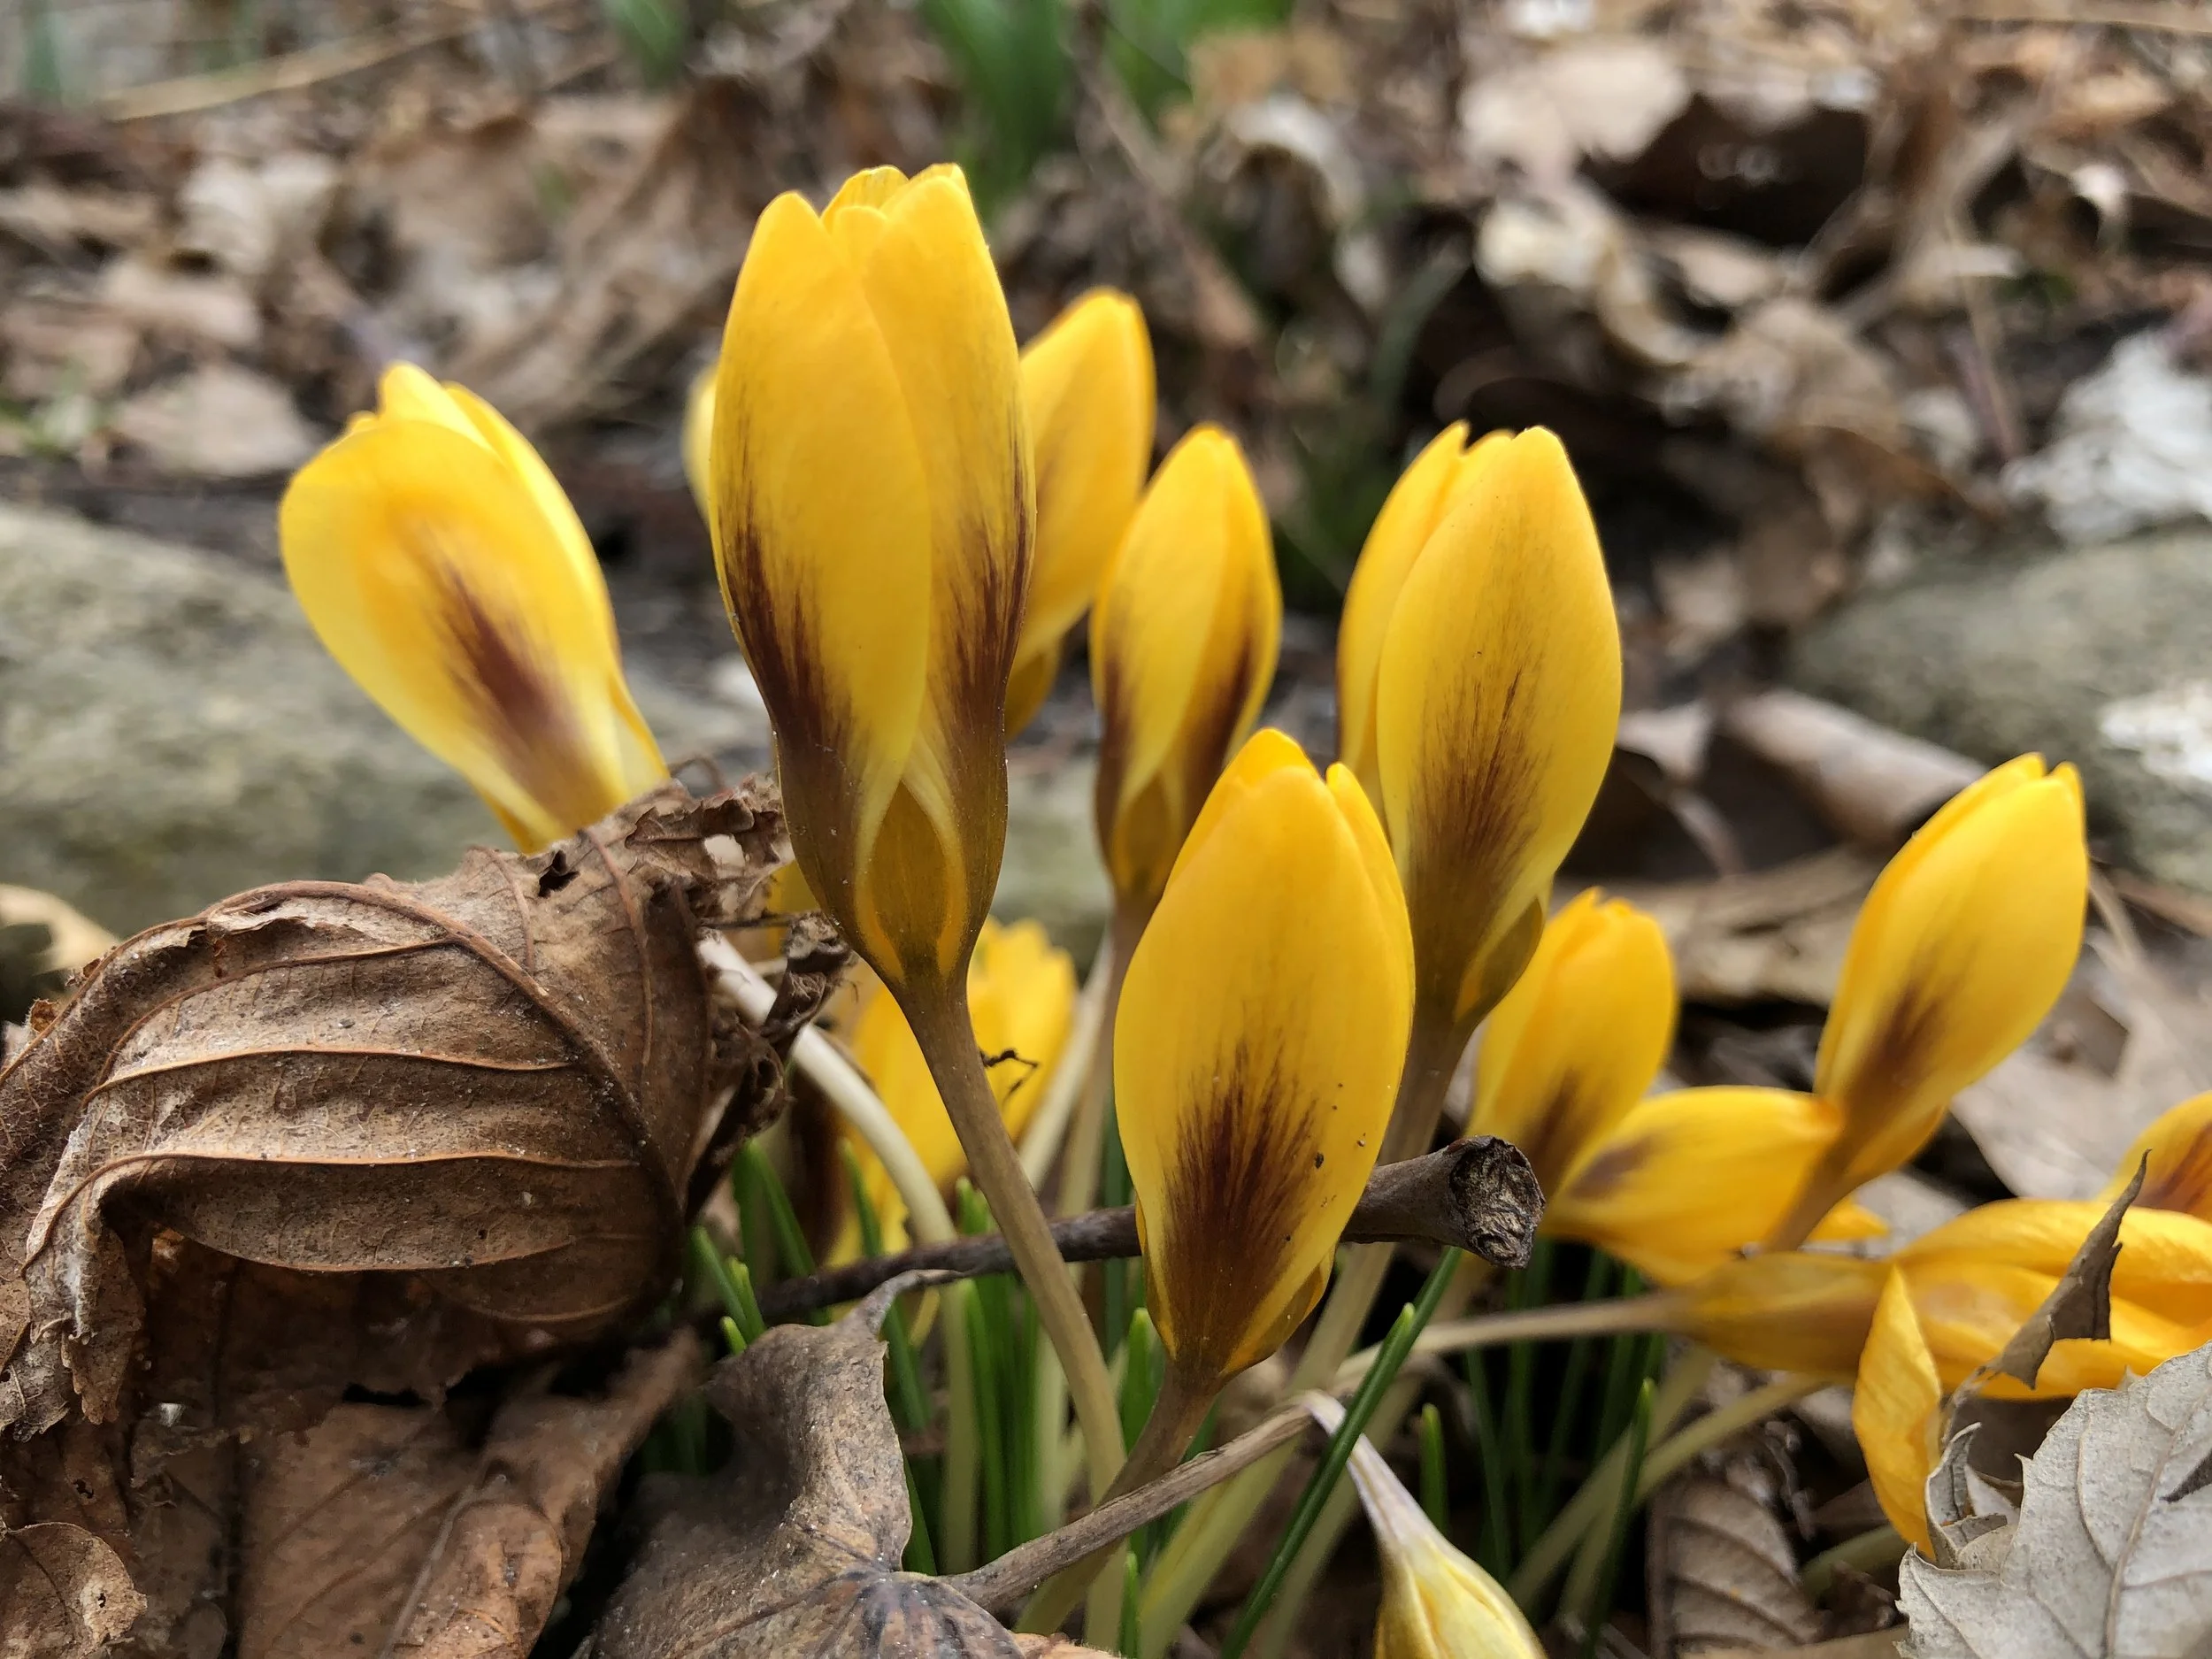
It’s hard to believe we are at the start of another growing season. Yay! Spring is here!

Spring. It’s an aptly named season when you really think about it: new life is ‘spring’ing forth from the earth after a long winter slumber, the sun is putting an extra ‘spring’ in our step as we gleefully skip along while the sun’s rays kiss our vitamin D deficient bodies, and we all ‘spring’ into gardening action at the first hint of a warm day. (At what other time of year does 10 degrees Celsius feel balmy??)

Forsythia spp.- a sure sign of spring.

Garage/shed doors are thrown open; gloves, hand tools and rakes come out (Ug. Did I really put those away in that condition?) and we get to work. Our desire to usher out winter and welcome spring is all consuming. With all that pent-up gardening enthusiasm we often get overly zealous with our spring tasks, so it is easy to get ahead of ourselves... which leads me to two main gardening mistakes that we tend to make in early spring:

  1. Cleaning up the garden too soon

  2. Mulching too soon

Lets look at each of these in turn…

Premature Garden Clean-up

So the equinox has come and gone, warmer weather has made an appearance… oh wait… now it’s gone… now it’s back again… and now it’s snowing?!? Ah yes, spring is an indecisive season. For this reason, it is best to refrain from cleaning out the yard on those first few warm days because severe weather can follow soon after. All the leaves on the beds, and standing herbaceous perennial foliage, can buffer garden plants (and soils) from harsh temperature swings and wild weather. Additionally, all the old flower stalks, perennial stems, and leaves in the garden are valuable overwintering sites for beneficial insects. Leaving everything in place for a little longer allows these beneficial organisms to emerge, enabling them to play a valuable role within the garden ecosystem in the months ahead.

Despite the benefits of all the ‘dead stuff’ in the garden, if you feel you must clean up a little, focus on areas where leaves have piled up over the winter months and make sure these leaf piles are not smothering evergreen foliage or perennials below. I usually do this ‘preliminary leaf clean-up’ within the first two weeks of April and then do a more thorough tidy-up (which includes cutting back herbaceous perennials) sometime between the middle to the end of April.

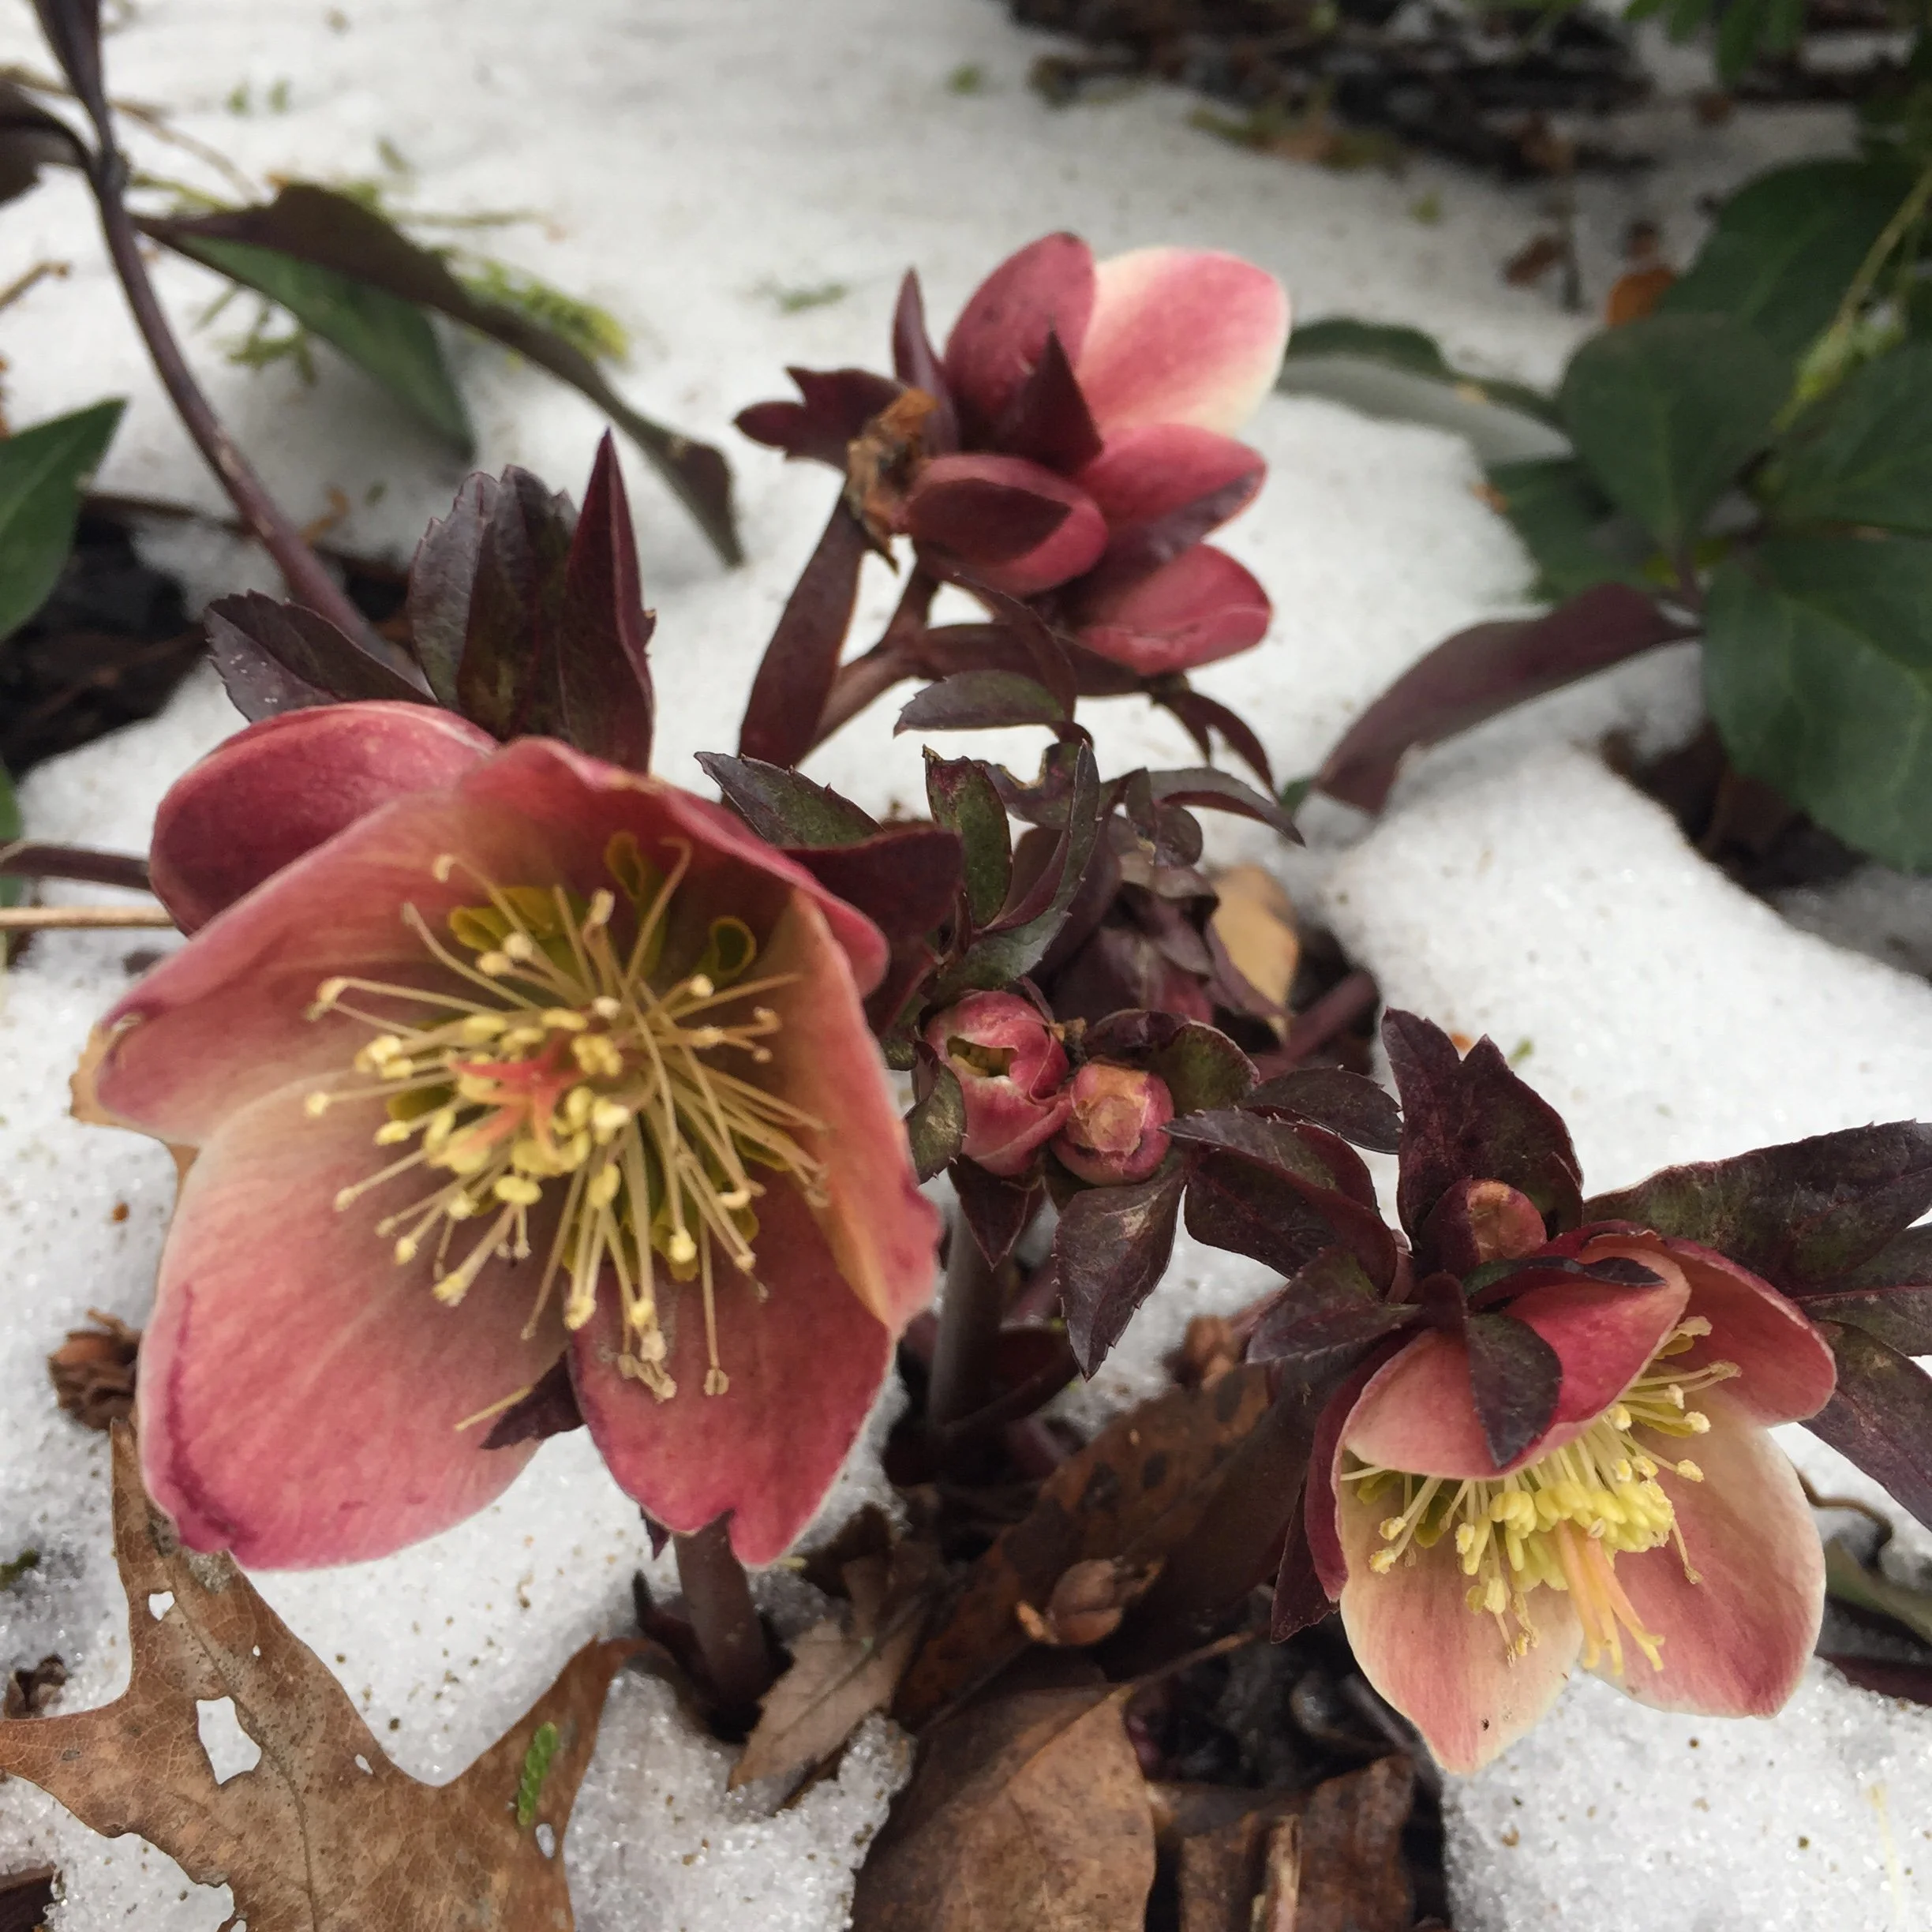
April snow is often cursed but not overly not unusual in these parts. It’s one of the reasons we need to temper our enthusiasm and hold off on spring clean-up until later in the month.

Mulching too Soon

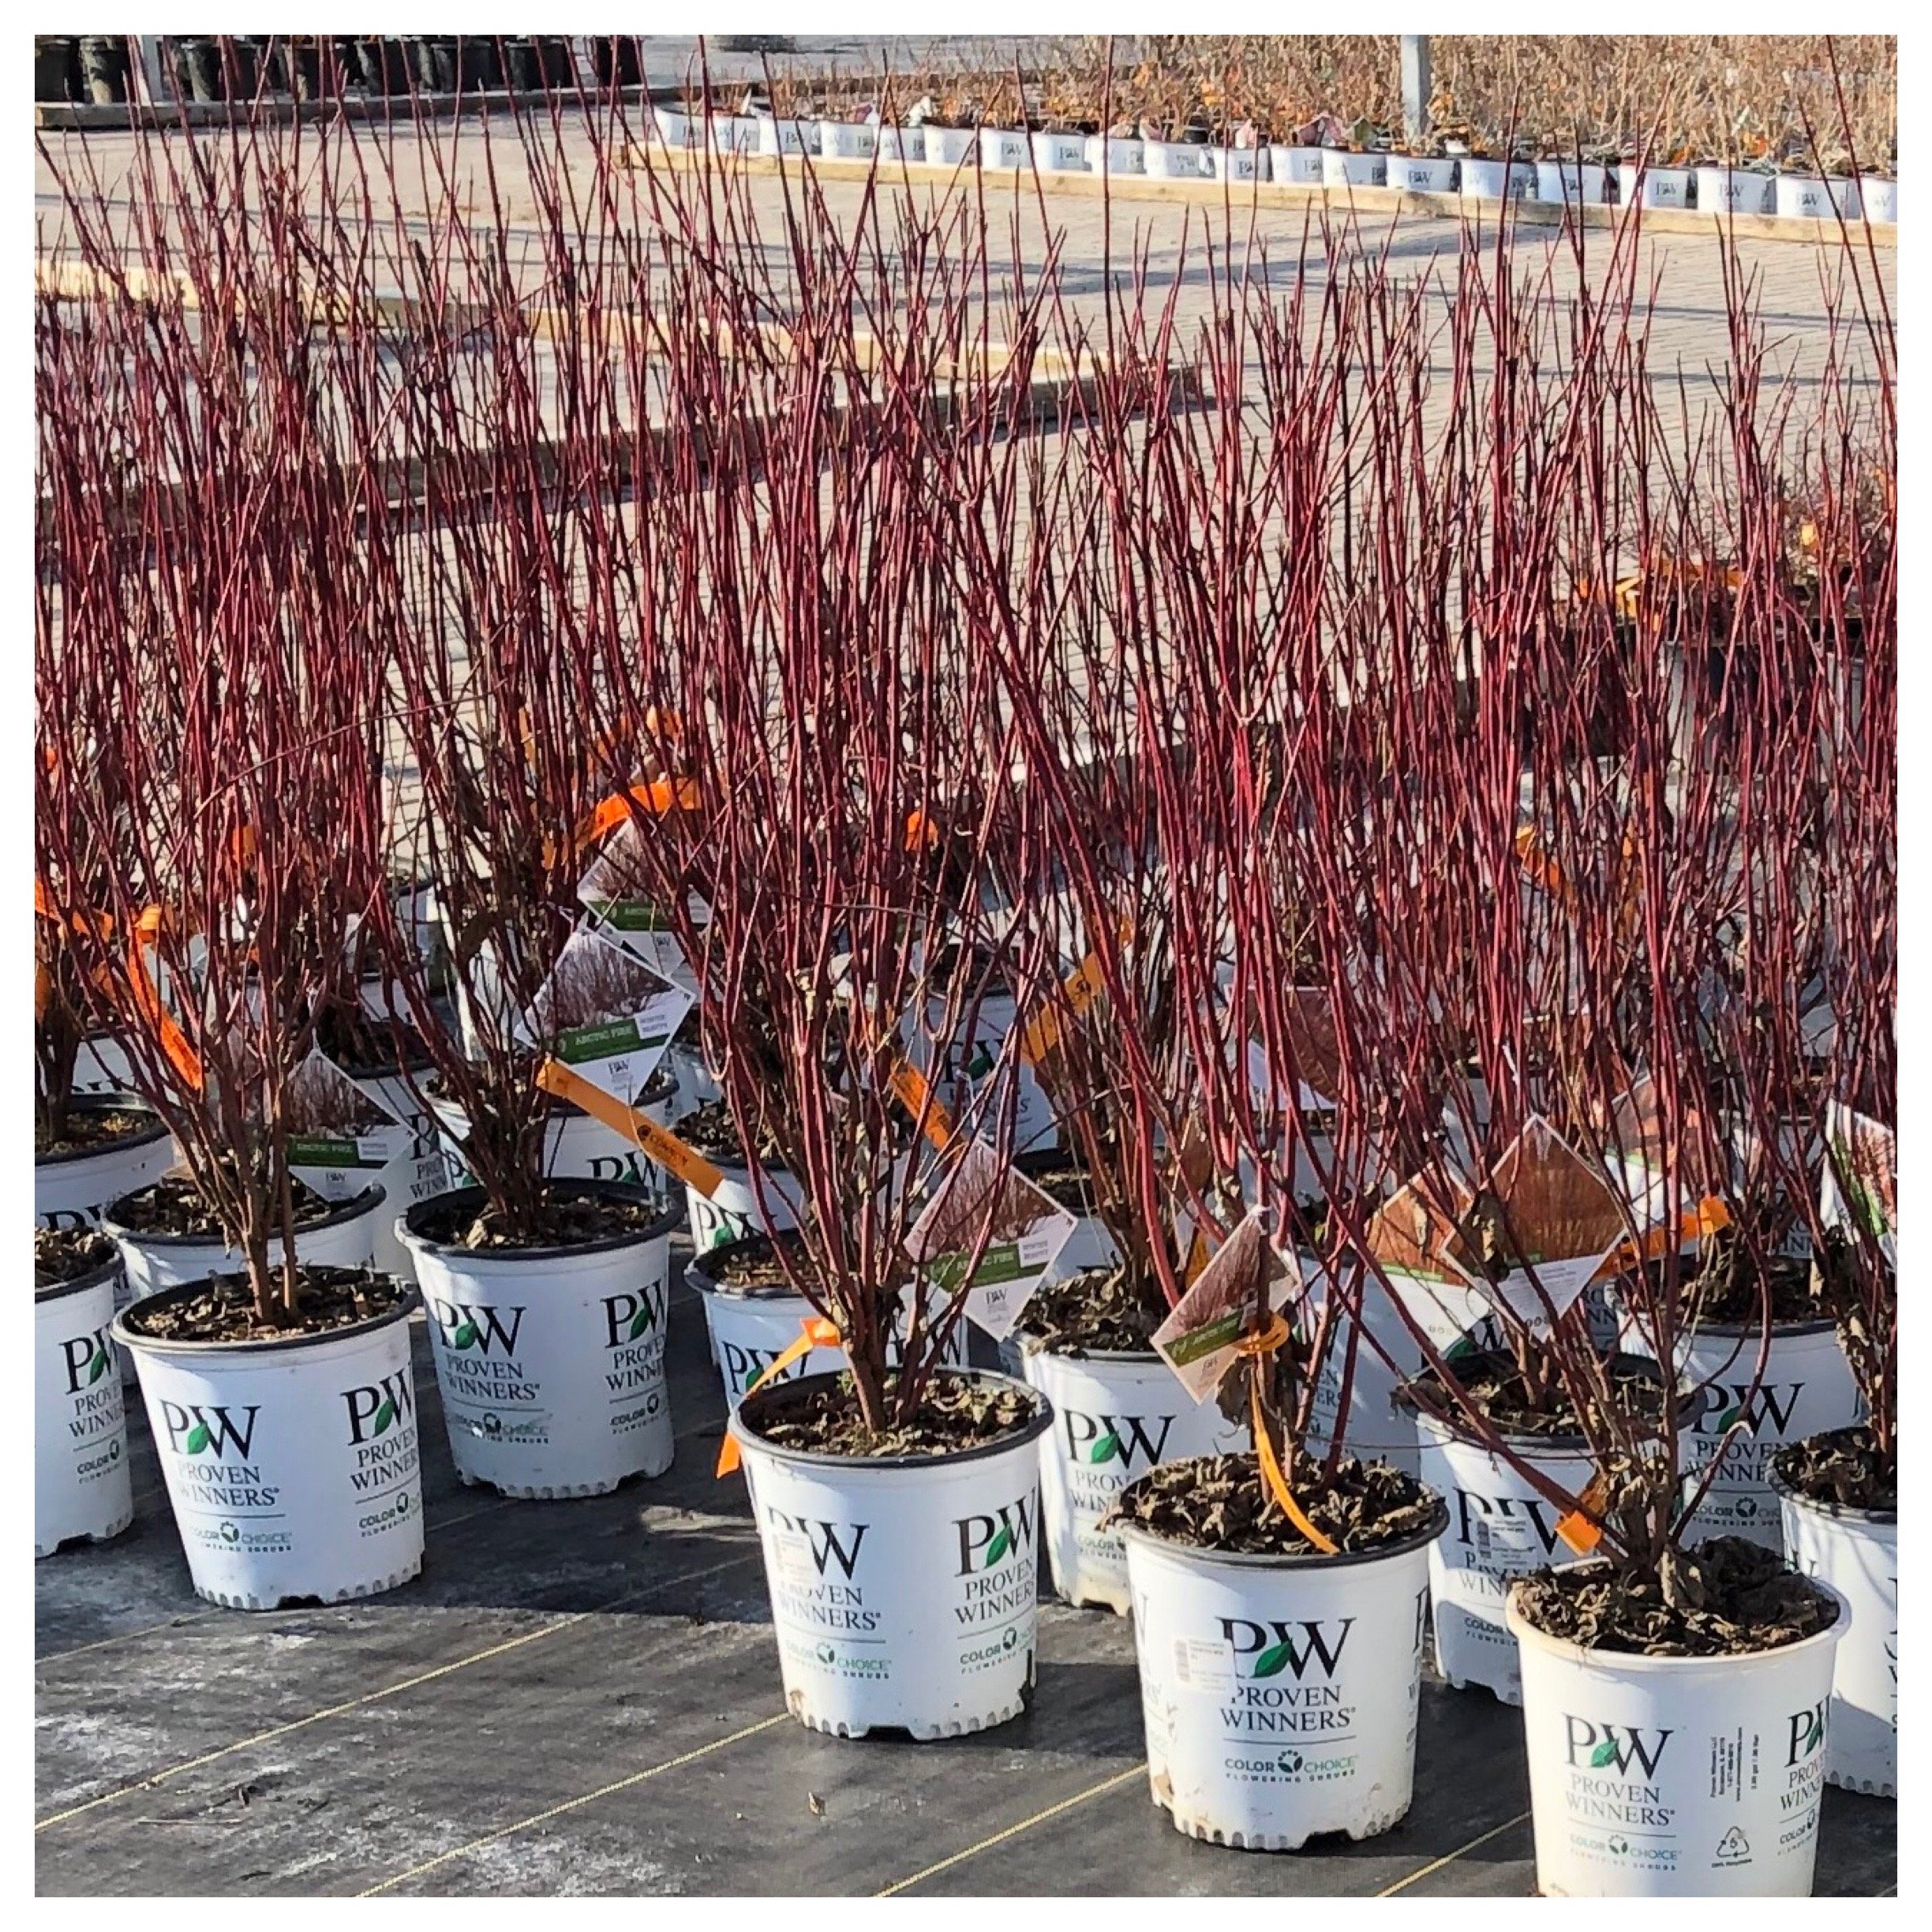
No question about it, mulch on a garden looks great. (With the exception of red mulch…just don’t do it. Seriously.) Aside from aesthetics, mulch is valuable in many other ways but it’s useful properties make it more of a garden liability when it is applied too early in the season.

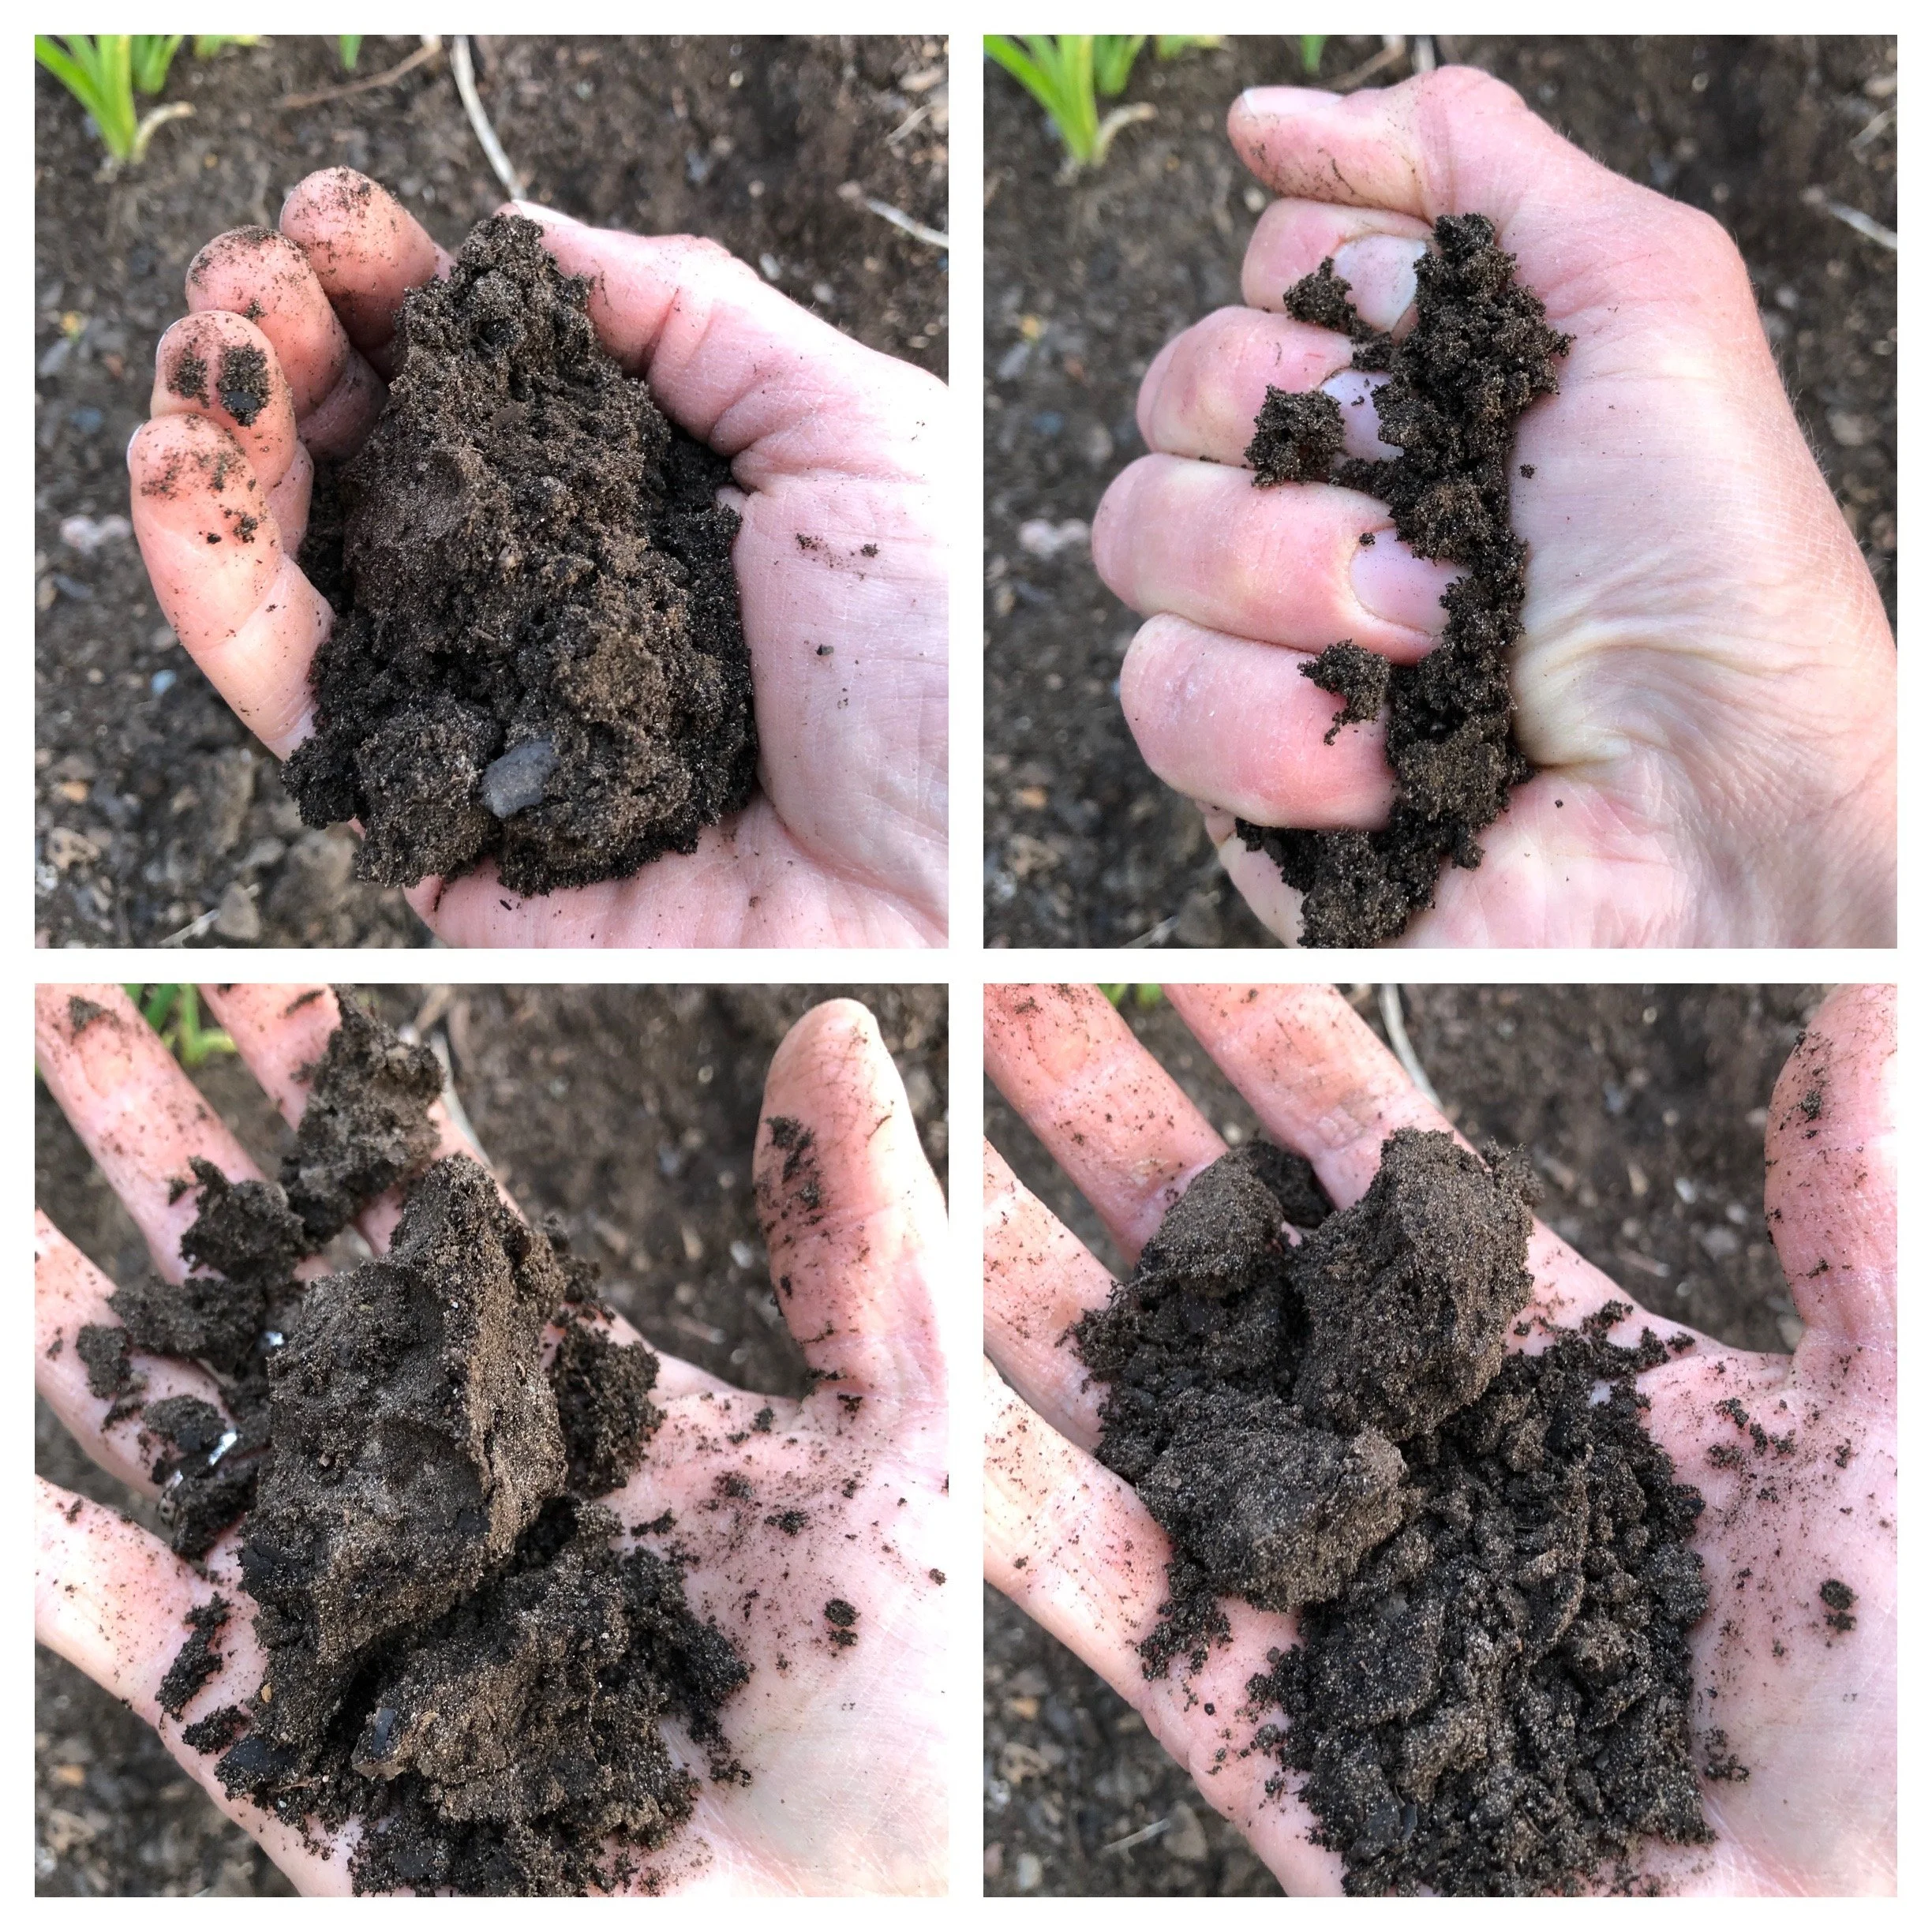
For example, mulch has an uncanny ability to prevent the evaporation of water from the soil. This is fantastic during the dog days of summer when rainfall can be scarce, but during the spring when rain is in abundance, we are often dealing with overly saturated soils. Depending on your soil texture, it can take a fair amount of time for soil moisture levels to decrease (clay soils take much longer to dry out than sandy soils). Putting mulch on saturated soil will prolong the length of time it takes for garden soil to dry out. In the meantime, some plants can suffer in the waterlogged conditions and some may rot away.

Mulch is also amazing at blocking sunlight. It is the main reason why it is able to suppress weeds- a thick layer of mulch blocks the light that plants need to grow, and that weed seeds need to germinate. Now take that same mulch and put it over top of perennials just starting to emerge, and you’ve got yourself a problem. I see this issue quite often on properties where landscape crews (who do not know the placement of garden plants that have yet to ‘wake up’) mulch too early in the season and inadvertently cover up (and sometimes smother) garden plants. Whoops.

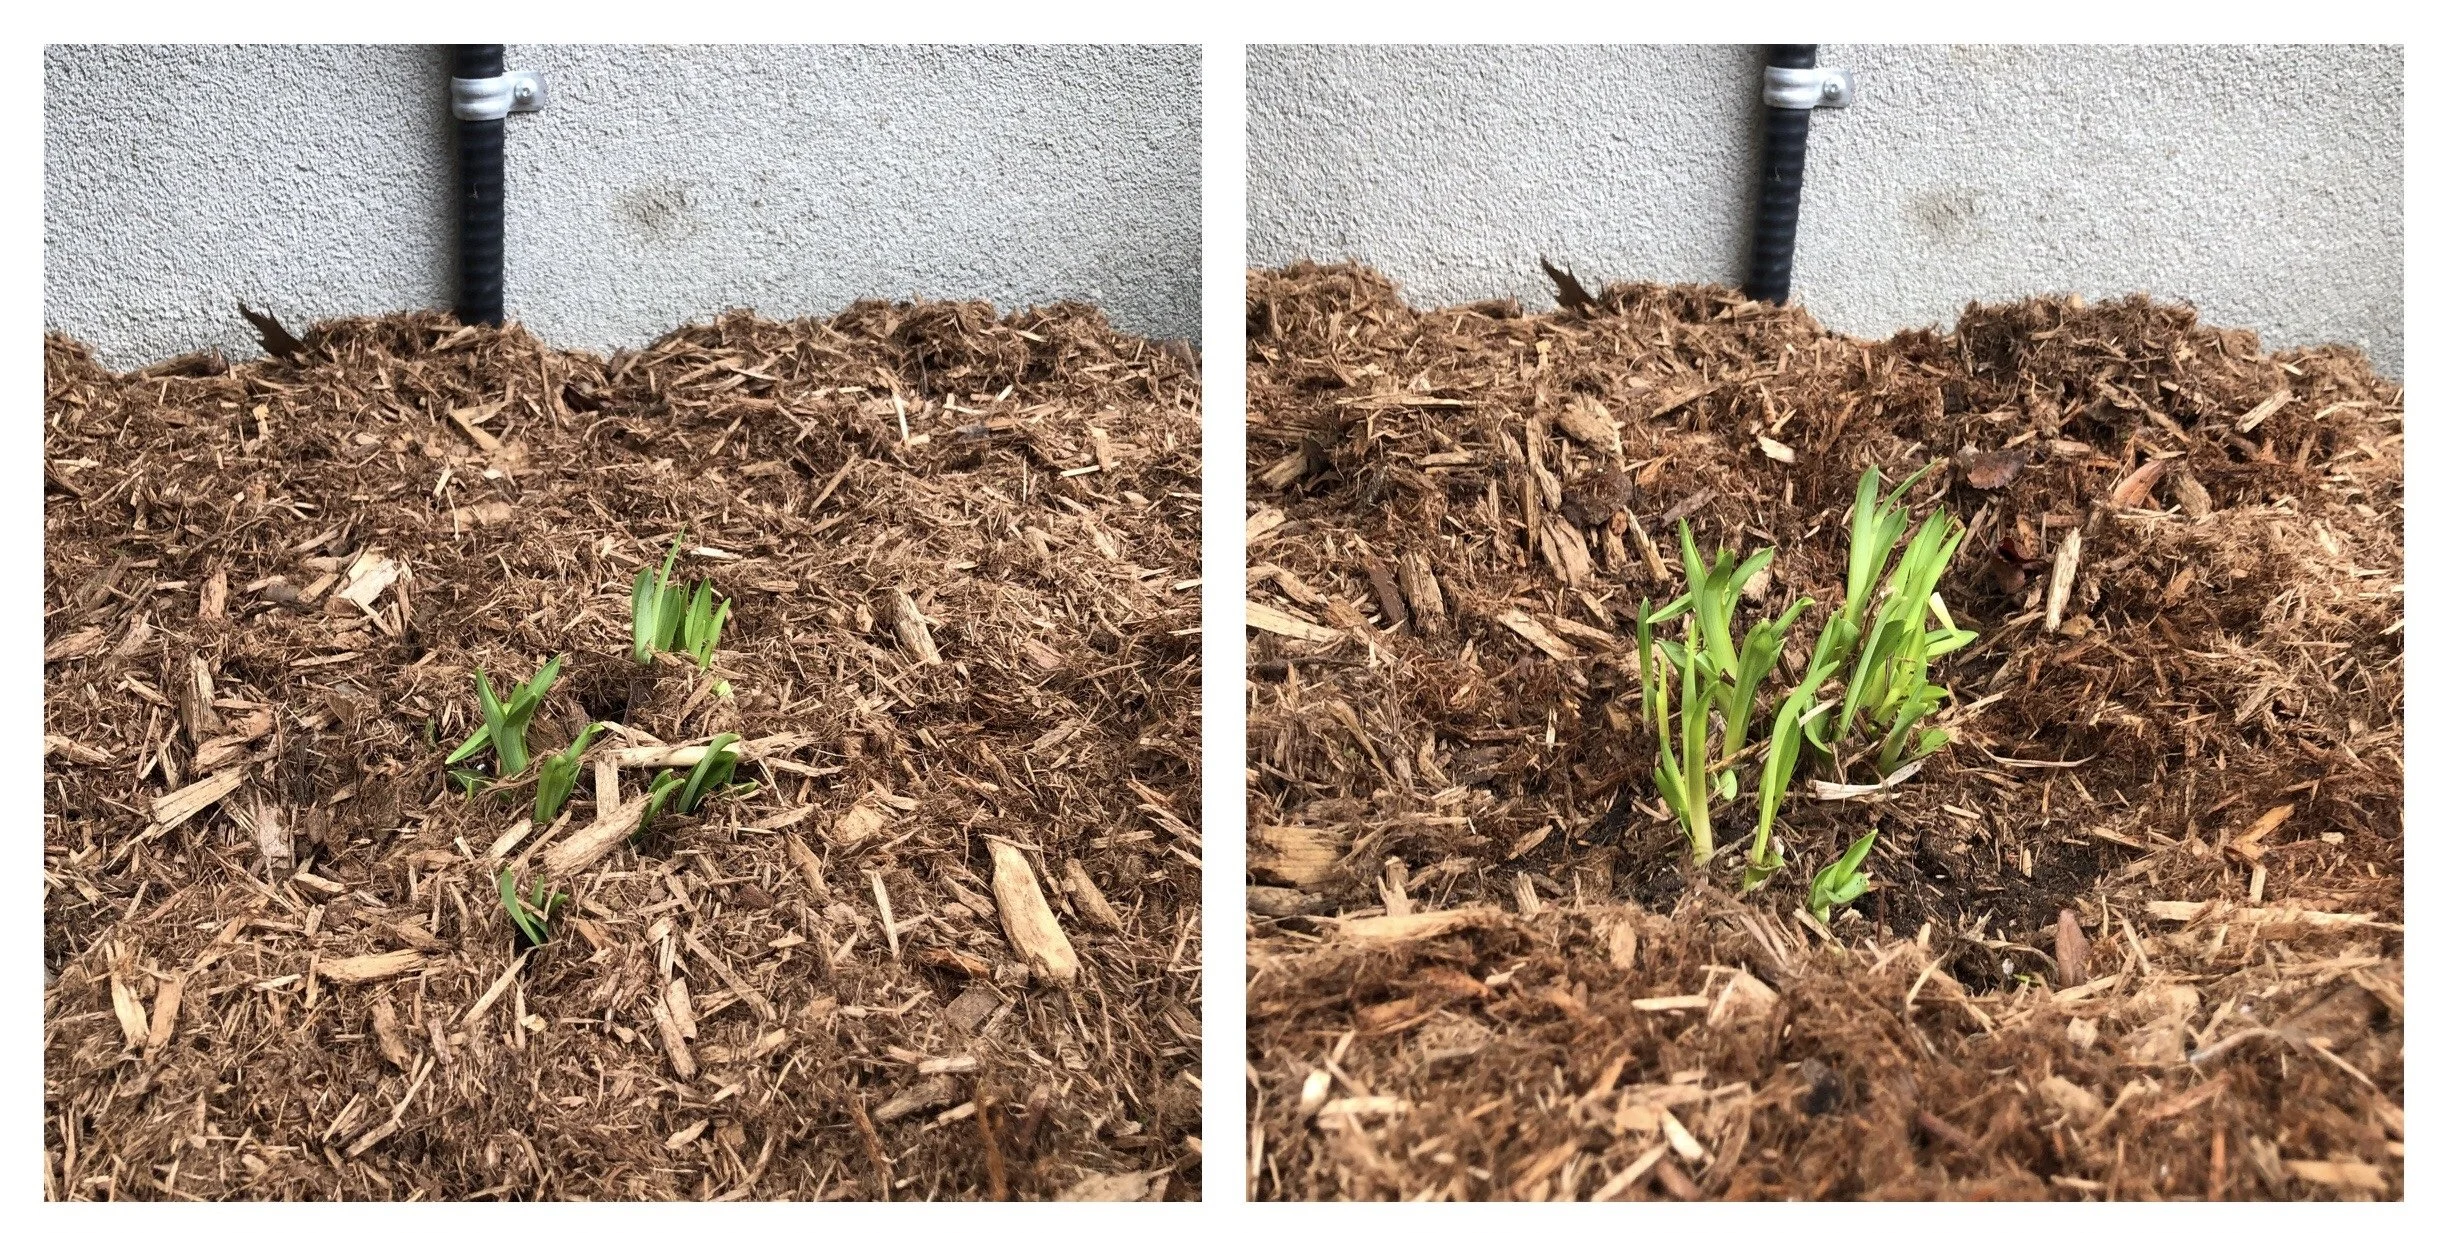
A Hosta mulched-over by a landscape crew. Luckily this one had already emerged and was freed from the thick mulch blanket. Remember- mulch does not get put over top of plants, it goes around them! It’s hard to apply it properly if you can’t see the plants.

Another benefit of mulch is it’s ability to moderate soil temperatures. This is great for preventing freeze/thaw events during the winter (which can be detrimental to plants) however, if a thick layer of mulch is applied too early in the spring, it can slow the warming up of garden soils- which can negatively impact plant growth.

Finally, mulching should occur after amendment/fertilizer applications are complete (if this is necessary based on soil tests). Mulching before amendments have been applied essentially closes the window to applying amendments and fertilizers directly to the soil where it is needed. Fertilizing early is not an option because plants need to be actively growing to make use of the applied nutrients. If they can’t, the nutrients may be washed out of the soil before they even serve a purpose and nutrient loss can have negative effects within the surrounding environment. This is overly simplified and highly dependent on what is actually getting applied to the garden, but I think you get my point: amendments first, mulch next, but not too early!

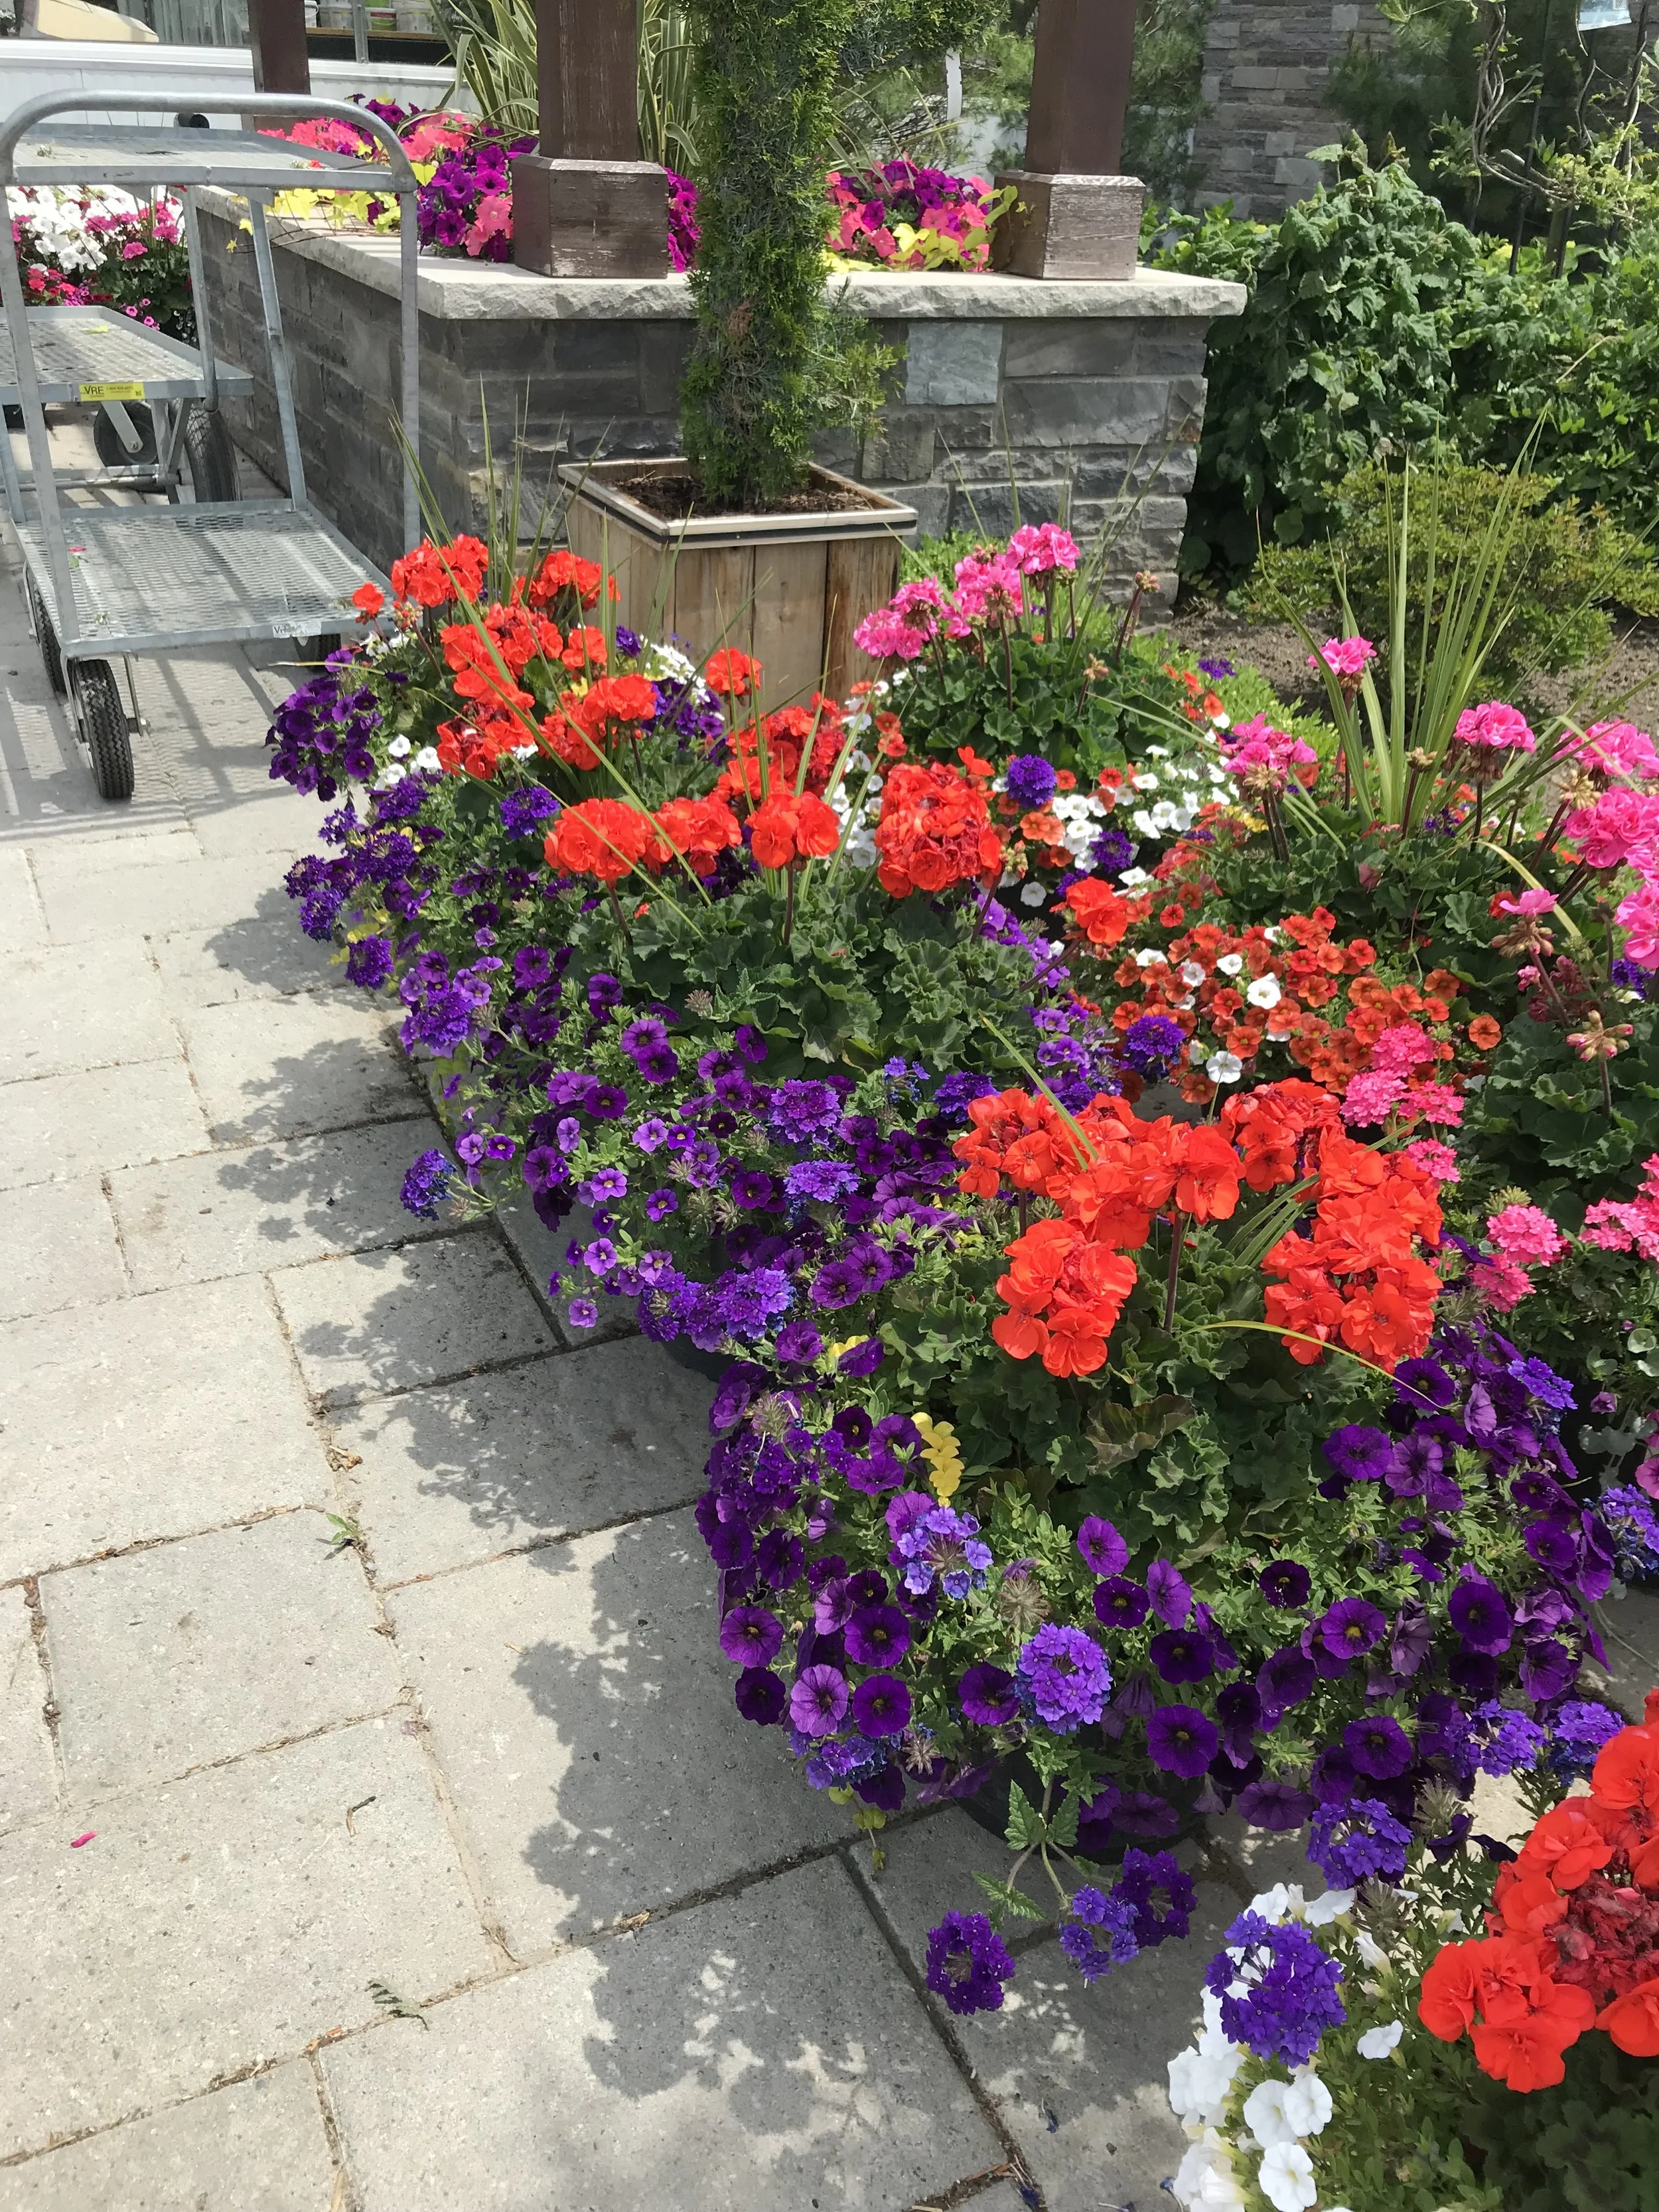
As you can see, mulching too soon can be pretty detrimental to a garden. In my area, I generally do not start mulching gardens until the end of May. In some cases I will wait even longer- for instance if I have annuals to get into the ground. For me, the annual planting frenzy kicks-off the third week of May and lasts for a few weeks. It is much easier to apply mulch around annuals after they have been tucked into the garden, rather than try to plant them into a mulched garden bed (which requires the mulch to be pushed out of the way in order to access the actual garden soil for planting… definitely not an efficient way to plant!)

It is much easier to apply mulch after annuals are planted rather than have to dig through mulch to find soil to plant into.

And there you have it! A couple common spring gardening mistakes that I am sure we have all been guilty of at one point or another. So what’s the take home message in all of this? Well, if you feel ‘behind’ in your garden chores- don’t worry! You are most likely not as behind as you think; best case scenario, you are right on schedule! It’s far too early in the season to stress out about falling behind in gardening tasks. Enjoy the ‘spring wake-up’ at a more leisurely pace… your garden (not to mention your body) will thank you.

Wishing you a happy spring! It’s great to be back in the gardens :)

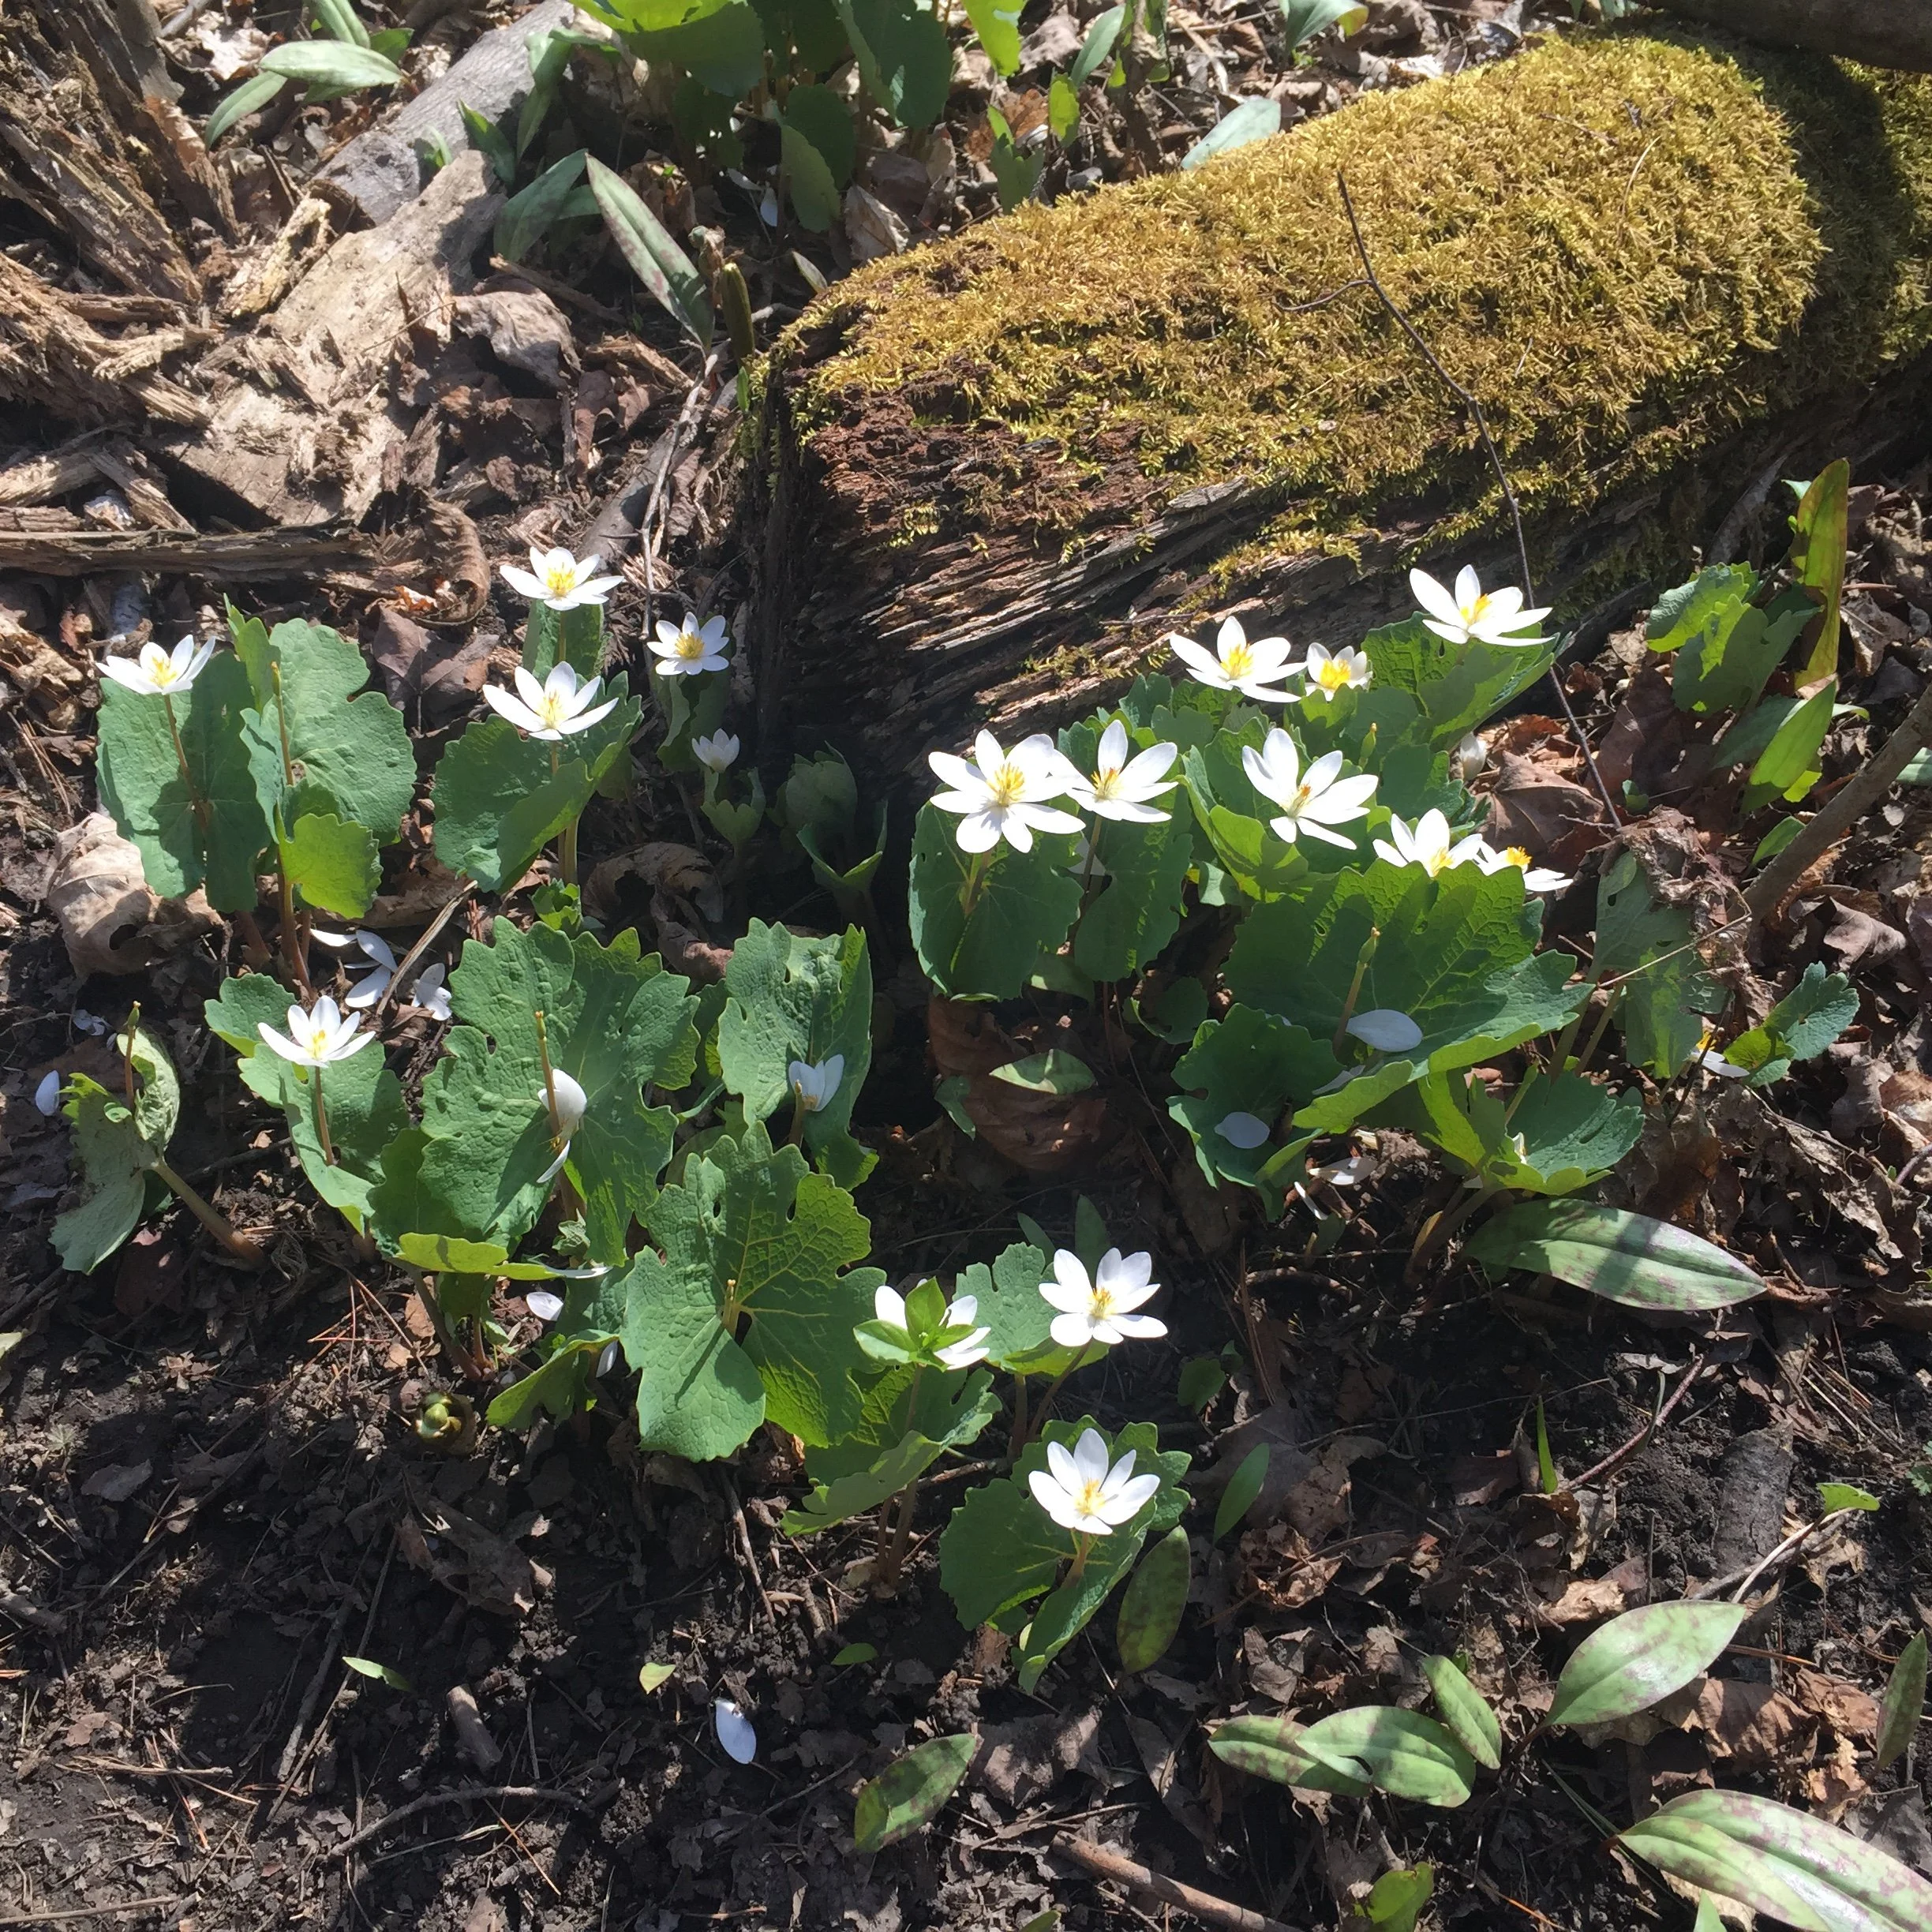
Sanguinaria canadensis (Bloodroot). It’s springtime in our woodlands!

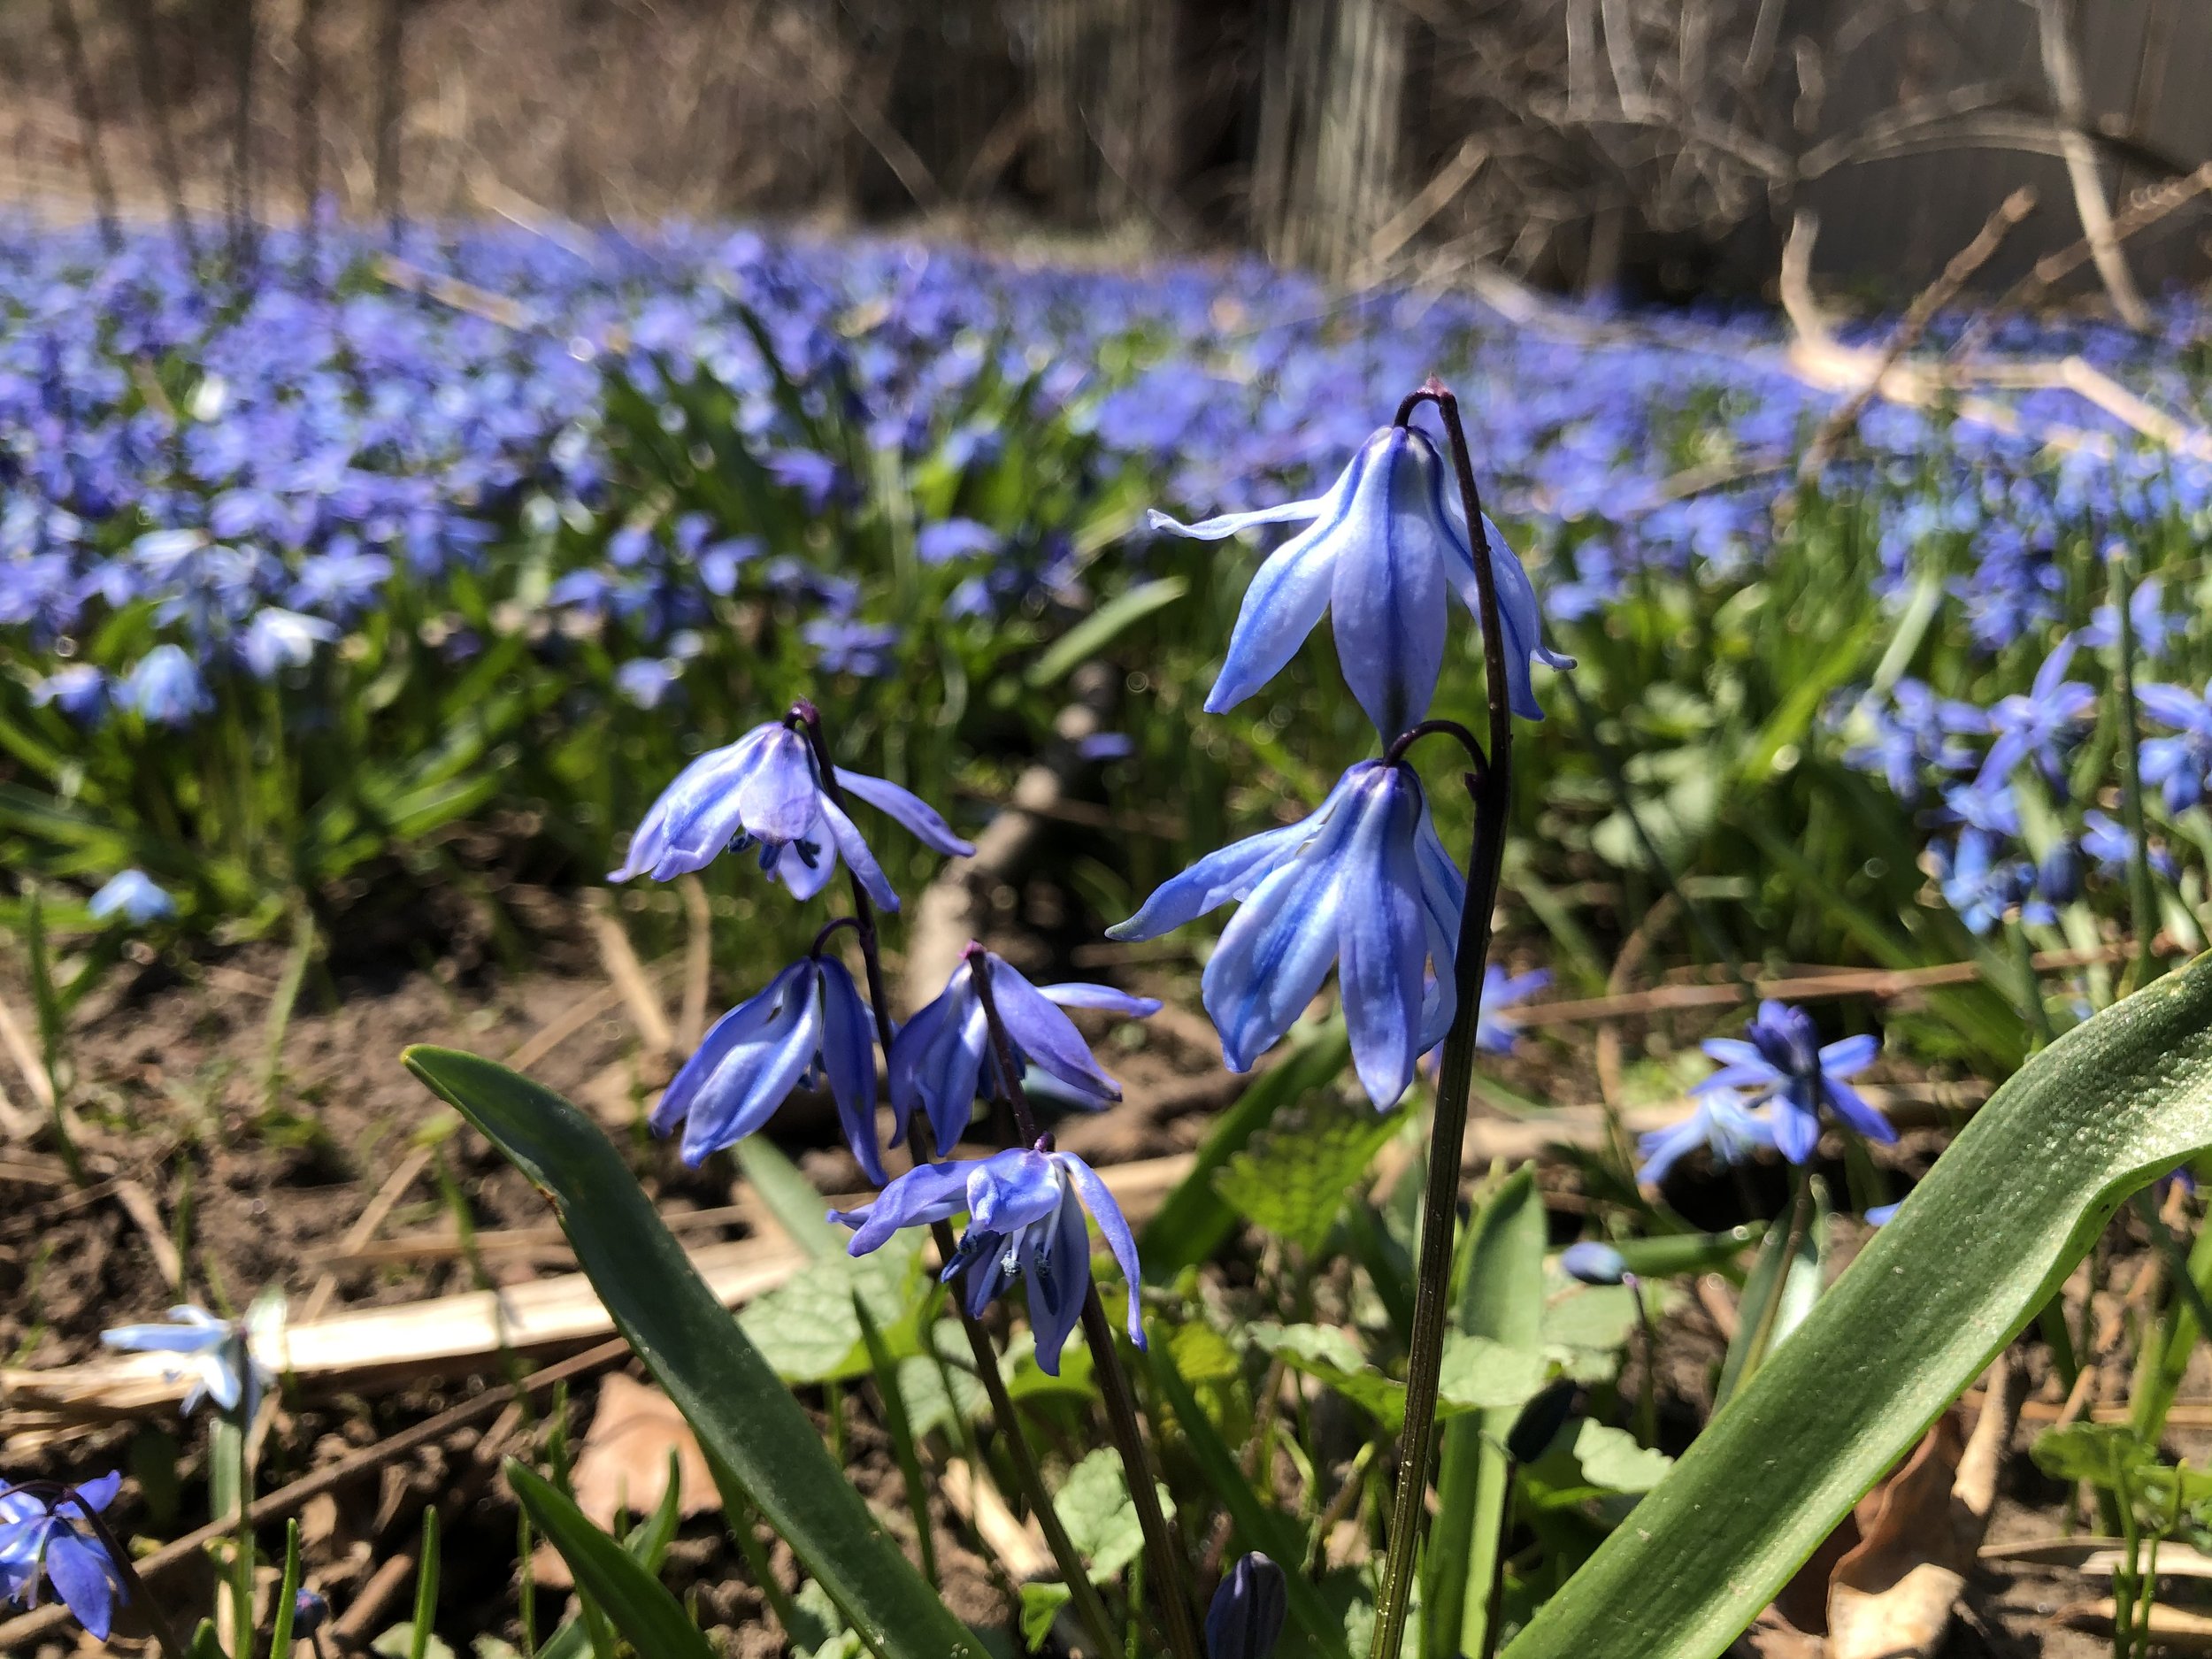
Scilla Sect. Chionodoxa (glory-of-the-snow). A sea of blue is a spring sight to behold!

It's Gardening Season- Dig in!

(Originally posted: April 9, 2021)

Spring is upon us and gardeners everywhere are chomping at the bit to get their hands dirty and turn winter dreams into reality. With all this unbridled enthusiasm in the air during the early days of spring, it is no surprise that the most common question to arise in conversation tends to be: “how soon can I start planting?”.

My answer, to the shock (and sometimes horror) of many people, is “if you can get a shovel in the ground, then you are eligible to plant!”

Now this may seem like a nice concise answer and the end of the blog post, but by now I think you know that I am not exactly a short-winded writer. Like all gardening statements, this one comes with some caveats that we should really take a few moments to discuss.


Soil Workability vs. Suitability

While the lack of frozen soil is an indication that the ground is workable and able to receive some new plant material, the question becomes whether or not it is suitable to be working in the garden. One common condition that makes soil unsuitable for gardening (which can occur during any season but is frequently a problem after snowmelt and spring rains) is that it is too wet. Trampling on wet soil is an easy way to cause soil compaction (bad!), not to mention that planting in waterlogged soil does nothing to start new plants off on the right foot! In fact, it is a good way to essentially drown them.

Not sure if your soil is too wet? Try the ball test! Scoop up a handful of soil with a trowel and squeeze it into a ball. Now ask:

Does the soil leave a mud impression on my hand/does the soil stick to my fingers?

Do I see free water squishing out from the soil when I squeeze it?

Does the ball remain in tact if thrown in the air?

If you answered yes to any of these questions, the soil is too wet to be worked and it should be allowed to dry out to the point that it is able to crumble after being squeezed into a ball, or break apart when thrown into the air. Obviously if you garden in heavy clay soil, the ball test is much less straightforward as clay particles have an uncanny ability to stick together. Therefore, in the case of clay soils, the presence of water/soil staining on fingers becomes a very useful observation when determining soil moisture levels.

The ‘Ball Test’ (clockwise from top left): a scoop of soil is collected from about 12” down, it is squeezed into a ball, the ball cracks upon the opening of my hand, the ball completely crumbles after tossing it in my hand. Visually the soil is not excessively wet and I have very little staining my fingers. Looks like I’m good to go!

Suitability of Plants

While dormant trees, shrubs, and perennials can be planted at the first opportunity that soil conditions will allow, plants that have leafed out may not be ready for the ‘outside world’ if they have spent the entire winter and early spring being coddled in the highly controlled environment of a greenhouse. They are wimpy and need an adjustment period to acclimate to the harsher conditions (more intense sunlight, presence of wind, and temperature swings) that are found outdoors before they are permanently relocated to a garden home. At this time of year, when purchasing plants, you can ask the garden centre if the plants are ready to be transplanted outside; alternatively you can play it safe and ‘harden off’ the plants on your own by gradually increasing their daily time spent outdoors (bringing them indoors at night), and gradually increasing their exposure to sunlight over the course of about a week. A quick Google search on “hardening off” will provide you with numerous reputable resources if you are not sure how to do it.

Beautiful in dormancy, Cornusstolonifera ‘Arctic Fire’ awaits relocation to a garden home where they can continue to shine!

As a final note on plant suitability, we must keep in mind that while temperatures are warming up quickly, there is still a risk of frost for weeks, or even months to come. Plants that cannot tolerate hard frosts should not be planted outside until at least the last frost date has been reached. With that said, there is still the probability of frost after this date so it is best to wait longer before installing tender plants. To illustrate this point: the last spring frost date in my area (according to The Old Farmer’s Almanac) is listed as April 20, but it is standard practice to not widely plant tender summer annuals until mid to late May to be ‘on the safe side’. So going back to my blanket statement about planting when the soil is workable… well that comment has absolutely no validity when it comes to tender plants!

Colourful annuals have no place in the garden for at least another month and a half!

Well, for me, annuals are a distant speck on my radar at the moment, but I just happen to have big plans for adding trees, shrubs, and perennials to the garden this year. With the arrival of the planting season in my neck-of-the-woods, it is now time for me to make my shopping lists, do some stretches, and get ready to work the dirt. (Yeehaw!)

Additional Resource:

United States Department of Agriculture. Natural Resources Conservation Service. No date. Program Aid Number 1619. Estimating Soil Moisture by Feel and Appearance. https://www.cdpr.ca.gov/docs/county/training/inspprcd/handouts/soil_moist_feel_test.pdf (GREAT PHOTOS!)

The Natural Prune

(Originally posted: July 6, 2020)

Pruning season is in full effect now. It’s a fun time of year because as early-blooming shrubs come out of bloom, it is generally the perfect time to prune them before they begin setting flower buds for next year.

Pruning can be a daunting task for many gardeners who are often incapacitated by the thought of timing things properly and the fear of killing their plants. Rest assured, if you time your pruning immediately after the flowering period, and remove no more than one third of the plant, your plant should be fine and flower again next season. (I said *should* because there are always exceptions, and if the plant is stressed in other ways such as through drought or nutrient deficiencies, the ability of the plant to rebound from pruning can be compromised. Additionally, some plants are more tolerant of a ‘haircut’ than others.)

I think that in reality, the main concern when it come to pruning should be disfiguring a plant- which happens all too often. Plants, like people, come in all shapes and sizes; and, also like people, the natural growth habit of a plant is what contributes to it’s natural beauty. This is why it drives me CRAZY when I see hedge shears used as a general all-purpose pruning tool (especially by landscape crews).

Don’t get me wrong- I love my hedge shears BUT they serve a specific purpose and that is for pruning hedges.

Hedge shears should only be used for one thing and that thing is….

anyone…

anyone…

Bueller?

The answer is HEDGES!!!!

Hedge shears are great for pruning things into lines, tight globes, pyramids, random animal shapes… but when it comes to flowering shrubs, they absolutely decimate the natural growth habit of a plant. (If you are a person who likes all the plants in your garden to be rounded- you are not alone, many people do, however this is not the post for you! You may now save yourself a few minutes of time and gracefully bow out of this article.)

Hedge shears: great for things like boxwood spheres… but not for the other flowering shrubs in the garden (such as the Hydrangea paniculata or Cornus kousa growing in the background).

OK- back to natural shapes…

Let’s use a kousa dogwood (Cornus kousa) as an example. This is a shrub known for it’s architecturally stunning horizontal branching structure. Here are two photos- the first on the left showing the natural form of the tree, and the second (on the right) that has fallen victim to the hedge shears.

Poor dogwood! This type of disfigurement is completely avoidable with a little knowledge of how trees and shrubs grow and respond to pruning.

The Effect of Pruning

Let’s backtrack just for a second and take a look at what pruning actually does to a plant. When a pruning cut is made, it encourages the plant to grow from the next available growing point behind the pruning cut which is either:

  1. A bud or set of buds

  2. Existing branches

If a branch has been pruned back to a bud/buds, this is known as a ‘heading-back’ cut. The bud(s) are essentially forced to grow (in the direction in which they are pointing) and the pruning has ultimately promoted branching at the point of pruning.

Pruning back to a bud (a ‘heading back’ cut). The yellow dot indicates the pruning point and the red arrows illustrate the direction of resultant growth.

When a plant is routinely sheared (or just the tips of branches are snipped off to control size), the constant growth from buds and resultant new branches ultimately leads to a tree or shrub with really dense growth and branching on the outer edges and bare stems within the centre of the plant- not exactly a natural form!

A basic schematic that shows how routine shearing leads to a shrub with very dense branching on the outer edges of the shrub and a sparse interior.

On the contrary, when a branch is pruned back to another branch (known as a ‘thinning cut’), the plant will essentially direct it’s growth toward that remaining branch.

A ‘thinning cut’ back to a lateral branch (indicated by the yellow dot) and the resultant growth directed toward the remaining branch (as indicated by the red arrow).

It is these thinning cuts that are the key to what I like to call ‘the natural prune’. Here is how it is done…

The trick is to visualize a ‘shrub within the shrub’. Usually I get blank looks when I use this line- but it is the best way to describe the process. Essentially, you want the shrub to have the exact same branching structure after the pruning job is complete as it did before you took the secateurs to it, yet the overall size is scaled back.

Perhaps the idea of pruning sounds even more daunting than before? Have no fear! Let’s walk through this together.

I generally follow three steps when doing a ‘natural prune’ on trees and shrubs:

  1. Identify a long branch

  2. Trace this branch back to where it connects with a secondary (lateral) branch somewhere within the shrub

  3. Prune the long branch close to it’s union with the lateral branch (usually a few millimeters away from the point of connection, with the pruning cut angled up toward the lateral branch)

  4. Continue this technique around the whole shrub, multiple rounds if necessary, to remove all the longest branches

An overly simplified image of a shrub illustrating the use of ‘thinning cuts’ to reduce the overall size. The coral-coloured branches indicate the portions of the shrub to be removed, the rest of the shrub remains. Note that the overall height and size of the shrub has been reduced using this technique.

Using this technique:

  • with the longest branches removed, the shorter ones become the outermost branches and therefore the overall size of the plant has been reduced

  • the pruning cuts are hidden within the shrub so you won’t be looking at little stubs that scream “I’ve just been pruned!”

  • the form of the shorter branches remain untouched and therefore the natural form of the shrub remains in tact

  • The plant won’t be forced to branch out from buds along the pruned stem because, by pruning to a secondary branch, the tree/shrub has essentially been told to direct it’s energy toward growing that secondary branch

Simple!

A sprawling ‘Glow Girl’ birch leaf spirea (Spirea betulifolia ‘Tor Gold’) immediately after flowering (left) and after a natural prune (right).

A dwarf Korean lilac (Syringa meyerii pallibin) kept as a globe. In this case hedge shears could have been used, but I reduced the size by thinning the longest branches.

Some Final Thoughts

This type of pruning is subtle- something that can be done yearly or every other year to help limit the size increase of the shrub over time. Doing subtle routine pruning is a much better approach to size control than trying to reign in a plant that is on the verge of outgrowing it’s garden space (which is usually the time when people begin to think about taking action). Drastic pruning on an overgrown plant is not only hard on the plant, it rarely looks natural and is usually a loosing battle. With all that said, overgrown plants are best avoided by ensuring your garden can accommodate the mature size of any tree and shrub that is planted in it.

So have fun and take your time with this pruning technique. It will take much longer than a ‘hedge shear haircut’, but the extra time will pay off when you are sitting in your garden admiring the diversity in forms throughout your yard.