Soil health

Footprints are for the Beach

(Originally posted: August 17, 2020)

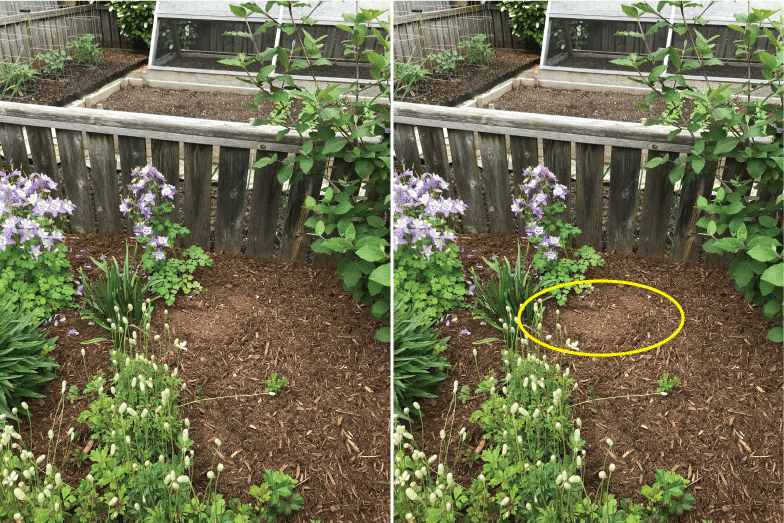
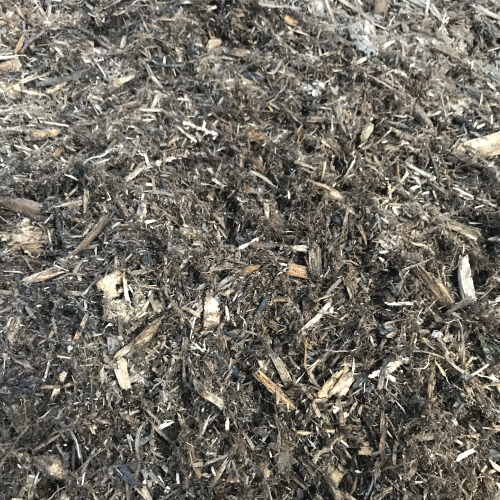
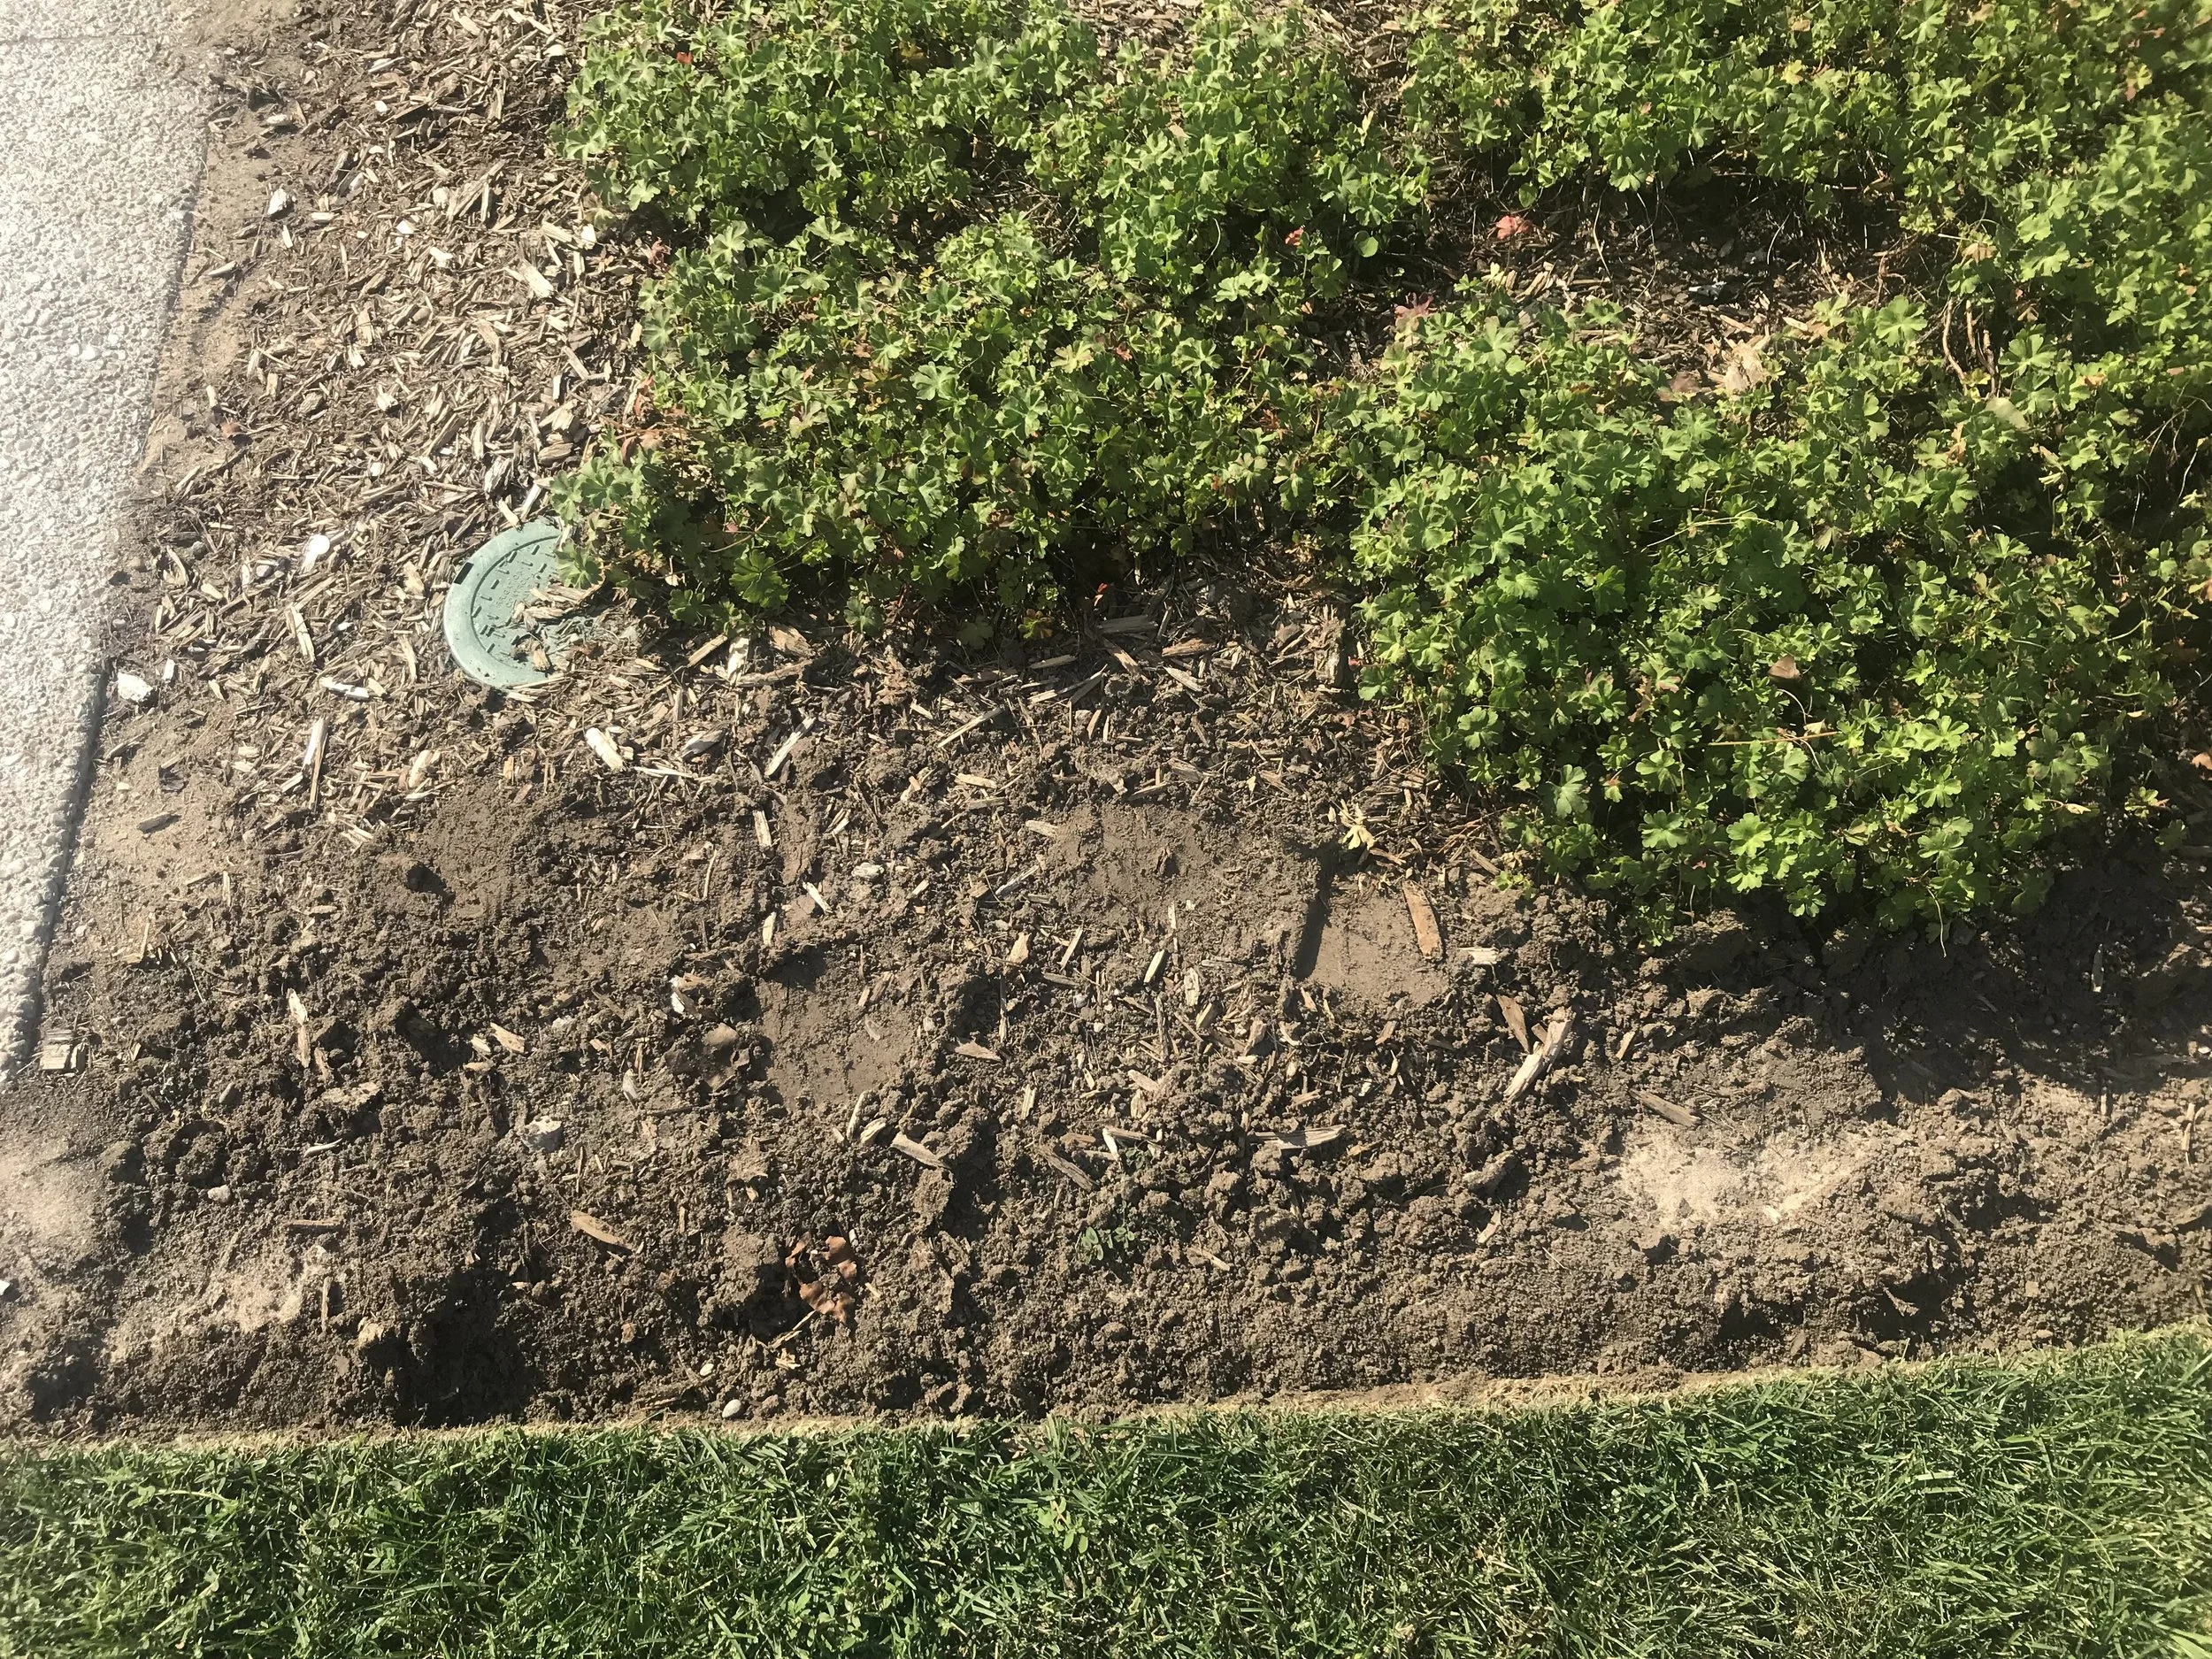
What do you see when you look at this picture?

I’ll start by telling you what I don’t see. (Rant alert!!!)

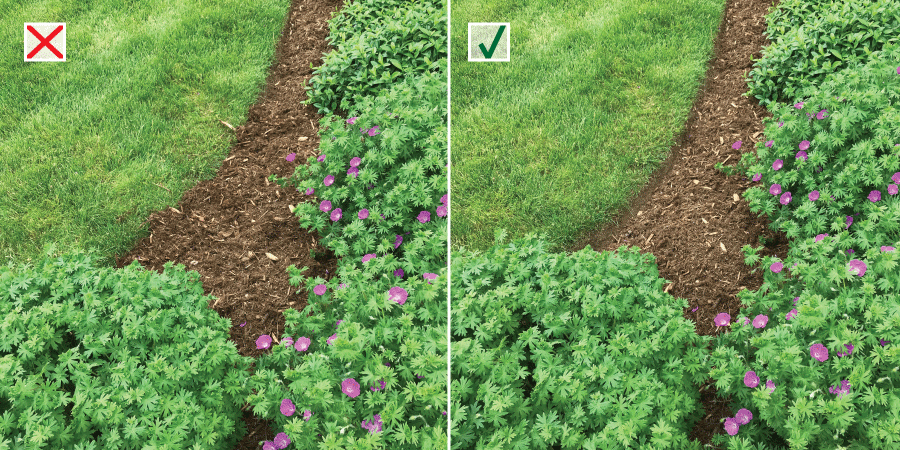
I don’t see a beautiful garden edge.

I don’t see a patch of Geranium x cantabrigiense that feels the same way about the relentless heat we have been experiencing that I do.

Instead, I see 2 big footprints glaring at me from the dirt. Hmmm… mens size 9.5 maybe?

Anyone who knows me, knows that footprints in a garden are a HUGE pet peeve of mine. I am known to walk backwards out of a garden, fluffing out my footprints as I retreat. I am sure it has raised many an eyebrow. I am also known to contort into various awkward-looking pseudo-yoga poses in order to avoid taking a step into a garden bed. (Should we call for help? Wonder the passerbys).

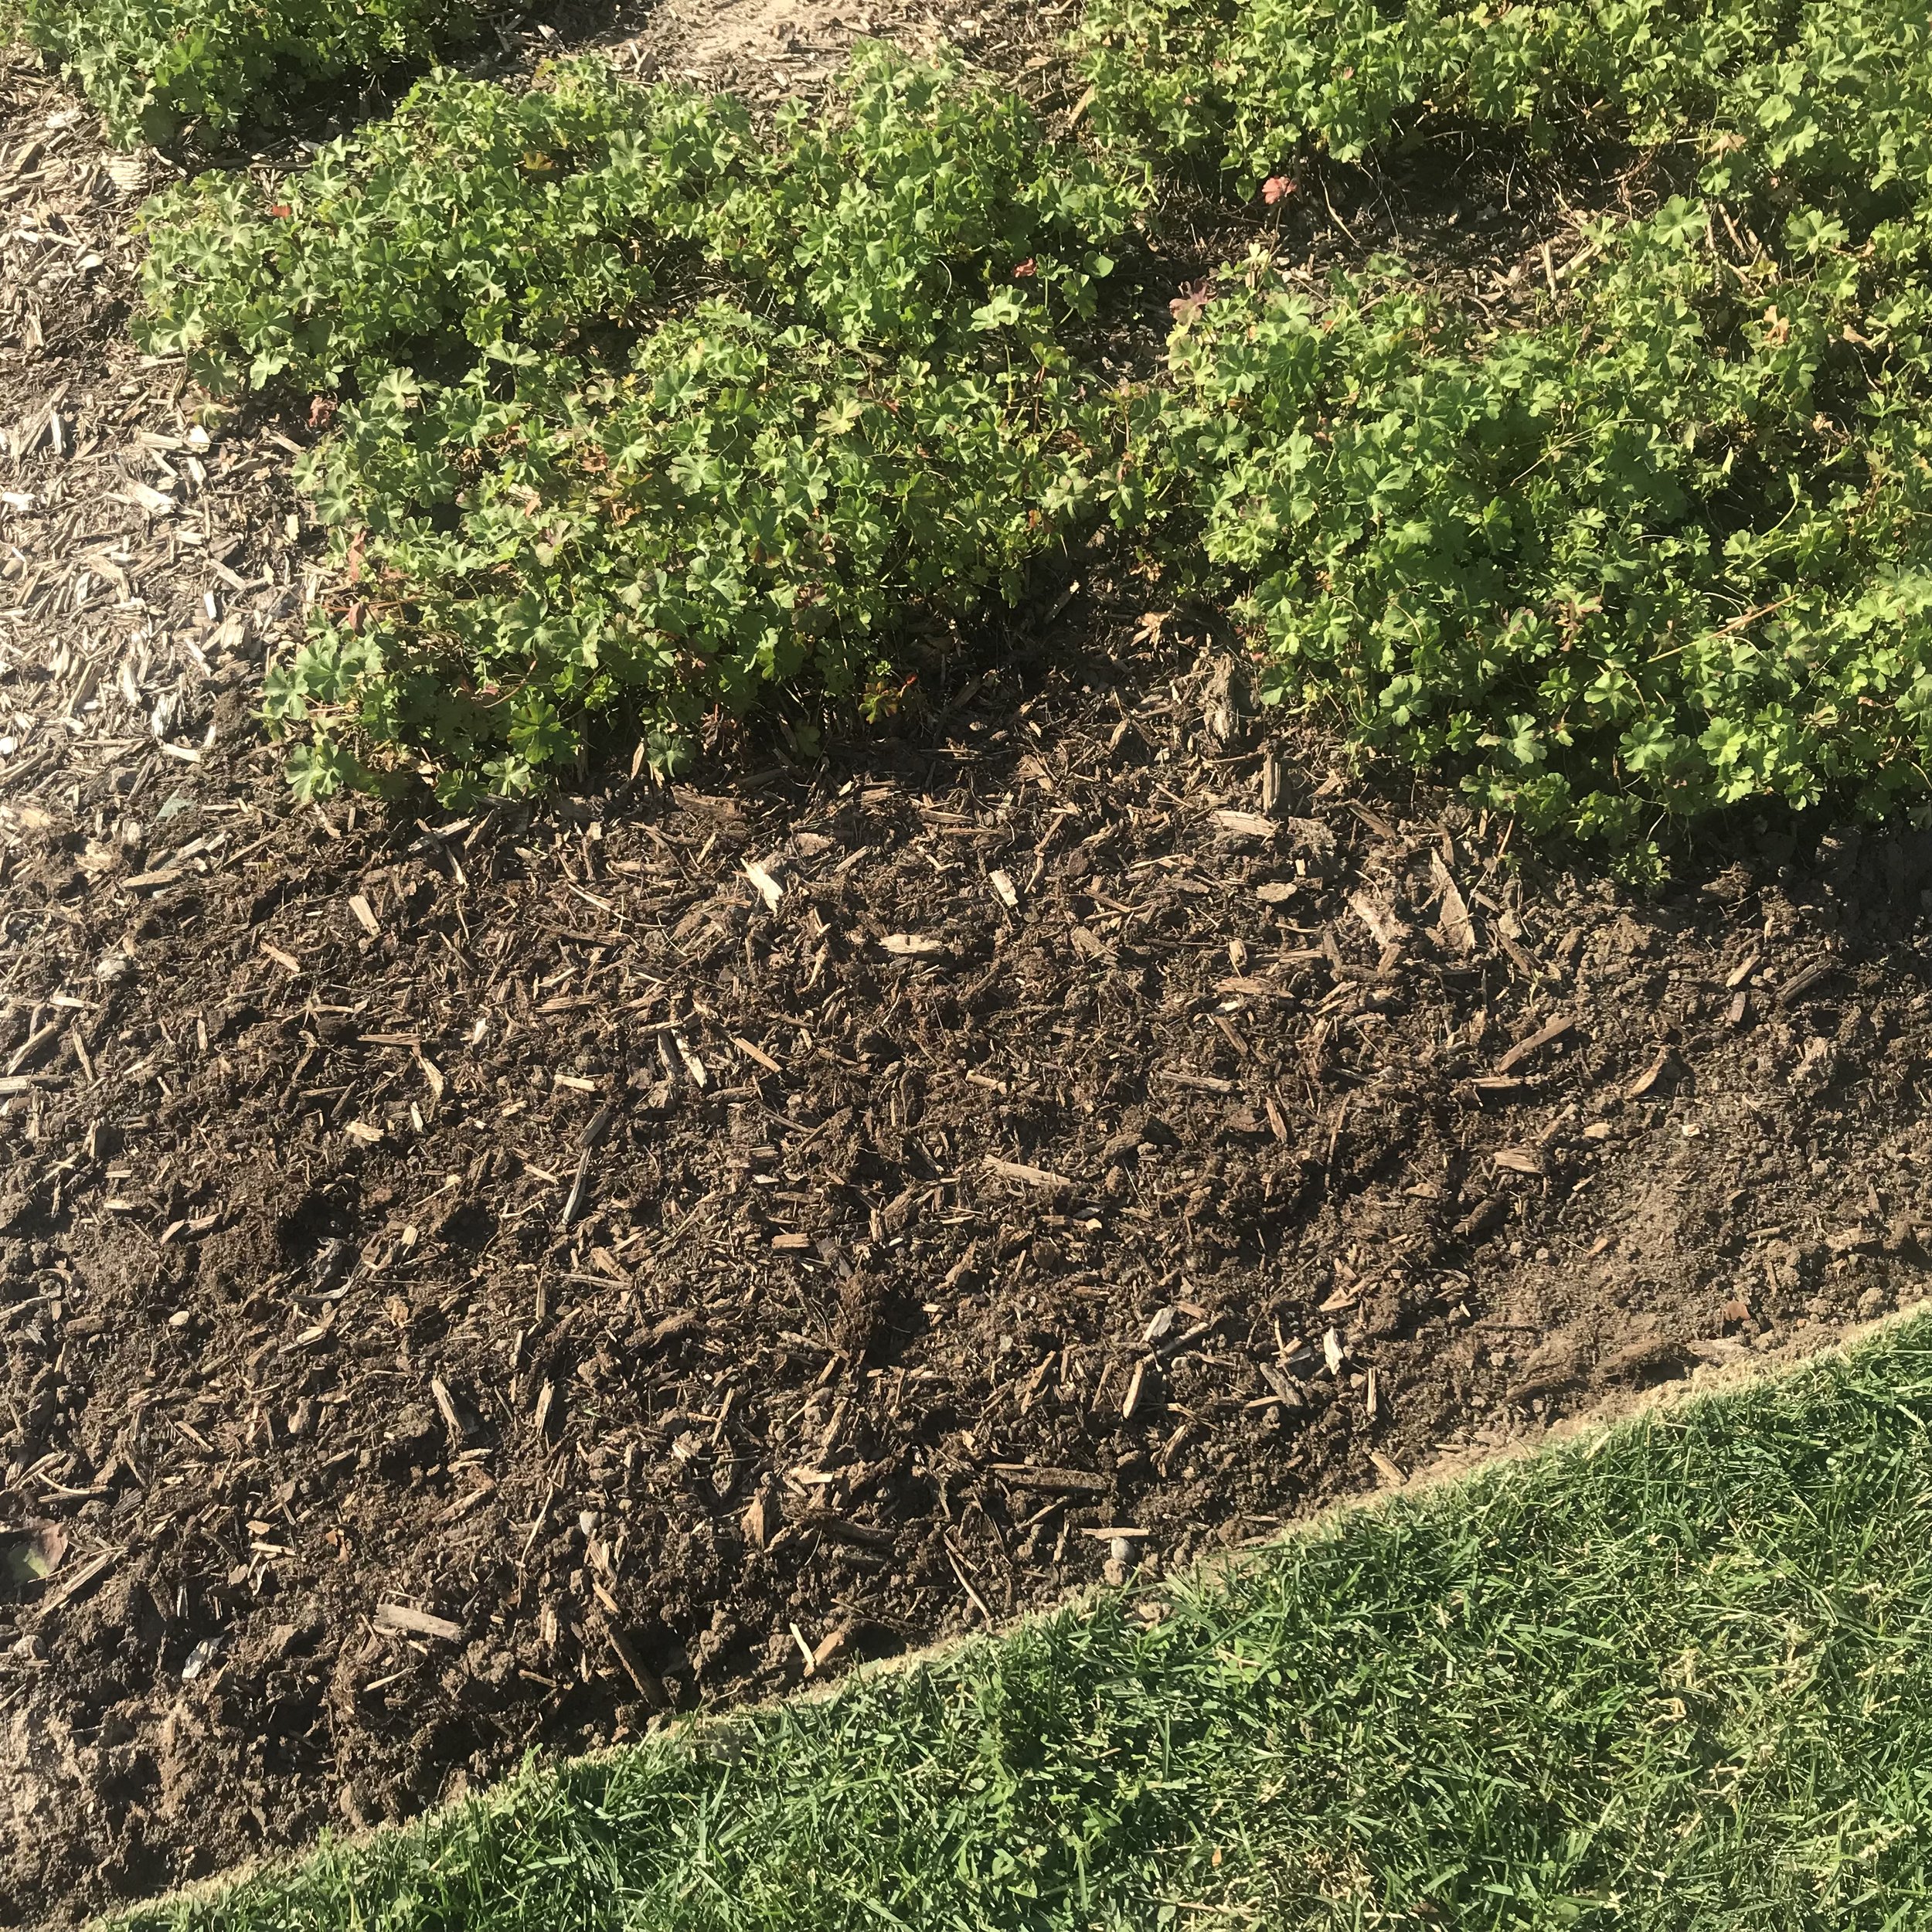
Ahhhh…. just a little fluff of the mulch makes everything better!

As a landscape gardener, I believe that gardens should look like they magically take care of themselves or little garden fairies tend to them while we are sleeping. Therefore when I leave a job site, I strive to leave no trace of my gardening visit. 

Footprints just look awful. They dash the illusion of magical intervention, and they detract from the nice features within a garden. As in the photo above, instead of seeing the absolutely beautiful garden edge made by Mr. 9.5, all I see is the print of a CSA approved workboot. Pitty. 

OK. Rant complete. Now onto something more productive as there are other reasons to not trample in a garden. Repeatedly walking all over a garden bed (especially a wet one) causes compaction of the soil: an all-around bad situation.

Let’s backtrack. 

Soil is made up of a few different things:

  1. Mineral components (sand, silt and clay)

  2. Organic components (such a living organisms and decaying plant matter)

  3. Pore spaces (tiny spaces between soil particles that are filled with water or air)

Now there are entire textbooks devoted to soil. I know- I’ve owned one… and likely slept on it before an exam in the hopes that any unlearned information would somehow transfer into my brain via osmosis. So I am going to try to keep this concise: essentially, the pore spaces in the soil are really important! 

When soil is compacted, the solid soil particles are pressed closer together thus reducing pore spaces. When this happens, there are significant consequences. Here are some of them:

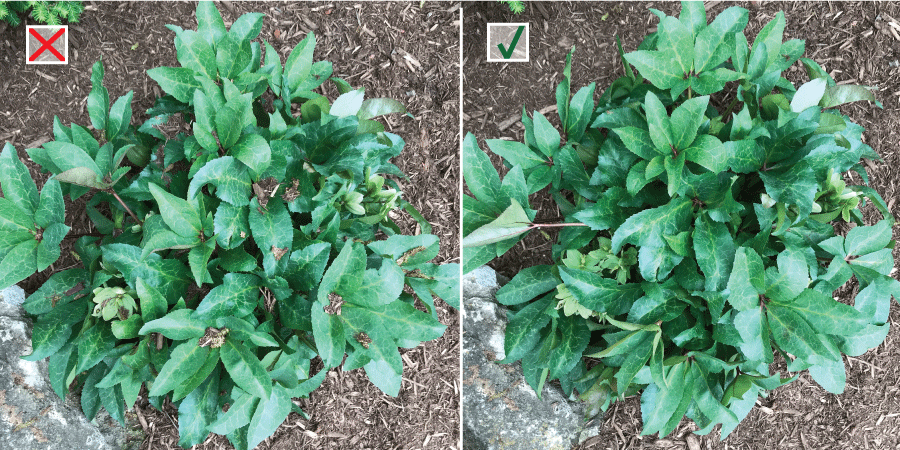
  • The soil becomes denser and it becomes harder for plant roots to push through the soil, stunting the root system and negatively impacting the overall growth of the plants

  • The soil cannot absorb moisture as easily (which means that rain/irrigation water is more likely to run off the soil rather than infiltrate into it)

  • The ability of the soil to drain can be restricted, leading to overly saturated conditions for extended periods of time (not all plants are able to tolerate these conditions)

  • Gas exchange between the roots of plants and the soil (needed for biological processes) and also between the soil environment and the ‘outer world’ is compromised which negatively impacts plant growth

  • Availability and plant uptake of nutrients can be negatively affected in compacted soils

  • Soil processes such as the decomposition of organic matter can be slowed down

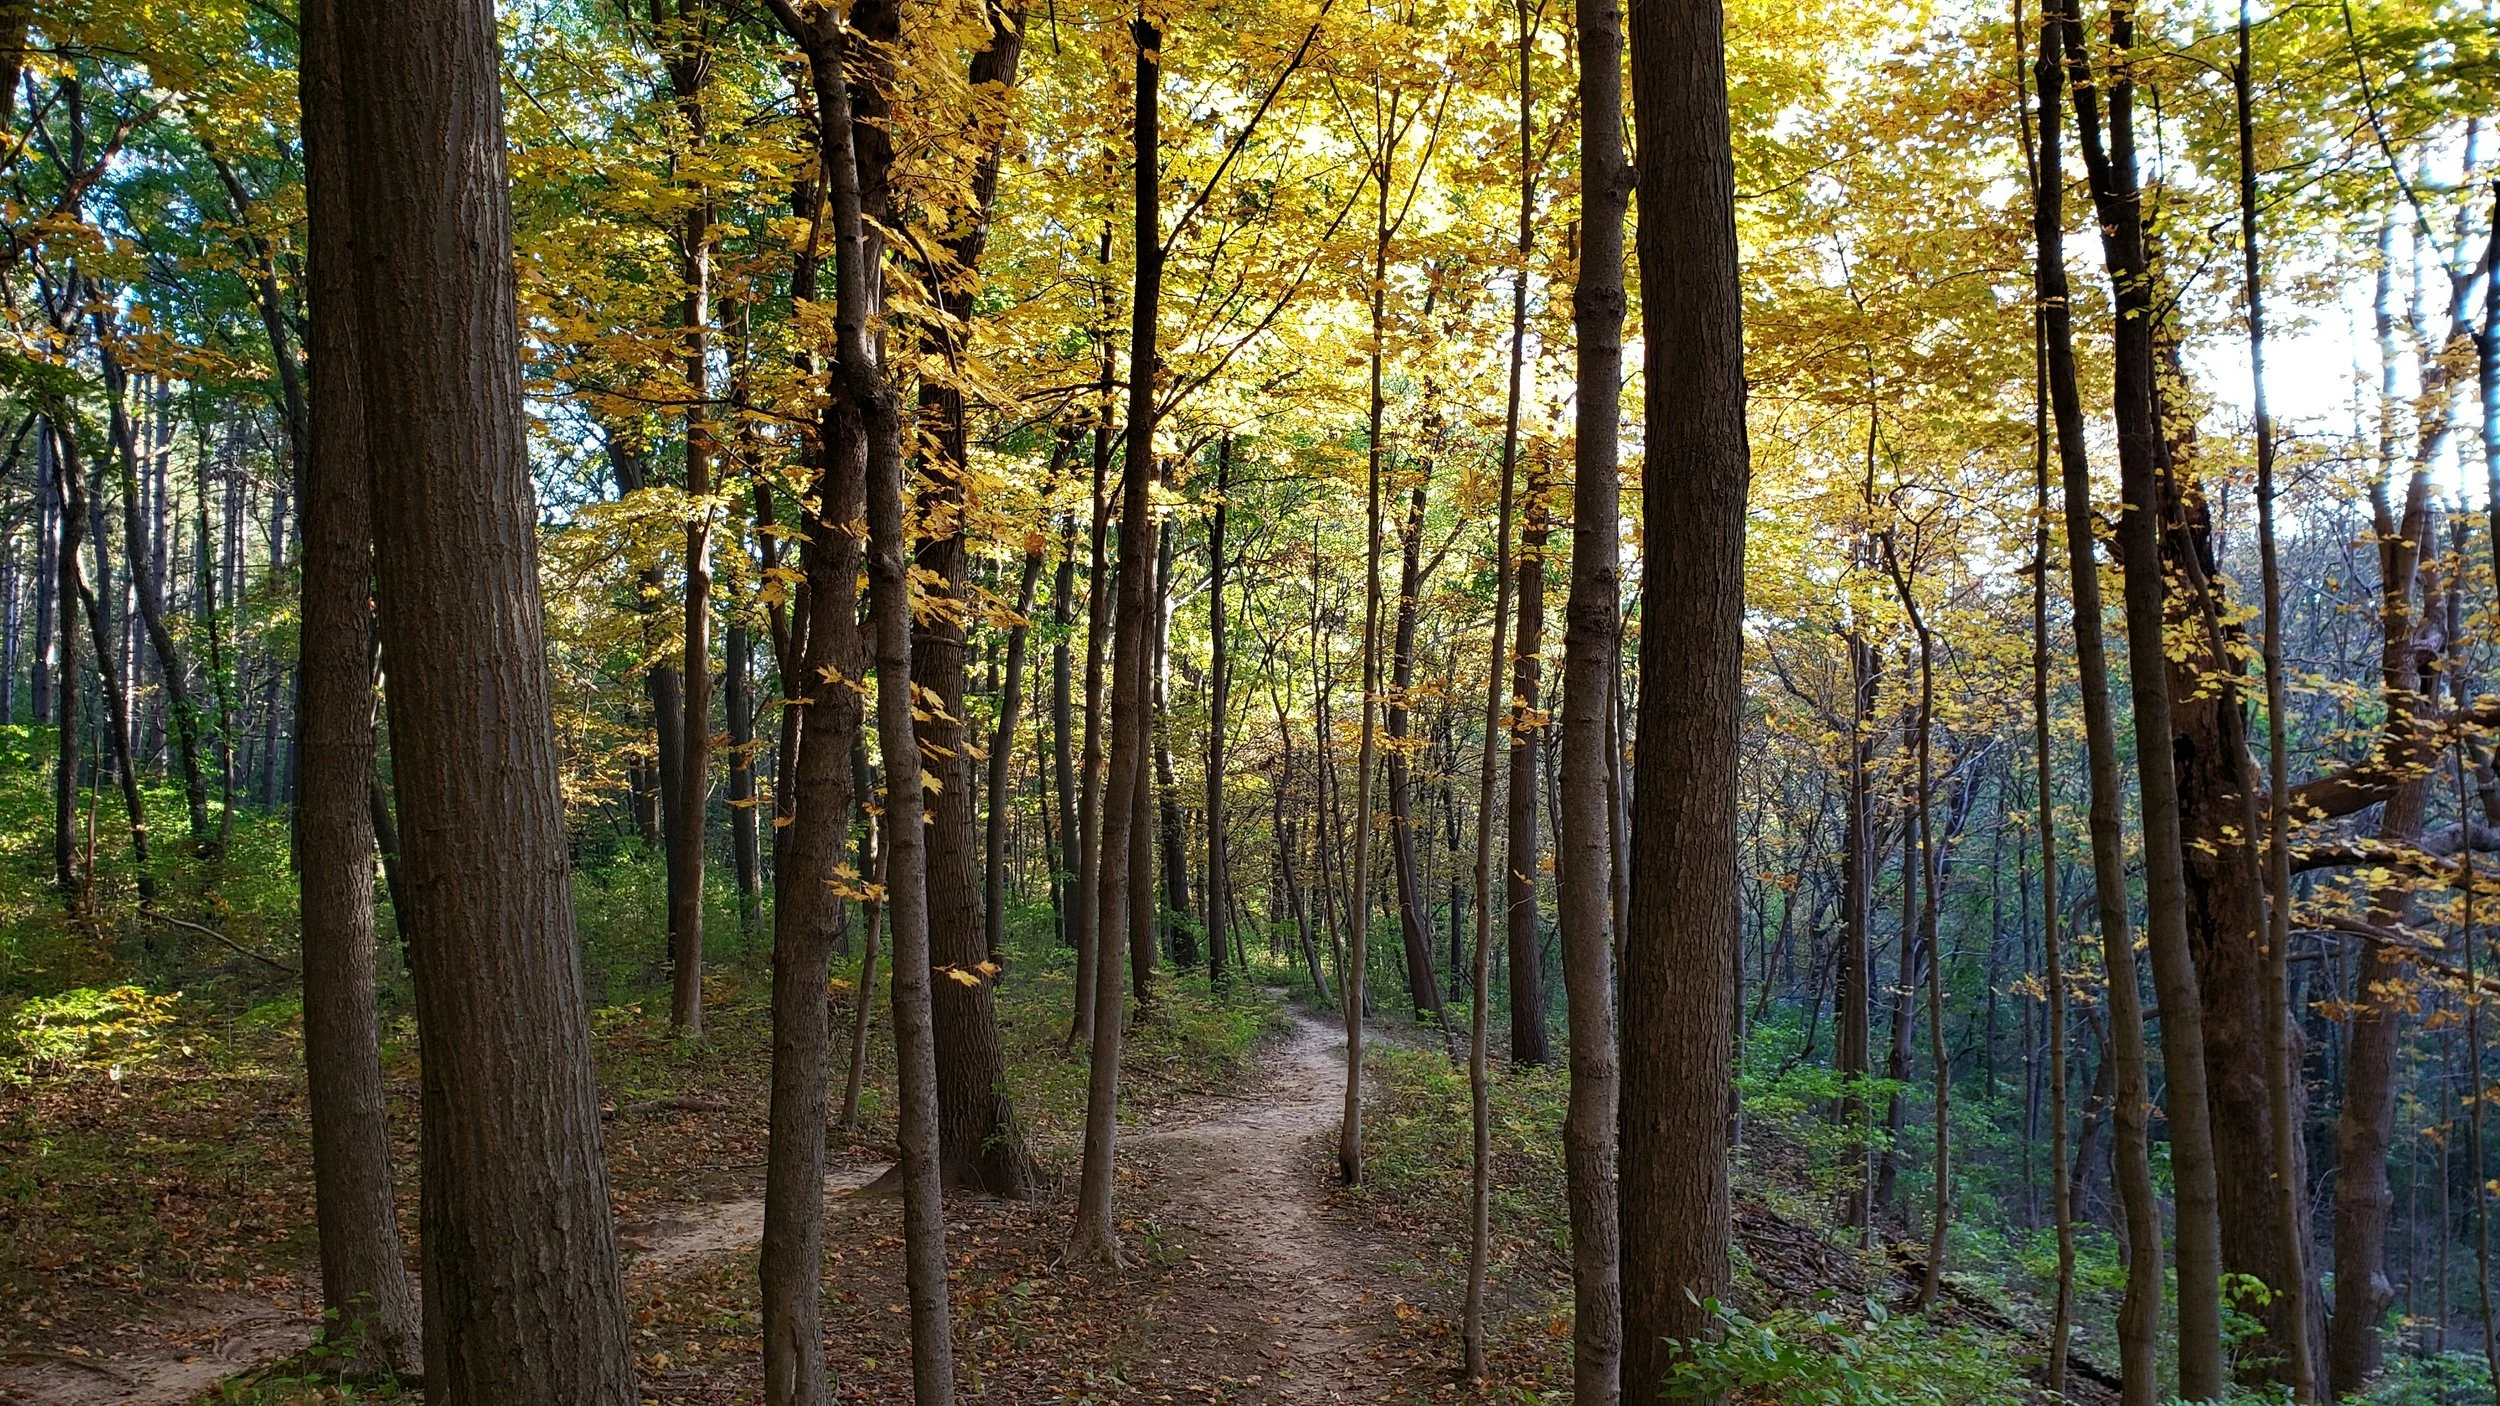
Why is it that nothing grows on a hiking trail? Soil compaction is a significant factor.

OK. You can wake up now!

So you probably get the point that soil compaction is a BAD thing… but what’s a lowly weight-bearing gardener to do?

While it is impossible to not walk in a garden, there are some tips to help minimize compaction of your soil:

  • Tread minimally: if you can reach what you need to reach without stepping into your garden, harness your inner psuodo-yogi and do it! Additionally, don’t walk through your garden to get to your next task, step out of it and walk around it if possible. Then take the shortest route possible back into the garden to access your next working area.

  • Be mindful of the moisture level in your soil: it is much easier to compact wet soils than dry ones. If you need to be walking in your garden beds, do so when the soil is on the drier side. This is an especially important point to keep in mind if you garden on clay soils, which are much easier to compact than sandier soils.

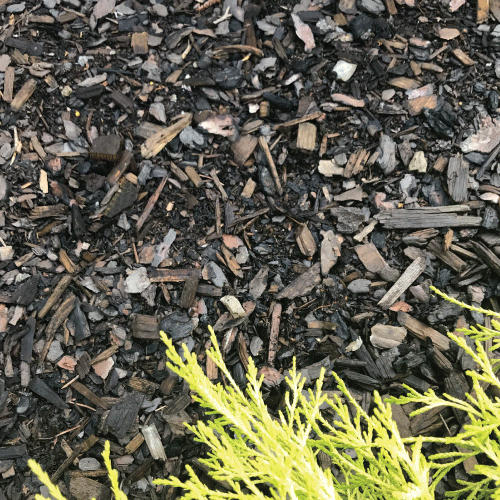
  • Designate your walking zones: some gardeners will put minor paths through their garden to act as access points from which they can work without having to step into their cultivated areas. These paths can be as simple as a mulched trail or small stepping stone walkway. Whatever your path of choice, using one keeps the impacts of compaction to a specific area.

  • Distribute your weight: some gardeners choose to distribute their weight by placing down temporary planks across the garden on which they walk. Obviously this is not always feasible or practical but it can be a good soil-preserving technique.

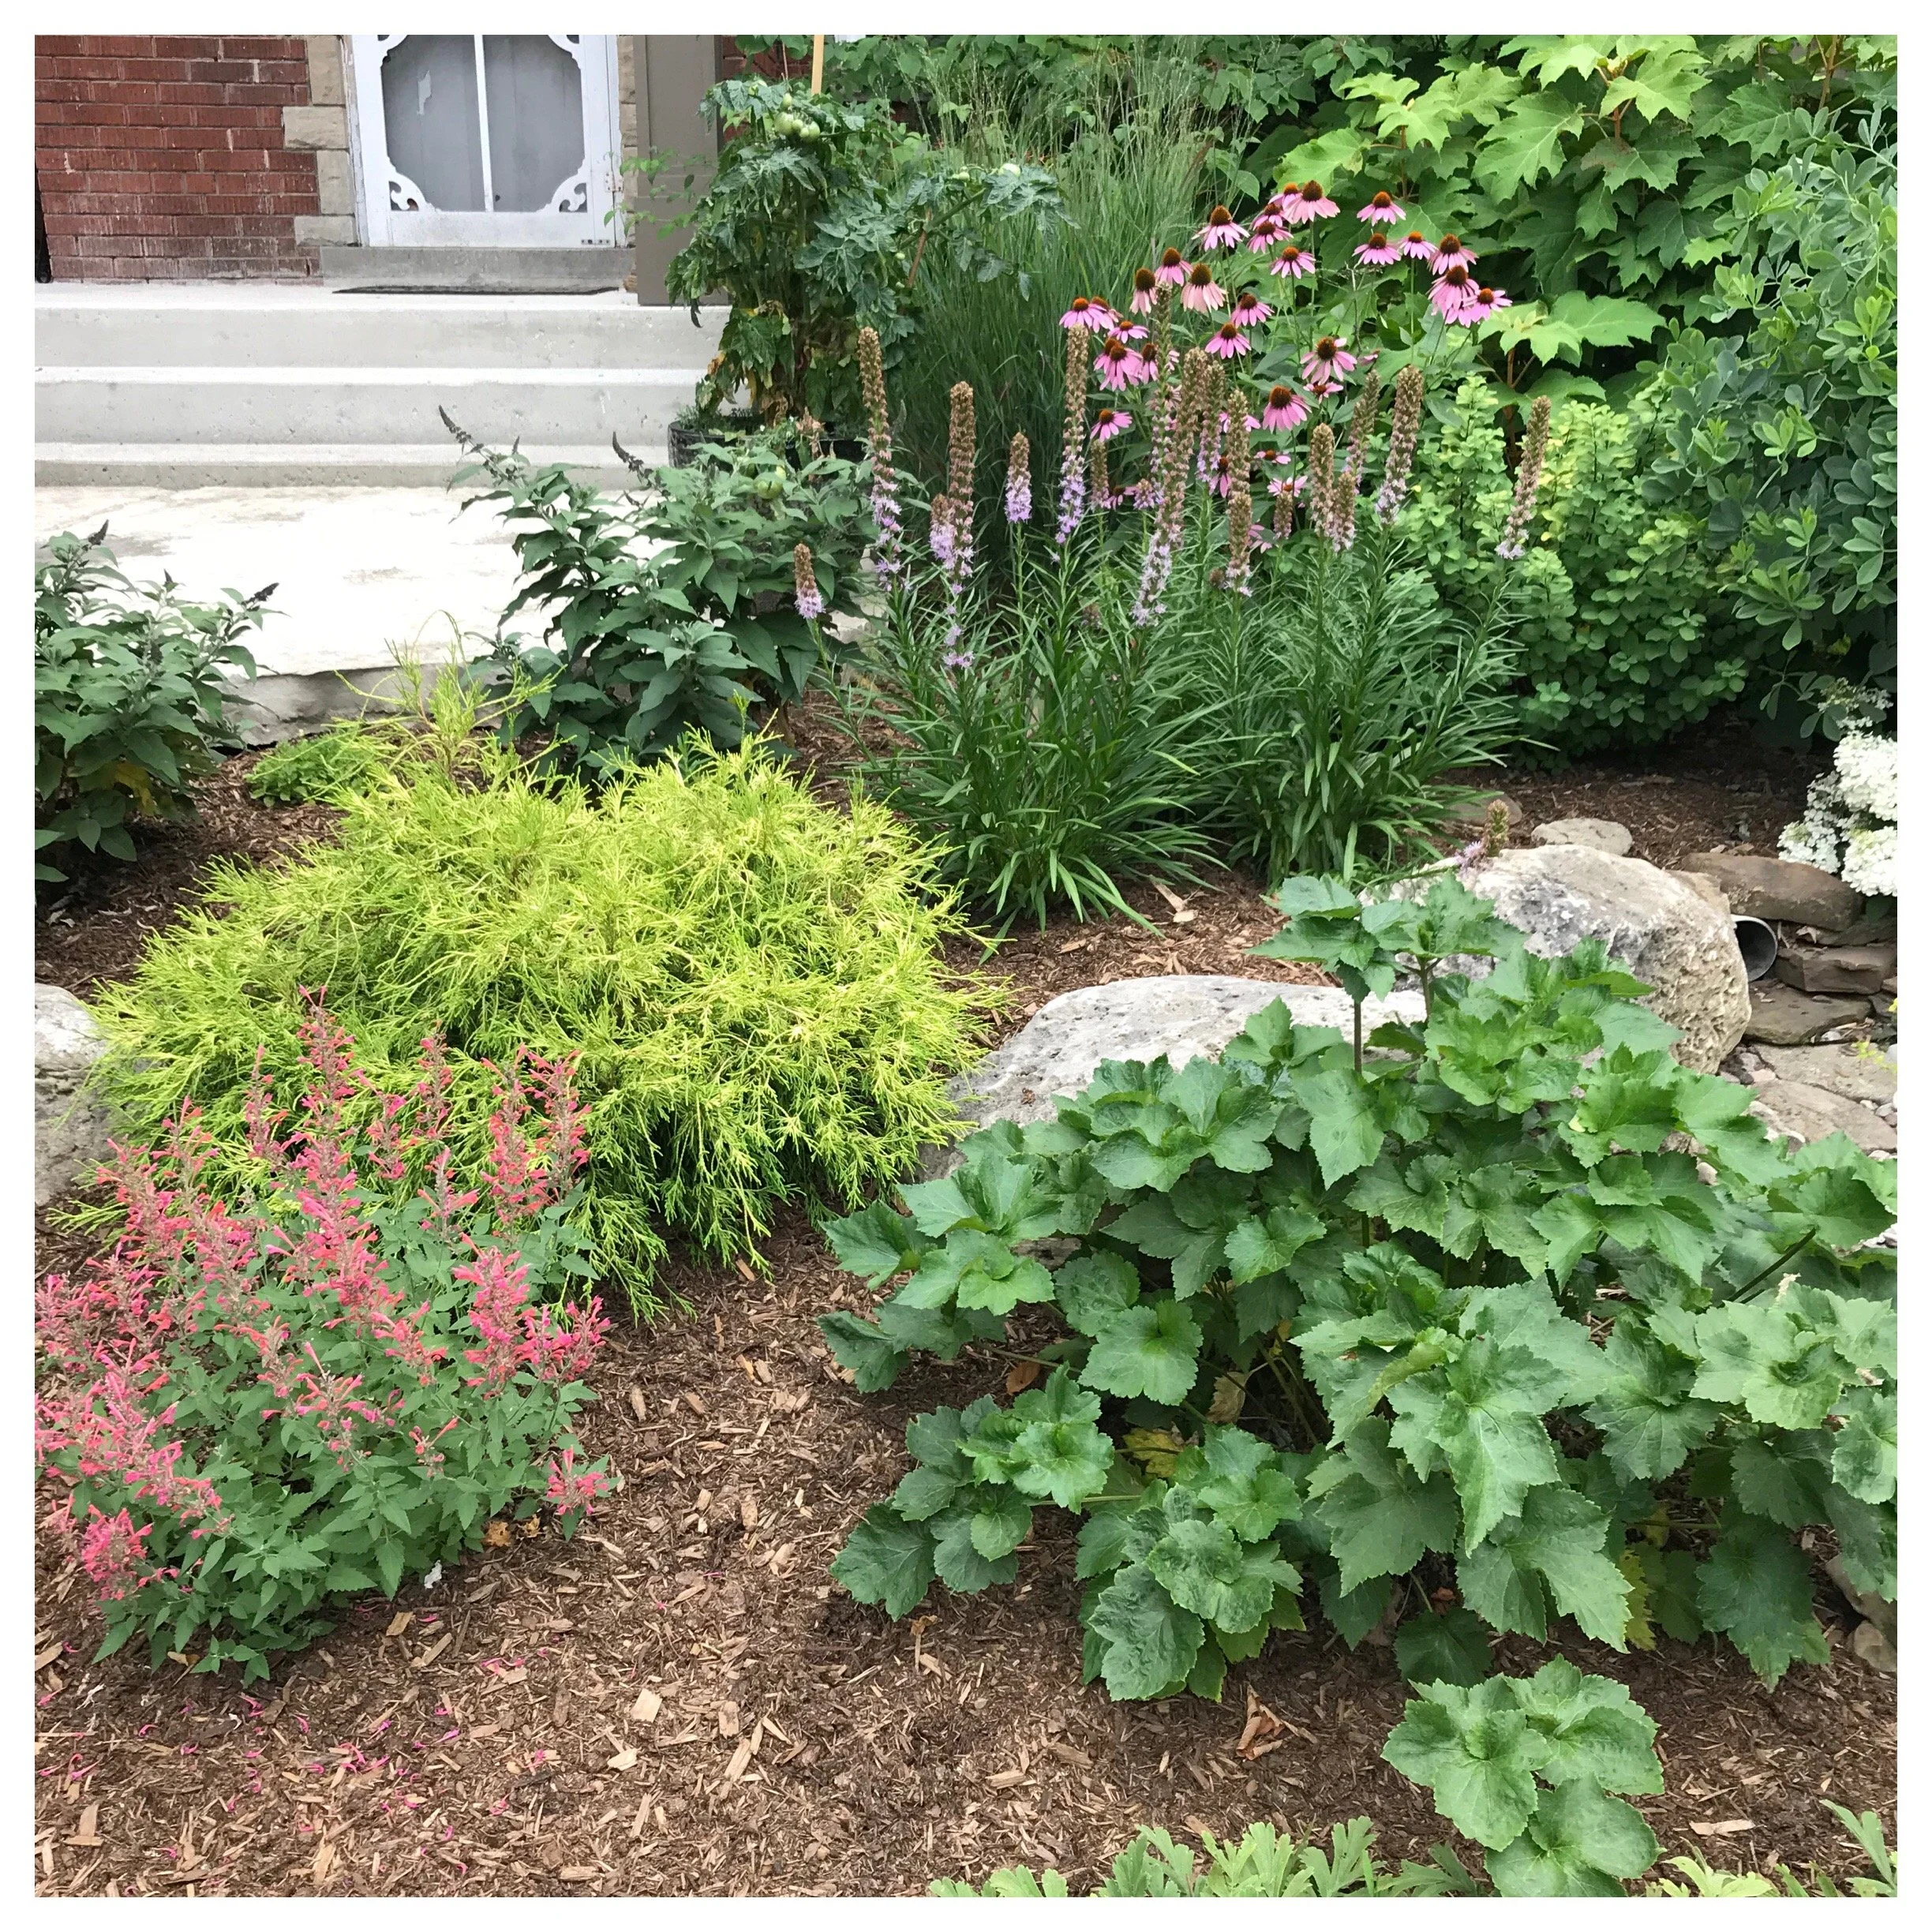
A garden that can be accessed by various features such as a dry riverbed (not shown) and rockery.

And thats a wrap!

Soil compaction... an important process that can have significant consequences on your garden and it’s inhabitants (and here you thought you were looking at simple footprints...).

Mulching: Tips and Tricks

(Originally posted: July 12, 2019)

Time for part two of my ‘mulching series’…some tips for applying mulch.

I usually mulch after I have finished planting annuals. Annuals need to be planted in soil and not mulch, so the process of pushing aside mulch, planting flowers, and then replacing the mulch is a little too time-consuming for my liking. Once all my spring planting/transplanting is complete, and the soil is not saturated I begin mulching my gardens.

Now, it is one thing to just throw mulch on a bed but it is another to apply it with finesse. This is your finishing touch, after all! Attention to detail during this step goes a long way! Here are a few pointers on how to make your mulching job look top notch…

Leave no Trace

Start at the back of the bed and work forward so that you don’t have to trample on freshly applied fluffy mulch… footprints never look nice in a garden bed! If you must walk on your newly applied mulch- fluff out your footprints! It’s really all about keeping a nice uniform look to the bed.

I feel a bit like a crime detective by circling footprints on the ground! Be a sneaky gardener- don’t leave your footprints behind! They really do look awful in a garden bed!

Mulch the Beds NOT the Plants!

I know it is easy to just toss mulch into a bed and call it a day. Usually the plants get in the way. Take the time to brush the mulch off the greenery; the mulching job will look much tidier.

Show off your Curves (or Straight Lines…)

With all the work done to create nice definition to your garden beds through the use of edging, don’t throw all that work away by filling the edges in with mulch (or, even worse, allowing the mulch to overflow onto the grass!). Avoid this problem by tapering out the mulch as you approach the edge of the bed. This technique will keep the garden edge visible and clearly defined.

By thinning the mulch out as you approach the edge of your garden bed, you can retain a nice crisp edge!

Don’t be smothering…

…give your plants some space by not piling up mulch around the base of them. This is an important tip from a plant health perspective. Piling up mulch against the base of perennials, shrubs and trees provides a nice cozy environment in which critters (such as insects, and microorganisms) can live. Many of these critters can negatively impact your plants through feeding or causing disease. I realize that not having mulch right up to the plants interrupts the uniformity of the mulching job. I work around this by applying a ‘sprinkling’ of mulch around the plants just to give the appearance that the area has been mulched when in fact it hasn’t been. Think of it like a dusting of icing sugar on a cake.

If this blue oat grass (Helictotrichon sempervirens) on the left could speak, it is saying”I love you, but I need my space…” Ouch. Don’t get smothering! Taper out the mulch around your plants. A ‘dusting’ around your plants can give the illusion that the mulch layer is continuous.

And there you have it! A couple long-winded posts about mulch. Much more can be written about this topic, but I will save background information for the winter :) Right now it’s time to get out there and garden!

Mulching: The Finishing Touch

(Originally posted: July 11, 2019)

As promised, I am following up my previous post about edging with a post about mulching- it is the ultimate finishing touch that helps make a garden look fabulous. There is a LOT to say about this topic, so I am dividing it into two parts: a mulch primer, followed by tips for doing a top notch mulching job.

OK. Let’s start with a little discussion about mulch shall we?

Aside from really setting off the plants in your garden and giving the garden beds a nice uniform look, the value of mulch goes well beyond aesthetics. It has some really important environmental benefits too. Here is a brief low down:

Benefit #1:

A layer of mulch acts as a sort of semi-permeable barrier when it comes to water. It allows rain/irrigation water to seep through to the soil but it also helps to slow down water lost from the soil due to evaporation- delaying the need to add supplemental water during dry periods… thus conserving this precious resource! (This ability to conserve soil moisture is also why we don’t want to apply mulch to water-logged spring soils… for the health of our plants, we want to encourage these soils to dry out a little before ‘locking in the moisture’!)

As summer weather hits, our minds shift to water conservation. In a garden, mulch is an important piece of the ‘water conservation puzzle’.

Benefit #2:

A layer of mulch can absorb the impact of driving rains thus preventing your garden soil from washing away or splashing up on your plants- a relevant concern given the weather we have been experiencing as of late! Mulch fibres tend to weave together which helps the layer stay in place in conditions that would otherwise wash soil away. (It is important to keep in mind that when mulch fibres become too interwoven, the layer has a tendency to repel water- this is where ‘fluffing’ the mulch every now and then is a good idea.)

Benefit #3: Exposed soil just screams “Hey weeds! Land available- make your home here!” The barrier provided by mulch can help control weeds in two ways. First of all, a good mulch layer (around a 3” depth) can prevent existing weed seeds in the soil from taking hold by eliminating the sunlight required for them to germinate. The layer of mulch is also not conducive to rooting, so seeds blowing into the area will have little success at ‘laying claim’ to the land. With that said, it is important to weed your garden before applying mulch. You may think you have won the war by covering up your unwanted plants, but most likely you have not. Sorry. Existing weeds will often grow right through the mulch… forcing you to actually deal with the problem instead of covering it up!

Attack of the weeds! Mulch can be used as a weapon in the war against weeds in your garden.

Benefit #4: Mulch is a natural product that, when it breaks down, it adds organic matter to the soil (which in turn adds nutrients to the soil, increases the water holding capacity of the soil as well as the ability of the soil to retain nutrients). Organic matter can also help break up clay soils and ‘beef-up’ really sandy soils (in general, it improves the structure of the soil). In this way, mulch is another way we can ‘give back’ to our gardens during the growing season!

Benefit #5: Mulch can help moderate soil temperatures, buffering plants from the heat of summer and the cold temperatures of winter. This can be the difference between the survival or demise of more tender plants (or plants growing at the edge of their climatic limits).

Clematis is a plant that benefits from a generous layer of mulch to moderate soil temperatures.

Types of Mulch and How Much to Use

Organic mulches are really the only type of mulch to consider for a garden. Of the organic mulches, the most readily available ones for the home gardener are the shredded bark mulches that are found in bags at your local garden centre. Usually it becomes a choice between pine and cedar. There is also a choice in colour as dyed mulches are available in brown, black or red (gag!).

Bagged shredded cedar mulch. Note the shredded/fibrous texture of this mulch.

So how does one choose? Here are some points to consider when choosing a mulch for your garden:

  • Pine mulch tends to be lighter in colour and breaks down faster than cedar mulch (this is not necessarily a bad thing since you will need to reapply mulch on a yearly basis anyway; I personally like a mulch to break down quickly so that it is incorporated into the soil sooner.)

  • Pine is more acidic than cedar

  • Cedar mulch tends to have a naturally reddish colour to it

  • The stained mulches may look nice when first applied but they tend to fade (in full sun situations they can start looking very ‘tired’ quite quickly)

  • Black mulch shows every single piece of debris that lands on it

  • Red mulch is just wrong and shouldn’t even be considered an option! (This is the hideous orange-red mulch that tends to be used in parking lot and gas station gardens. If you love your garden and want to show it off, I am begging you…DON’T USE THIS MULCH!)

Some other variations are available when buying mulch in bulk. If you are happy to get a pile of mulch dumped on your driveway, this is certainly the most economical way to go! I personally like a composted pine bark mulch. It has a more uniform consistency than the shredded mulches and it doesn’t tend to weave together. This does make it more susceptible to swimming away in driving rains… but considering the downpours we have seen in recent years, I have found it to hold up extremely well!

Composted pine bark mulch. Note the more consistent texture of the mulch particles compared to the shredded bark mulch. This mulch lacks the fibrous quality of the shredded bark mulches and the particles do not weave together.

I realize there are even more options when it comes to mulching (straw, compost, shredded leaves, wood chips to name a few) but I will save these for future posts. Let’s get on with the task at hand… applying mulch to our gardens! (Which just happens to be covered in the next post…)