Plant Protection

We're all in this together.

(Originally posted: May 11, 2021)

Sick of this phrase yet? I know it’s starting to wear on me too, but as inhabitants of a single beautiful planet that seems to get smaller and smaller with each passing year, we are in a lot of things together… changes in climate, waiting for rocket pieces to fall to earth, and visits from aliens… not aliens from outer space (although given the context, this would be applicable too), I am referring to earthly alien species.

An alien species is a species that has been introduced to an area outside of it’s natural range. Now it is important to note that an alien species is not necessarily a bad thing. In fact many of our cherished landscape plants are alien species that have come to us from the far reaches of the globe, brought together in our gardens in the name of horticulture.

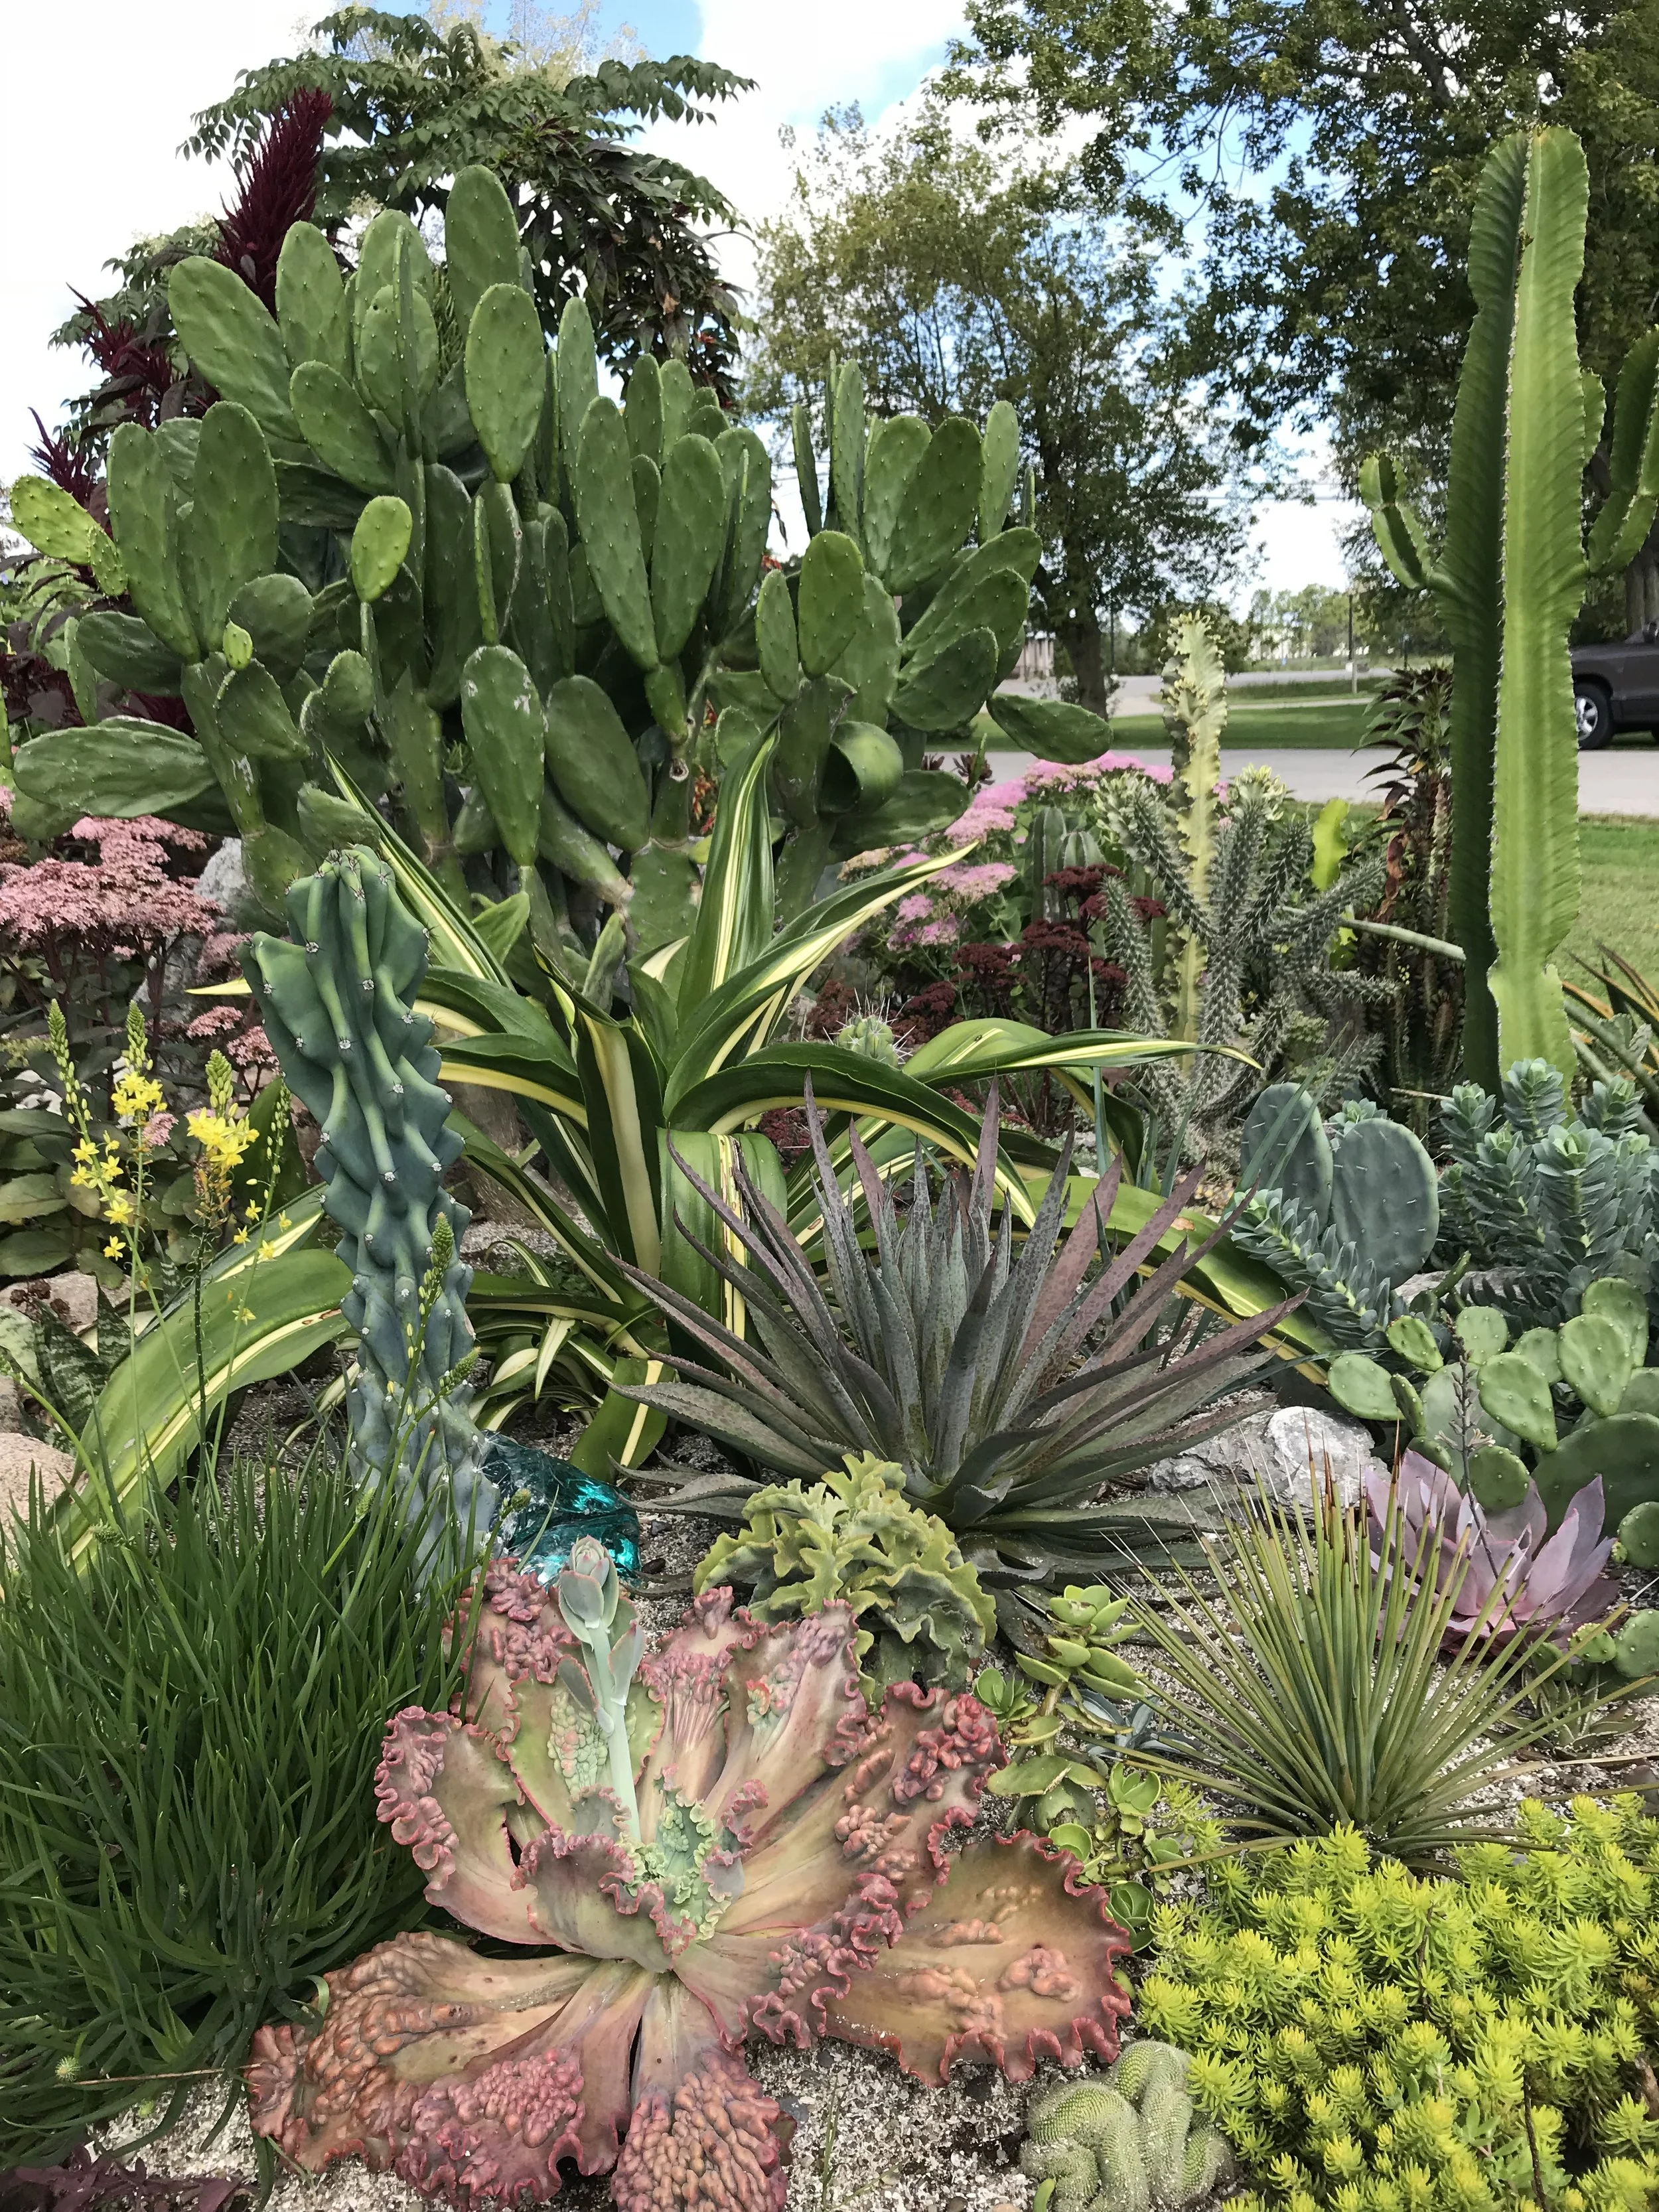
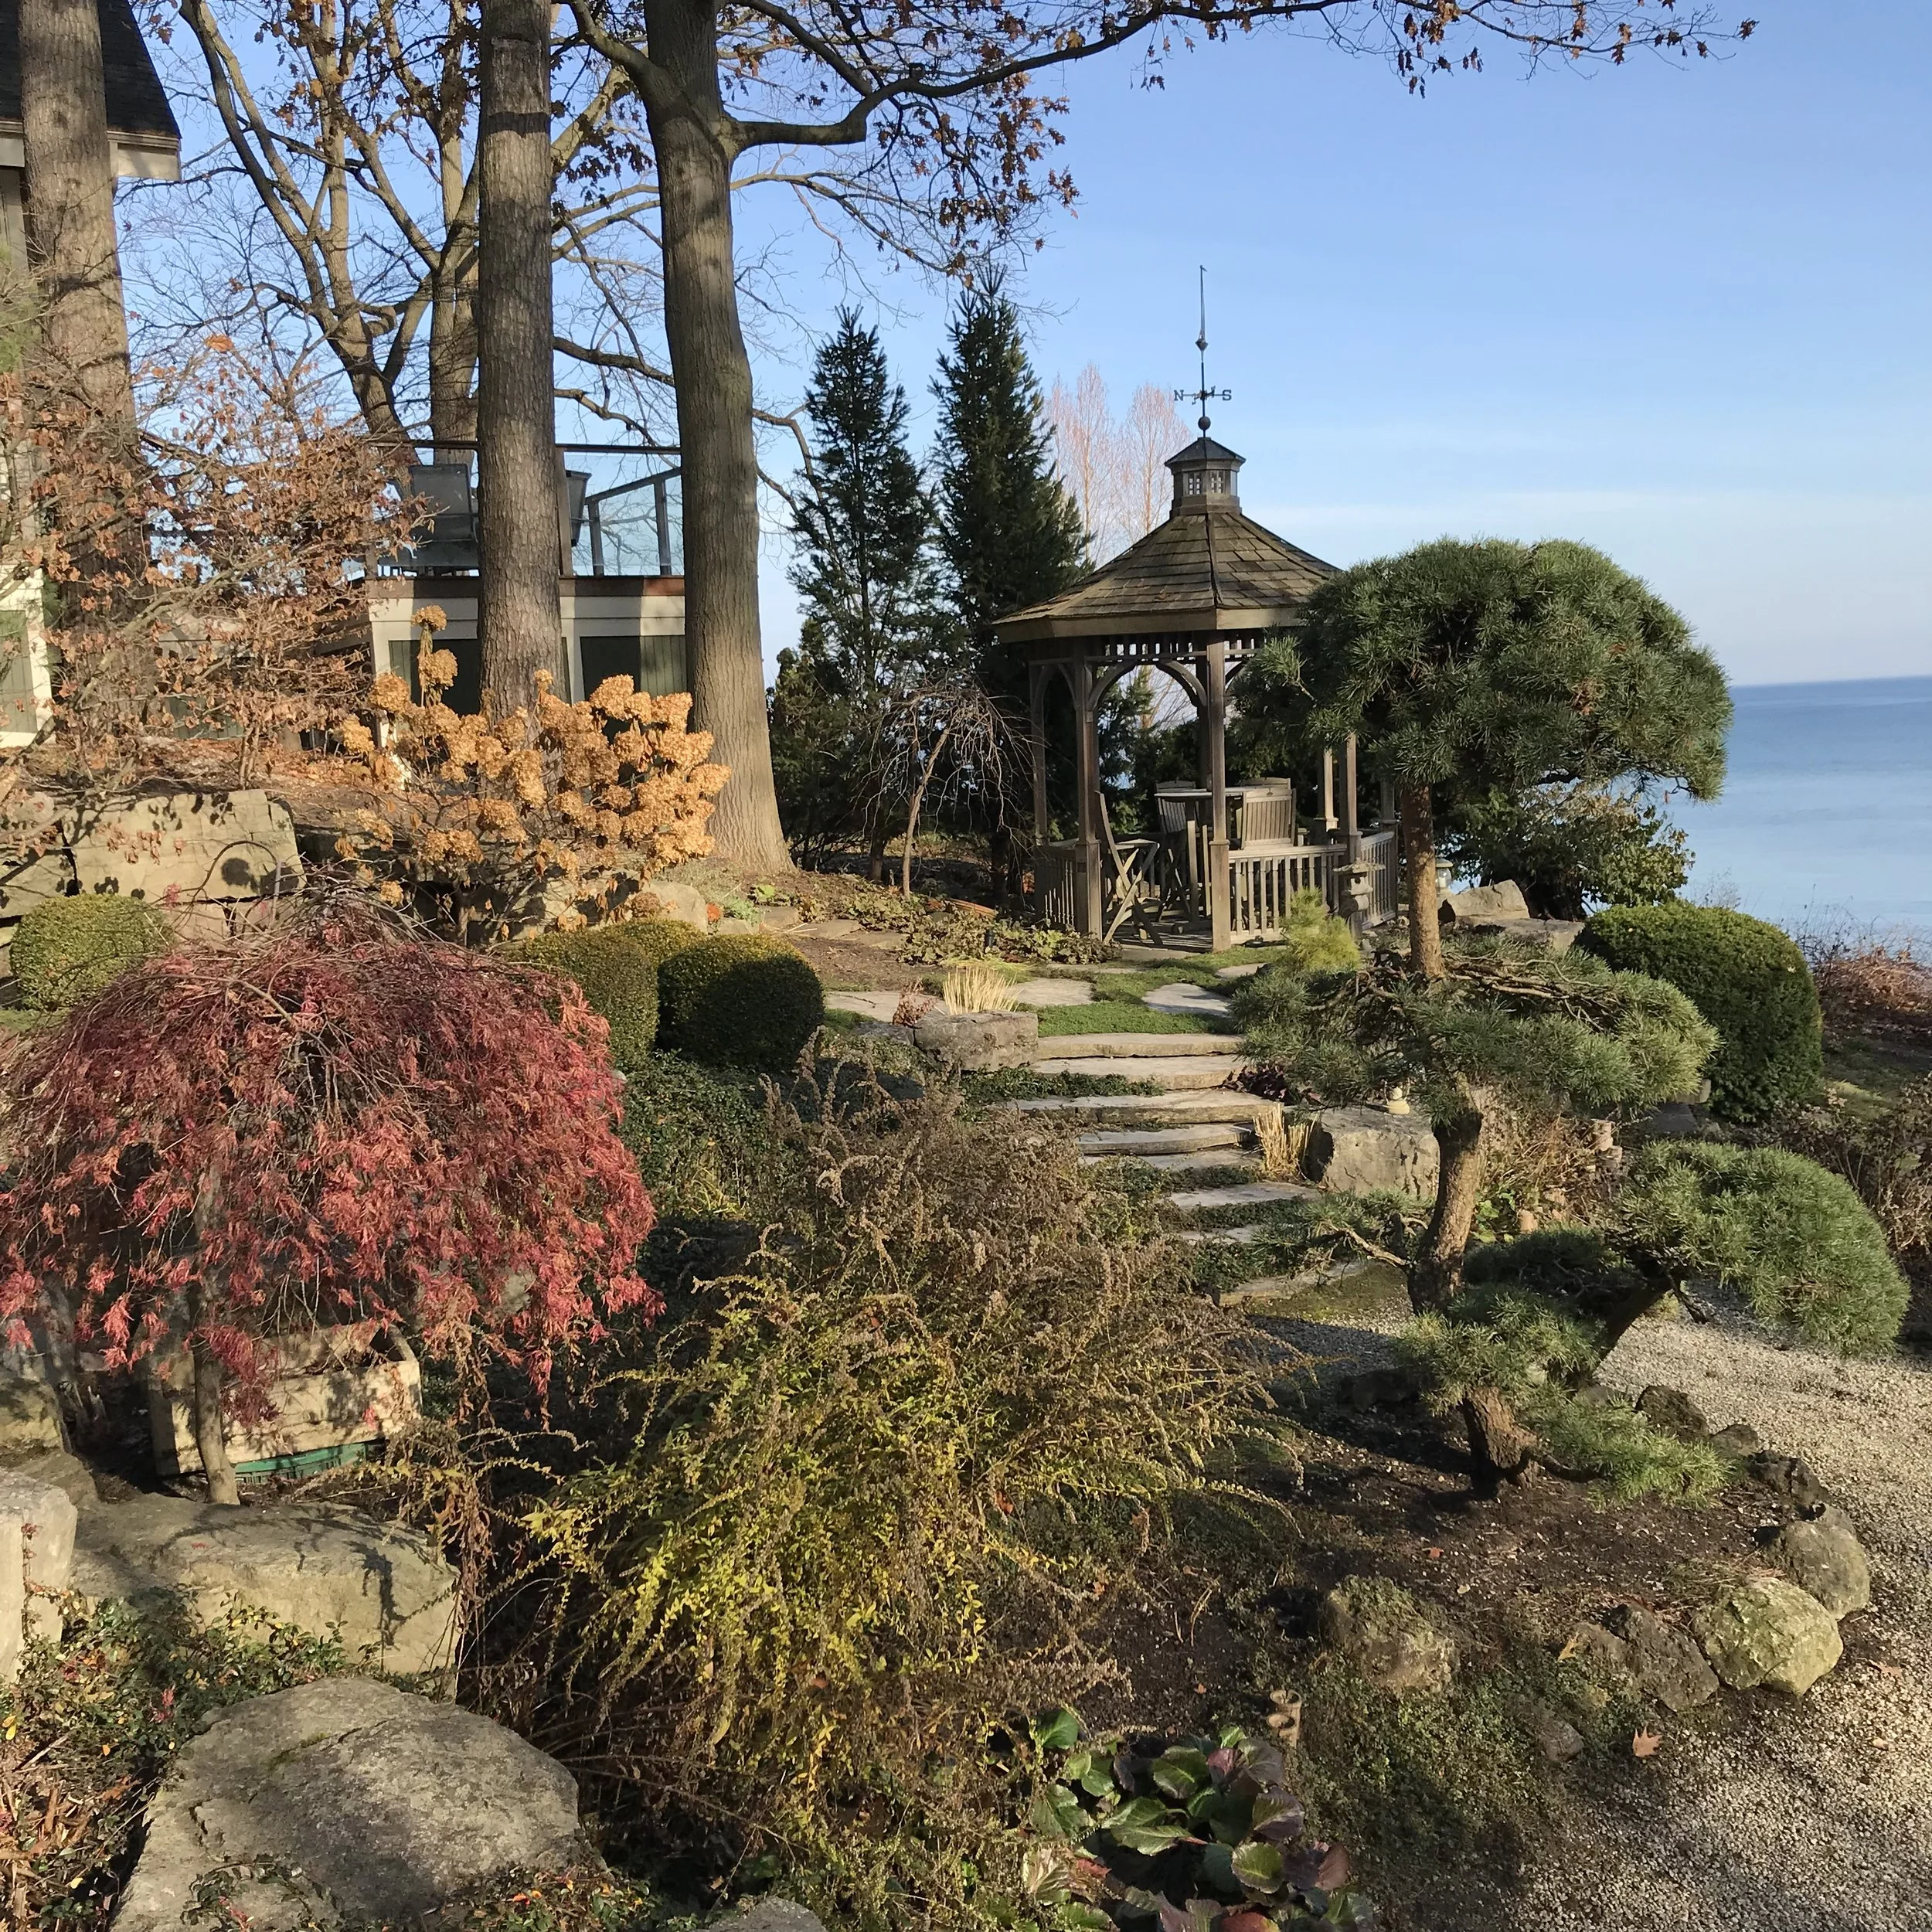
Now that’s a LOT of aliens! Many of these beauties look like they come from another planet; they are certainly not from around here! Growing together in southern Ontario, they can be found on the property of a fellow landscape gardener who happens to have a passion for the rare and unusual.

Alien species become a problem however, when they are invasive- that is they cause ecological or economical harm in their new environment. Unfortunately we know alien invasive pests all too well. They are introduced (either by accident or intentionally) and wreak havoc on species that are near and dear to our hearts: Dutch elm disease (Ophiostoma ulmi) virtually eliminating elms from our landscape, emerald ash borer (Agrilus planipennis) decimating our ash trees, European gypsy moth (Lymantria dispar dispar) defoliating the giants that grow among us, Japanese beetles (Popillia japonica) obliterating our showiest of summer flowers and feeding on the roots of our plants…. phew! Need I go on? And this is just the tip of the iceberg!

The all too familiar sights of some common alien invasive pests. Clockwise from top left: a spongy moth (Lymantria dispar dispar) egg mass (that can contain up to 1000 eggs!), crown die-back on an ash tree associated with the feeding of emerald ash borer (Agrilus planipennis) within the tree, and Japanese beetles (Popillia japonica) caught in a compromising position…

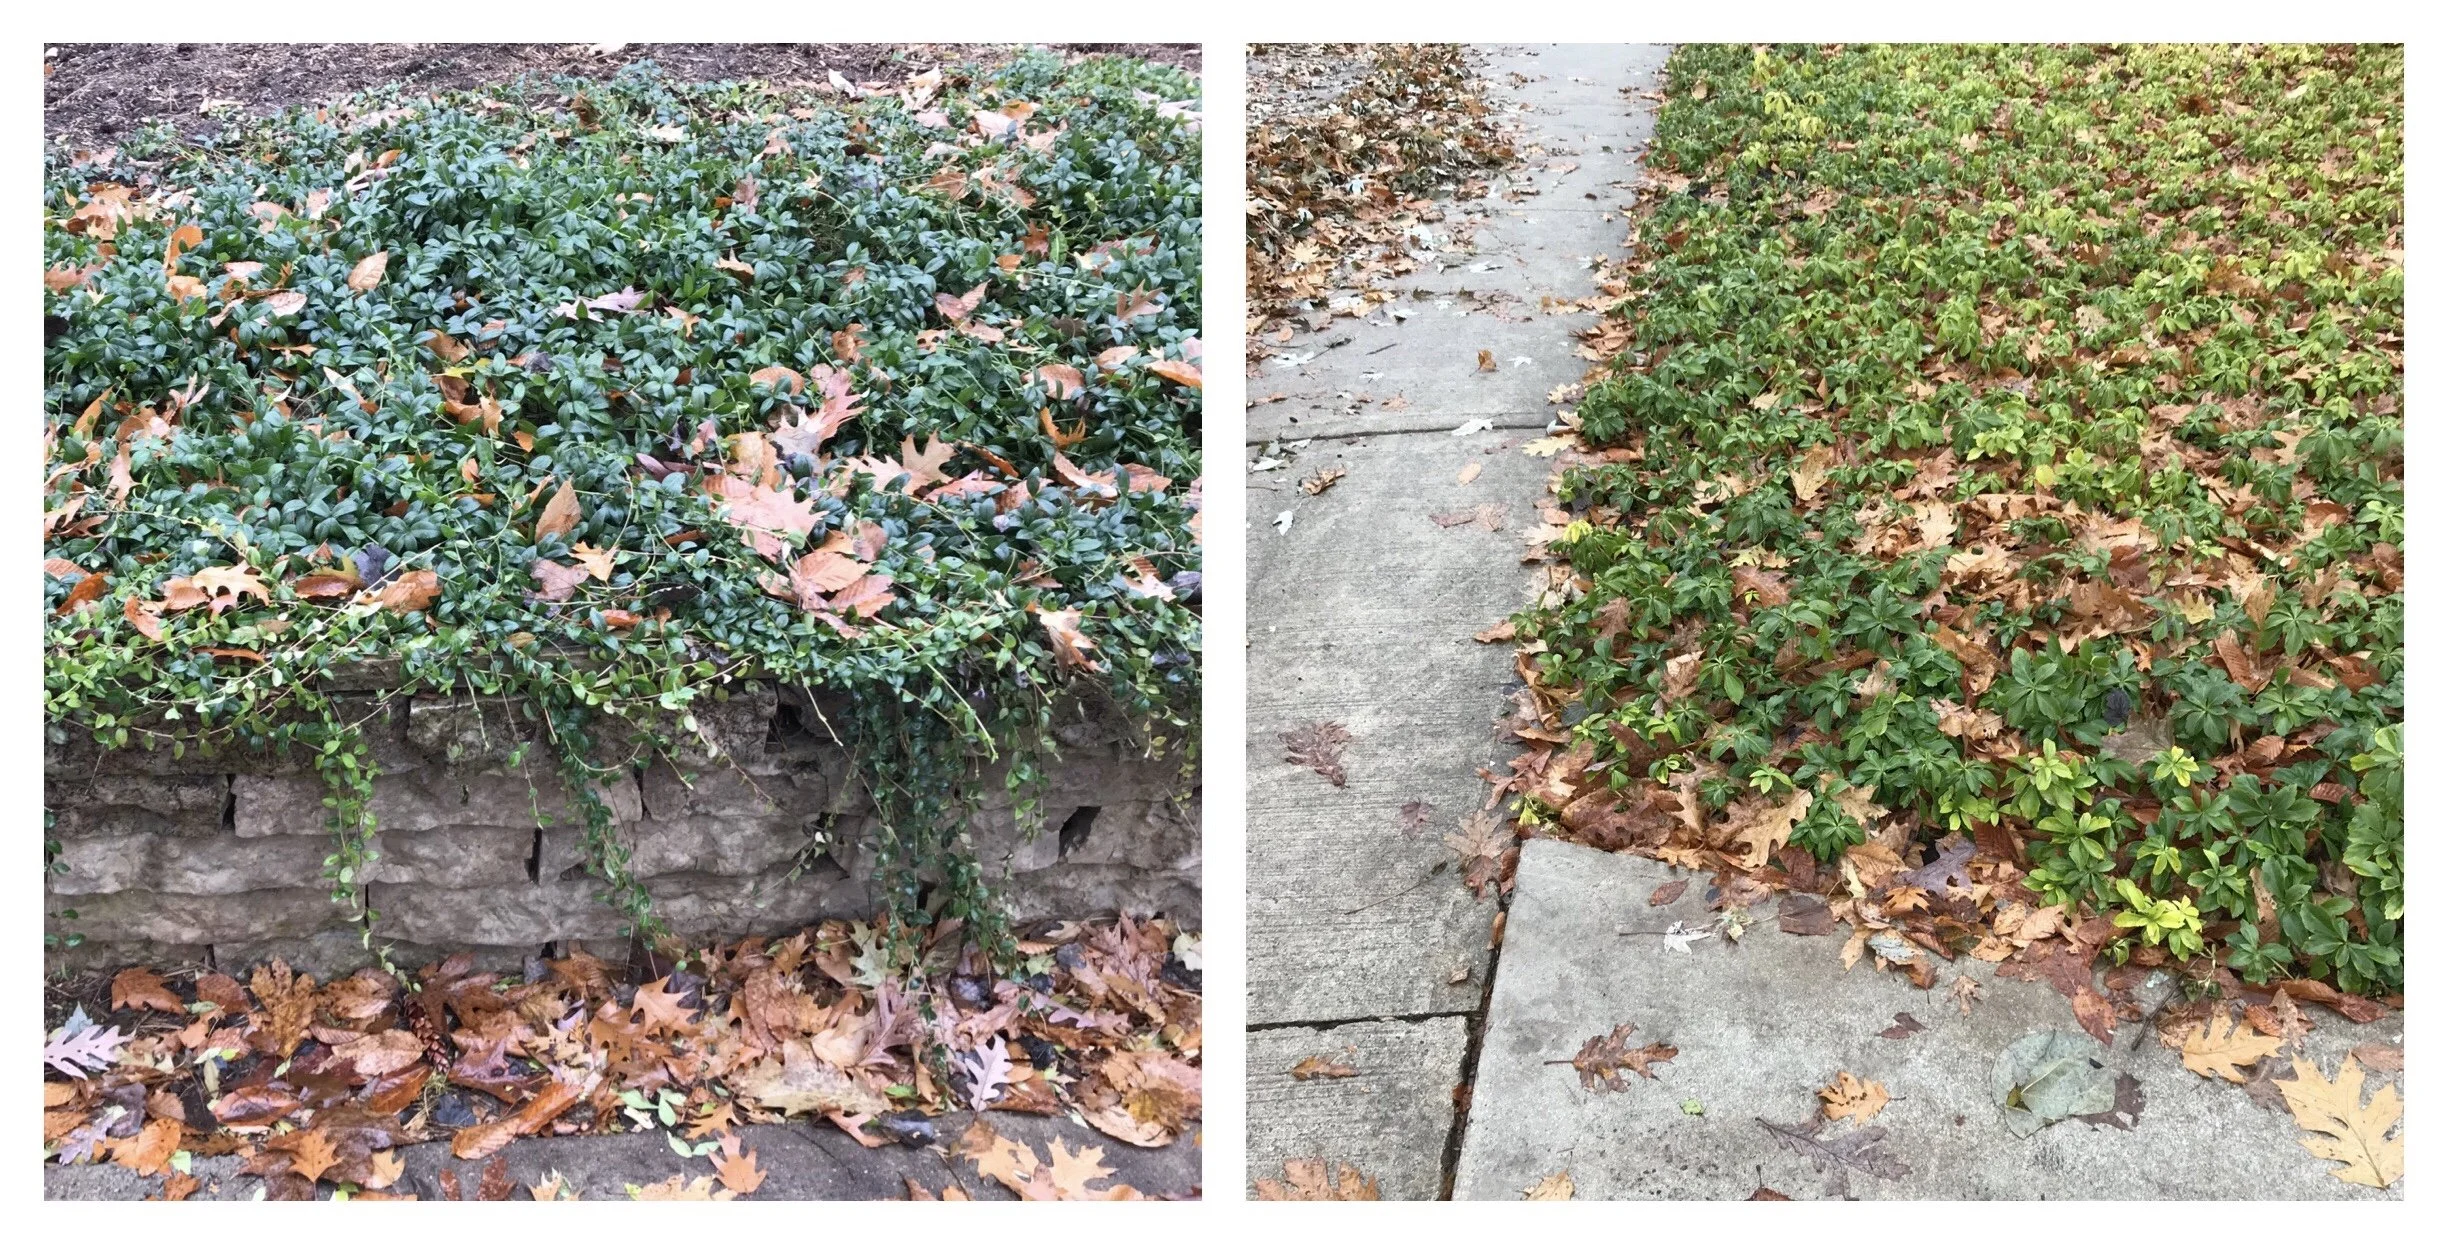
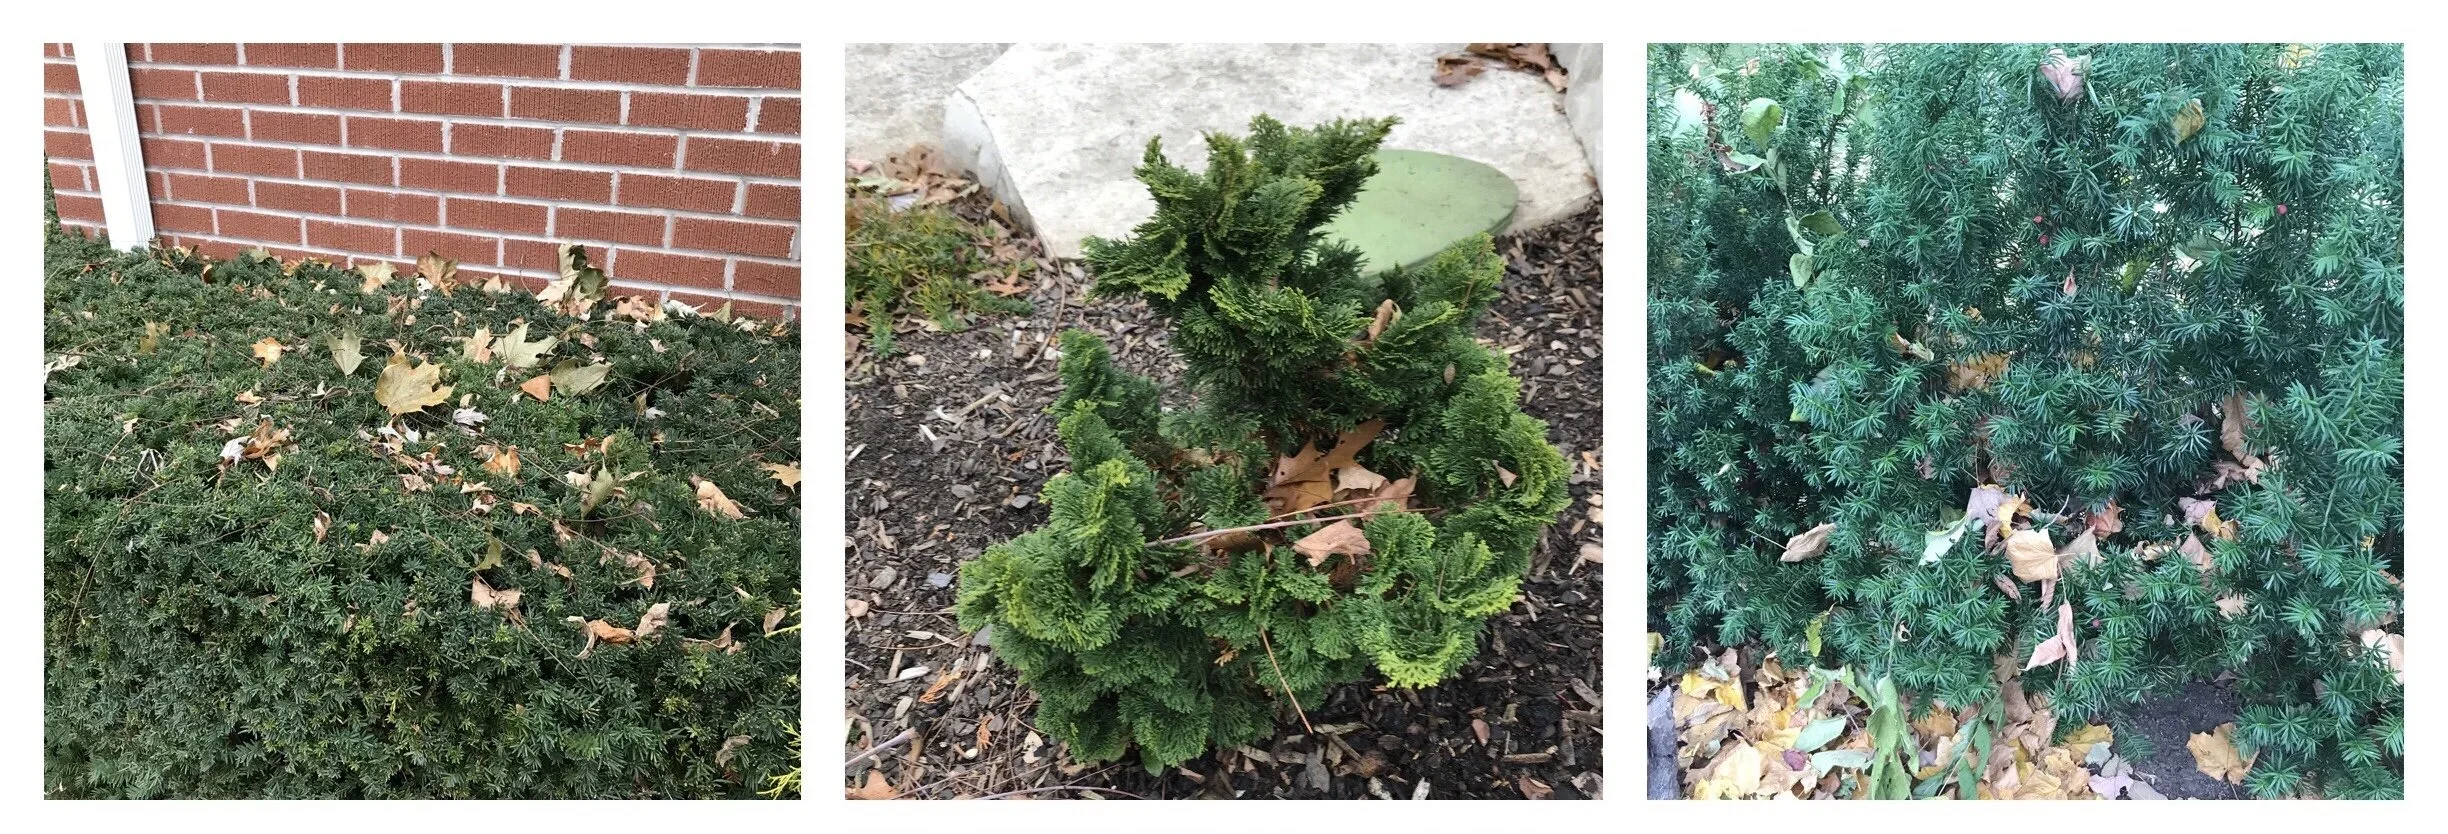
With the constant movement of people and products across our globe, the introduction of invasive pests is a problem that is not going to go away any time soon and unfortunately the landscape industry in Ontario is monitoring a new pest- the box tree moth (Cydalima perspectalis)- an insect that was first detected in Etobicoke in the summer of 2018. This little pest is capable of severely defoliating a boxwood hedge in one growing season. Yikes! Not great news considering the fact that boxwood is a popular and widely planted shrub in the southern Ontario landscape. (For readers outside of the GTA in Ontario, my apologies! While I try to keep my information relevant to a wider audience, this is one topic that is ‘close to home’ that I feel I need to post! Besides, this may someday become your problem too! If you are already dealing with box tree moth in your country…thanks for sharing.)

I am not going to get into the nitty gritty of the box tree moth here, but if you want to know more about this pest and it’s biology, check out this article written by Jen Llewellyn (Ontario Ministry of Agriculture, Food and Rural Affairs Nursery and Landscape Specialist) and posted on the Landscape Ontario Website. It contains great information about the pest and contains fantastic photos too! You can also check out this handy dandy IDENTIFICATION CARD as a ‘Cole’s Notes’ reference source. Finally, Landscape Ontario has also put out a helpful FLYER with more information including photos of box tree moth damage and signs to watch for.

Now before you start feeling helpless and depressed by the seemingly bleak future of our boxwoods, there is actually good news… YOU CAN HELP! Yes you!

Landscape Ontario is looking for volunteers to become ‘citizen scientists’ (that means you don’t actually need to be a scientist!), mainly in the Mississauga, Brampton, Vaughan, Richmond Hill, Markham and Scarborough areas, to monitor for box tree moths on their own properties. Monitoring helps with early detection and control of the pest. It also helps scientists learn more about the biology, behaviour, and population ecology of box tree moth as well as how quickly it is able to disperse across our Ontario landscape; all this information can ultimately guide ‘best management practices’ and/or regulatory actions aimed at controlling/containing the spread of this pest.

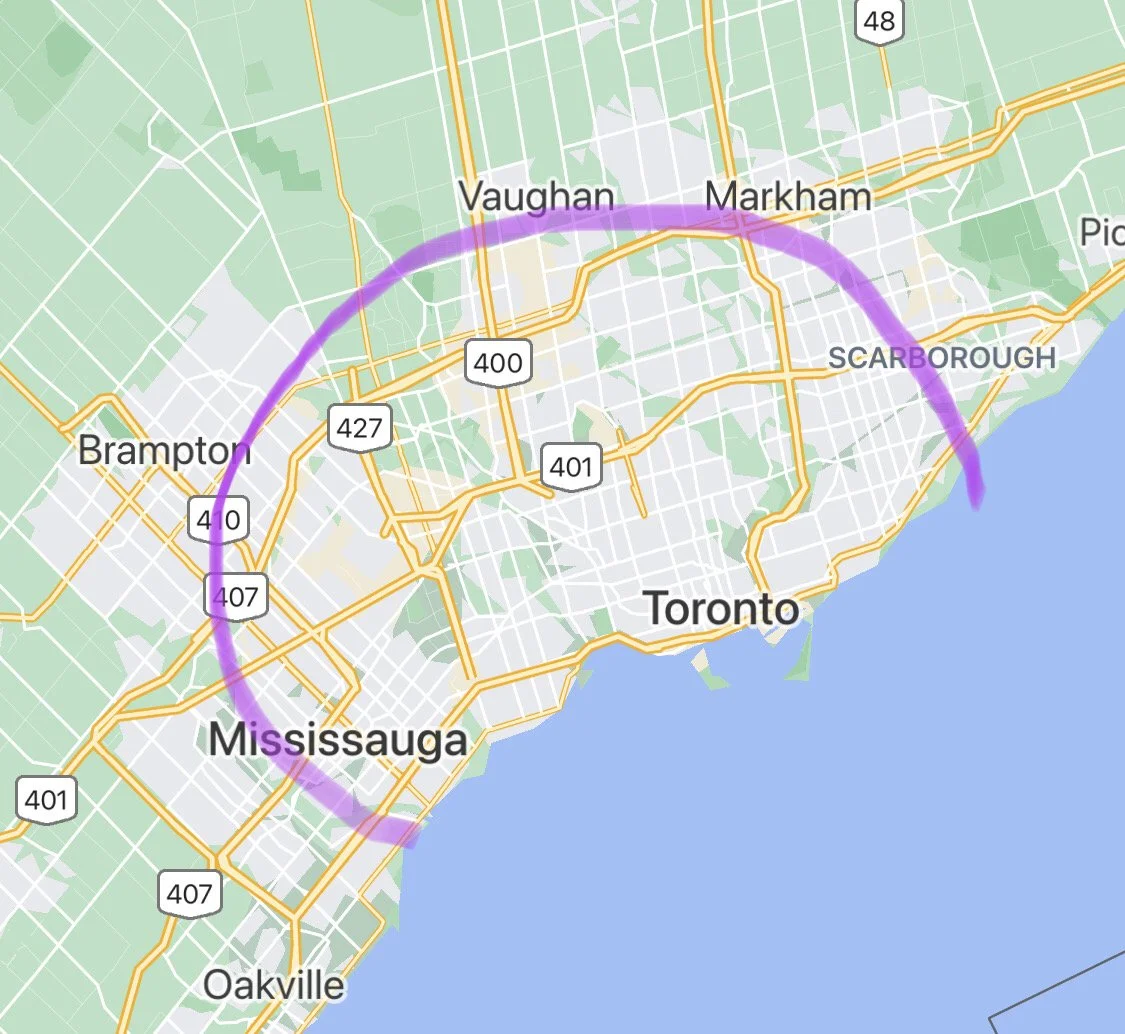
Volunteer home owners/citizen scientists with boxwood plants on their properties are needed in the areas located roughly along the purple line.

So what is involved in becoming a citizen scientist for box tree moth monitoring?

In general, citizen scientists would:

  • Host and hang a box tree moth trap (it looks like a green milk carton) approximately 1 meter from the ground, within 20 feet of boxwood plants, from May to September 30th, 2021

  • Open the trap on the same day each week and report the number of box tree moths found (including photos of the moths)

  • Store a packaged pheromone lure in the freezer for later use (it would be unwrapped and placed in the trap in the middle of August to replace the 3-month lure initially loaded in the trap)

  • Continue weekly monitoring until the end of September

So… if you are ready to be a scientist contact me and I will connect you to the appropriate person.

If you are not ready to make the commitment, be sure to monitor your boxwood plants for this new pest. While there are multiple signs to look for, larvae (and their associated feeding damage) can be found between mid-May and mid-June and again between mid-July and mid-August. Findings can be reported to www.inspection.gc.ca/pests

Happy scouting!

Not all blankets are cozy...

(Originally posted: December 3, 2020)

Hello there! It’s been a while! I hope your fall has been going well; in this area, it has been an absolutely glorious one for working in the garden!

Glorious fall days! No better place to be than in a garden.

With that said, things are now coming to a close and with the snow just starting to fly, it is time to take a good hard look at the garden to ensure that it is in a good state headed into the winter months. Typically, one of my final gardening tasks of the season is to ensure that fallen leaves are not resting on any areas that will cause problems down the road. We have touched on this subject before, but I think it is a good one to revisit.

When it comes to leaf ‘litter’, it is a case of the good, the bad, and the ugly…

The Good

Leaf ‘litter’ is not really litter at all! It is a valuable resource for the soil and garden. When left on beds, leaves will break down over the winter and the nutrients and organic matter from them will return to the soil. This is nature’s way of recycling; giving back to the soil so the soil can continue to support life.

Leaf litter supports life in other ways too as it provides important shelter for overwintering insects and other garden critters- keeping them protected until the earth begins to warm once more. While small, these creatures can play important roles within the web of life that exists in the garden. From pollination to predation on garden pests, or even becoming food for other creatures, there is no doubt that promoting other forms of life within the garden can have huge benefits on how the garden functions as a whole.

Salamanders- one of the many types of critters that can benefit from the presence of leaf litter in the garden.

The Bad

With all that said, in some instances, leaves can really pile up! (Believe me, I know. With three huge shade trees bordering my urban-sized backyard, I know what it feels like to be waist-deep in leaves!) Add snow and rain to a massive leaf pile, and you end up with leaves that have matted together to form a really REALLY thick blanket…or solid mound. (Been there. Done that.). On bare soil, a blanket of leaves is generally not an issue; where we can run into problems is when this blanket lies on top of evergreen plants for prolonged periods of time… such as over the winter; and that’s when things can ‘get ugly’.

The Ugly

Leaves still need to ‘breathe’ (not really the technical terminology, but for simplicity’s sake, let’s consider it breathing); if a thick blanket of fallen leaves is left on top of foliage that needs to ‘breathe’, the result can be smothered foliage and even the death of some plants… big whoops.

Now before you start cursing your shade trees, it should be noted that not all leaves are considered equal when it comes to the ‘smothering factor’; some leaves break down much faster than others and tend to be a non-issue in the garden. Leaves that are notorious for creating thick mats are the large thick leaves of oak (Quercus spp.), Norway and (to a lesser extent) sugar maples (Acer platanoides and Acer saccharum) and catalpa (Catalpa spp.). In contrast, the smaller, thinner leaves of willow (Salix spp.) littleleaf linden (Tilia cordata), silver maple (Acer saccharinum), and ash (Fraxinus spp.), can still form mats however these leaves break down much quicker and they do not hang around long enough to cause issues. So what is the take-home message here? Know the leaves that fall on your property! If you know what you are up against, you will know how to prevent the issues.

A nice oak leaf mat beginning to form (left) and the thin, non-persistent leaves of silver maple (right). The oak leaves can pose some problems in the garden when left covering certain plants, while the leaves of silver maple are generally not a concern.

The Solution is Simple

As you probably guessed, it is really important to pick leaves off all your evergreen plants (trees, shrubs, perennials, and groundcovers) to prevent foliage from being smothered. If you have evergreen trees and shrubs, don’t forget to look within the branches to make sure there aren’t any unwanted blankets within the plants. You will be amazed by how many leaves you pull out!

Matted leaves on evergreen groundcovers can cause foliage to die if the leaves are left to remain throughout the winter months and into the spring. Removing the leaves can help prevent issues down the road.

Fallen leaves resting on and within a few evergreen shrubs. I always make sure to remove these leaves to prevent future foliage problems (smothering), not to mention it just looks nicer too!

A couple more tips for managing leaves

  • If you tend to have large quantities of leaves- where allowing them to lie where they fall is just not practical, or you have leaves with a tendency to become ‘smothering’, you may want to consider buying a leaf mulcher (essentially a glorified ‘whipper snipper’ in a barrel). A mulcher will shred the leaves into a beautiful mulch that you can apply to your garden knowing that it will not cause any thick smothering blankets and that it will be mostly broken down come spring. Additionally, a mulcher helps reduce the volume of leaves, so it becomes possible to allow more leaf ‘litter’ to remain on your garden than if the leaves were to remain whole. All-in-all, a leaf mulcher is a fantastic way to make use of a free soil amendment provided to us every fall, courtesy of Mother Nature.

Ahhhh… it’s so satisfying to see a pile of mulched leaves, ready for distribution throughout the yard! Hmm- what plants should I buy with all the money I save on soil amendments!?!

  • Where leaf quantities are excessive, have a designated space for leaf ‘overflow’ such as a chicken-wire enclosed area. Having an enclosure is handy as it prevents the leaves from blowing around (your neighbours will thank you). It is also a nice contained place where the leaves can slowly break down into leaf mold which can then be used in the garden. Alternatively the excess leaves can be put in a compost pile to speed up decomposition. In general, the leaf mold enclosure and the compost pile are two handy strategies that can be used if you want to keep all your leaves but have too many to allow to sit on the garden over the winter.

And that’s a wrap! Speaking of wraps… stay tuned for my next post which is about another task that I ‘wrap up’ at the end of a gardening season. Any guesses as to what that is???

Mulching: The Finishing Touch

(Originally posted: July 11, 2019)

As promised, I am following up my previous post about edging with a post about mulching- it is the ultimate finishing touch that helps make a garden look fabulous. There is a LOT to say about this topic, so I am dividing it into two parts: a mulch primer, followed by tips for doing a top notch mulching job.

OK. Let’s start with a little discussion about mulch shall we?

Aside from really setting off the plants in your garden and giving the garden beds a nice uniform look, the value of mulch goes well beyond aesthetics. It has some really important environmental benefits too. Here is a brief low down:

Benefit #1:

A layer of mulch acts as a sort of semi-permeable barrier when it comes to water. It allows rain/irrigation water to seep through to the soil but it also helps to slow down water lost from the soil due to evaporation- delaying the need to add supplemental water during dry periods… thus conserving this precious resource! (This ability to conserve soil moisture is also why we don’t want to apply mulch to water-logged spring soils… for the health of our plants, we want to encourage these soils to dry out a little before ‘locking in the moisture’!)

As summer weather hits, our minds shift to water conservation. In a garden, mulch is an important piece of the ‘water conservation puzzle’.

Benefit #2:

A layer of mulch can absorb the impact of driving rains thus preventing your garden soil from washing away or splashing up on your plants- a relevant concern given the weather we have been experiencing as of late! Mulch fibres tend to weave together which helps the layer stay in place in conditions that would otherwise wash soil away. (It is important to keep in mind that when mulch fibres become too interwoven, the layer has a tendency to repel water- this is where ‘fluffing’ the mulch every now and then is a good idea.)

Benefit #3: Exposed soil just screams “Hey weeds! Land available- make your home here!” The barrier provided by mulch can help control weeds in two ways. First of all, a good mulch layer (around a 3” depth) can prevent existing weed seeds in the soil from taking hold by eliminating the sunlight required for them to germinate. The layer of mulch is also not conducive to rooting, so seeds blowing into the area will have little success at ‘laying claim’ to the land. With that said, it is important to weed your garden before applying mulch. You may think you have won the war by covering up your unwanted plants, but most likely you have not. Sorry. Existing weeds will often grow right through the mulch… forcing you to actually deal with the problem instead of covering it up!

Attack of the weeds! Mulch can be used as a weapon in the war against weeds in your garden.

Benefit #4: Mulch is a natural product that, when it breaks down, it adds organic matter to the soil (which in turn adds nutrients to the soil, increases the water holding capacity of the soil as well as the ability of the soil to retain nutrients). Organic matter can also help break up clay soils and ‘beef-up’ really sandy soils (in general, it improves the structure of the soil). In this way, mulch is another way we can ‘give back’ to our gardens during the growing season!

Benefit #5: Mulch can help moderate soil temperatures, buffering plants from the heat of summer and the cold temperatures of winter. This can be the difference between the survival or demise of more tender plants (or plants growing at the edge of their climatic limits).

Clematis is a plant that benefits from a generous layer of mulch to moderate soil temperatures.

Types of Mulch and How Much to Use

Organic mulches are really the only type of mulch to consider for a garden. Of the organic mulches, the most readily available ones for the home gardener are the shredded bark mulches that are found in bags at your local garden centre. Usually it becomes a choice between pine and cedar. There is also a choice in colour as dyed mulches are available in brown, black or red (gag!).

Bagged shredded cedar mulch. Note the shredded/fibrous texture of this mulch.

So how does one choose? Here are some points to consider when choosing a mulch for your garden:

  • Pine mulch tends to be lighter in colour and breaks down faster than cedar mulch (this is not necessarily a bad thing since you will need to reapply mulch on a yearly basis anyway; I personally like a mulch to break down quickly so that it is incorporated into the soil sooner.)

  • Pine is more acidic than cedar

  • Cedar mulch tends to have a naturally reddish colour to it

  • The stained mulches may look nice when first applied but they tend to fade (in full sun situations they can start looking very ‘tired’ quite quickly)

  • Black mulch shows every single piece of debris that lands on it

  • Red mulch is just wrong and shouldn’t even be considered an option! (This is the hideous orange-red mulch that tends to be used in parking lot and gas station gardens. If you love your garden and want to show it off, I am begging you…DON’T USE THIS MULCH!)

Some other variations are available when buying mulch in bulk. If you are happy to get a pile of mulch dumped on your driveway, this is certainly the most economical way to go! I personally like a composted pine bark mulch. It has a more uniform consistency than the shredded mulches and it doesn’t tend to weave together. This does make it more susceptible to swimming away in driving rains… but considering the downpours we have seen in recent years, I have found it to hold up extremely well!

Composted pine bark mulch. Note the more consistent texture of the mulch particles compared to the shredded bark mulch. This mulch lacks the fibrous quality of the shredded bark mulches and the particles do not weave together.

I realize there are even more options when it comes to mulching (straw, compost, shredded leaves, wood chips to name a few) but I will save these for future posts. Let’s get on with the task at hand… applying mulch to our gardens! (Which just happens to be covered in the next post…)