Tree and Shrub Care

Mulching: The Finishing Touch

(Originally posted: July 11, 2019)

As promised, I am following up my previous post about edging with a post about mulching- it is the ultimate finishing touch that helps make a garden look fabulous. There is a LOT to say about this topic, so I am dividing it into two parts: a mulch primer, followed by tips for doing a top notch mulching job.

OK. Let’s start with a little discussion about mulch shall we?

Aside from really setting off the plants in your garden and giving the garden beds a nice uniform look, the value of mulch goes well beyond aesthetics. It has some really important environmental benefits too. Here is a brief low down:

Benefit #1:

A layer of mulch acts as a sort of semi-permeable barrier when it comes to water. It allows rain/irrigation water to seep through to the soil but it also helps to slow down water lost from the soil due to evaporation- delaying the need to add supplemental water during dry periods… thus conserving this precious resource! (This ability to conserve soil moisture is also why we don’t want to apply mulch to water-logged spring soils… for the health of our plants, we want to encourage these soils to dry out a little before ‘locking in the moisture’!)

As summer weather hits, our minds shift to water conservation. In a garden, mulch is an important piece of the ‘water conservation puzzle’.

Benefit #2:

A layer of mulch can absorb the impact of driving rains thus preventing your garden soil from washing away or splashing up on your plants- a relevant concern given the weather we have been experiencing as of late! Mulch fibres tend to weave together which helps the layer stay in place in conditions that would otherwise wash soil away. (It is important to keep in mind that when mulch fibres become too interwoven, the layer has a tendency to repel water- this is where ‘fluffing’ the mulch every now and then is a good idea.)

Benefit #3: Exposed soil just screams “Hey weeds! Land available- make your home here!” The barrier provided by mulch can help control weeds in two ways. First of all, a good mulch layer (around a 3” depth) can prevent existing weed seeds in the soil from taking hold by eliminating the sunlight required for them to germinate. The layer of mulch is also not conducive to rooting, so seeds blowing into the area will have little success at ‘laying claim’ to the land. With that said, it is important to weed your garden before applying mulch. You may think you have won the war by covering up your unwanted plants, but most likely you have not. Sorry. Existing weeds will often grow right through the mulch… forcing you to actually deal with the problem instead of covering it up!

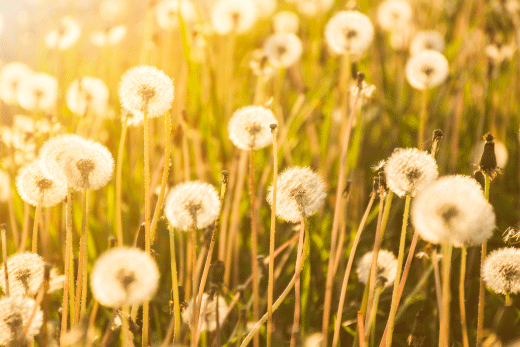
Attack of the weeds! Mulch can be used as a weapon in the war against weeds in your garden.

Benefit #4: Mulch is a natural product that, when it breaks down, it adds organic matter to the soil (which in turn adds nutrients to the soil, increases the water holding capacity of the soil as well as the ability of the soil to retain nutrients). Organic matter can also help break up clay soils and ‘beef-up’ really sandy soils (in general, it improves the structure of the soil). In this way, mulch is another way we can ‘give back’ to our gardens during the growing season!

Benefit #5: Mulch can help moderate soil temperatures, buffering plants from the heat of summer and the cold temperatures of winter. This can be the difference between the survival or demise of more tender plants (or plants growing at the edge of their climatic limits).

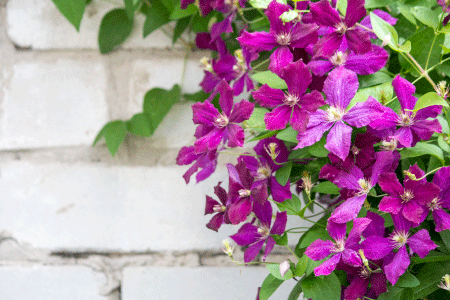
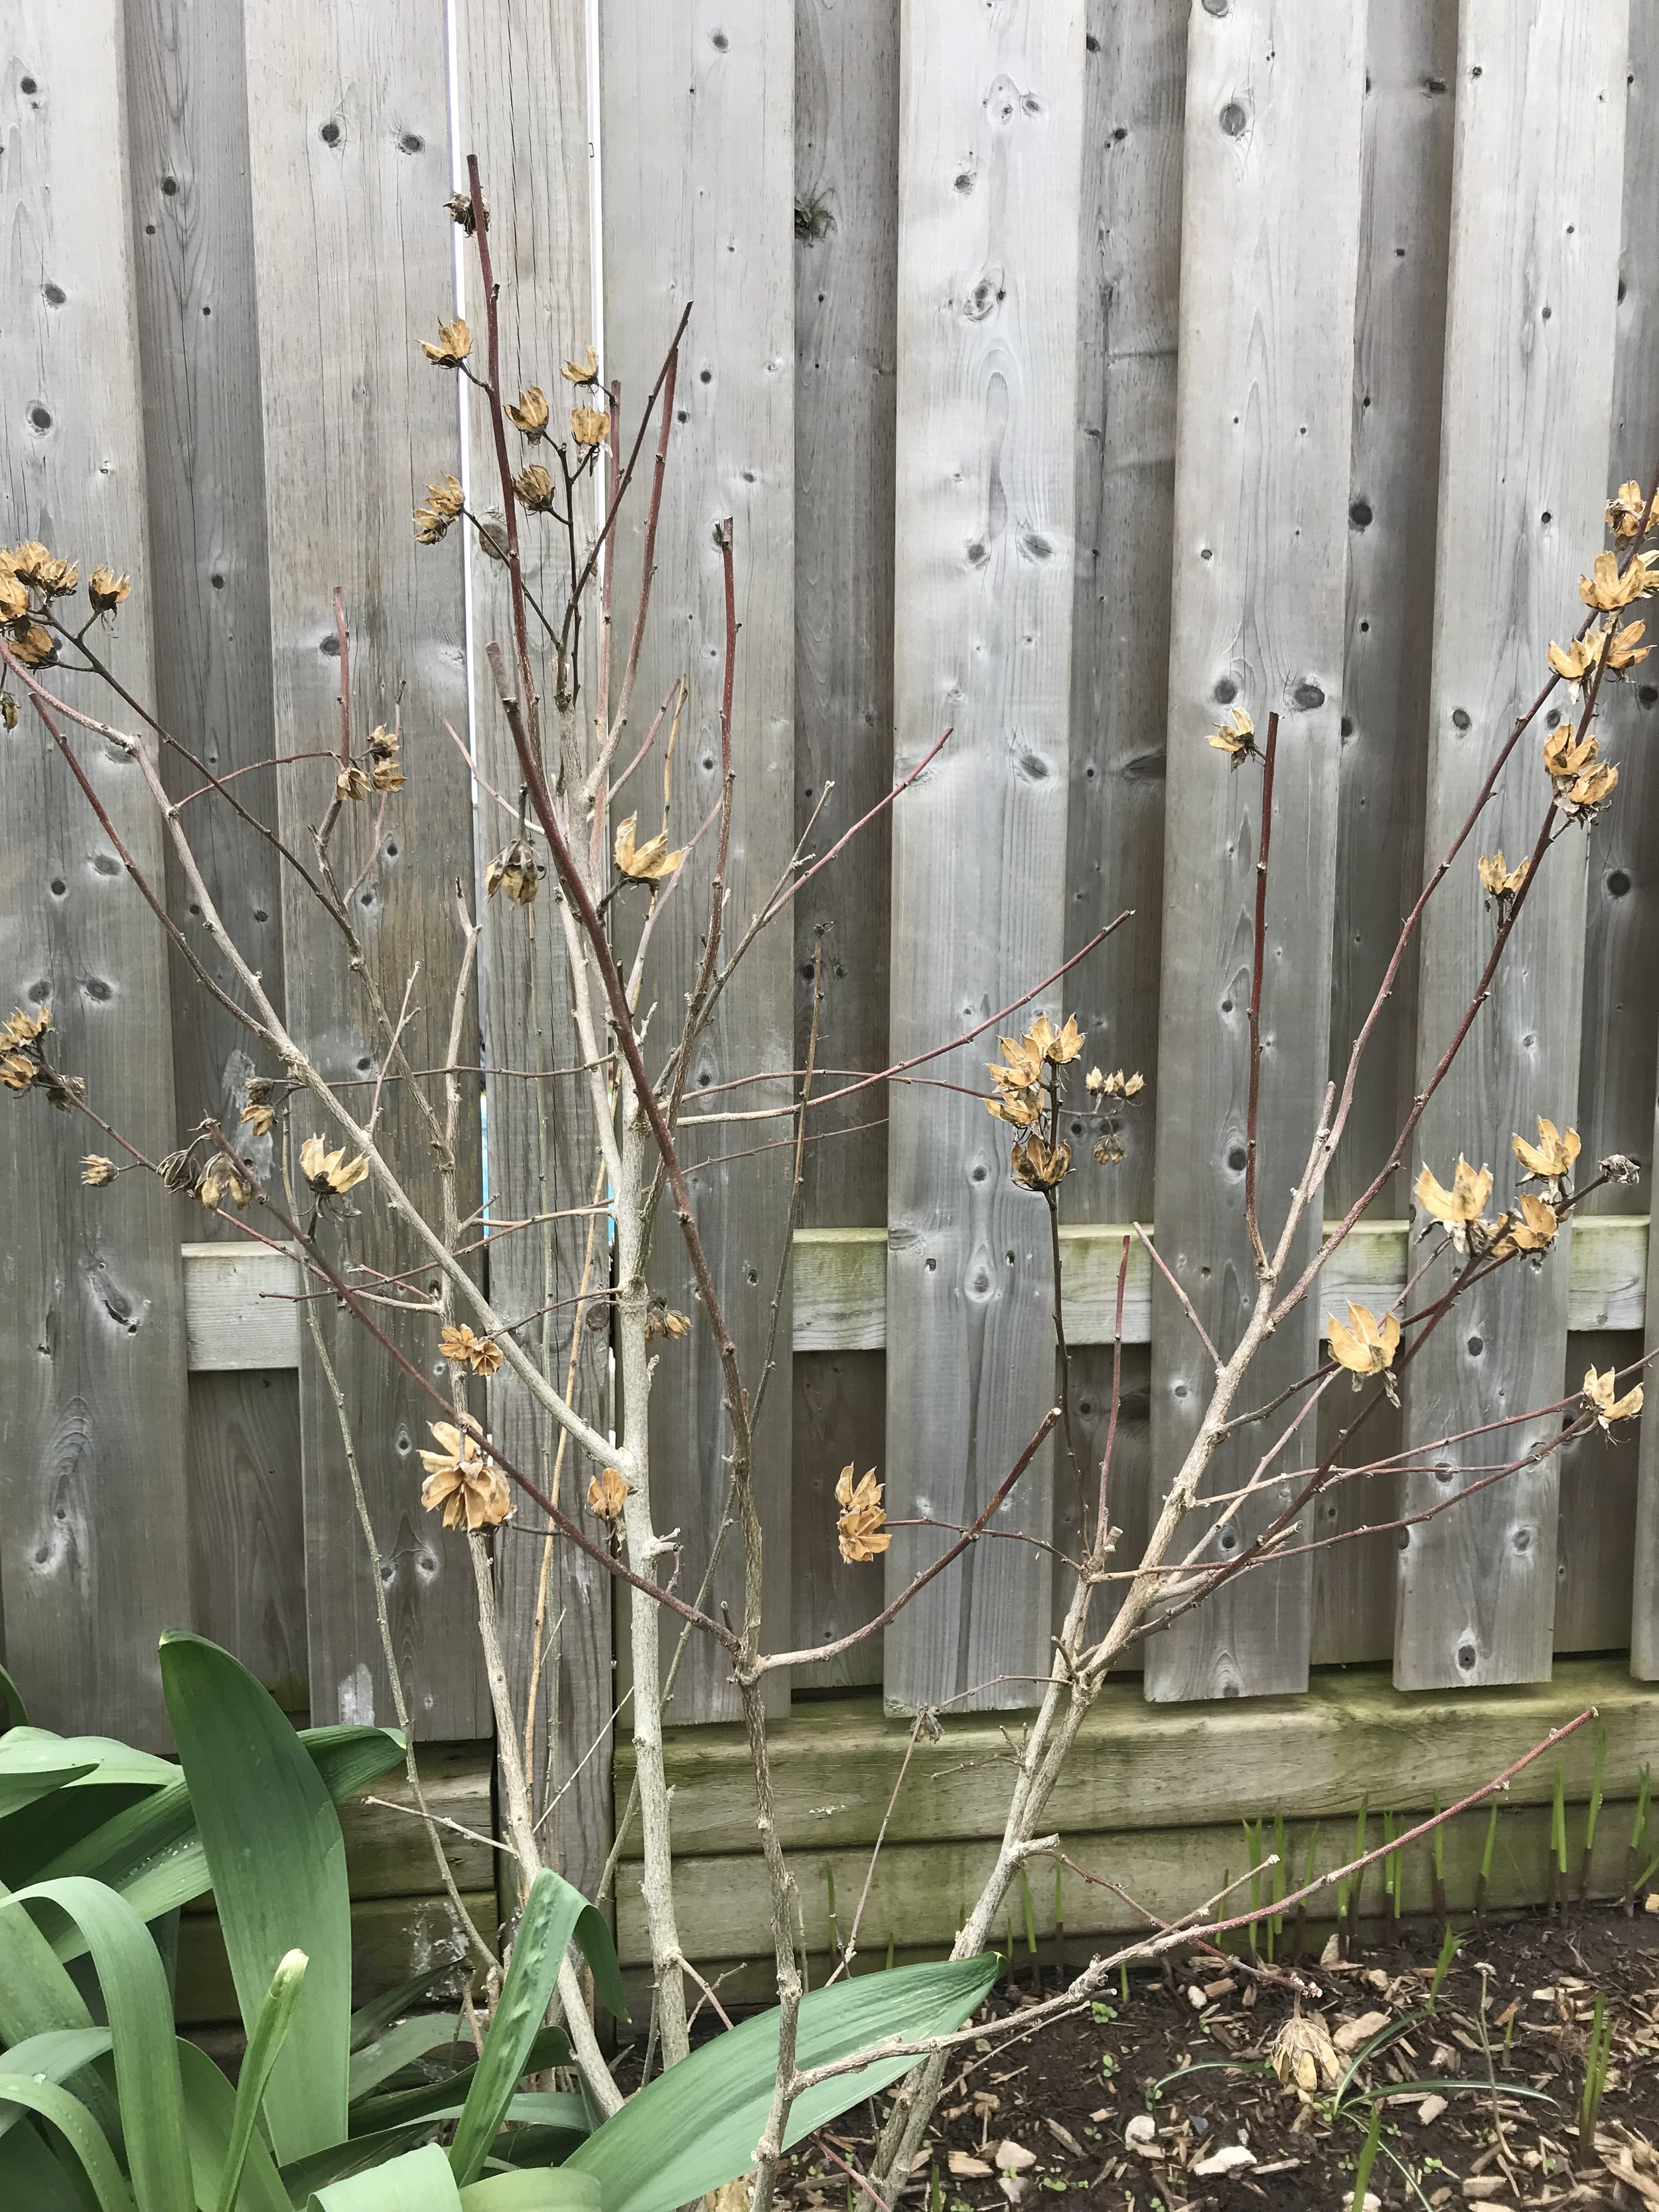
Clematis is a plant that benefits from a generous layer of mulch to moderate soil temperatures.

Types of Mulch and How Much to Use

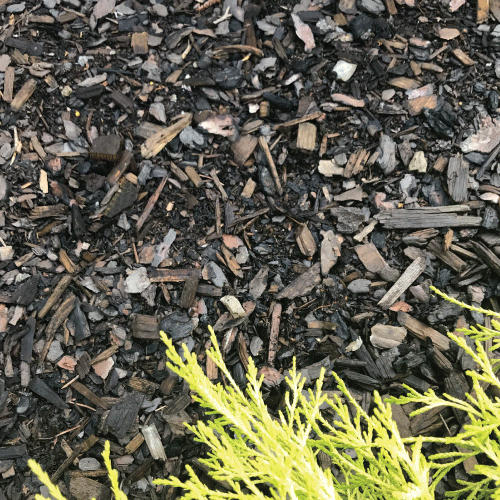
Organic mulches are really the only type of mulch to consider for a garden. Of the organic mulches, the most readily available ones for the home gardener are the shredded bark mulches that are found in bags at your local garden centre. Usually it becomes a choice between pine and cedar. There is also a choice in colour as dyed mulches are available in brown, black or red (gag!).

Bagged shredded cedar mulch. Note the shredded/fibrous texture of this mulch.

So how does one choose? Here are some points to consider when choosing a mulch for your garden:

  • Pine mulch tends to be lighter in colour and breaks down faster than cedar mulch (this is not necessarily a bad thing since you will need to reapply mulch on a yearly basis anyway; I personally like a mulch to break down quickly so that it is incorporated into the soil sooner.)

  • Pine is more acidic than cedar

  • Cedar mulch tends to have a naturally reddish colour to it

  • The stained mulches may look nice when first applied but they tend to fade (in full sun situations they can start looking very ‘tired’ quite quickly)

  • Black mulch shows every single piece of debris that lands on it

  • Red mulch is just wrong and shouldn’t even be considered an option! (This is the hideous orange-red mulch that tends to be used in parking lot and gas station gardens. If you love your garden and want to show it off, I am begging you…DON’T USE THIS MULCH!)

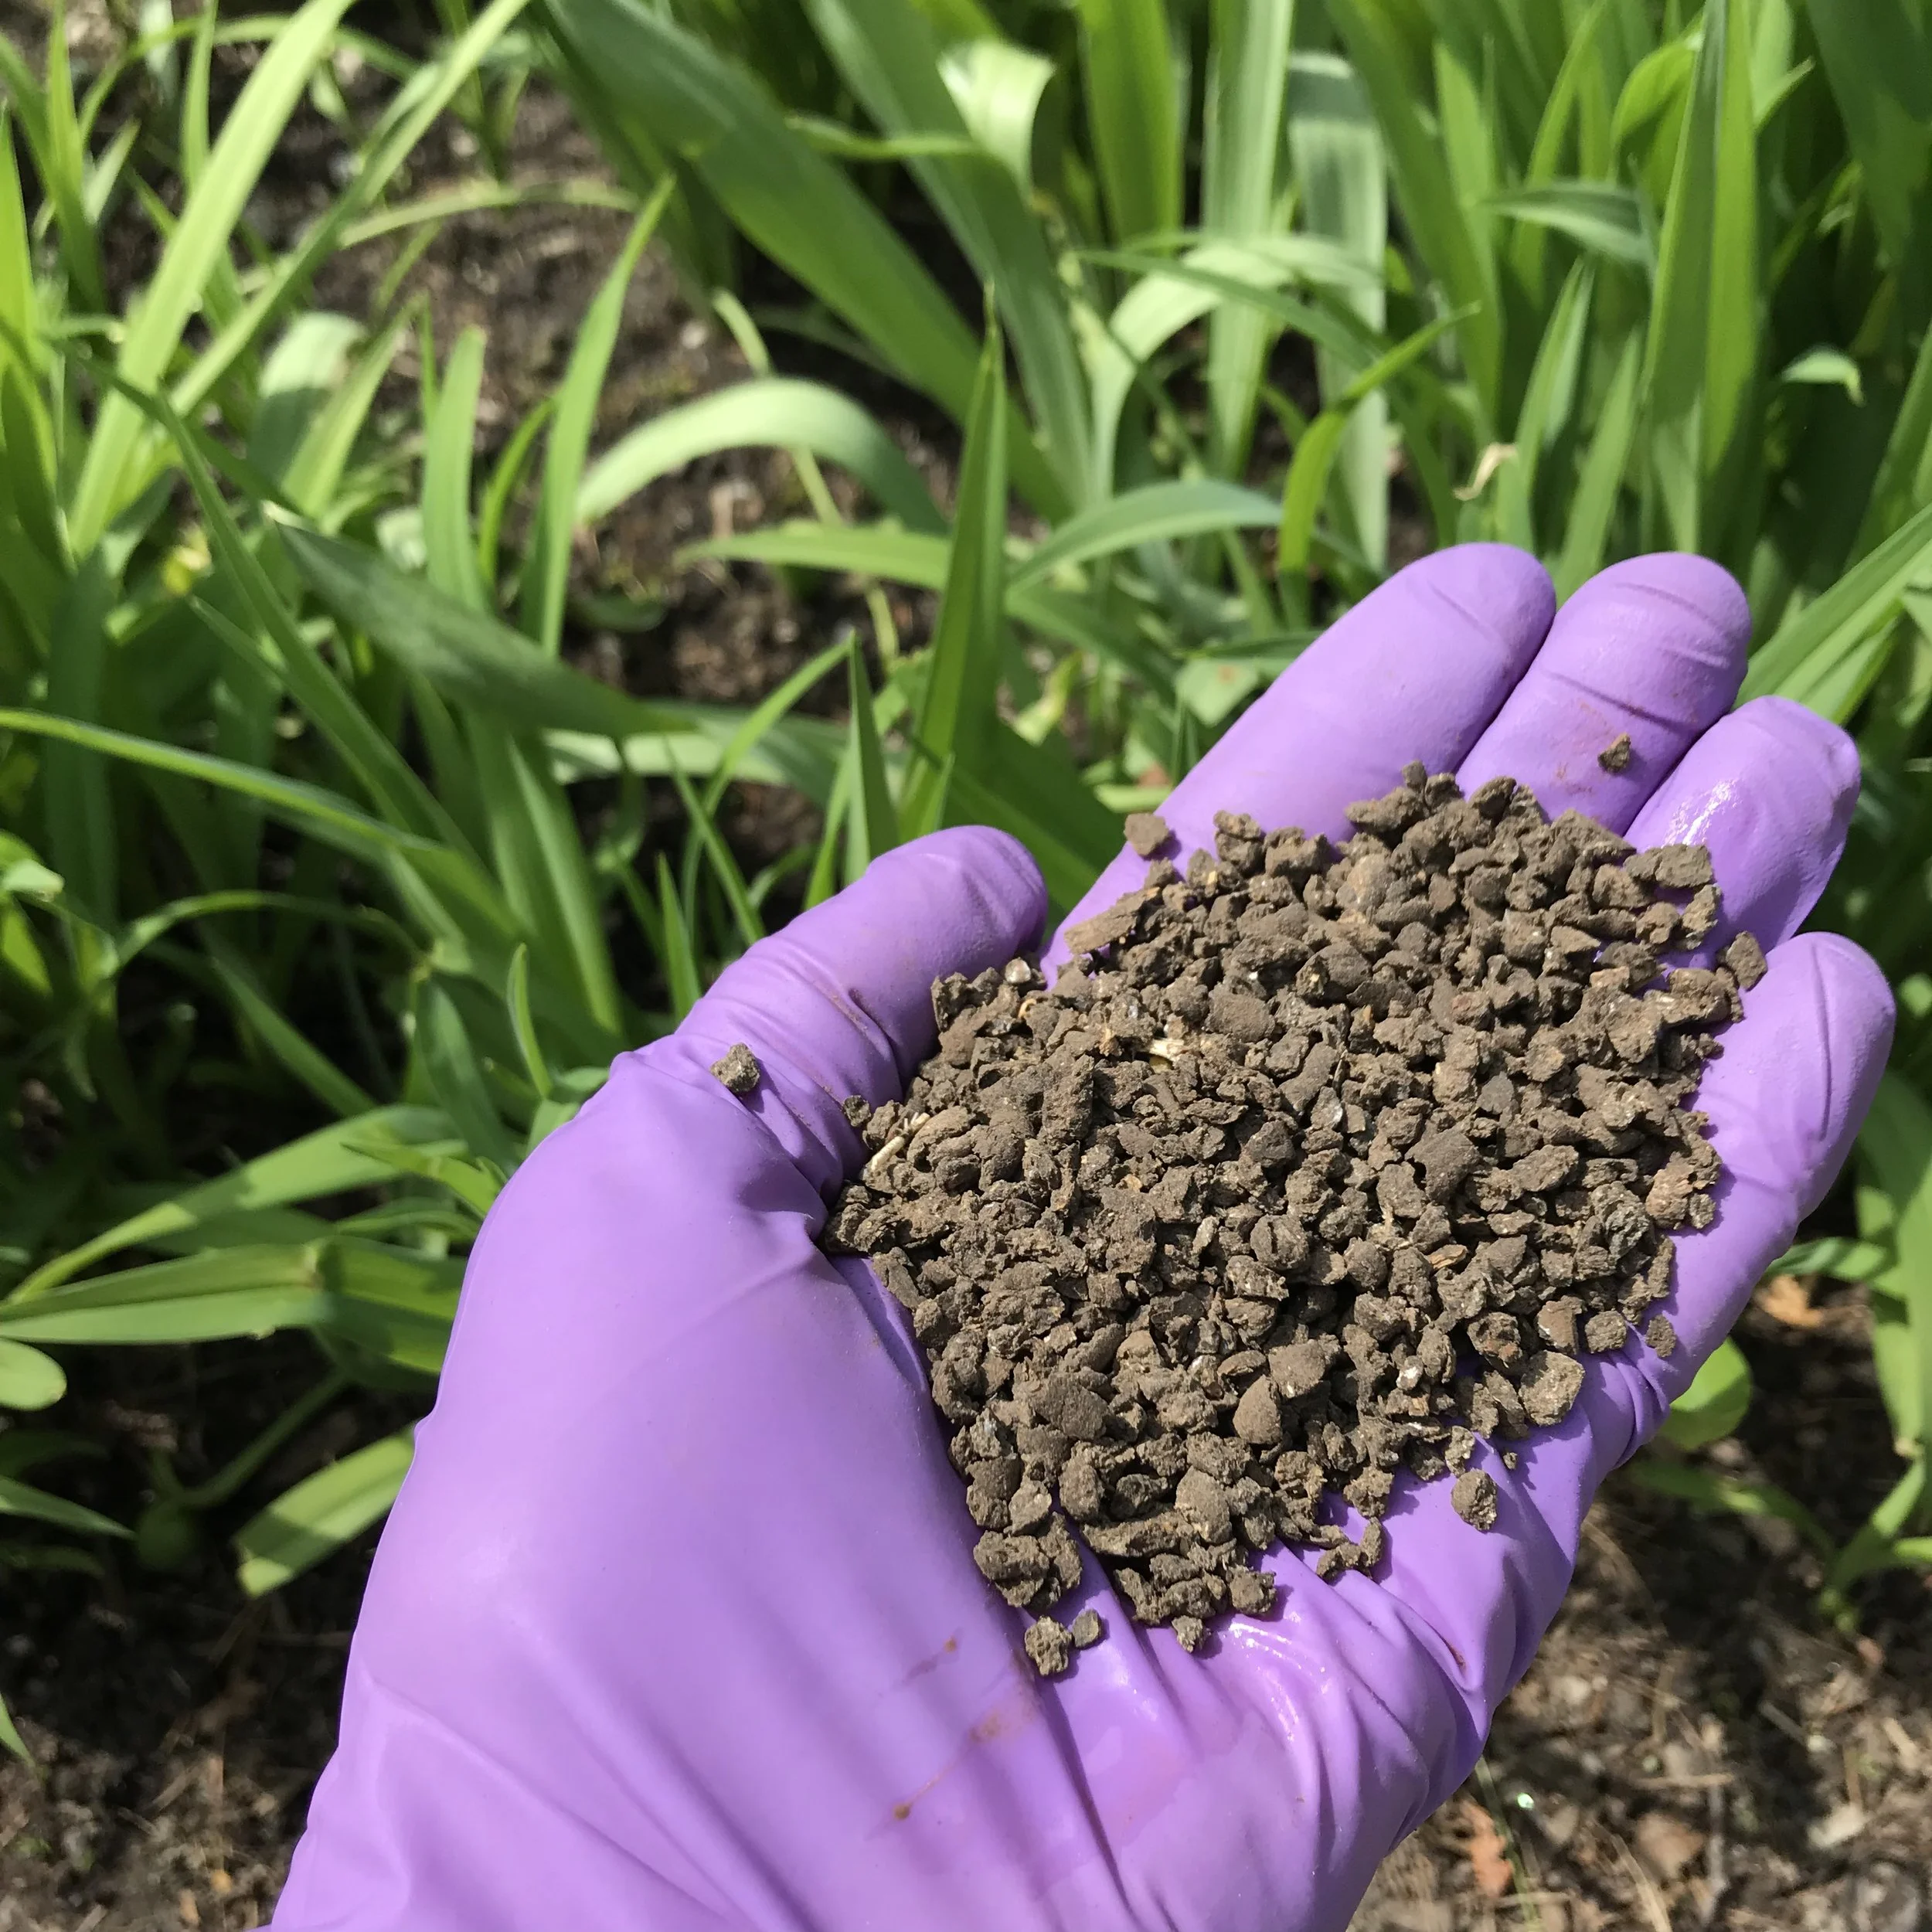
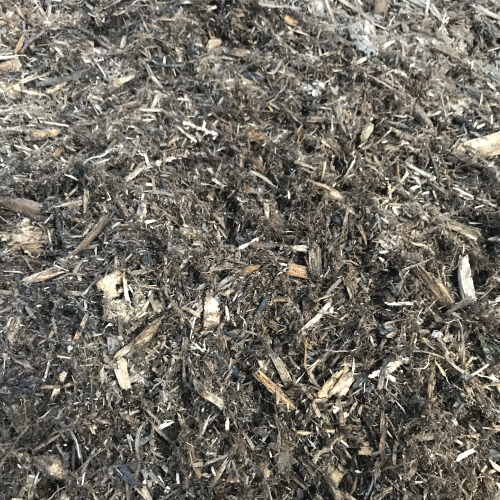
Some other variations are available when buying mulch in bulk. If you are happy to get a pile of mulch dumped on your driveway, this is certainly the most economical way to go! I personally like a composted pine bark mulch. It has a more uniform consistency than the shredded mulches and it doesn’t tend to weave together. This does make it more susceptible to swimming away in driving rains… but considering the downpours we have seen in recent years, I have found it to hold up extremely well!

Composted pine bark mulch. Note the more consistent texture of the mulch particles compared to the shredded bark mulch. This mulch lacks the fibrous quality of the shredded bark mulches and the particles do not weave together.

I realize there are even more options when it comes to mulching (straw, compost, shredded leaves, wood chips to name a few) but I will save these for future posts. Let’s get on with the task at hand… applying mulch to our gardens! (Which just happens to be covered in the next post…)

Giving Back

(Originally posted: May 18, 2019)

With the almost constant rains of April and early May finally looking like they will be subsiding, it is now time to start ‘giving back’ to our gardens.

Remember all those leaves and debris that we removed last fall and during our Spring clean-up? These are the nutrients and organic matter that we stole away from our plants in exchange for a tidy-looking yard. Well now it is pay-back time! A time to look sheepishly around our yard, mutter some apologies, and give back to our garden what was taken away from it… albeit in another form, but regardless, the point is we are making ‘amends’!

Soil is at the ‘root’ of plant heath. Keeping our soil healthy sets us up to grow healthy plants. So what is healthy soil? It is soil that can sustain life- not just the lives of our plants, but also all the other organisms that live within it. To sustain life (both above and below ground) soil needs to have: nutrients, moisture, air and a suitable structure in which other organisms can grow.

Two important amendments to maintain soil heath are:

  1. NUTRIENTS: in the form of natural fertilizers. In general, fertilizers contain (and plants need) 3 macronutrients- Nitrogen (N), Phosphorus (P) and Potassium (K)- they are listed on the package according to their percent by weight in the fertilizer. For example, an N-P-K analysis of 15-30-15 is 15% nitrogen, 30% phosphorus and 15% potassium. The remaining 40% is ‘other’, which can be organic matter, micronutrients (also needed by plants) and filler (in the case of synthetic/man-made fertilizers) .

    There are two kinds of fertilizers: organic (which comes from natural sources) and inorganic (which is mined or man-made). Additionally, there are two modes of application: granular (which is slow release and available to plants over a long period of time) and water soluble (which is instantly available to plants for a very short period of time).

  2. ORGANIC MATTER- serves many important roles in the soil. It increases the water holding capacity in sandy soils, helps break-up and promote drainage in clay soils, holds and releases nutrients to plants, and improves the overall structure of the soil.

While I am not strictly an organic gardener, I do consider myself an ‘ecological gardener’ and I typically use natural amendments to add both nutrients and organic matter to my garden beds. After all, it was organic material that was removed from my gardens therefore it is organic material that I will replace. This week, I have been using pelleted hen manure to fertilize the beds. Compost is something I will do in the weeks to come- at which point I will do another blog post on this important amendment!

A handful of stinky goodness- pelleted chicken poop!

Oh hen poo- how I love you! Why you ask? It is a natural and relatively balanced fertilizer (5-3-3), contains organic matter, is easy to apply, the brands I use are approved for use in organic gardening, and I don’t need to worry about burning foliage with it or over-fertilizing my plants which are two concerns when using synthetic fertilizers. To loosely steal from a well-known cough syrup commercial: it smells awful, but it works!

To apply the hen manure, I broadcast it by hand around all the plants in the garden, paying particular attention to spreading it where the roots would be growing… which, generally speaking, is the area beneath a tree or shrub extending from it’s base out to the drip line (outlined in the diagram below using dotted lines). It is important to keep in mind that the roots most able to absorb nutrients are those further away from the base of the plant and closer to the drip line, so throwing a pile of fertilizer at the base of a plant isn’t going to do much for it! The same goes for perennials- the manure gets sprinkled on the soil around the perennials not on them!

The area beneath trees and shrubs where fertilizer is broadcasted. The roots most able to absorb nutrients are closer to the drip line of the plant (shown as dotted lines, above) so I make sure the distribution of hen manure is weighted more toward the drip line as opposed to the base of the plants.

After I disperse the hen manure, I work it into the garden- usually by hand, but a cultivator works well too.

So put on the nose plugs… and if you catch a whiff, remind yourself- you are doing this for soil health and ultimately the good of your garden!

Patience Please

(Originally posted: May 14, 2019)

Patience is a virtue that very few people have these days. In a world where everything is instant, I really think society is forgetting how to pause and wait for things. Fortunately there are still activities that test this dying skill… gardening is one of them!

Spring is when gardeners must exercise the most patience… waiting for that slow process of things to wake up and start growing. In the excitement of the season, we want to see everything emerge as quickly as possible.

But this is not always the case!

Plants, like people, have their own timelines. While some plants were ‘off to the races’ in February (I am talking about you, Witchhazel… and I thank you for your stunning show amidst the ice and snow!) there are the teenagers of the group who are still lingering in bed! Unfortunately for these ‘adolescent’ plants (Hibiscus spp. [Rose of Sharon and perennial hibiscus] Buddleja spp. [butterfly bush], Caryopteris spp. [bluebeard] and warm-season grasses, to name some of the more common ones) they are often pulled out in early Spring by impatient gardeners thinking their plants didn’t survive the winter.

Like this grass, for example… it looks dead right?

WAIT! Before pulling out ‘dead’ perennials like this grass, take a really close look at the base of the plants…

I spy some new growth! Yay! It’s alive and just needs more time to fully wake up to the world.

Now how about this Rose of Sharon…

This also looks dead as a door nail- especially since every other plant on the property has started growing. In the case of woody plants such as this one, you’ll need to do a scratch test to figure out if there is still life in the plant. Scratch off the bark on a branch, if it is green underneath, it is alive!

So now let’s take a closer look at the Rose of Sharon…

Ah ha! Green! So like the grass, this shrub just needs more time to ‘get into gear’ for the upcoming season.

It may be shocking to find life in plants that look so dead. The urge is definitely to pull out these awful looking plants to eliminate the last remaining evidence of winter’s icy grip… and here enters the element of patience. Resist the urge! These plants will ‘pop’ soon enough. Their sluggishness may drive you crazy right now, but you’ll forget about it in a few weeks.

In the meantime, try singing to them... at least it will divert your attention from wanting to remove them from your garden, and it will give your neighbours something to talk about instead of your not-so-dead plants.