Garden Maintenance

Giving Back

(Originally posted: May 18, 2019)

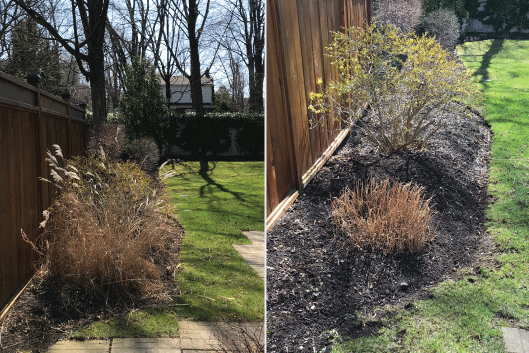
With the almost constant rains of April and early May finally looking like they will be subsiding, it is now time to start ‘giving back’ to our gardens.

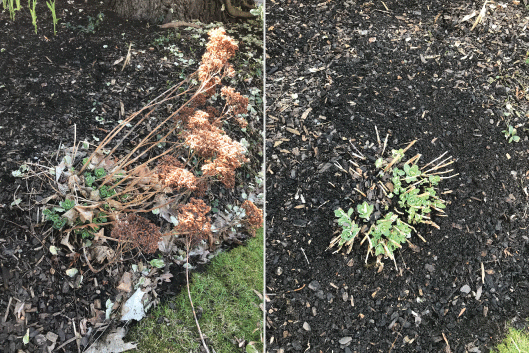
Remember all those leaves and debris that we removed last fall and during our Spring clean-up? These are the nutrients and organic matter that we stole away from our plants in exchange for a tidy-looking yard. Well now it is pay-back time! A time to look sheepishly around our yard, mutter some apologies, and give back to our garden what was taken away from it… albeit in another form, but regardless, the point is we are making ‘amends’!

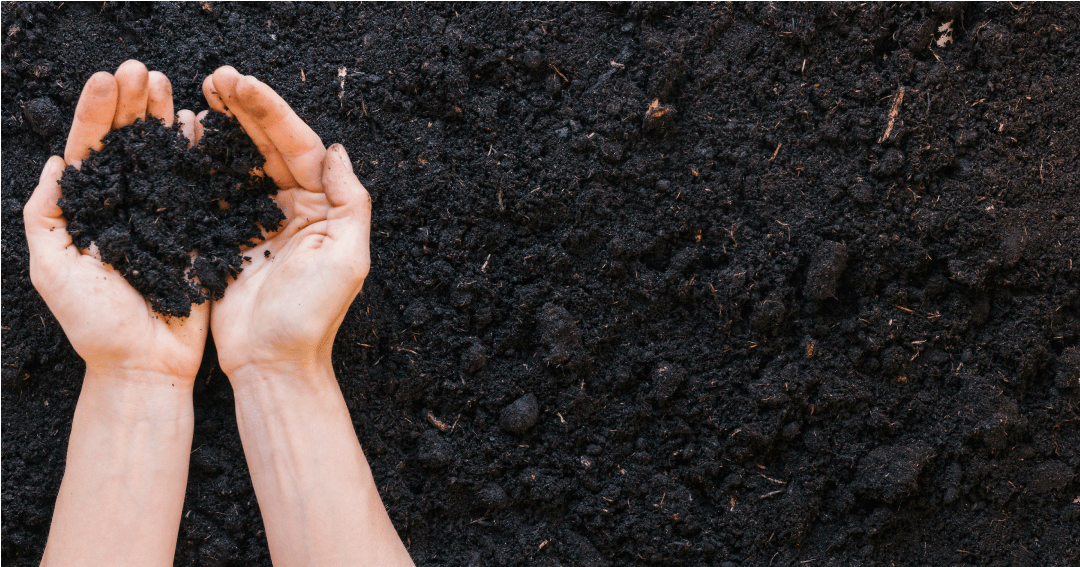
Soil is at the ‘root’ of plant heath. Keeping our soil healthy sets us up to grow healthy plants. So what is healthy soil? It is soil that can sustain life- not just the lives of our plants, but also all the other organisms that live within it. To sustain life (both above and below ground) soil needs to have: nutrients, moisture, air and a suitable structure in which other organisms can grow.

Two important amendments to maintain soil heath are:

  1. NUTRIENTS: in the form of natural fertilizers. In general, fertilizers contain (and plants need) 3 macronutrients- Nitrogen (N), Phosphorus (P) and Potassium (K)- they are listed on the package according to their percent by weight in the fertilizer. For example, an N-P-K analysis of 15-30-15 is 15% nitrogen, 30% phosphorus and 15% potassium. The remaining 40% is ‘other’, which can be organic matter, micronutrients (also needed by plants) and filler (in the case of synthetic/man-made fertilizers) .

    There are two kinds of fertilizers: organic (which comes from natural sources) and inorganic (which is mined or man-made). Additionally, there are two modes of application: granular (which is slow release and available to plants over a long period of time) and water soluble (which is instantly available to plants for a very short period of time).

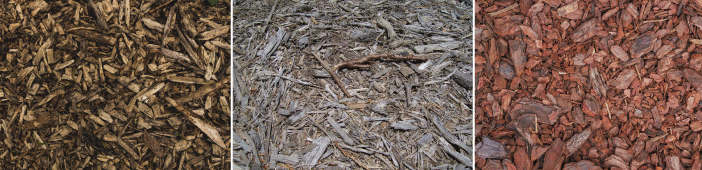
  2. ORGANIC MATTER- serves many important roles in the soil. It increases the water holding capacity in sandy soils, helps break-up and promote drainage in clay soils, holds and releases nutrients to plants, and improves the overall structure of the soil.

While I am not strictly an organic gardener, I do consider myself an ‘ecological gardener’ and I typically use natural amendments to add both nutrients and organic matter to my garden beds. After all, it was organic material that was removed from my gardens therefore it is organic material that I will replace. This week, I have been using pelleted hen manure to fertilize the beds. Compost is something I will do in the weeks to come- at which point I will do another blog post on this important amendment!

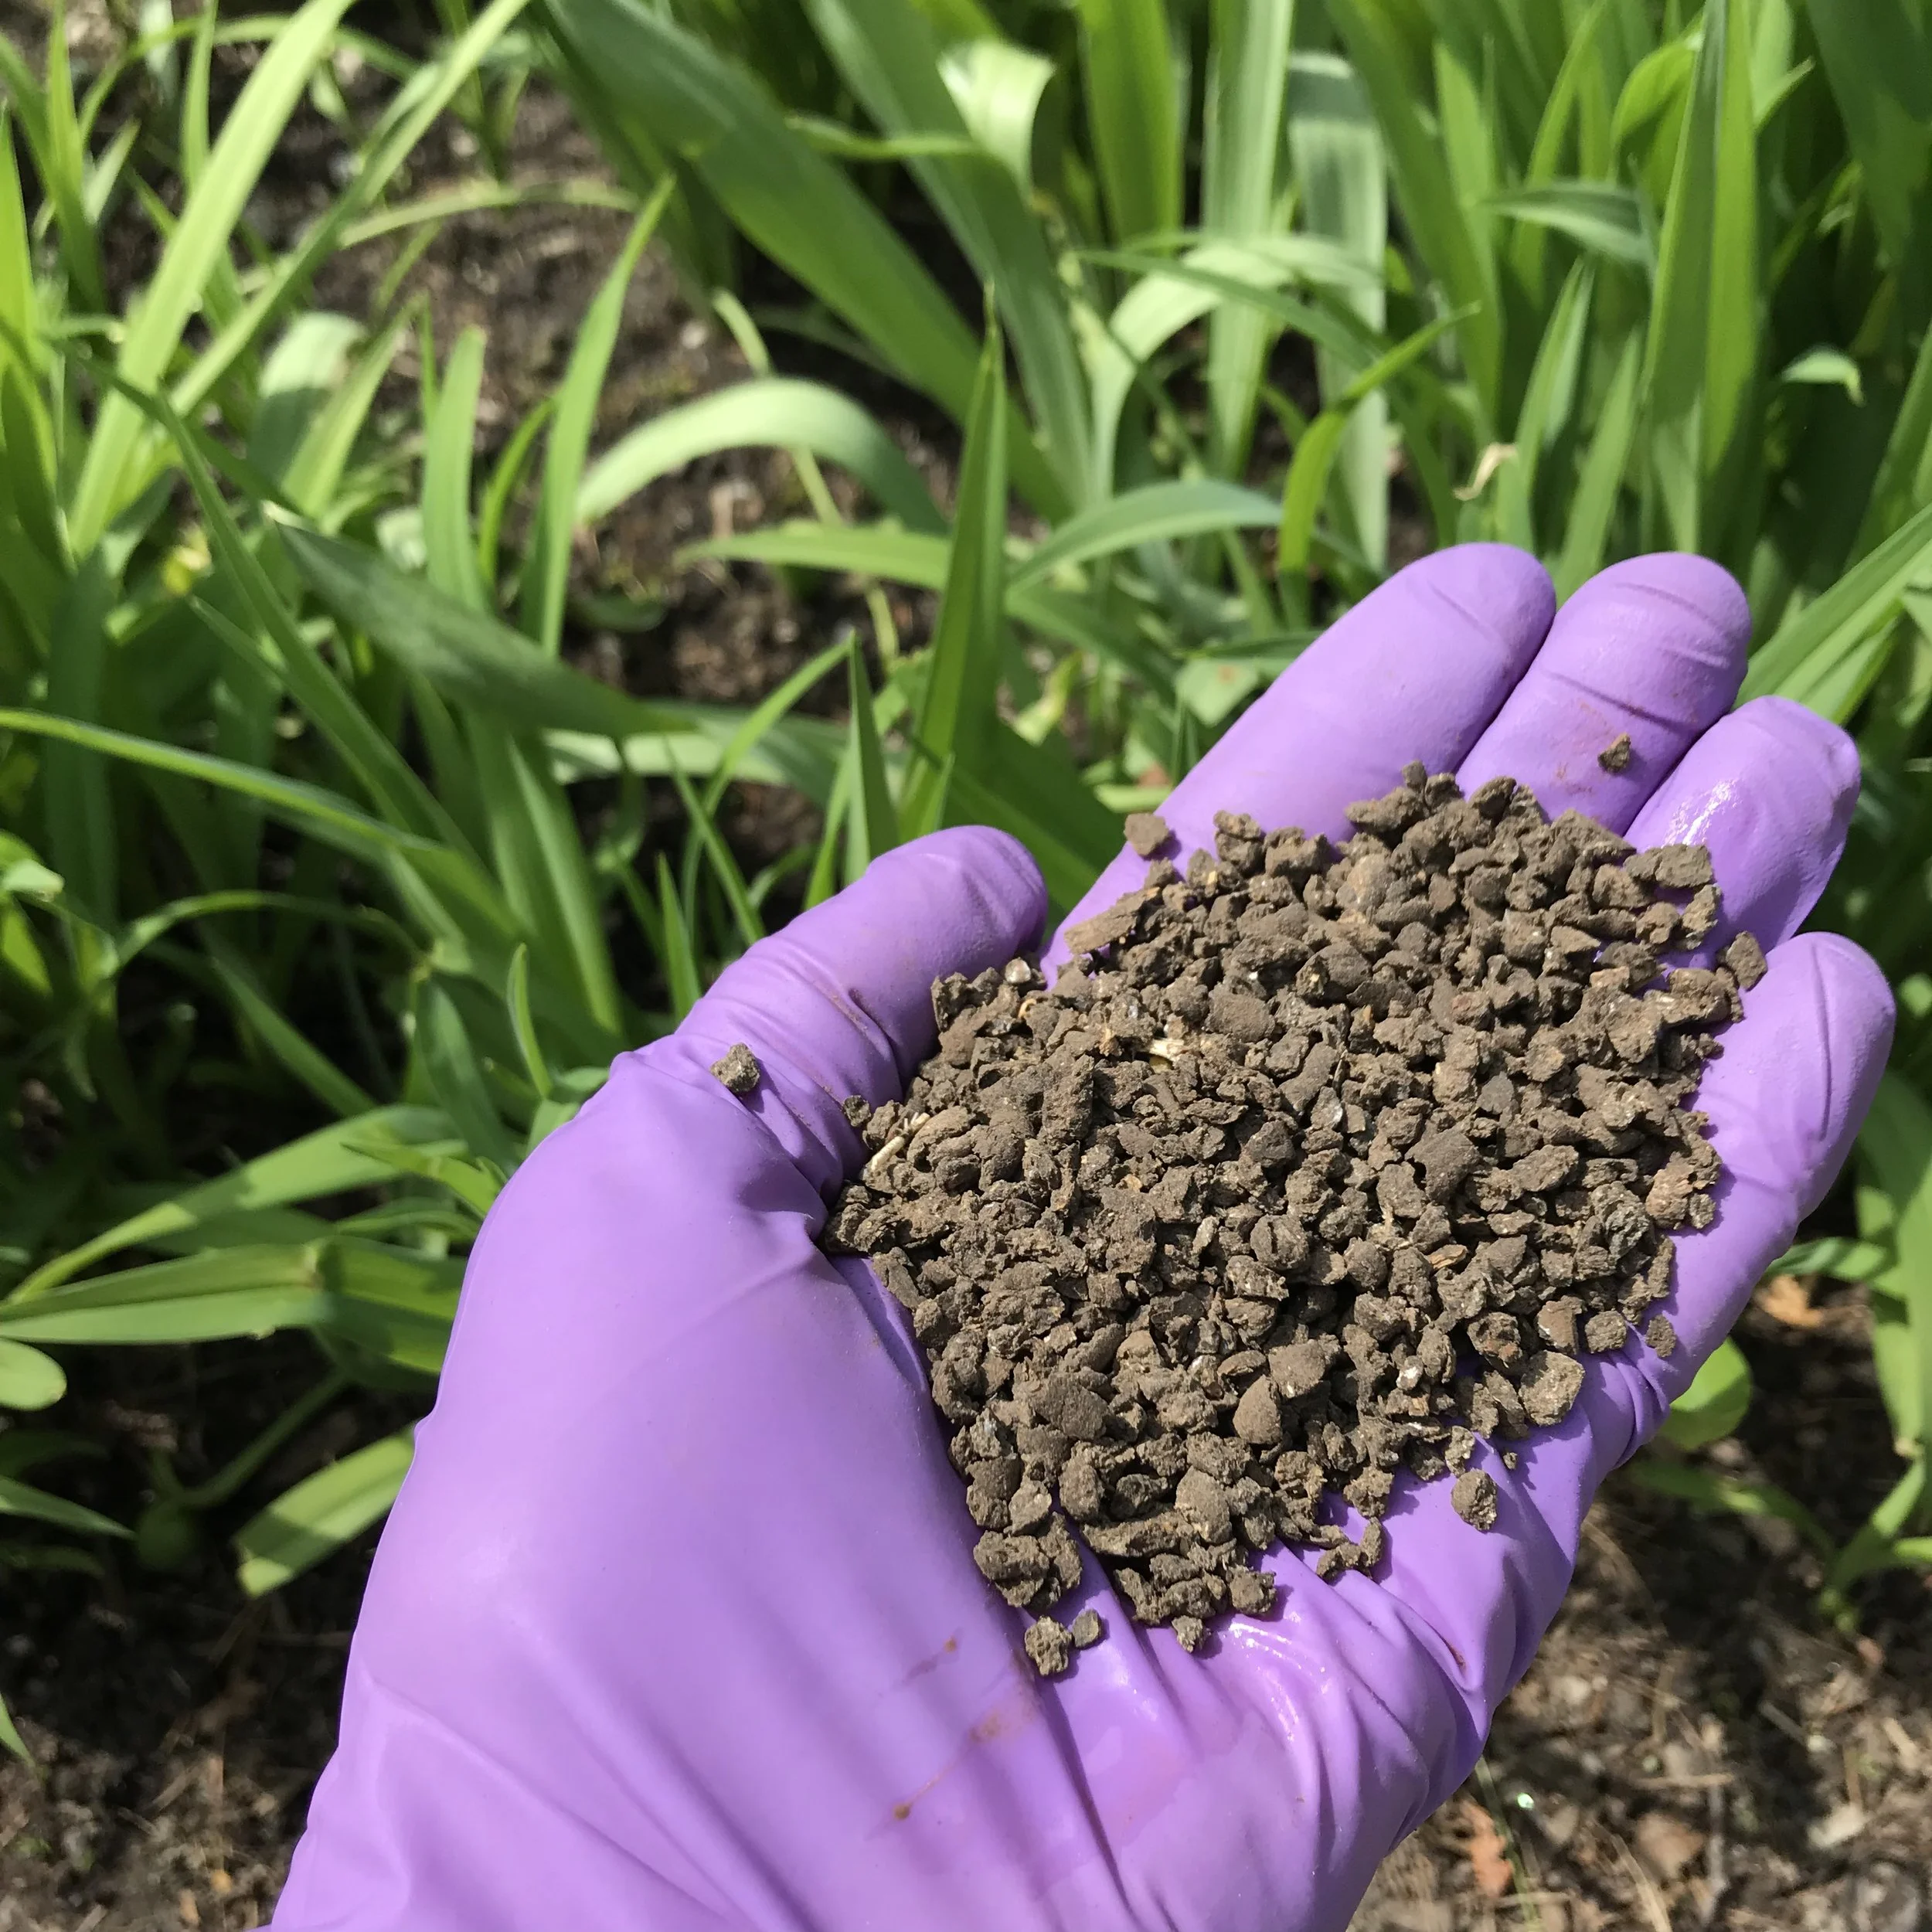
A handful of stinky goodness- pelleted chicken poop!

Oh hen poo- how I love you! Why you ask? It is a natural and relatively balanced fertilizer (5-3-3), contains organic matter, is easy to apply, the brands I use are approved for use in organic gardening, and I don’t need to worry about burning foliage with it or over-fertilizing my plants which are two concerns when using synthetic fertilizers. To loosely steal from a well-known cough syrup commercial: it smells awful, but it works!

To apply the hen manure, I broadcast it by hand around all the plants in the garden, paying particular attention to spreading it where the roots would be growing… which, generally speaking, is the area beneath a tree or shrub extending from it’s base out to the drip line (outlined in the diagram below using dotted lines). It is important to keep in mind that the roots most able to absorb nutrients are those further away from the base of the plant and closer to the drip line, so throwing a pile of fertilizer at the base of a plant isn’t going to do much for it! The same goes for perennials- the manure gets sprinkled on the soil around the perennials not on them!

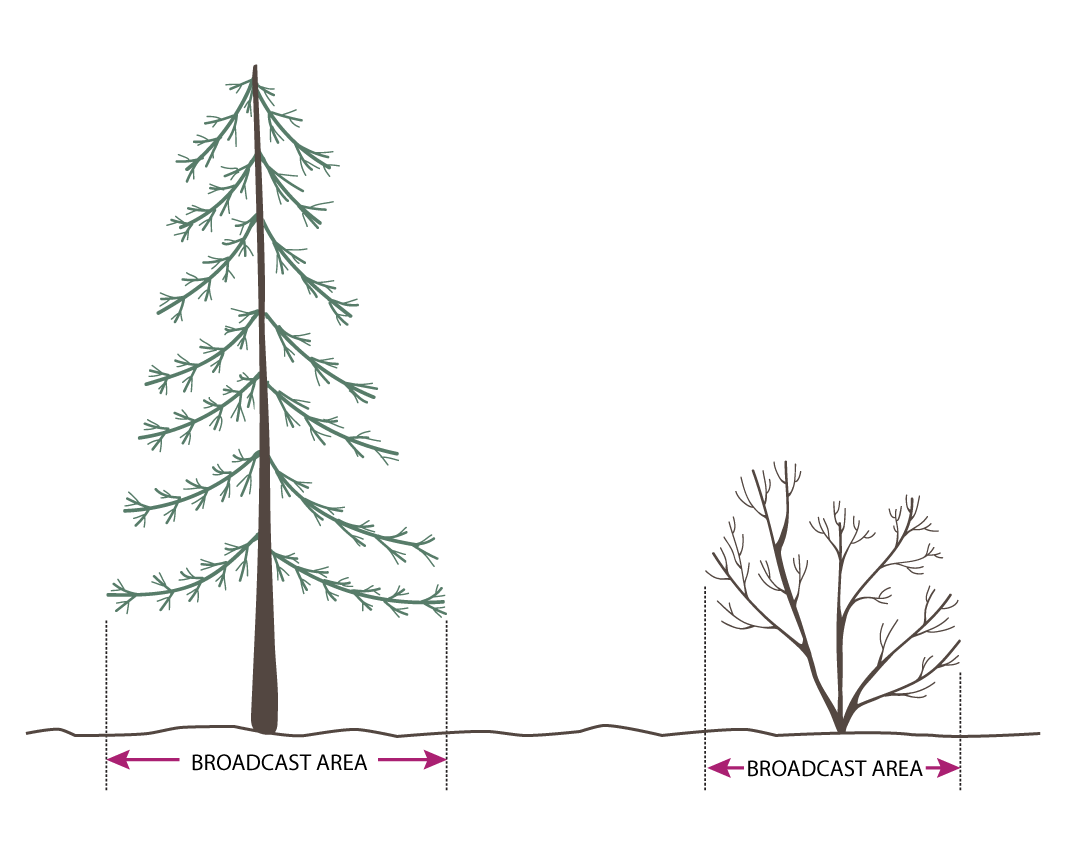
The area beneath trees and shrubs where fertilizer is broadcasted. The roots most able to absorb nutrients are closer to the drip line of the plant (shown as dotted lines, above) so I make sure the distribution of hen manure is weighted more toward the drip line as opposed to the base of the plants.

After I disperse the hen manure, I work it into the garden- usually by hand, but a cultivator works well too.

So put on the nose plugs… and if you catch a whiff, remind yourself- you are doing this for soil health and ultimately the good of your garden!

SPRING CLEANING: The Finishing Touch

(Originally posted: May 9, 2019)

I wrapped up my Spring clean-ups just over a week ago (yippee!) but I just wanted to dedicate one more post to the final step of my clean-ups which I term the ‘flip and fluff’. This ‘finishing touch’ step will not only make your garden look amazing but it is a step that can come in handy at other points throughout the growing season to ‘refresh’ the look of your garden.

The ‘flip and fluff’ is pretty simple: it involves flipping the existing mulch on the beds and fluffing it up. (If you do not have mulch, cultivating the soil would be the equivalent task for you.) This process, which is often overlooked, serves three main purposes for me:

1) It gives me a chance to see how much mulch is remaining on the beds; with this information, I can gauge how much I will need to add for the season

2) It refreshes the look of the beds… a lot! It turns ‘old and tired’ into ‘new and fresh’ (even though it isn’t new… or fresh… which makes this an extremely useful ‘garden hack’.)

3) Shredded mulches tend to weave together in a layer that can repel water; every now and then, this layer needs to be broken up so that moisture can easily penetrate the mulch and reach the soil.

Mulches of different colours and textures. The fibers of shredded mulches (such as the mulch in the centre photo) tend to weave together to form a somewhat water-repelling layer. This mulch needs to be broken up not only to refresh it’s ‘look’ but to also allow water to get through the mulch to reach the soil below.

‘Flip and Fluff’ is super-easy! The only tools required are a cultivator and your hands and you can achieve awesome results in three main steps:

1) Use the cultivator to lift the existing layer of mulch and flip it over

2) Break up the mulch (I use my hands to ‘crumble’ it and loosen it up)

3) Disperse the mulch over the bed so that it is nice and level and looks uniform (no lumps allowed!). Once again, I do this task by hand as it gives me the most control over the finished look of the bed. Some people are incredibly skilled with a cultivator and can get an amazingly smooth and uniform bed using one. I am not one of those people, so I invest in good knee pads and have become really used to seeing mulch up close!

A visual progression of flipping and fluffing the mulch in a garden bed.

If you are cultivating your beds, just a few things to note:

  • Be careful of plant roots: if you are working around trees and shrubs and having a hard time getting the cultivator through the soil because of root systems, then back off! Your plants will thank you for not disturbing their roots!

  • Be careful near perennials: don’t cultivate deeply around perennials- you can easily disturb their roots without even knowing it.

  • If you are allowing something to seed in an area- do not cultivate

  • If you have any perennial weeds (more about this in a future post)- do not cultivate. Breaking up many of these weeds can worsen your problem.

There you have it! The ‘flip and fluff’- a task that requires trial and error and a dash of finesse. Once you get into your groove and put it to work in your beds, I promise you that your efforts will be worthwhile.

SPRING CLEANING: Plant Clean-up

(Originally posted May 3, 2019)

Magnolia blossom

Let the show begin!

So the clean-up of our yards continues, and to date we have focused on bed clean-up, but another important part of Spring clean-up is tidying up the plants. (As a side note, I usually tend to the plants at the same time as the beds, but with my posts already being SO long-winded, I figured that I would divide these tasks into two more manageable posts! Bear with me- I’m still learning this whole ‘blog’ thing!)

OK. Back to the plants…

So you think you are worn out from the winter? Take a look at your surrounding landscape… I think our plants have the tougher end of the deal! At this time of year many of them could use a little TLC. In general, when I say ‘tidying up plants’, there are a few tasks I am referring to:

  • cutting back perennials that were left standing over the winter

  • removing ‘sad’ looking foliage on evergreen/semi-evergreen perennials

  • doing Spring pruning on appropriate plants

  • doing structural pruning on trees and shrubs while the branches are bare (with no leaves on the branches, it makes it very easy to see any issues with the branching framework of trees/shrubs, it also makes it easy to see other issues such as diseased tissue that can be pruned out)

For this post, I am going to focus on perennials (the first two points above).

CUTTING BACK PERENNIALS

Although I am a gardener, I have a confession to make- I LOVE THE SNOW! Before you stop reading, let me make my case for winter…

Not only does the cold weather open up a wide variety of recreational opportunities but it can also be a magical time in the garden. The touch of sparkling frost coating leaves or the dusting of snow on seed pods is just MAGIC! So with that in mind, anything that keeps some sort of structure into the winter months I will leave standing, with the plan to cut it back in the Spring- why would I want to cheat myself of this often overlooked season in the garden? Not to mention, the seed heads of many perennials, when left standing, can provide habitat value in the form of food for birds. All-in-all it’s a win-win situation!

Now that Spring has arrived, I must face these postponed tasks and cut back these plants to make way for new growth.

One common type of landscape plant that requires a tidy-up at this time of year (even if it was cut back in the fall) are ornamental grasses. Time to chop ‘em down, clean ‘em out, and wait for the first hint of green to emerge. You can use hedge shears or secateurs but regardless of your tool of choice, make the clump look LEVEL or domed (in a Spring garden, you want to maximize ‘tidy’ wherever you can since there is nowhere that messy plants can hide in a bare landscape!). As a very general guideline, I cut larger grasses down to a height of about 20-30 cm and smaller grasses to a height of 5-10 cm. Once cut down, I will then rake out the clumps with my fingers to remove debris and loose stalks within the clump. This final step really ‘ups’ the tidiness factor and frees up the plant for new growth.

Cutting down of an ornamental grass to make way for new growth. Not only was the grass cut down, but the clump was ‘raked through’ by hand to remove any other debris to really ‘clean up’ and ‘free’ the clump!

Many other perennials require pruning in the Spring; some of the more common ones in the landscape include:

  • Anemone spp. (Anemone)

  • Chrysanthemum spp. (Chrysanthemum)

  • Coreopsis spp. (Tickseed)

  • Echinacea spp. and Rudbeckia spp. (Coneflowers)

  • Salvia spp. (Sage)

  • Sedum spp. (Stonecrop)

Plants that I keep up over the winter.

For the plants listed above, and any others that you have left standing in your garden for the winter, cut back the dried foliage and flower stalks but be careful to not cut any green leaves at the base of the plants. These leaves are the ones that will grow for this current gardening season.

From left to right: A small clump of Sedum sp. with flower stalks that were left upright for winter interest. The same clump with stalks cut down to the base of the new growth and other garden debris removed from around the plant.

REMOVING ‘SAD’ LOOKING FOLIAGE ON EVERGREEN/SEMI-EVERGREEN PERENNIALS

Some perennials remain evergreen or semi-evergreen over the winter months. If a perennial is not completely browned and dried up in the Spring, chances are you are dealing with a perennial in one of these categories. In this case, it is only the ‘sad’ looking foliage that requires attention. Trim off the dead leaves (like those in the Bergenia patch shown below).

Left to right: Before and after photos of a Bergenia patch. It may be difficult to see, but the nearly black leaves have been cut off to tidy up the plants (and to eliminate the presence of soggy rotting leaves from within the plants- a magnet for slugs and promoter of disease issues!)

And there you have it! Another avenue that you can take to further tidy your Spring garden and prep it for the season ahead. Now sit back, grab your ‘bevie’ of choice and watch ‘garden life’ unfold!