Garden Design

Colour, colour everywhere!

(Originally posted: October 20, 2019)

In a way, autumn is the season of ‘I should haves’.

“I should have paid more attention to weeds in that section of my garden, now it’s just daunting… can we just take a backhoe to the whole thing?!”

“I should have pruned that shrub after it bloomed because it is looking like an overgrown monster….”

“I should have cut that perennial before it went to seed because I am going to be weeding-out seedlings forever!”

Many of these ‘I should haves’ are now pieces of garden history- lessons [hopefully] learned that will guide us through gardening seasons yet to come, but there is one ‘I should have’ that you can do something about right now and that is ‘I should have planted for fall colour’.

A little gardening exercise

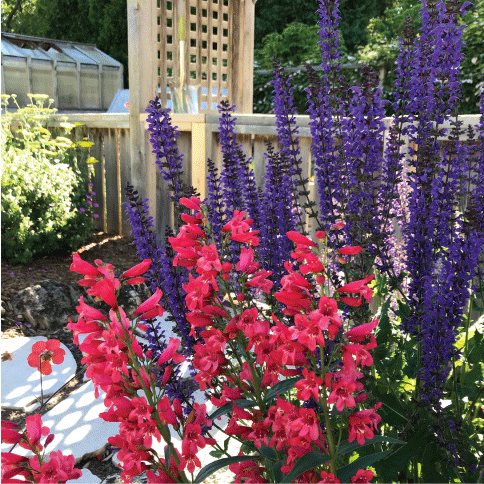
Look around your garden both now, and in the weeks ahead. Is it looking rather ‘blah’? Now take a gaze into your local woodlot or ravine… the forests are ablaze with leaves of fiery red, deep crimson, clear yellow, and spectacular orange. Nature provides an absolutely amazing palete of colours when it comes to autumn… the trick is to capture this beauty in our gardens.

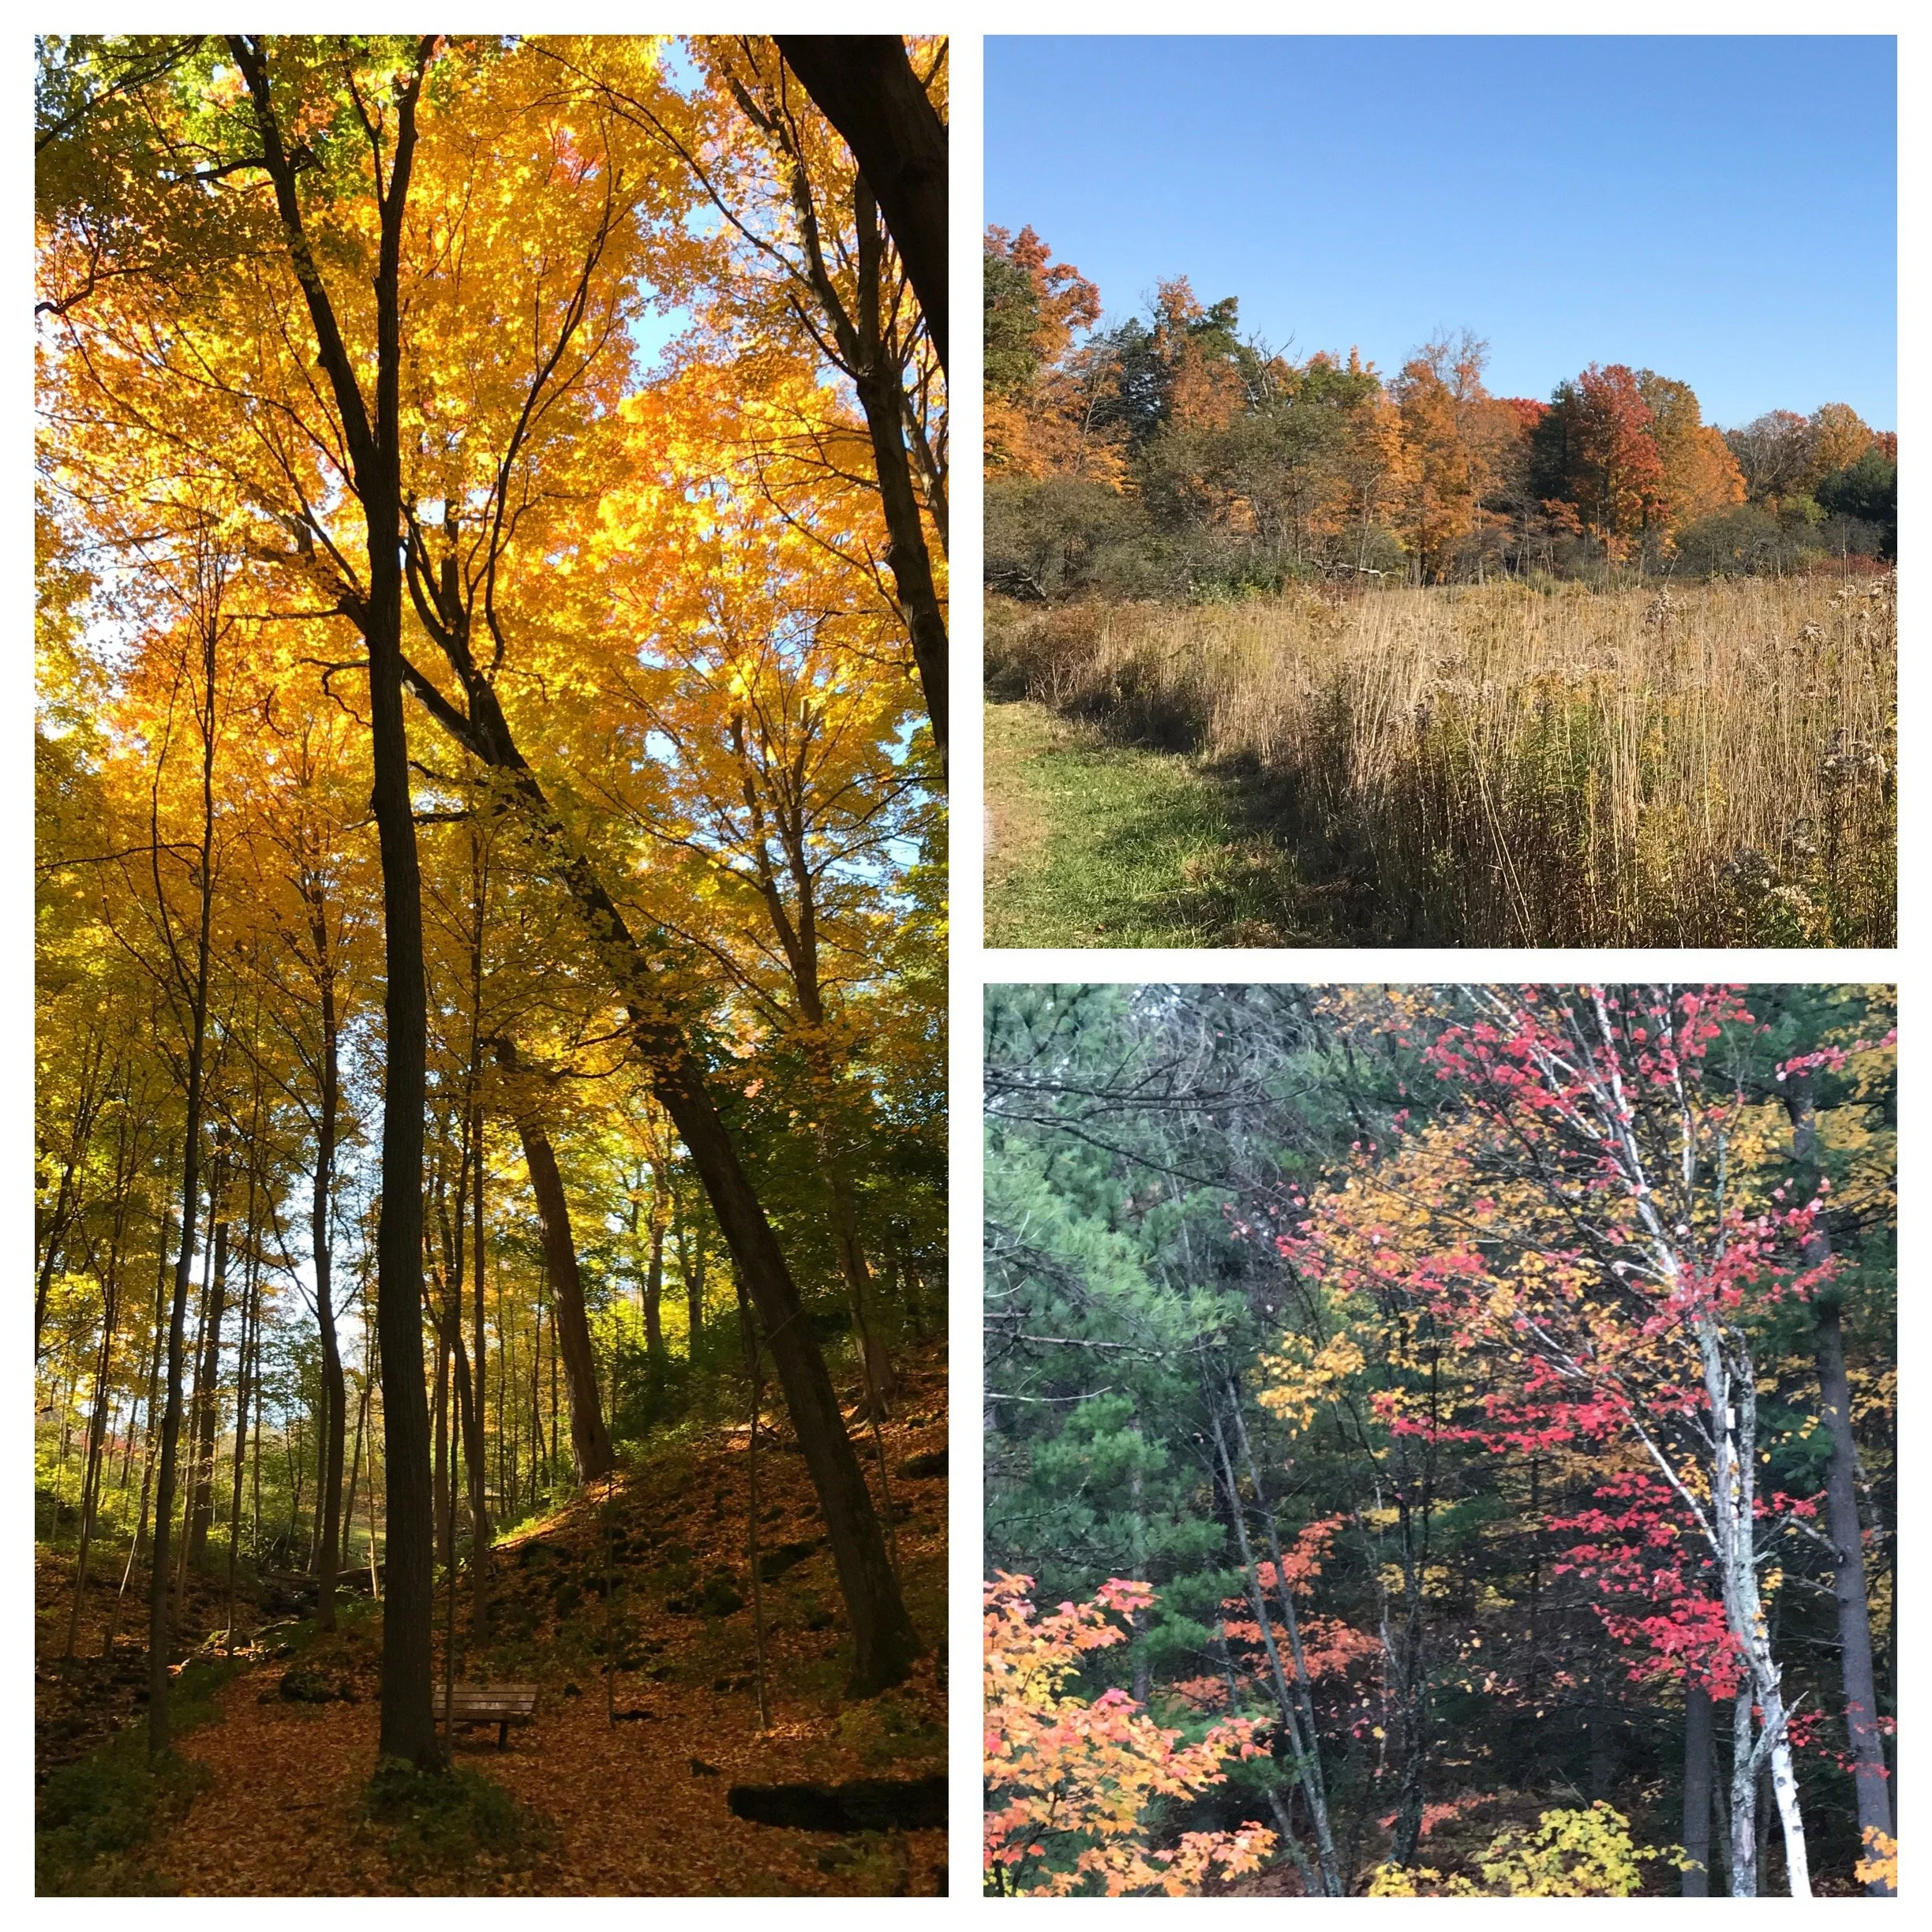
The fall colour palette, courtesy of Mother Nature

Time to take a walk through your neighbourhood. Keep your eyes open for plants that seem to ‘pop’ in other peoples’ gardens. You can also take a walk through the woods and let our native plants speak to you. In any case, this is a great time to scout-out, identify, and research those ‘fall-showstoppers’ and figure out which ones you would want to incorporate into your own garden; and, since autumn is generally a great time for planting (and transplanting), you could even make some space in your garden, take a trip to your local garden centre to pick up some new babies, and put your ideas into action.

Phew. There’s one ‘I should have’ averted.

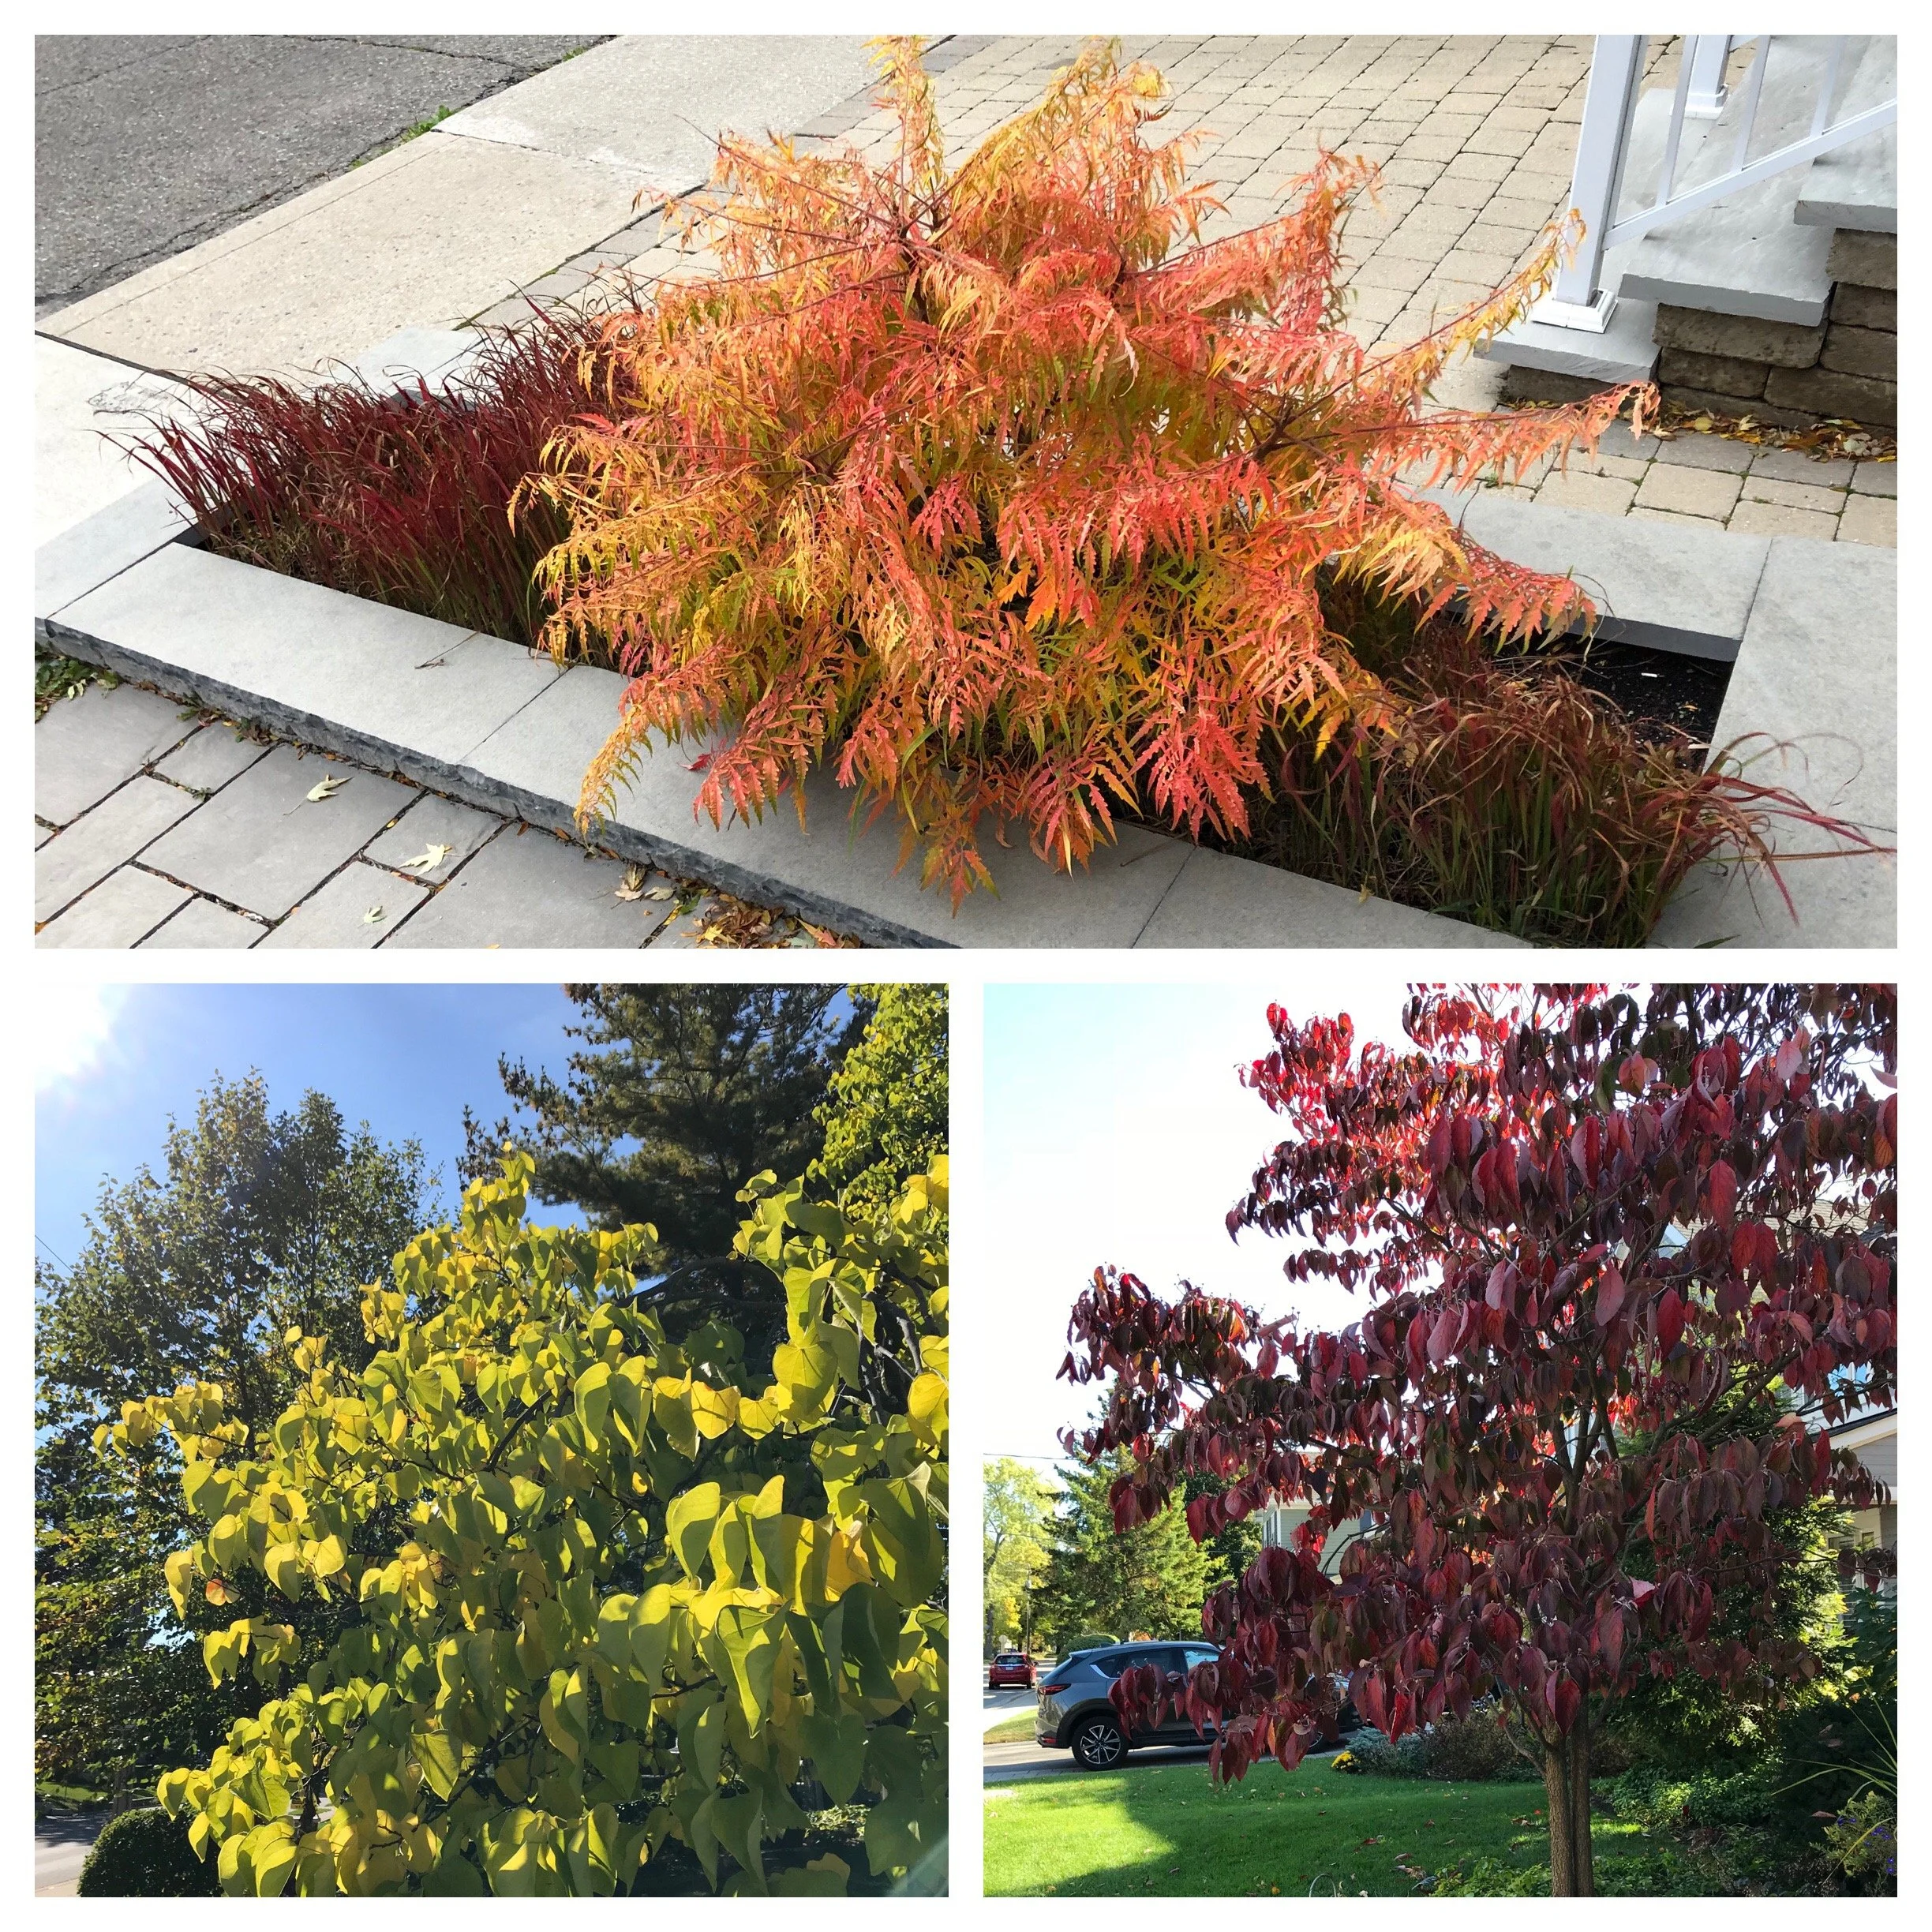
Inspiration from the garden: the gorgeous fall combination of Japanese blood grass (Imperata cylindrica ‘Red Baron’) and Tiger Eyes Staghorn Sumac (Rhus typhina ‘Bailtiger’), the yellow ‘pop’ of redbud (Cercis canadensis) foliage and the deep crimson canopy of Chinese dogwood (Cornus kousa). Top photo courtesy of Alicia K.

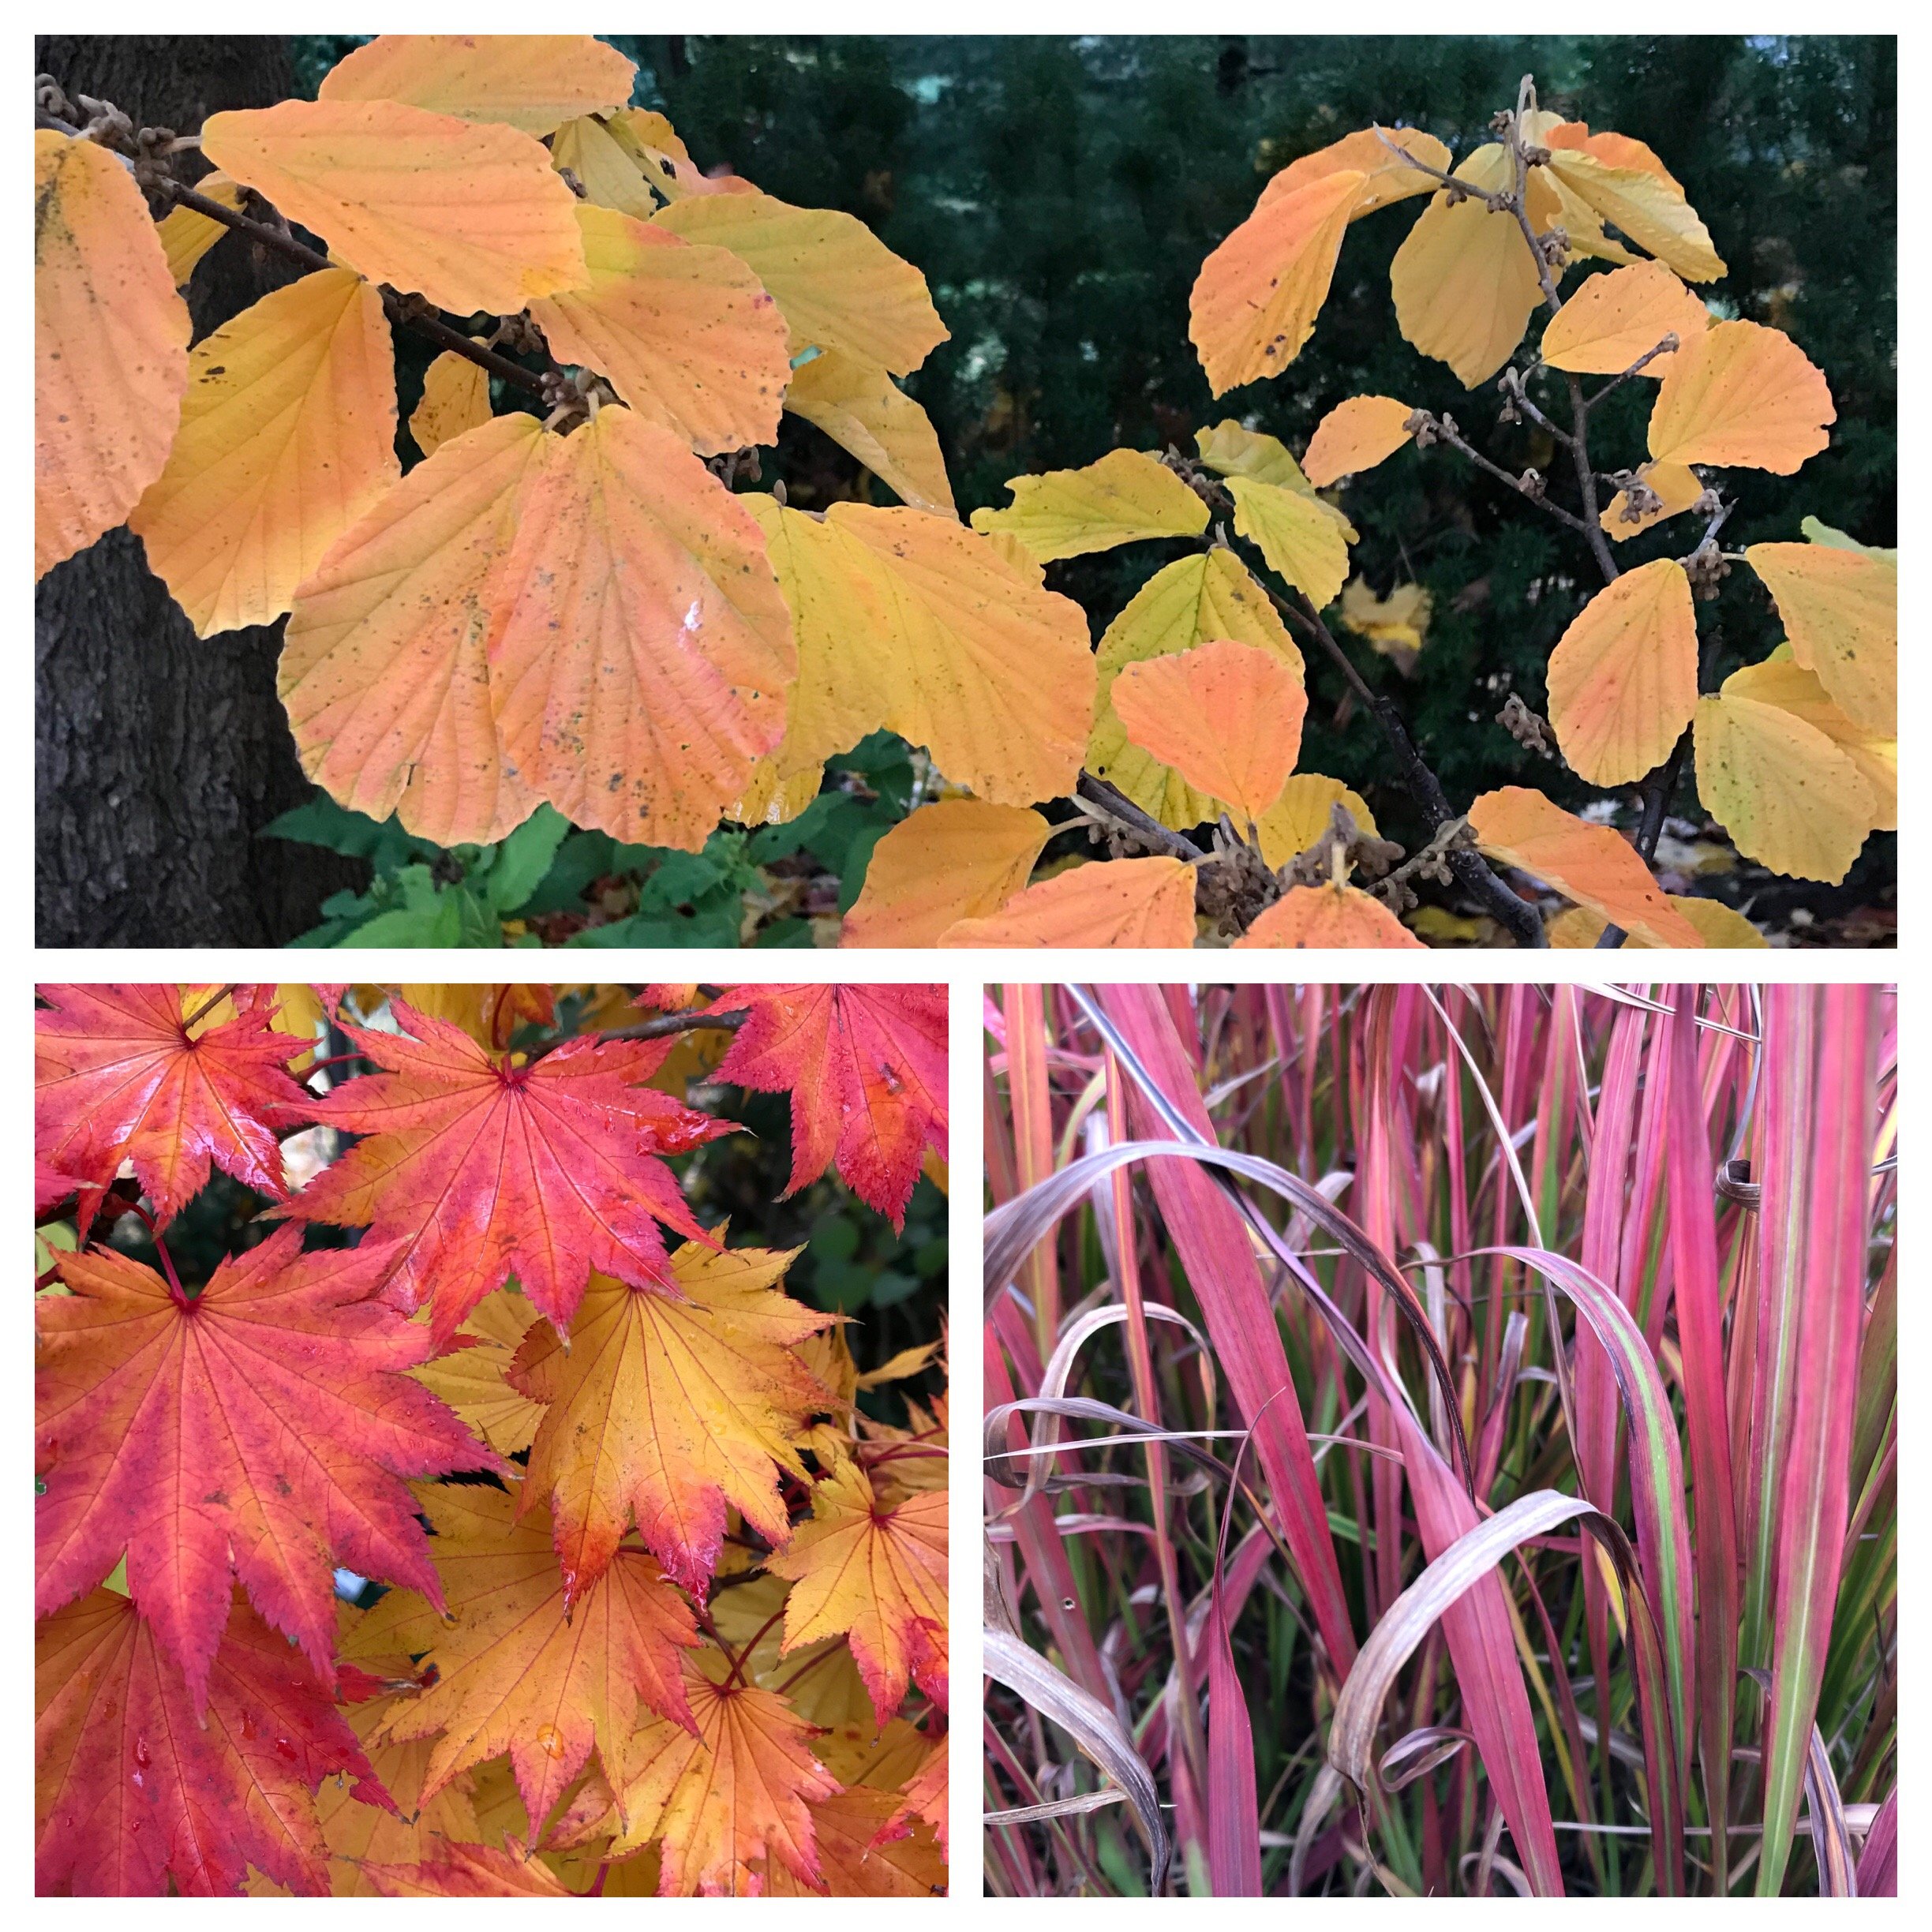
More fall colour inspiration from the garden: a 2018 photo taken In early November of witchhazel (Hamamelis x intermedia), a 2018 photo taken in early November of the spectacular colour show of ‘Full Moon’ Japanese maple (Acer shirasawanum ‘Aureum’) and another picture of Japanese blood grass (Imperata cylindrica ‘Red Baron’) courtesy of Alicia K.

More fall colour inspiration to follow on the GROW Instagram account!

Drawing the Line

(Originally posted: June 25, 2019)

Well the growing season is well underway and chances are you have not only been keeping your gardens tidy but you have also been doing the odd makeover as well. Perhaps you’ve swapped out some undesirable, struggling or dead plants with some ‘gotta-have’ ones or perhaps you have needed to create some room for said plants and you’ve decided to expand your beds.

(New gardeners be warned: lack of space is a common problem among gardeners- as a result, the proportion of one’s property devoted to garden beds generally increases steadily over time… it’s a little known not-so-scientific fact!)

Hmmm… where to fit this combination into the garden???

This time of year makes me think back a couple years when I was helping my sister with her garden. She was a little overwhelmed with the amount of work to be done as she had recently purchased a house and, as a result, inherited a garden with every aggressive spreader known to man. Let’s put it this way- I didn’t envy her! She tackled one project after another to bring some definition back to her plantings and, being a non-gardener going into the season, she emerged a month later with me wanting to hire her.

After my sister established her ‘alpha-female’ dominance over Mother Nature (which is a total farce… but I wasn’t about to burst her bubble!) she was ready to mulch her beds. WAIT!!! There is one VERY important step that comes before mulching! It is one thing to gain a certain level of ‘control’ within the garden beds but it is another to gain control of the garden beds themselves. After putting in SO much effort within the gardens, it was time to set-off all her hard work by setting her gardens apart from the rest of her yard. It was time to create a clear definition between garden and turf through the use of edging. I pulled out ‘that half-moon tool’ and set to work.

Steps for Edging a Bed

‘The half-moon tool’ otherwise known as an edger.

STEP 1: Facing your garden, place the curved edge of the edger down where you would like your garden bed to start, step on it to vertically slice into the turf, pull the handle toward your body to slightly lift and loosen the turf. Do not pull the edger out of the ground!

STEP 2: Bring the handle back to vertical and move the edger sideways a few inches; step down on it to slice the turf again; once again pull the handle toward your body. Repeat this for the length of your garden bed. By keeping the edger in the ground and inching along, you will get a much smoother/continuous line than if you were to remove the edger between cuts. (There are also electric edgers that you can use that can help make gorgeous lines.)

STEP 3: Pull up the grass that you cut and loosened with the edger, shake out the dirt from the roots and dispose of the grass.

STEP 4: Edge again- this time using the edger to flick the excess dirt into the bed.

STEP 5: Break apart any clumps of dirt and remove any grass that was tossed into the bed. Finish the task by smoothing out the surface of the bed. I do this by hand.

The end result should be a close to vertical edge where the grass meets the garden bed.

Before and after: adding an edge to a garden really helps give a garden definition. Even if the garden isn’t much to look at, the visual tidiness of a nice clean line makes a world of difference!

Some picture-perfect early season edging courtesy of Appleby Landscapes.

Looking back on that day, my sister reflects that the edger was her biggest ‘ah-ha’ moment. It was a very easy-to-use technique that could really set off her hard work and make her garden ‘pop’ from the rest of the yard. A nice clean line was the perfect finishing touch (aside from mulching… that, I will leave for my next post).

***SIDE NOTE: I have had this post written for a couple weeks now and cannot seem to get a half-decent video of the edging technique. I figured I would post it and, in the meantime work on my technological ineptness when it comes to video recording and editing. I will add to this post as soon as I create something worth viewing! My apologies to all you visual learners out there. I feel your pain. I am of your tribe. (2026 Update: Still no video. I think I’ll stick to writing.)

Winter Wonderland

Blog 3- Sumac.JPG

I was on a hike in Bronte Creek Provincial Park on the weekend and couldn’t help but pull out the camera and snap a photo of this colony of staghorn sumac (Rhus typhina). This is one of my favourite plants in the natural landscape (it’s suckering habit is a little too aggressive for the average garden). Aside from the beautiful scarlet-red that radiates from their foliage in fall, winter is also a time for this plant to shine! The fuzzy red fruits (which are a food source for wildlife and edible for humans) are a great contrast to the snowy landscape and hold the snow in a way that is ‘picture perfect’.

Upon reflection of this winter wonderland, it’s hard to deny the fact that winter is an important, beautiful (and sometimes long and overlooked) season. Our gardens are certainly able to capture this beauty with a little bit of planning. Gardens, after-all, should have 4 seasons of interest!

How do we accomplish this?

It is important to realize that it is not just evergreens that provide winter interest in a garden- although they can certainly be an important ‘backbone’. Similarly, the branching structure of deciduous trees can help provide a nice winter framework. For example, winter is a great time to show off the beautiful horizontal branching structure of pagoda dogwood (Cornus alternifolia) or the wonderful cascade of branches on a weeping cultivar of Japanese maple (Acer palmatum). Branches of certain plants such as red osier dogwood (Cornus sericea) or flame willow (Salix alba ‘Flame’) can also help provide colour to the winter landscape- especially when planted en masse.

Aside from branches, there are other plant features that should not be overlooked when it comes to visual appeal in the winter months. Exfoliating bark on plants such as paperbark maple (Acer griseum) can provide a unique texture that may go unnoticed when a garden is in full bloom.  Dried foliage/flowers/seedheads on perennials and shrubs can also add an assortment of textures to the winter landscape- each capturing the frost and snow in their own way (while, in some cases, providing food sources for wildlife). Sometimes all it takes is some restraint with the clippers during the autumn months to allow plants to persist into the winter. Ornamental grasses, and perennials such as asters (Aster spp.), beardtongue (Penstemon spp.), coneflowers (Echinacea spp.), astilbe (Astilbe spp.), blazing star (Liatris spp.), tickseed (Coreopsis spp.), (just to name a few that are in my garden) can provide valuable winter structure and texture. Plants such as these create endless photo opportunities, and help bridge the aesthetics of the garden until the signs of spring emerge.

So- with another cold week ahead, it’s time to look out the window and assess your garden- are you happy with what you see? If not, what can you do next year to create a yard that truly shines year round? Happy planning!