(Originally posted: May 25, 2019)
This week in the garden… more like this week in the garden centres. Last weekend marked the official kick-off to ‘annual planting season’. The time when a landscape gardener must put his or her entire life on hold in order frantically buy the plants she or he needs before someone else gets them. It’s kind of like Walmart on Black Friday… only not as aggressive. Gardeners are more the passive aggressive type, which arguably could be worse.
It may have happened to you- you spot the perfect plants; they sit there glowing in their own beam of sunlight. You glance up and notice someone else eying the same plants. You casually look away hoping that your disinterest will convince the other party that the plants are not desirable. You both slowly circle in; like turkey vultures to roadkill. Then one person gets the edge, gets a shoulder in front of the other person and poof! The plants are gone.
I have done it to many a shopper.
I am TOTALLY kidding but what I have done is observe shoppers’ habits and what I have noticed is that people love their flowers. Duh! Right now you are giving me the virtual eye-roll but hear me out…
People are attracted to blooms. They pick their plants based on the blossom- the colour, the shape, the scent. But there is SO much more to plants than flowers. Hello! Plants have leaves too and the leaves can be AMAZING! I must admit I am a sucker for ‘sexy foliage’- I mean, check this out:
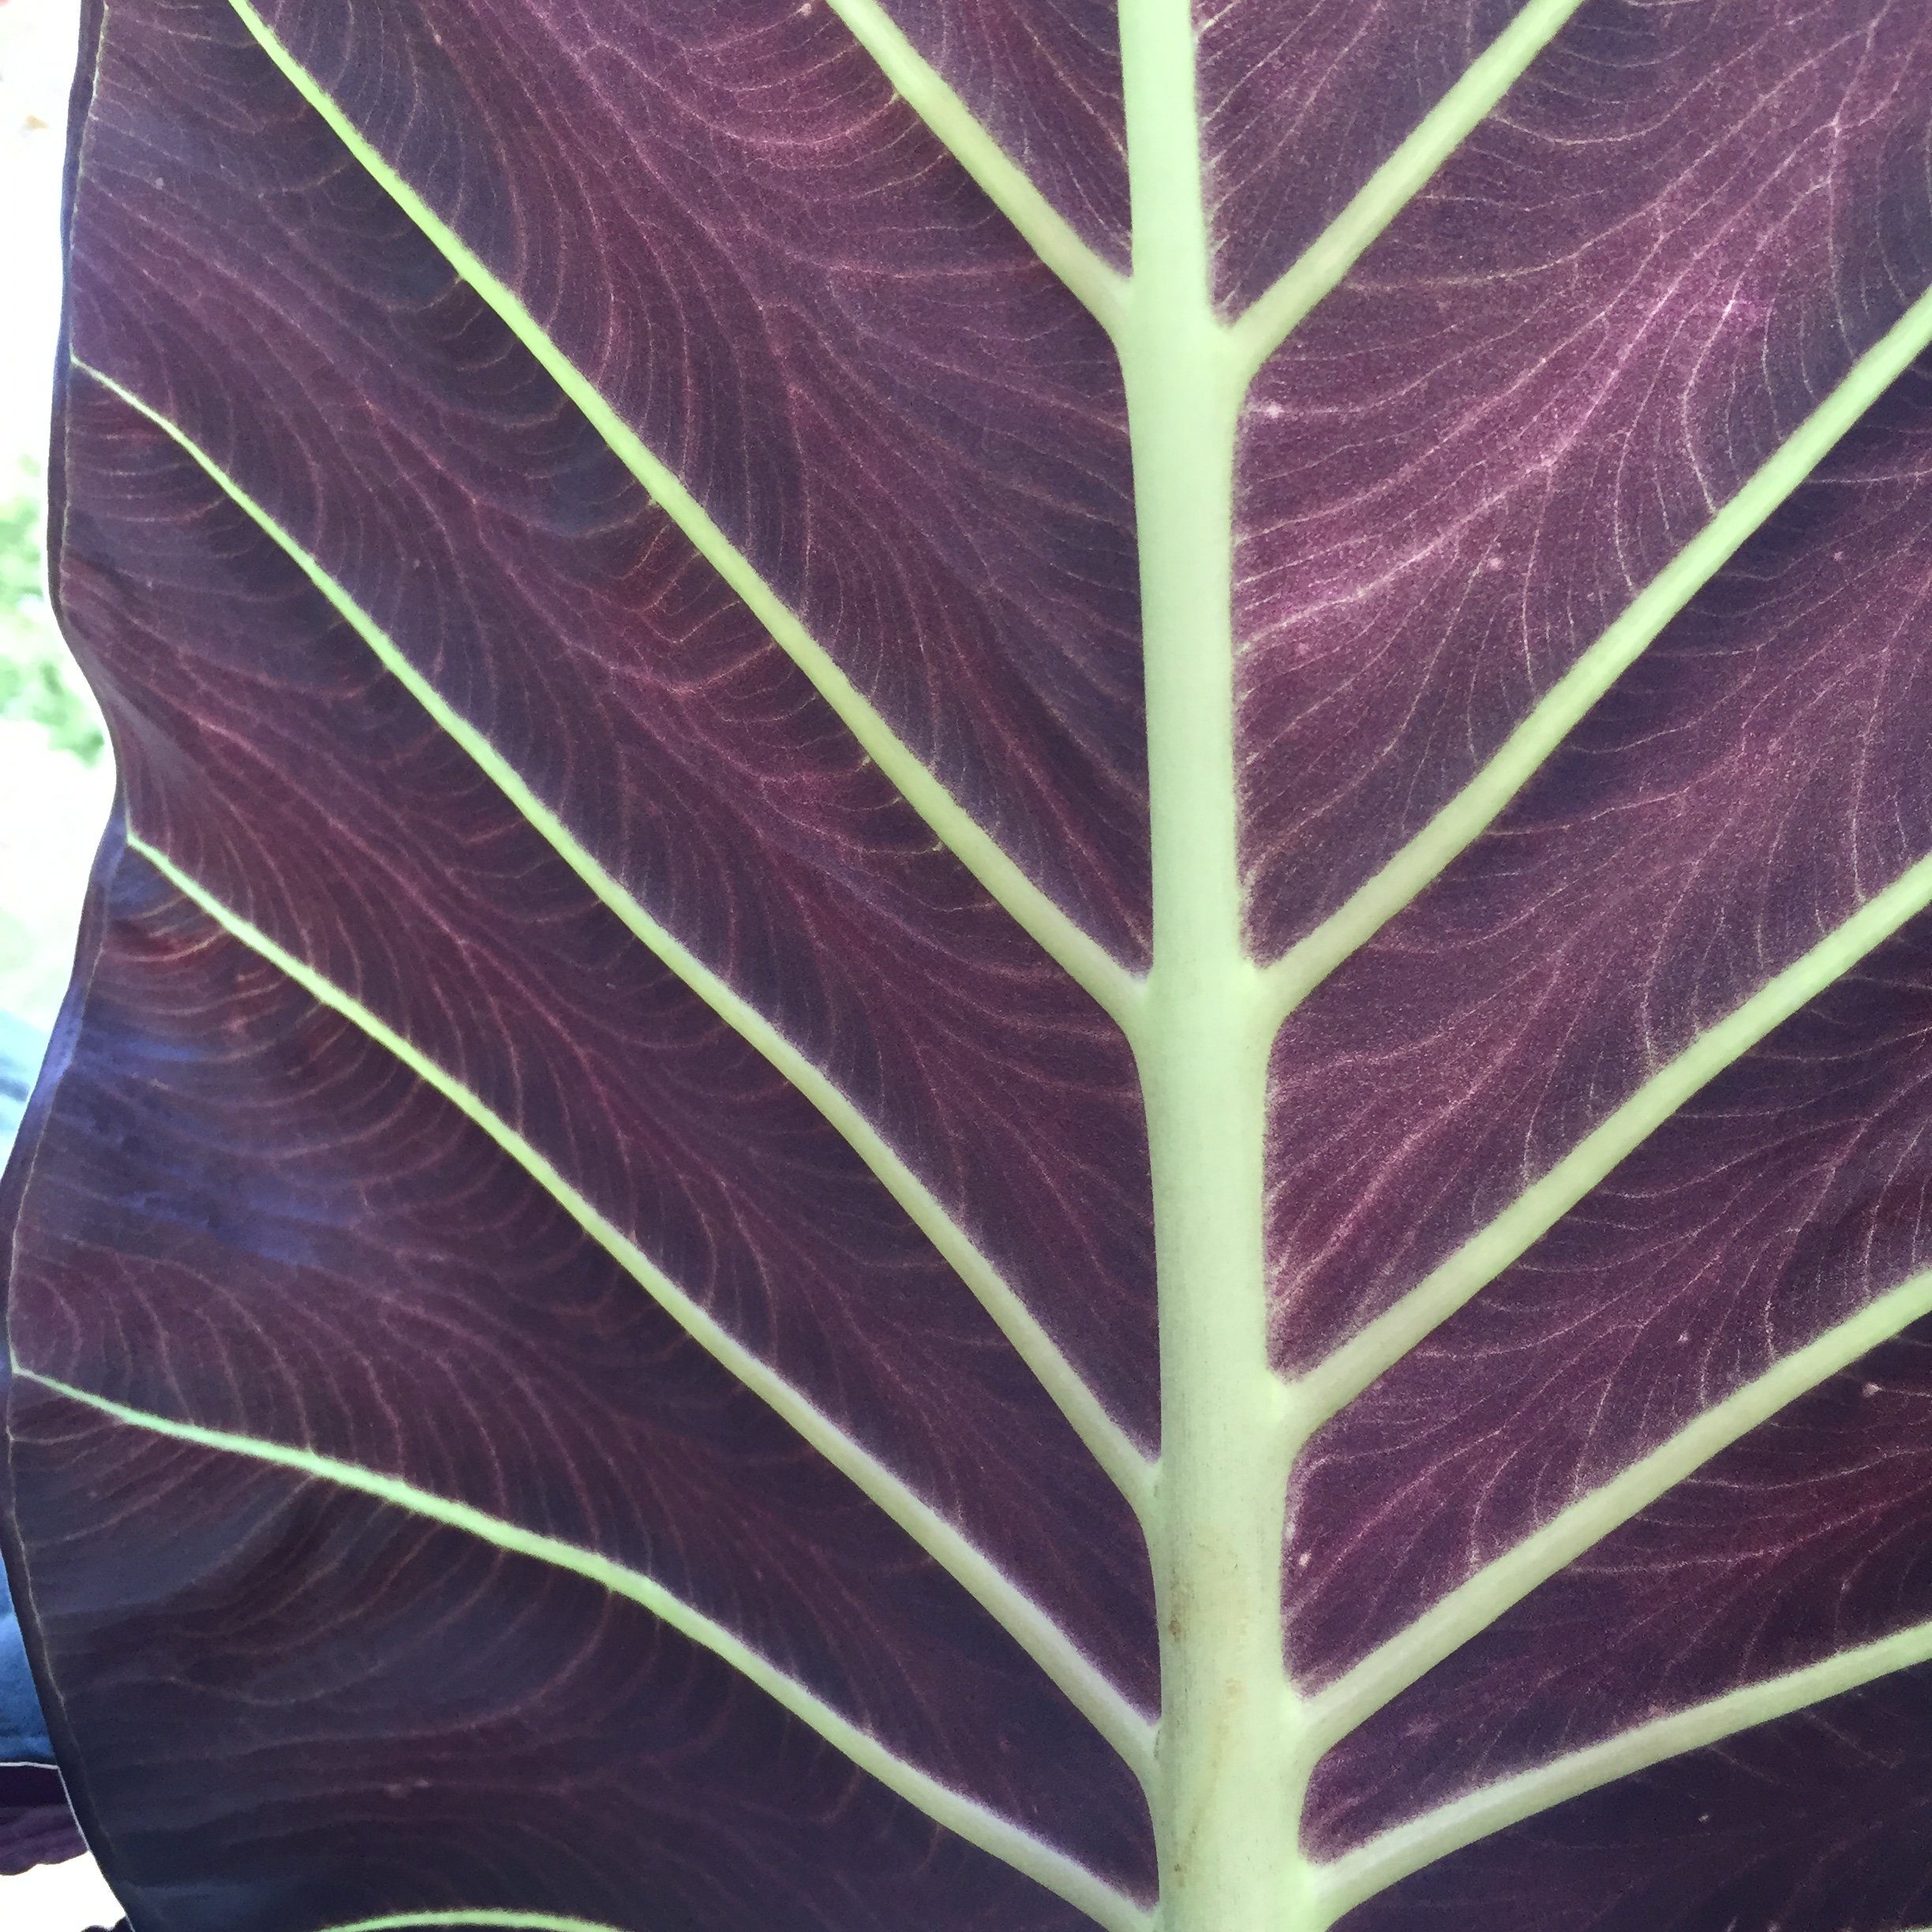
or this…
Autumnal trailing Fushia
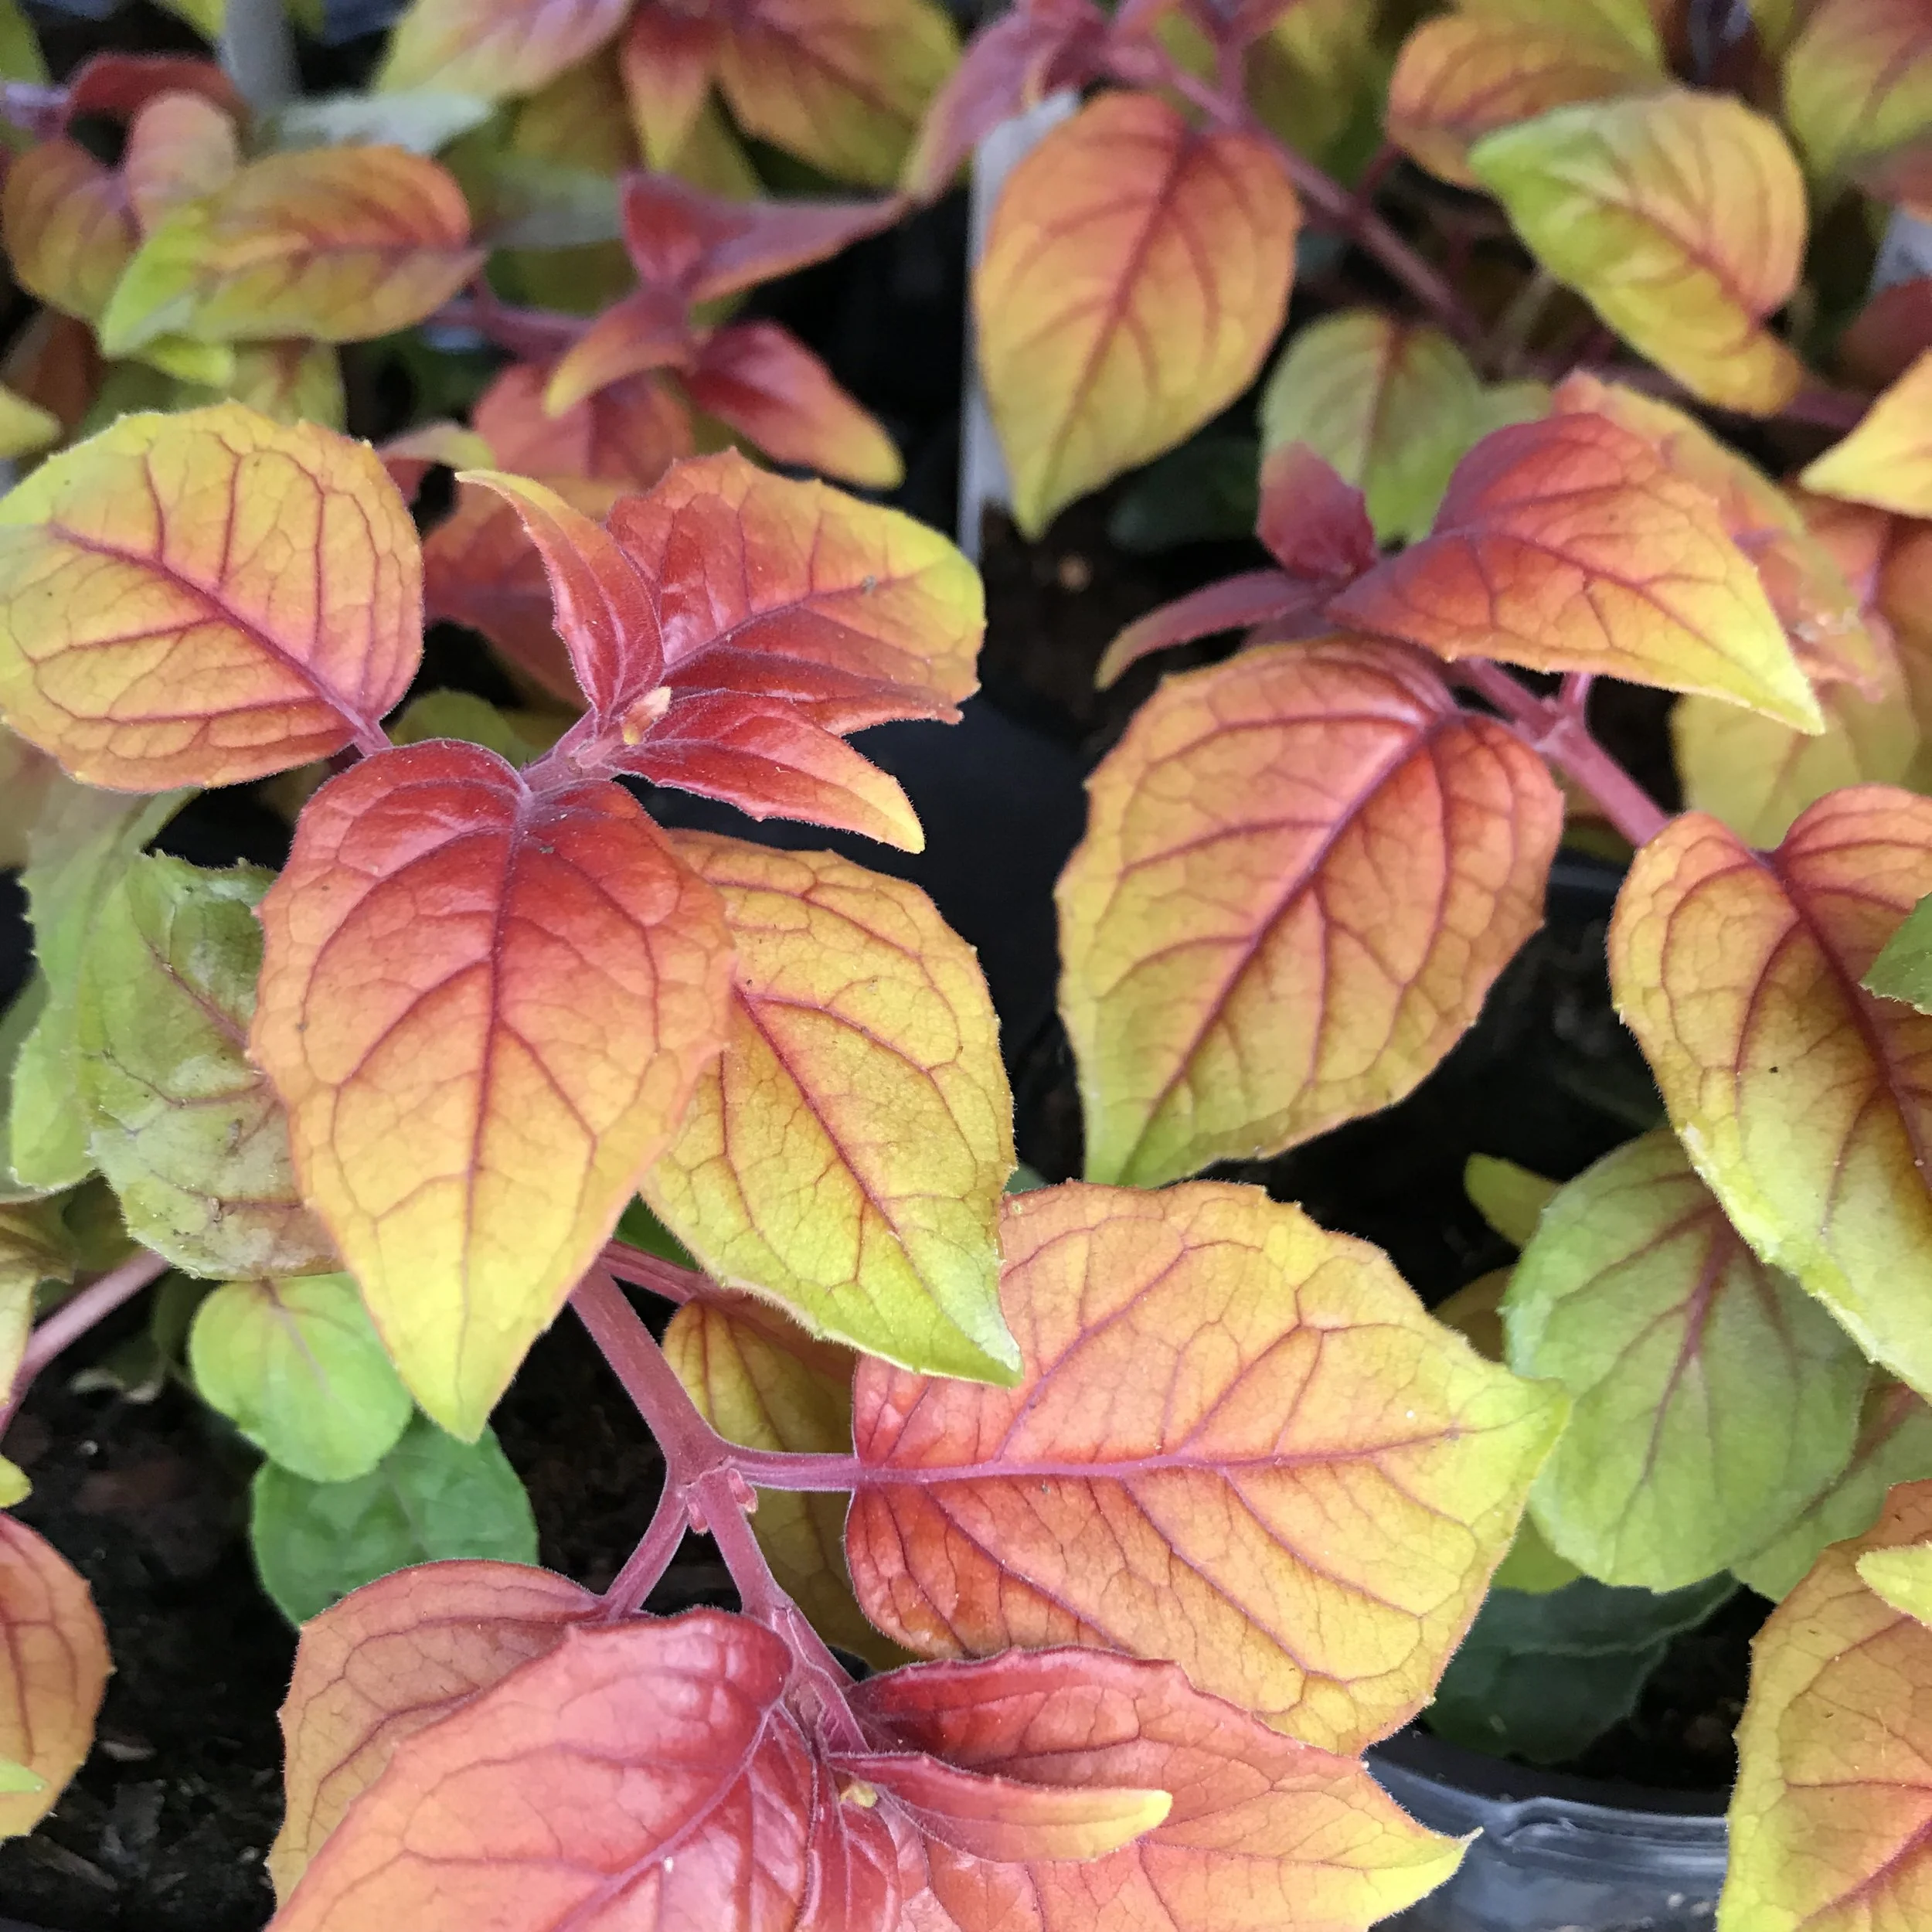
Or even this….
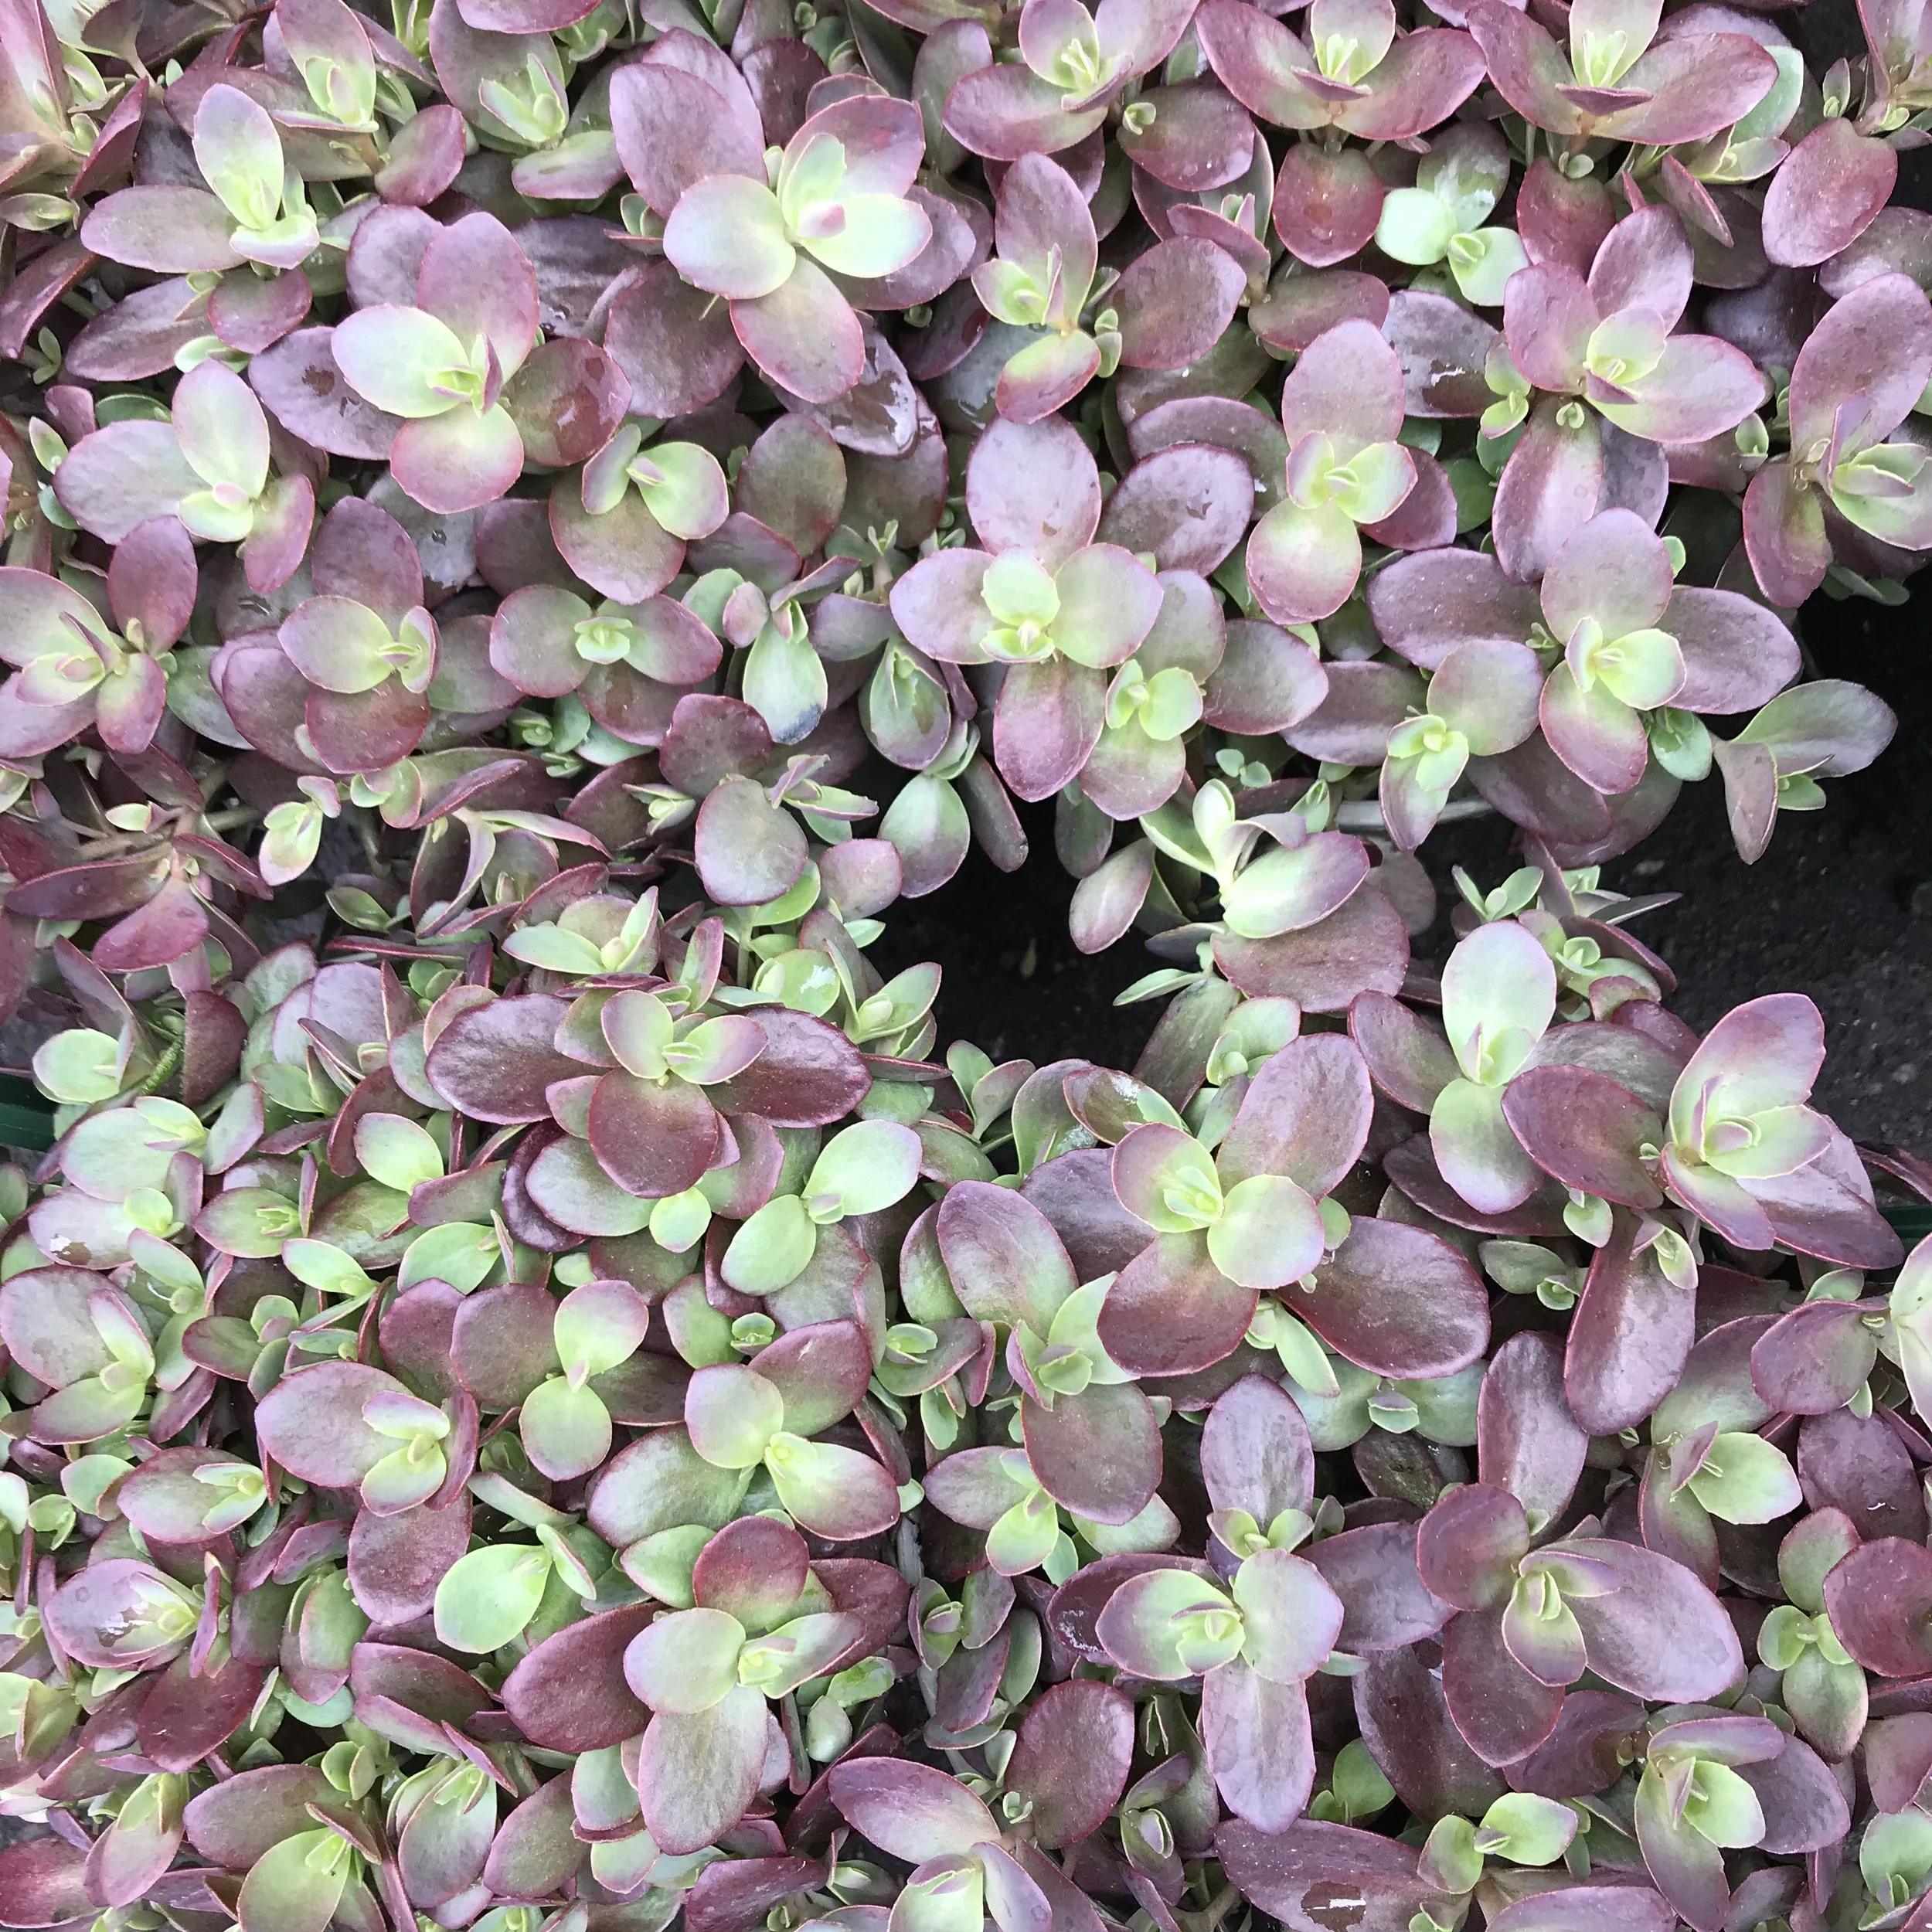
Sedum ‘Firecracker’
And how about this…
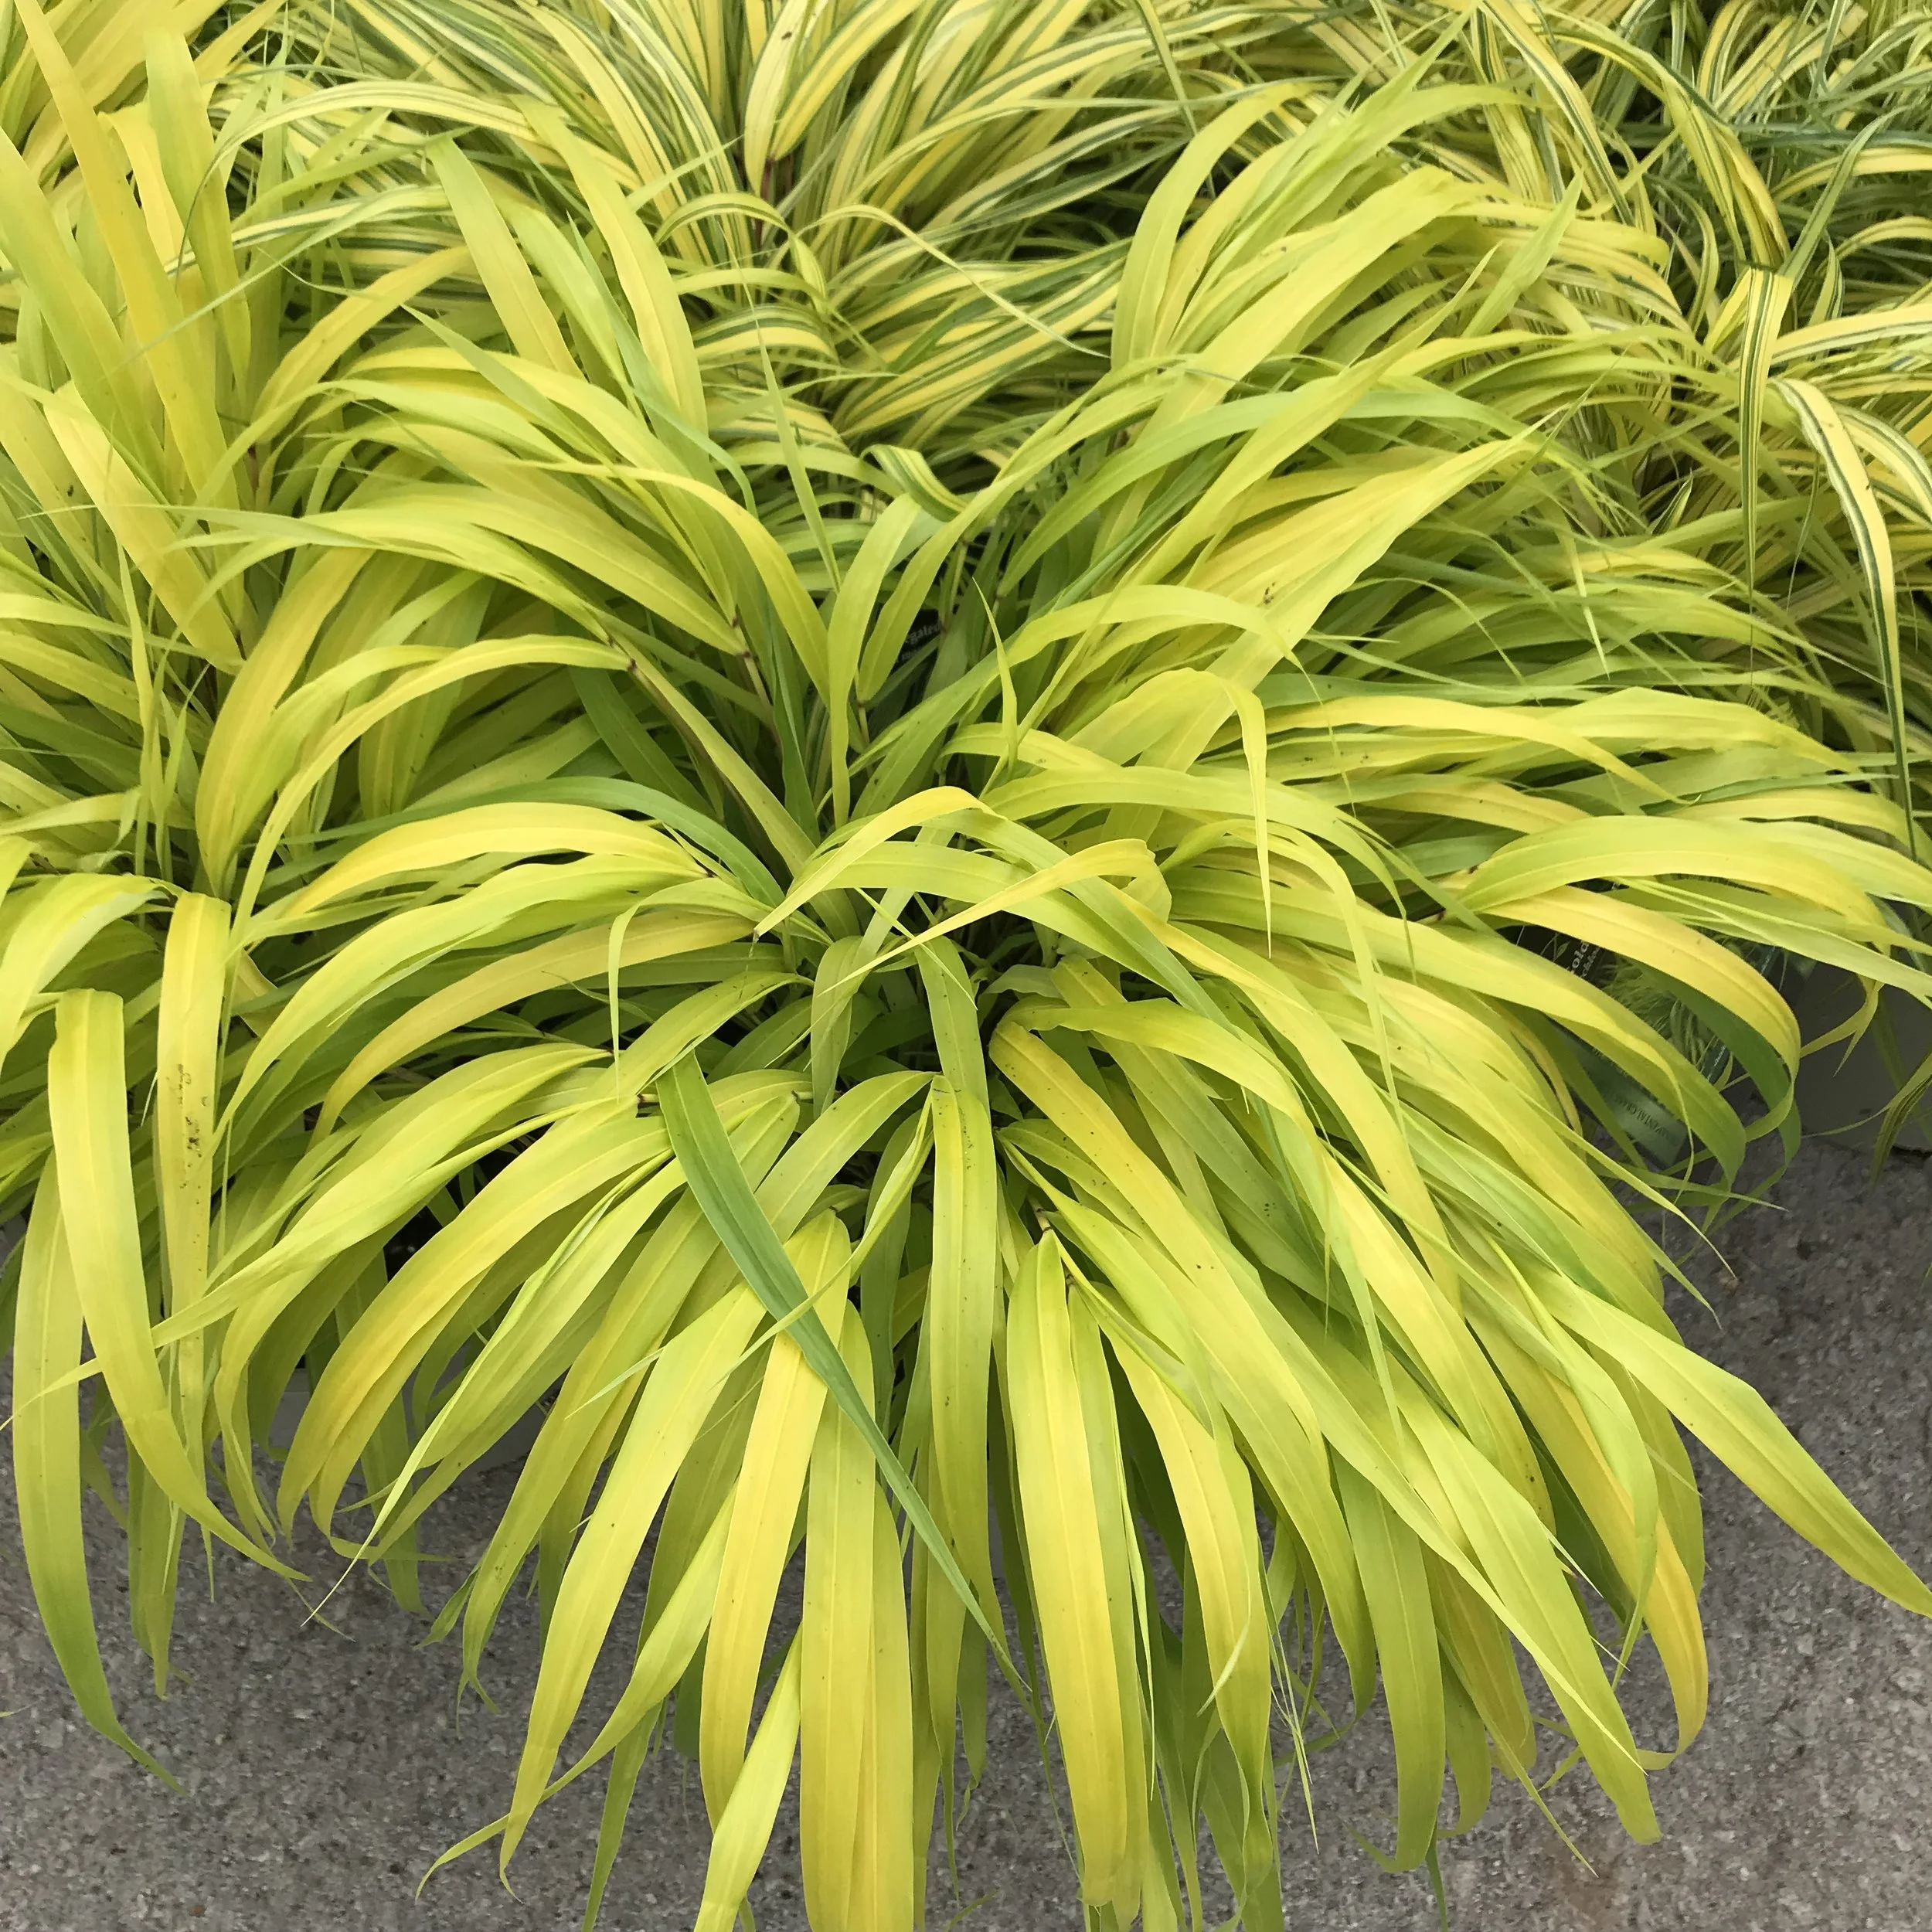
Hakonechloa macra ‘All Gold’ (All Gold Japanese forest grass)
So many colours and textures! The examples above are just the tip if the iceberg too. Amazing don’t you think?
Now the important thing to remember about leaves is that they can really help make the blooms of your favourite flowers ‘pop’.
Just look at how the purple flowers of this Calibrachoa spp. and the yellow-green of the ivy really play off each other…
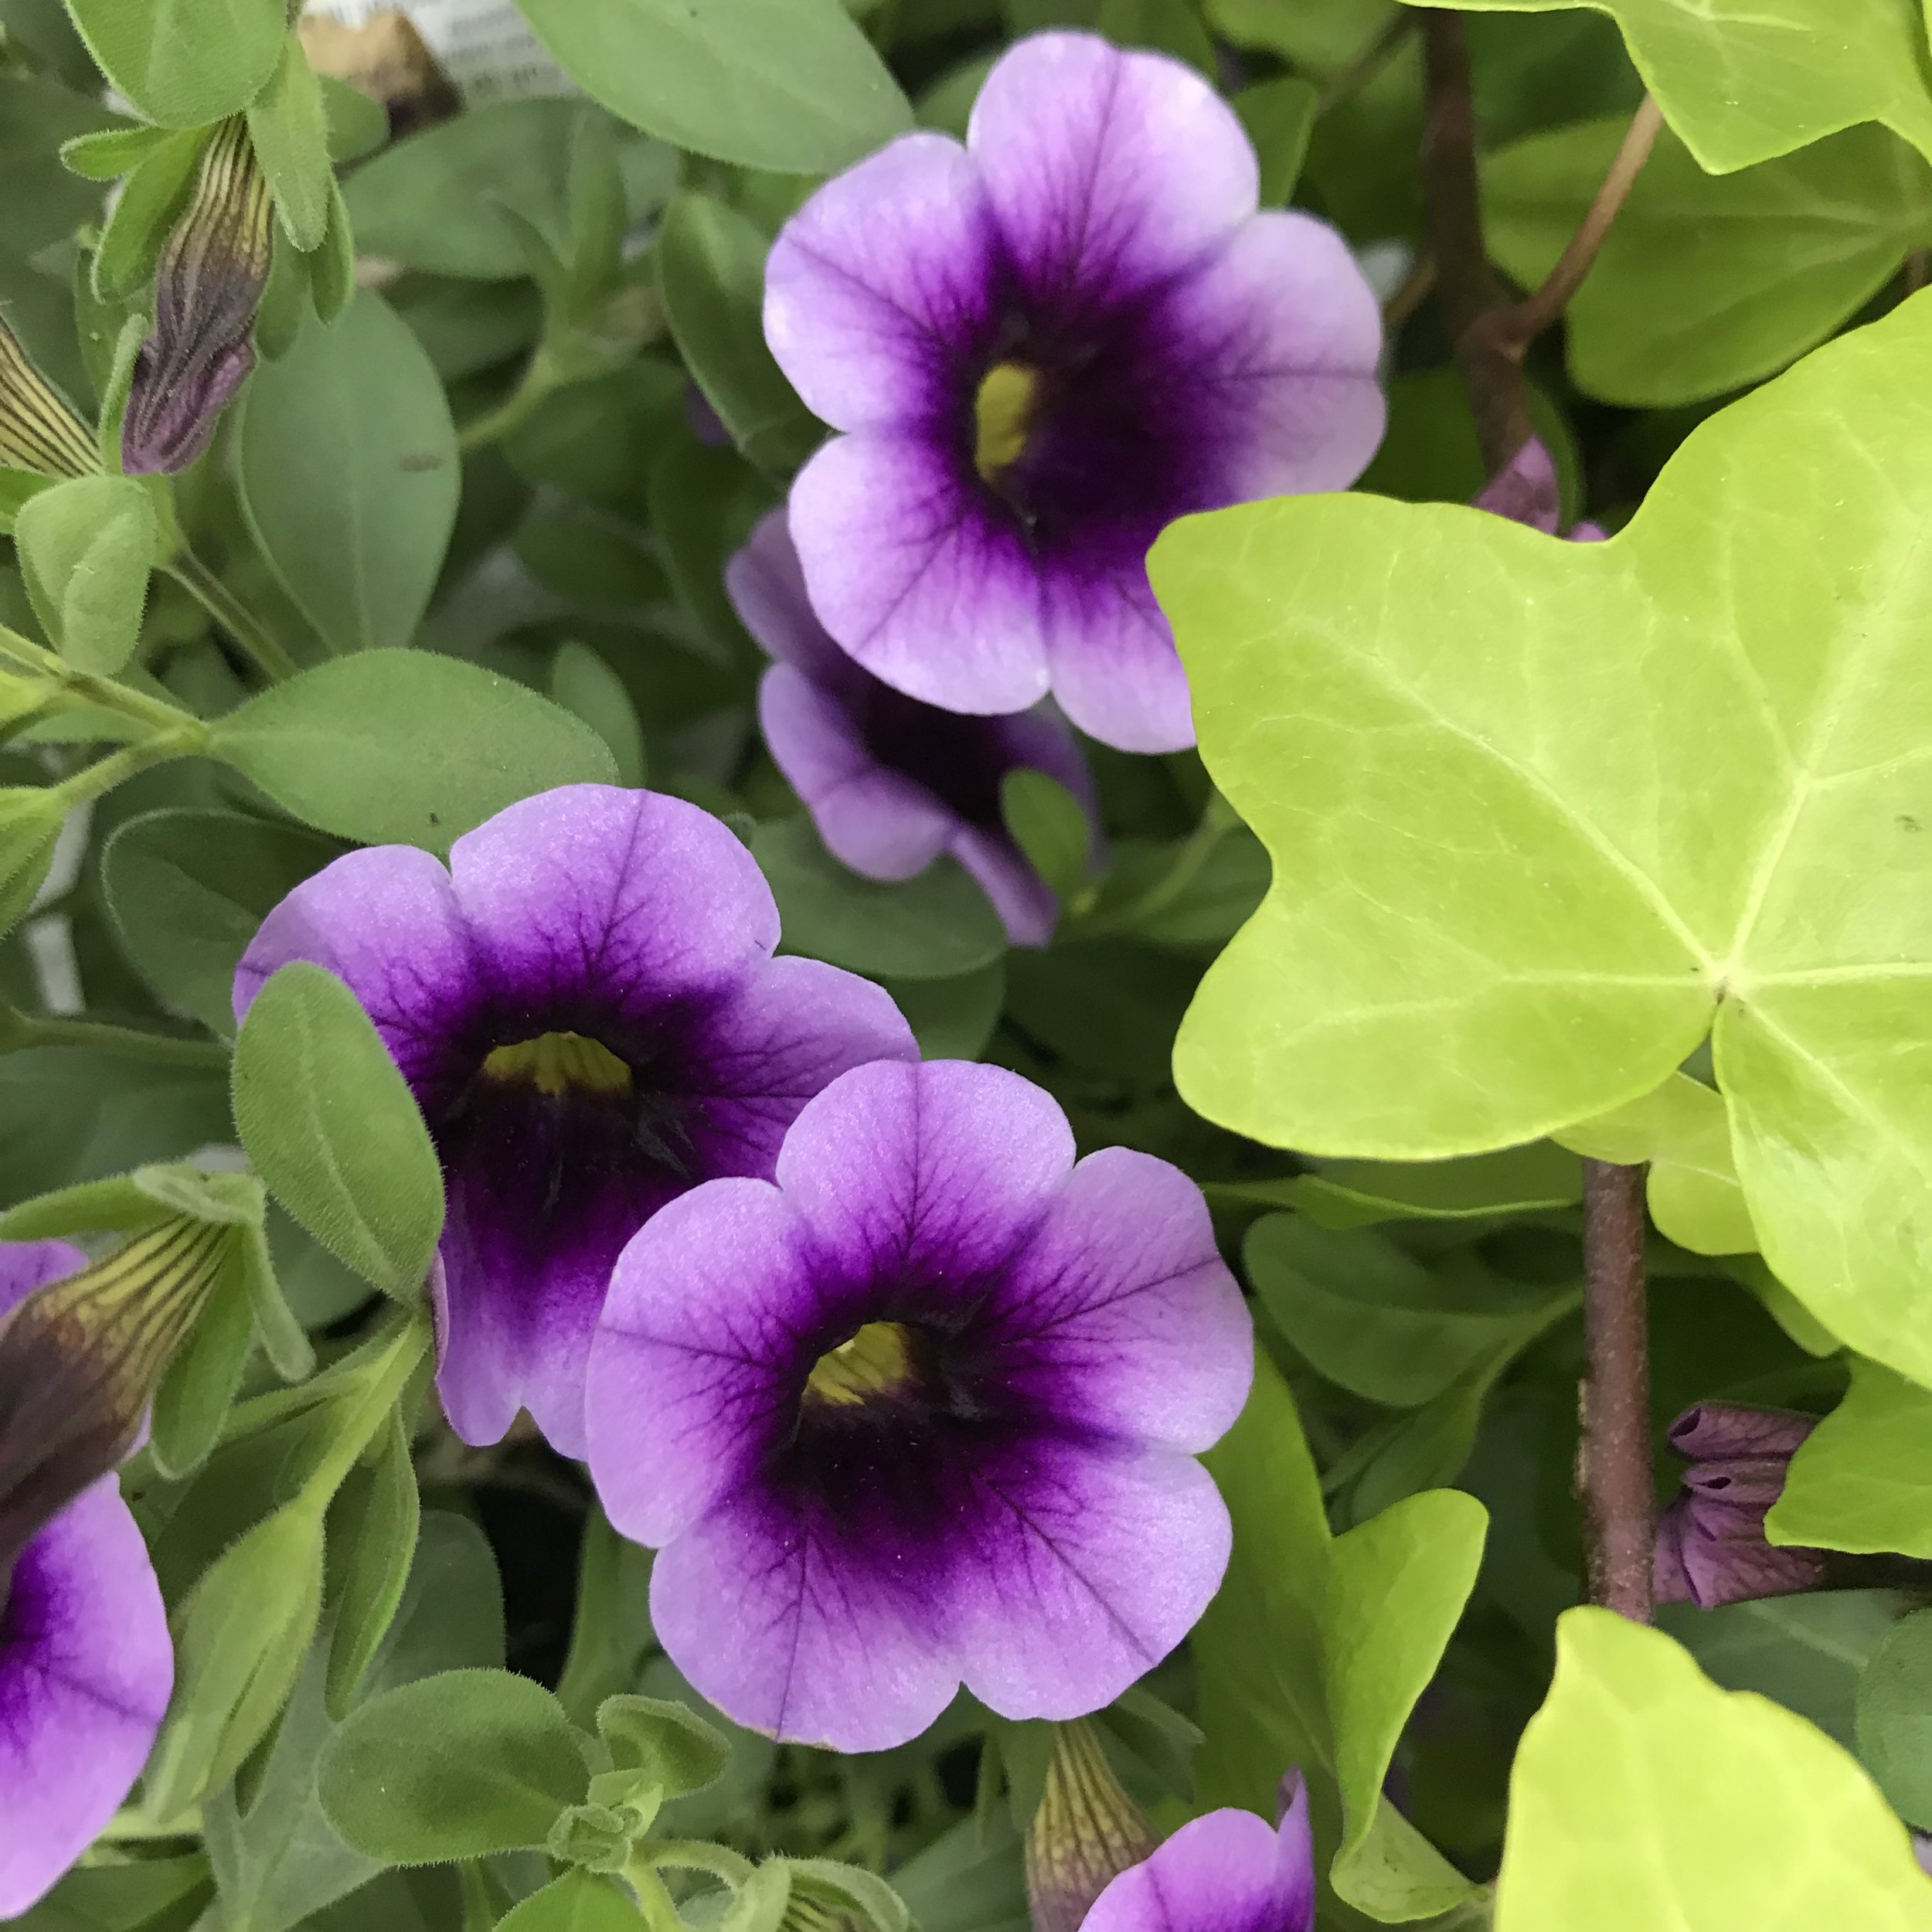
BAM! Now that’s a gorgeous purple!
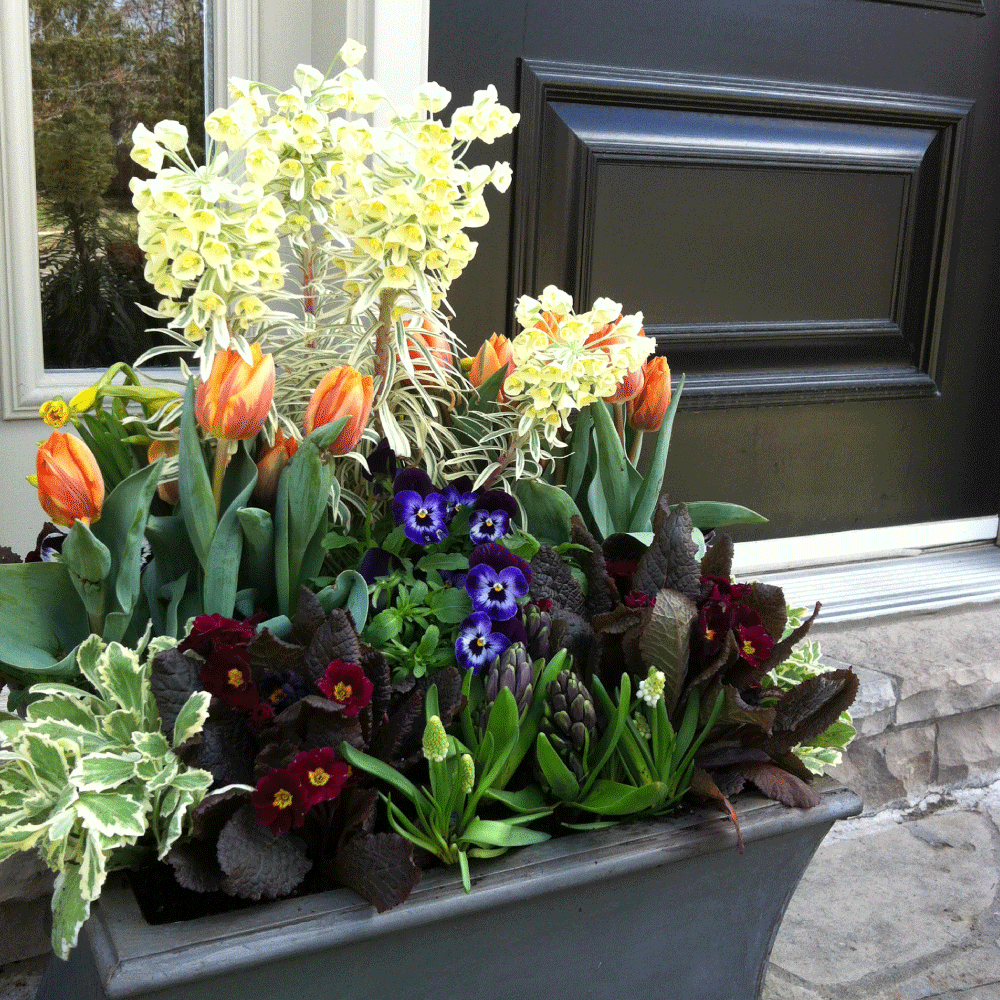
Moving on to another combination, in this planter, variegated spurge and wall cress (Euphorbia and Arabis) and dark leaved Primulas are used to add contrast and colour to the arrangement…
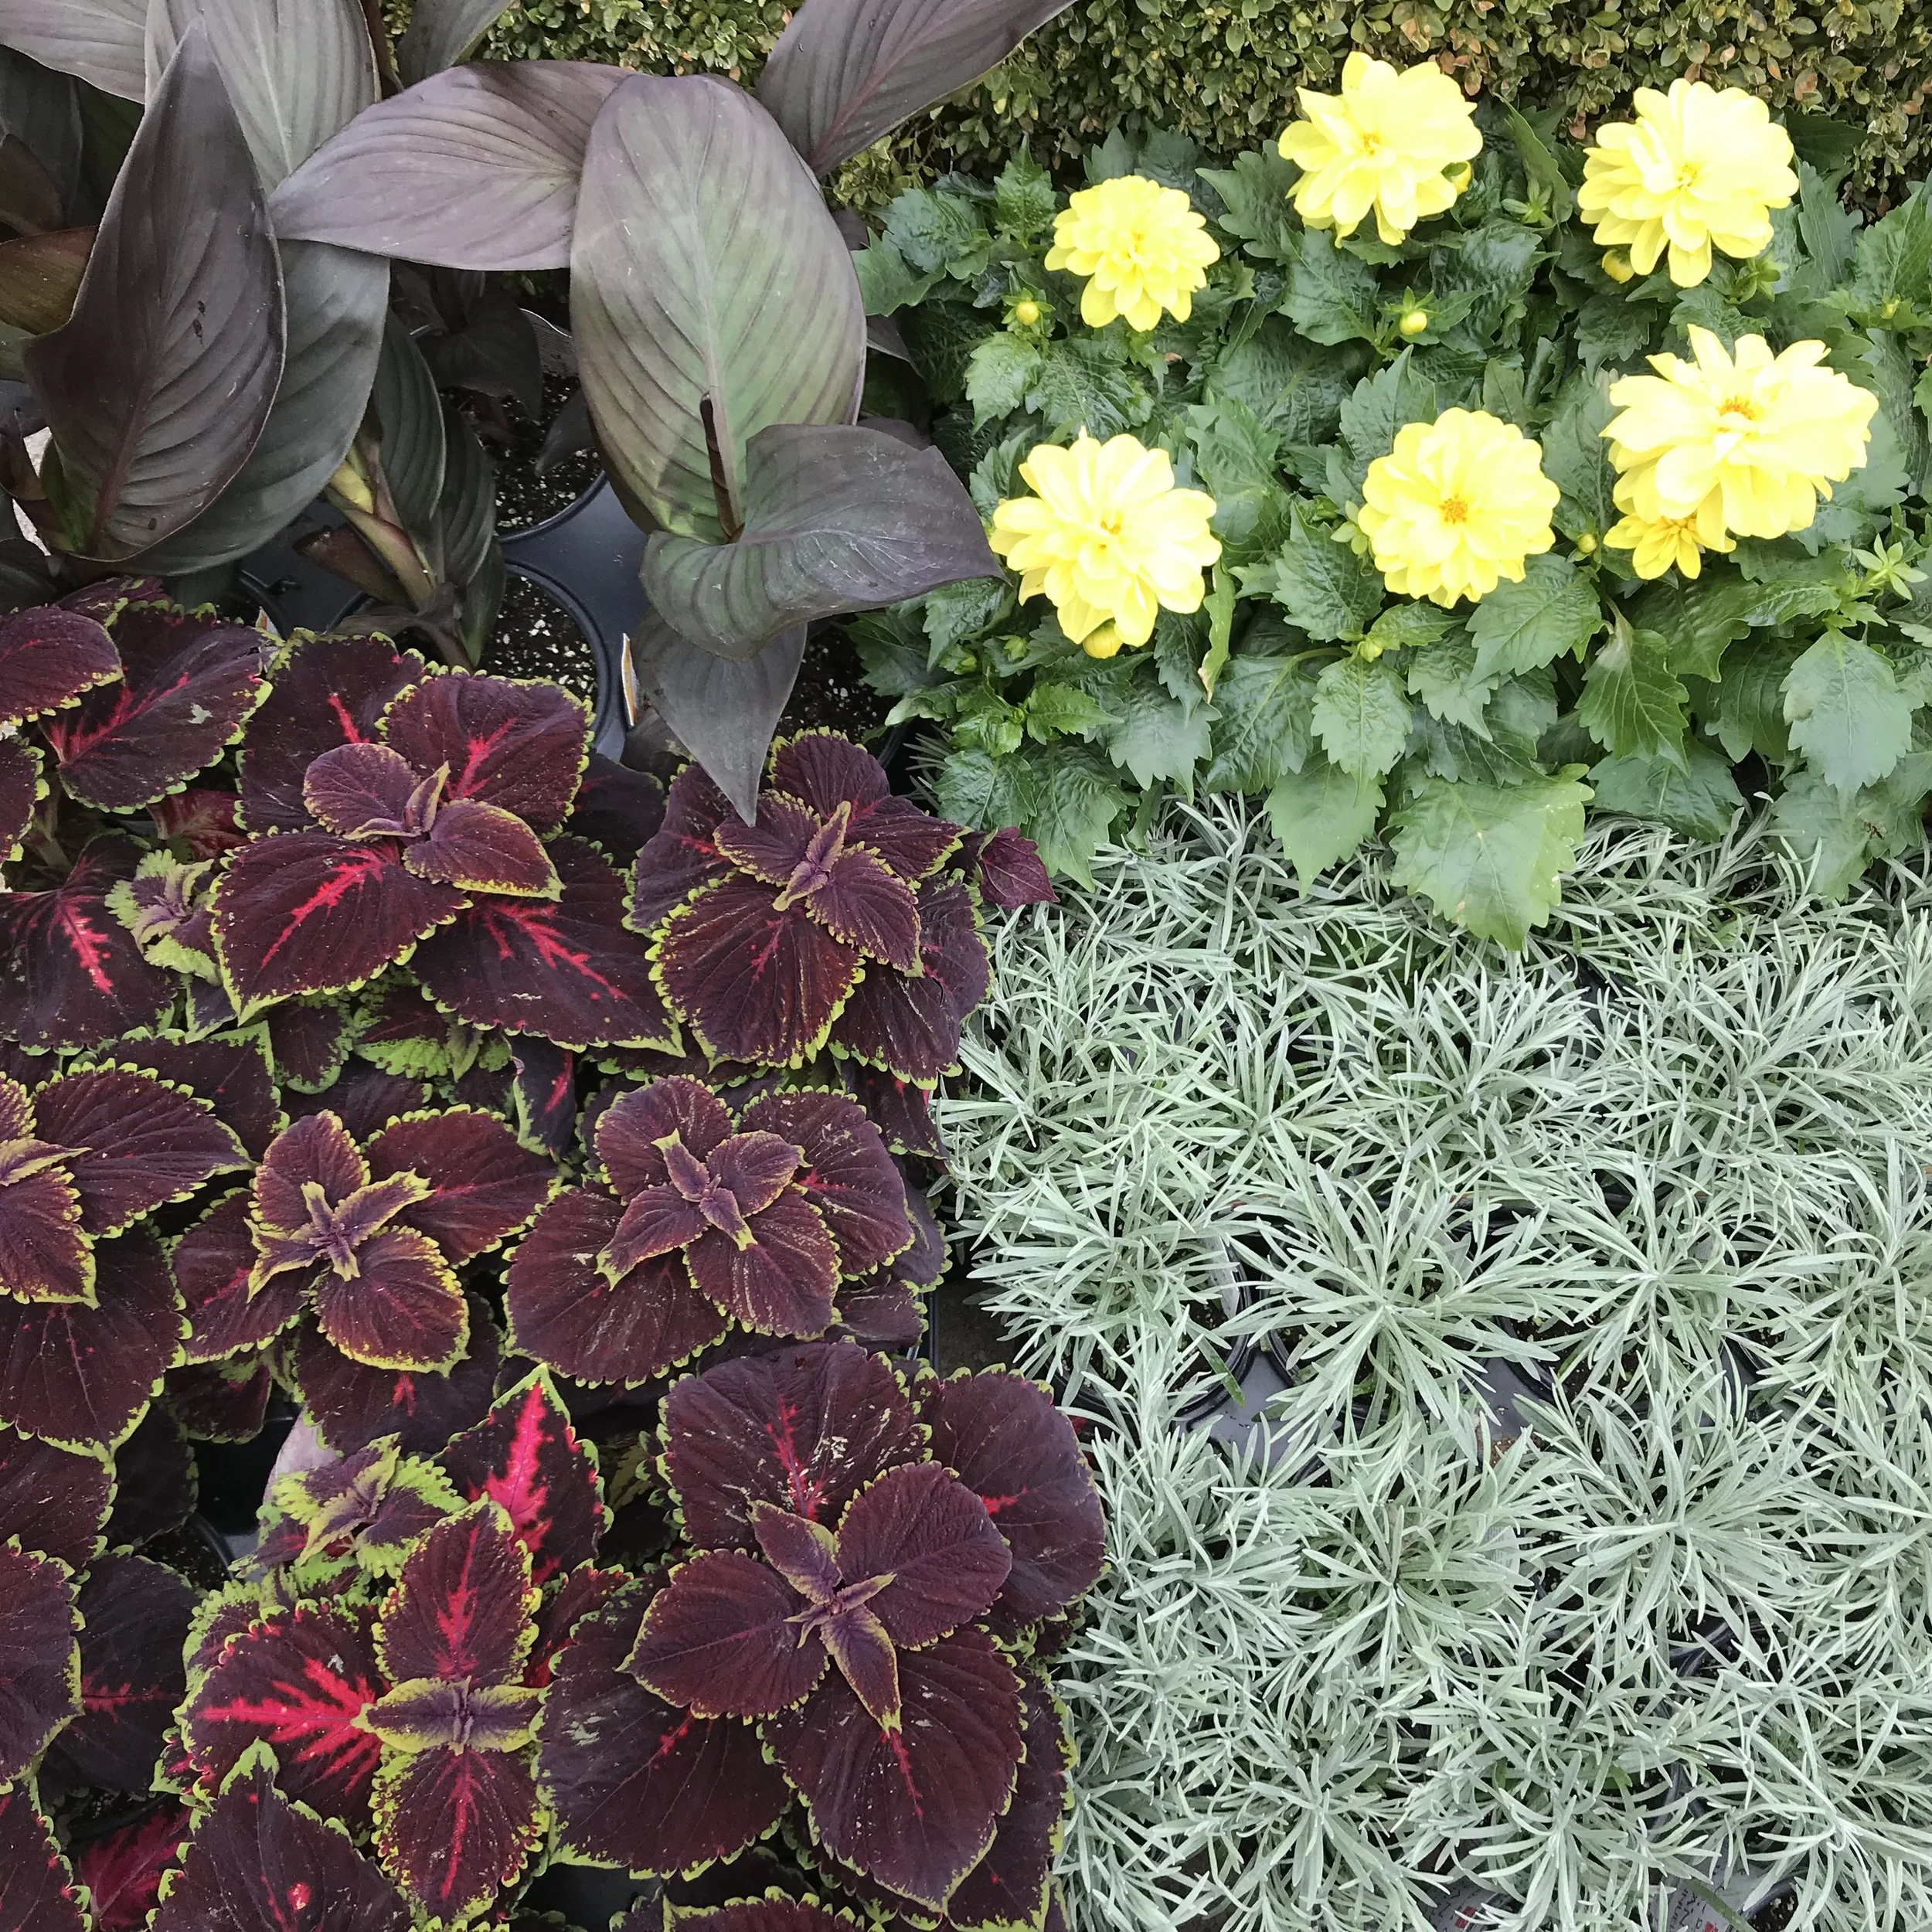
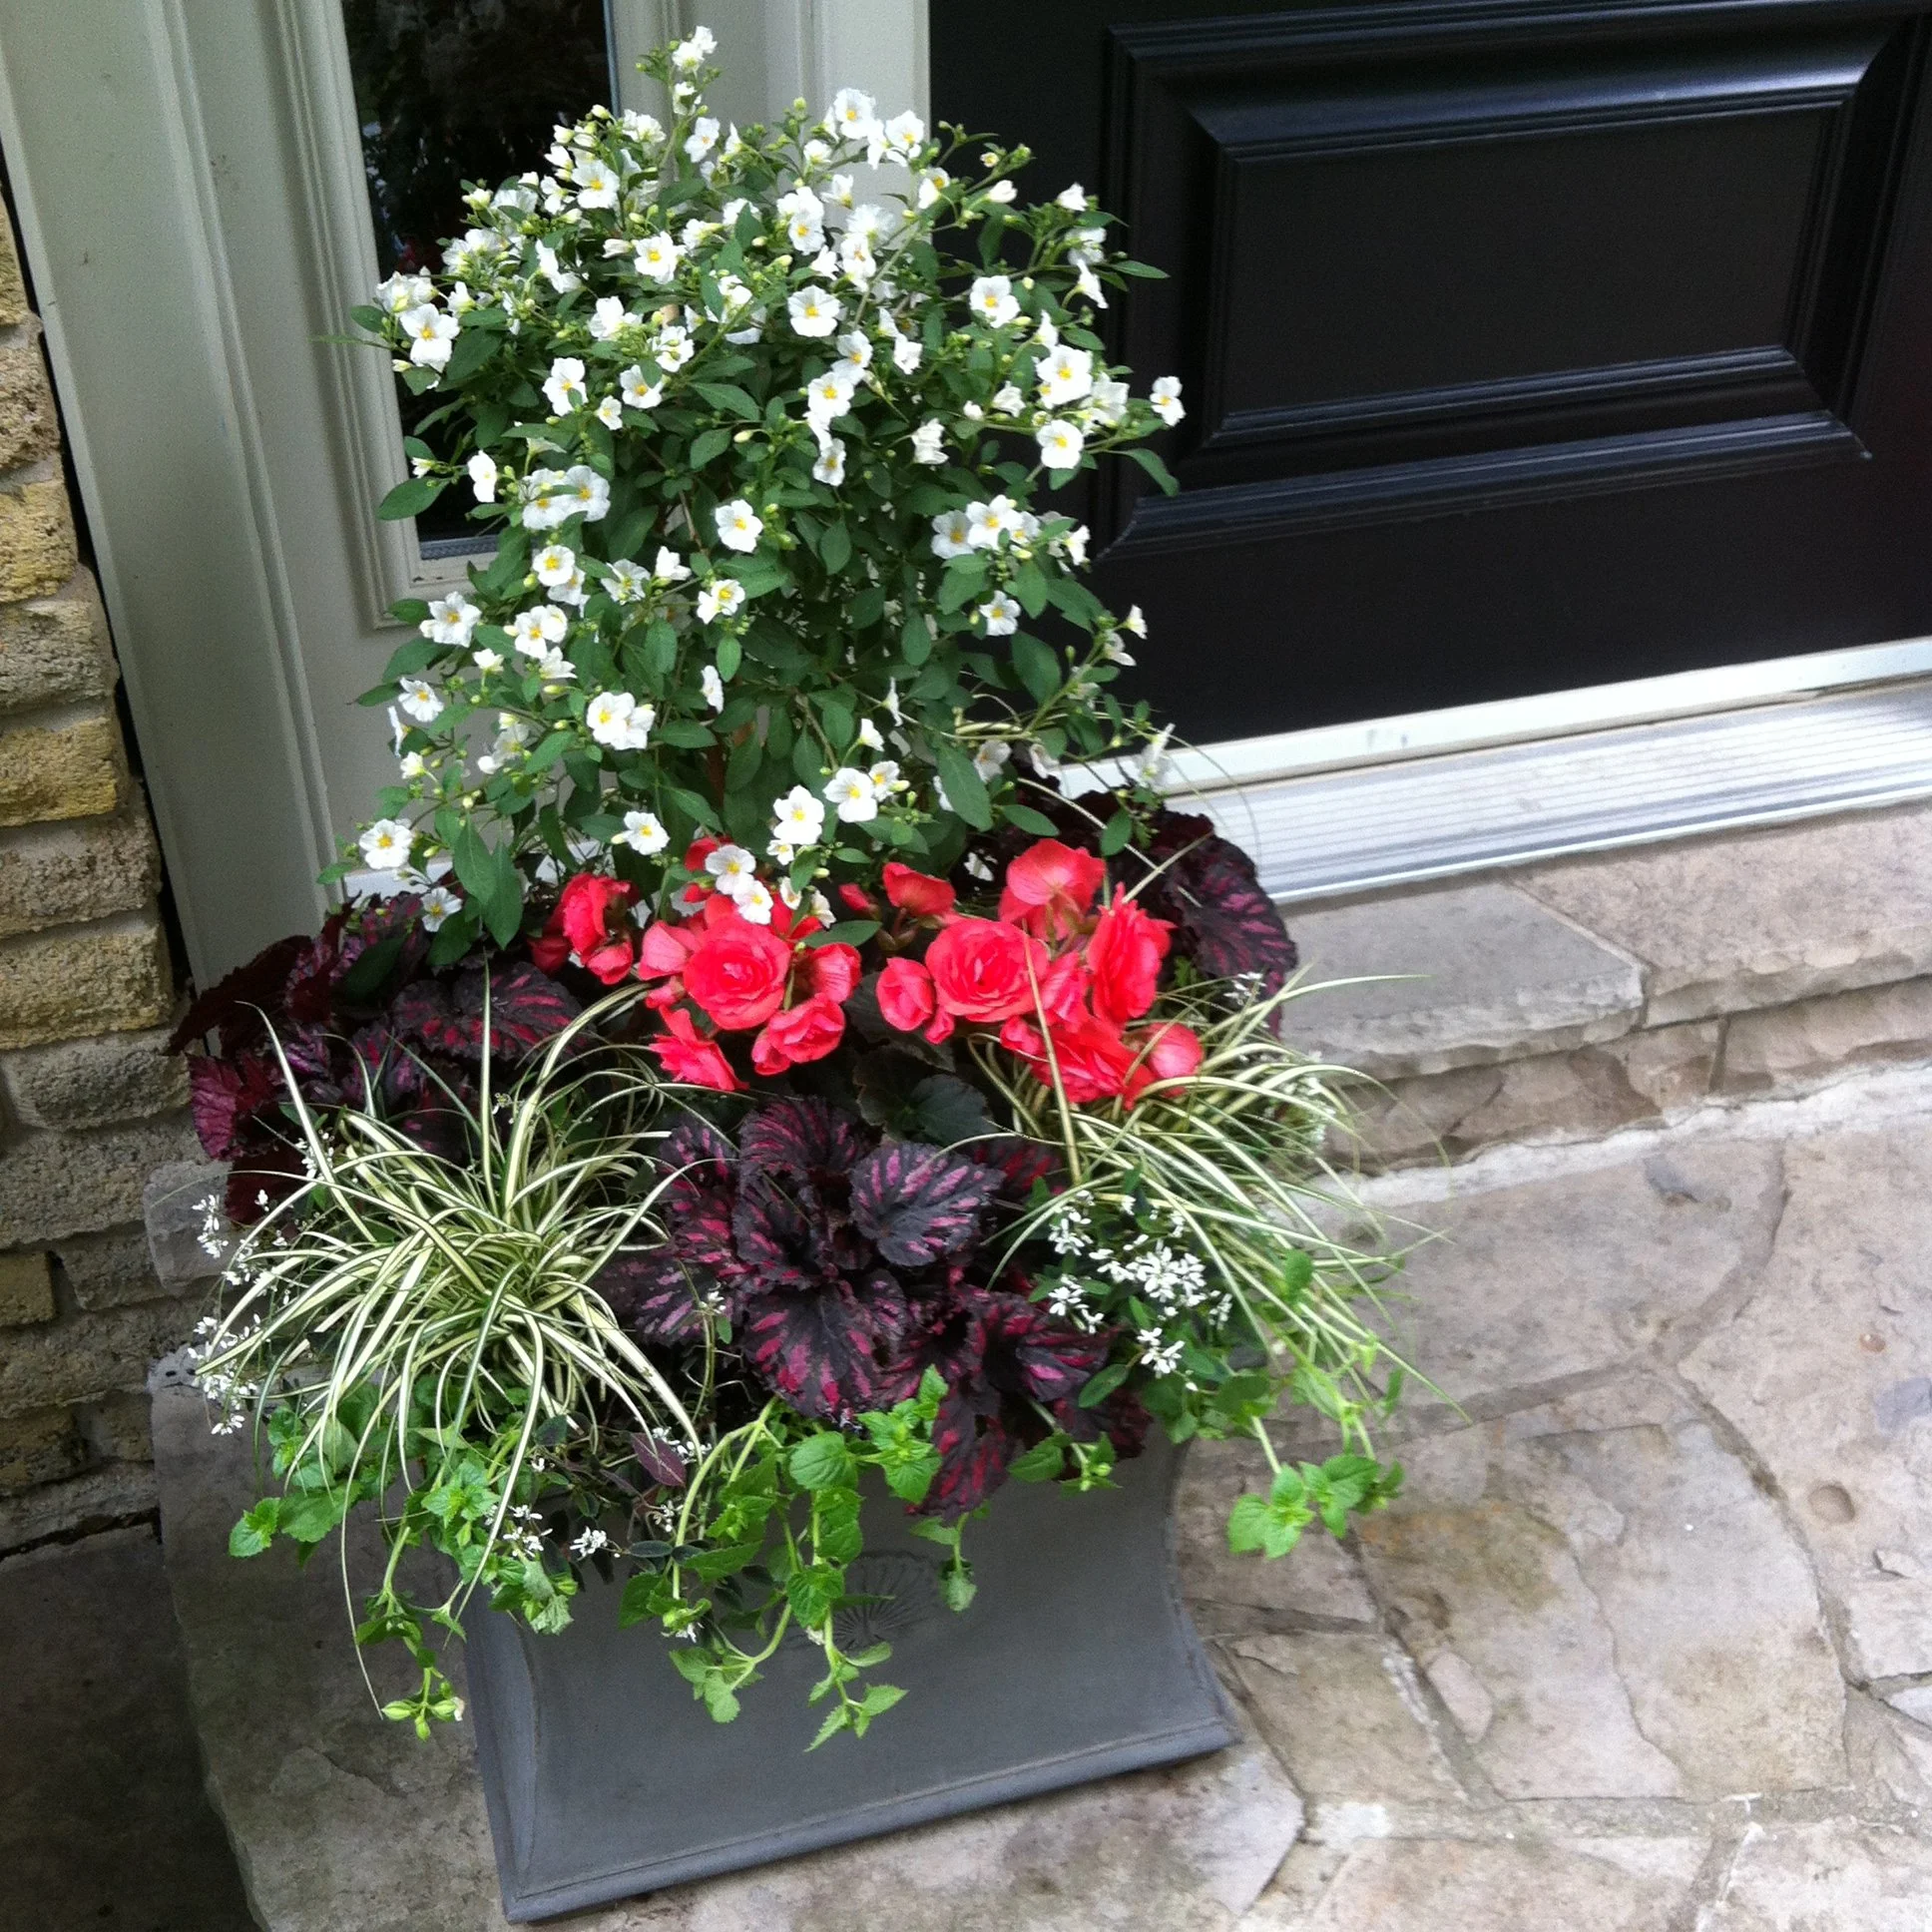
While in this Summer planter, burgundy and black Begonia sp. are used for colour (plus the leaves are incredibly stunning) and the variegated Carex oshimensis ‘Evergold’ (Japanese Sedge) adds both contrast and amazing texture.
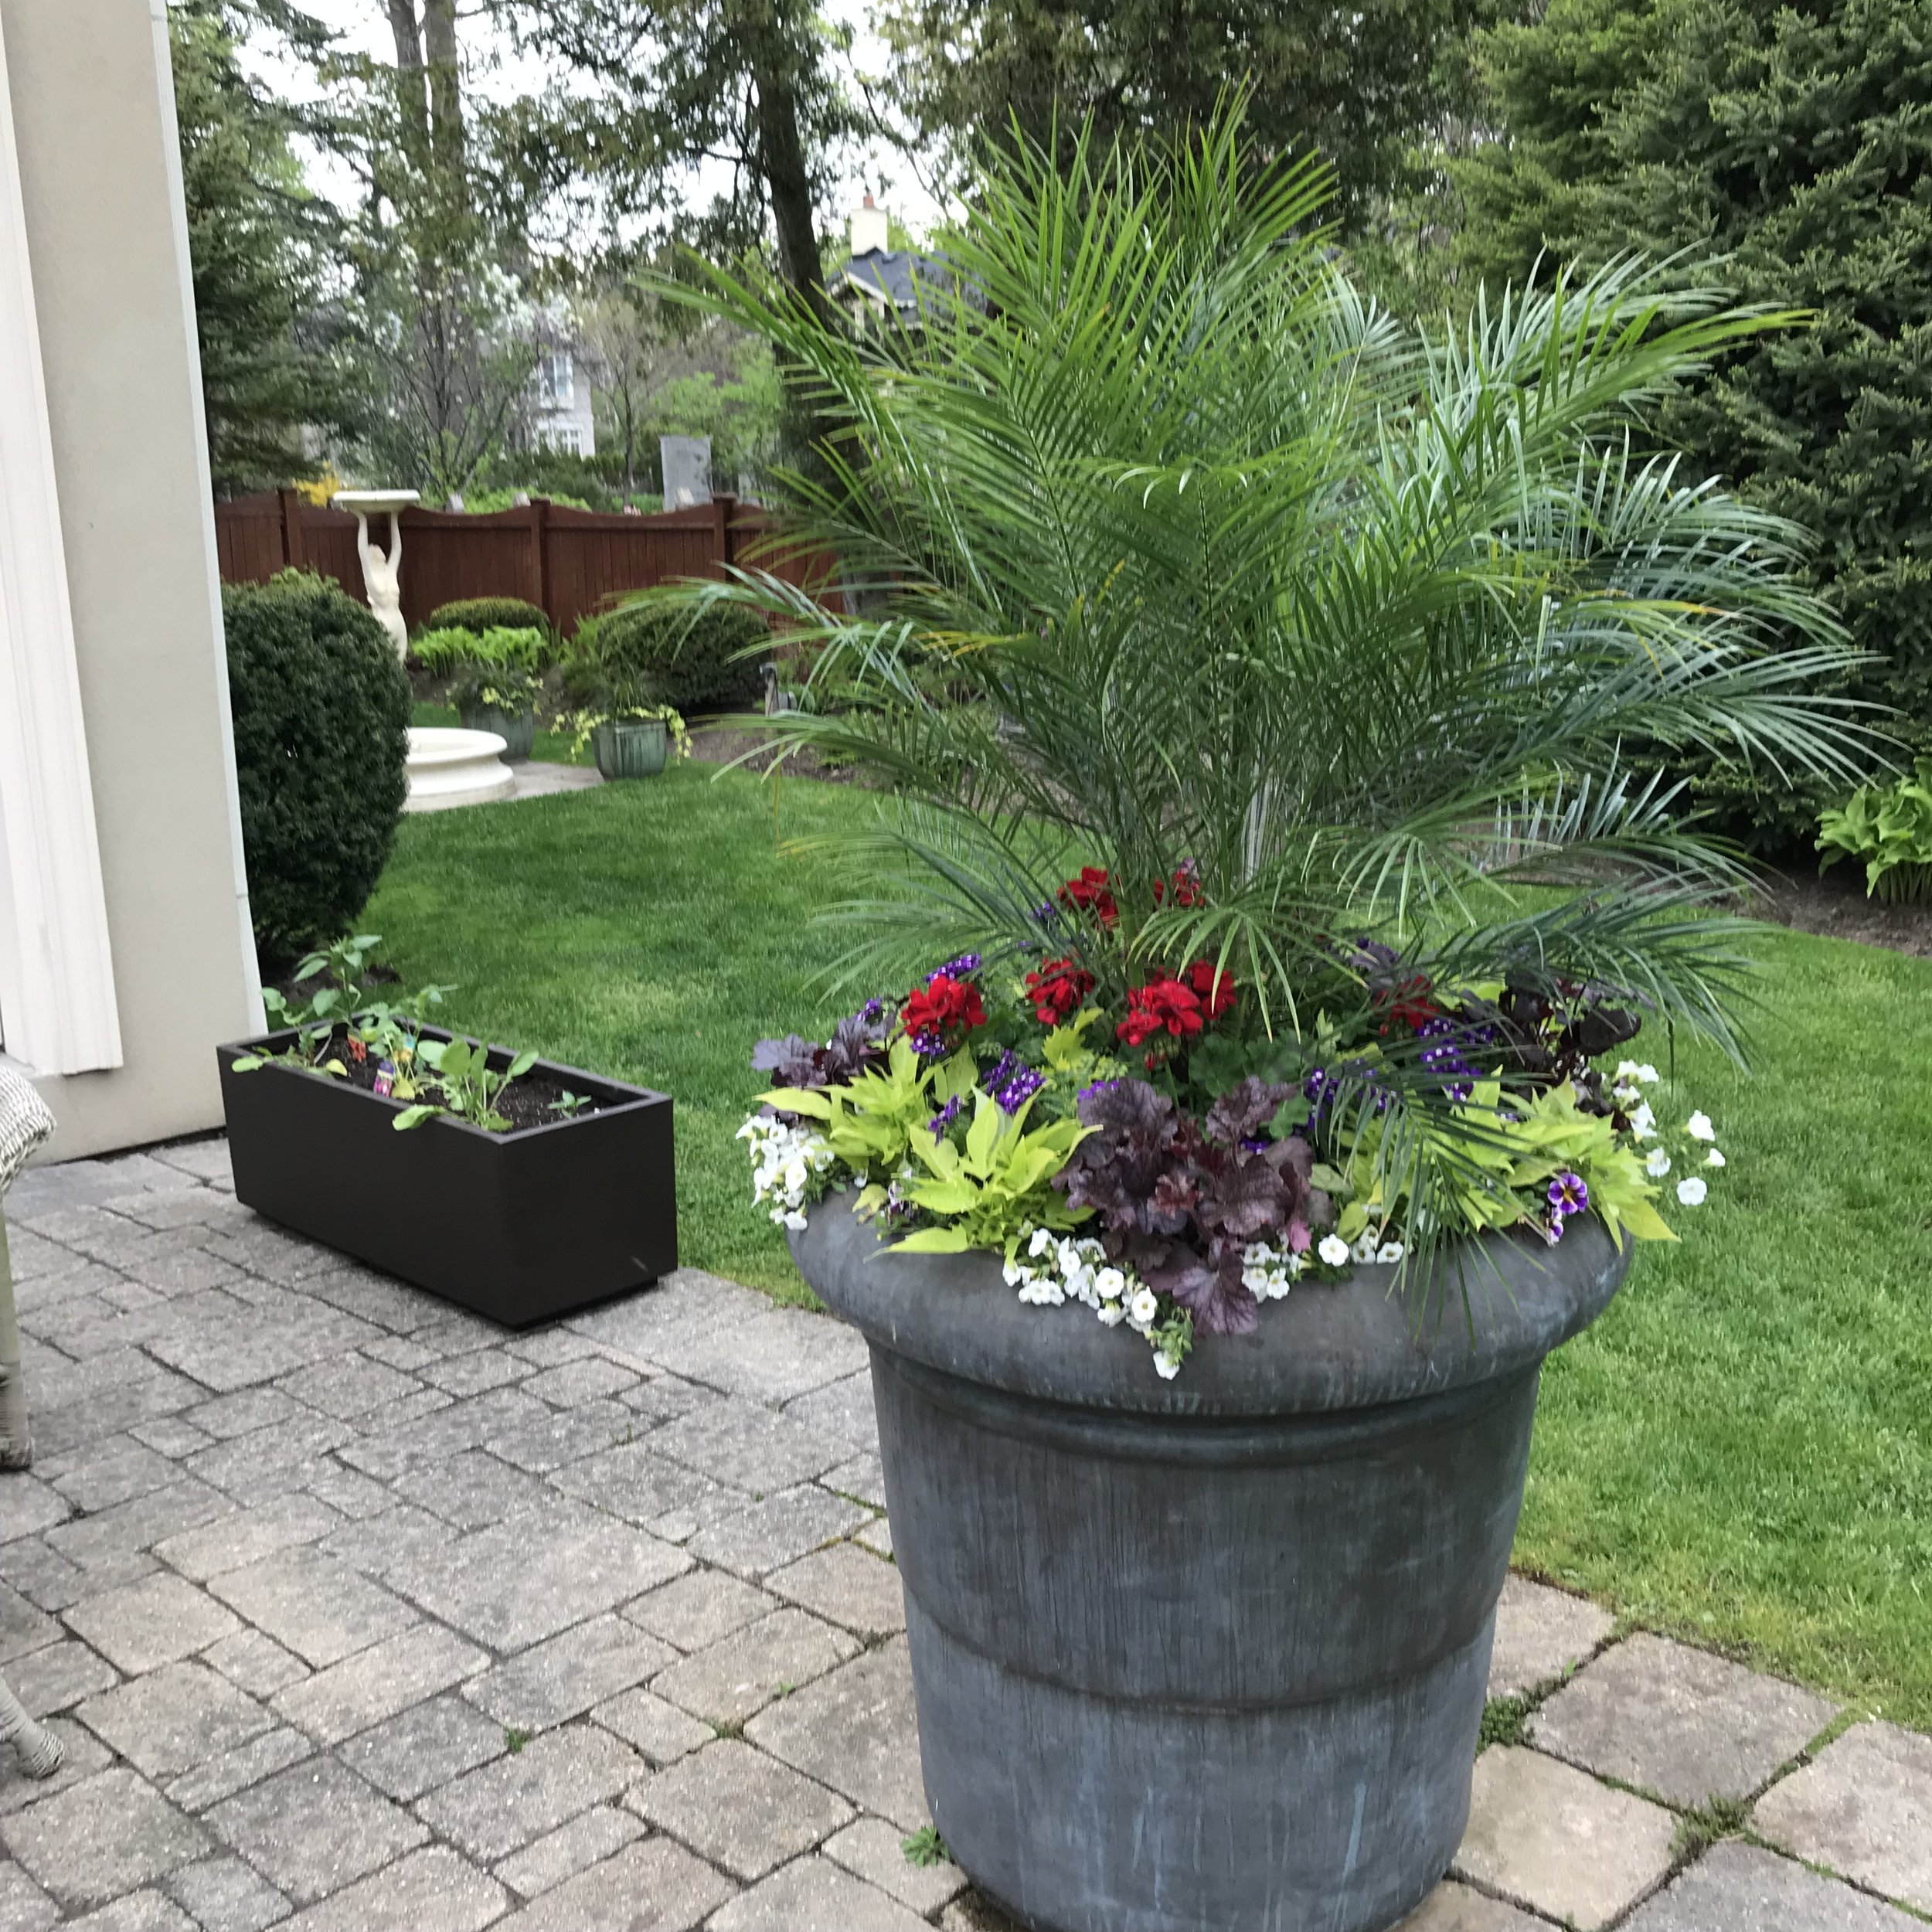
In this combination, the chartreuse potato vine (Ipomoea batatas ‘Sweet Caroline Light Green’) has been used to breathe some extra life into this newly planted container.
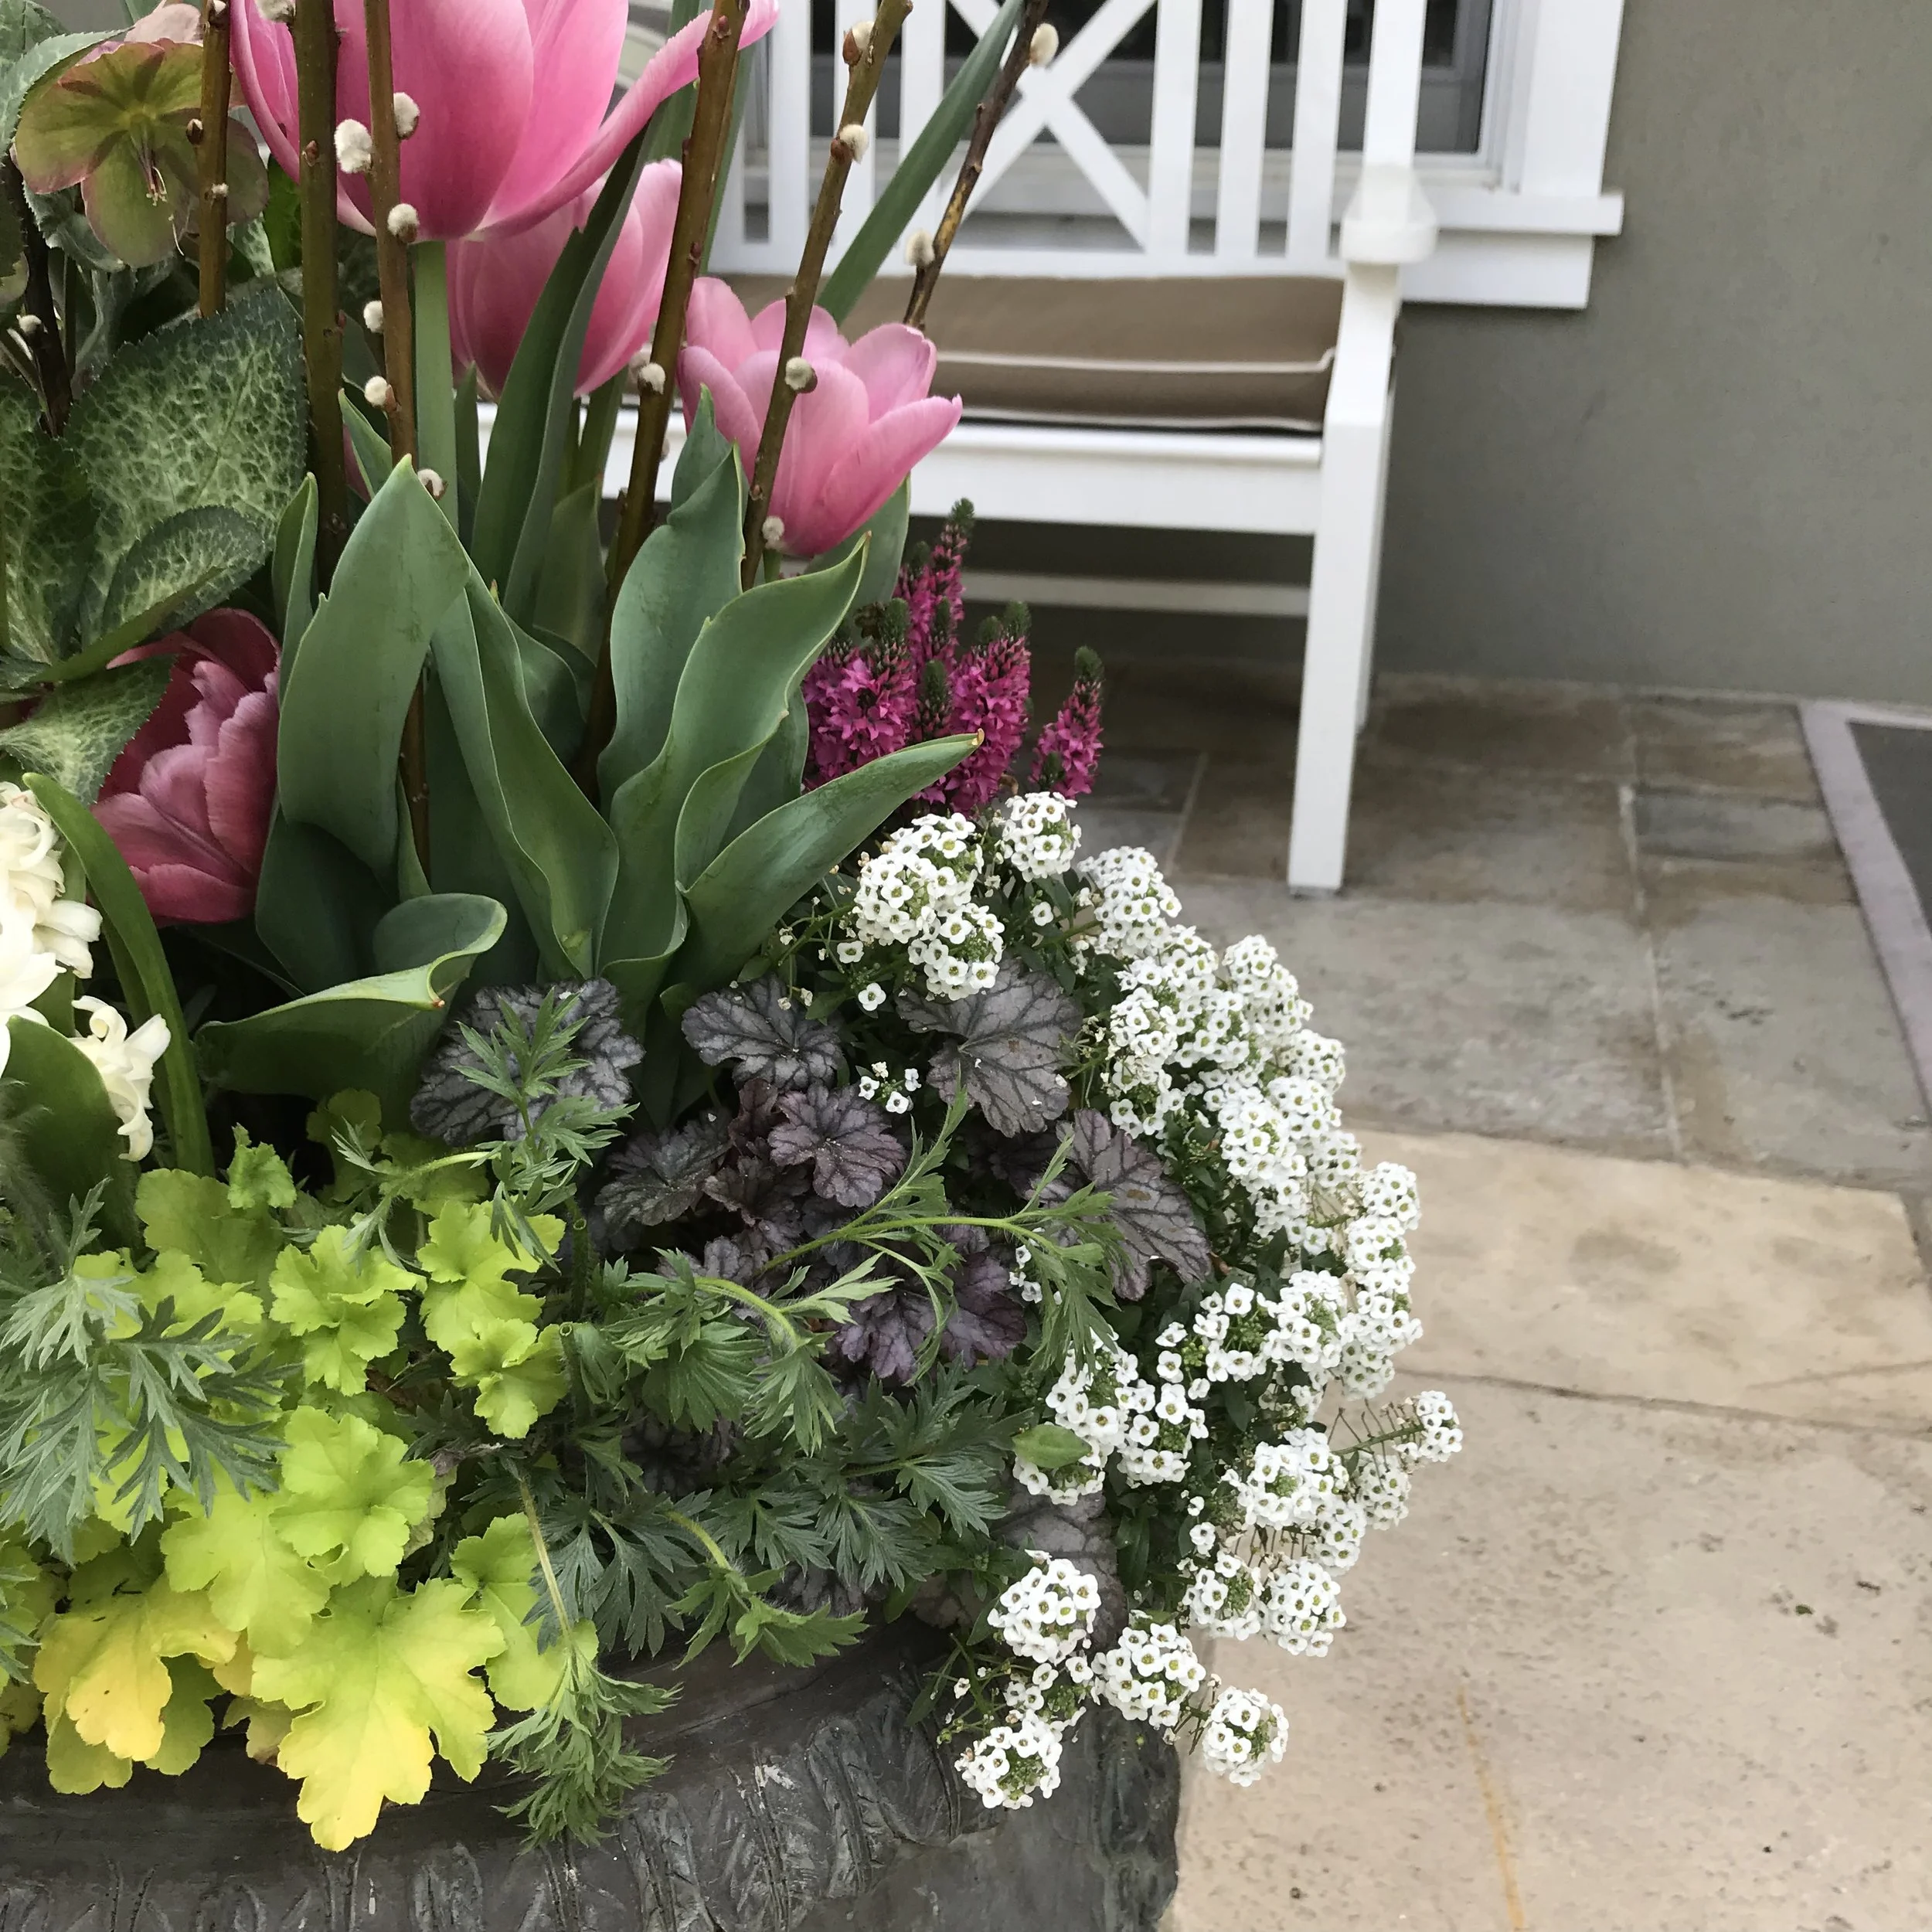
Finally, in this Spring planter, the tulips may be fading, but the purple and chartreuse colours of the Heuchea spp. (Coral bells) will continue to add colour long after the blooms are gone. This brings me to a serious ‘plus’ for adding nifty foliage to your planters or gardens- you won’t need to rely solely on blooms for colour!
Ok. Ok. I’ll stop! As you can probably tell, I can go on and on about foliage until the cows come home. Hopefully I’ve proven that plants don’t need to have showy flowers to have a place in your planters or garden!
So, are you feeling ready to hit a garden centre? Here are a couple more helpful tips when it comes to selecting plants…
TIP #1: No one is telling you that you need to stick to the ‘annuals’ section when buying plants for your summer containers/ garden beds. Many perennials have amazing foliage too! In fact, many of my examples shown above are perennials. (For simplicity’s sake, annuals are the plants we toss out at the end of the growing season. Perennials are plants that come back year after year. These terms have much more involved definitions but I will leave that to a winter blog post!)
TIP #2: Read the plant tags! All plants have tags that list their eventual height, width, and growing requirements. If you are pairing plants, you want to: make sure that you ‘layer’ them properly in a bed (with the taller ones toward the back). Sometimes the largest of plants can be purchased in the smallest of pots- read the tag to see what you are getting yourself into! Plus, you also want to make sure you pair plants that have the same growing needs (especially light requirements).
Now… get your elbows out to your side in ‘ready position’, look for that beam of sunlight, and go get your plants!